AeroCool FP-01 Multifunction Panel
A Closer Look
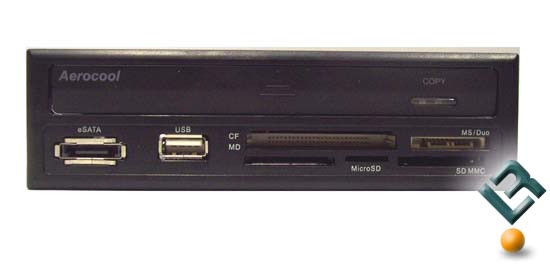
Lets take a look at the panel itself now. As you can see at first glance the FP-01 looks like any other optical drive but with a card reader squeezed in under it. You probably notice the copy button on the upper right; well get to that in just a bit. You will also notice there are no audio ports; this is a good thing to me as they are on the front of just about any case produced today so no need to have another set here.
With a simple push/pull/flip the FP-01 opens up in all its glory.
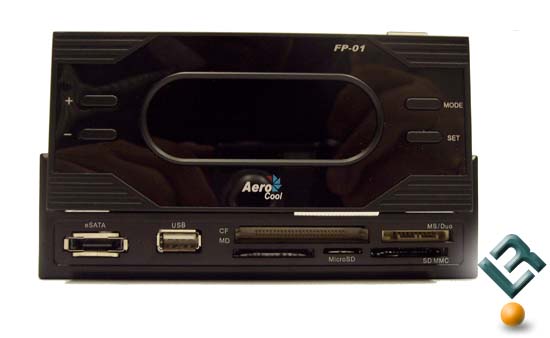
With a simple push/pull/flip the FP-01 opens up in all its glory. The Fan controller interface is a very simple 4 button system. The +/- buttons control your fan speed and in the SET mode will allow you to adjust the alarm points. The MODE button allows you to switch between the 3 fan/temp sensors. Pressing the SET button will switch you from Fahrenheit to Celsius, press and holding 2 seconds gets you into the alarm settings.
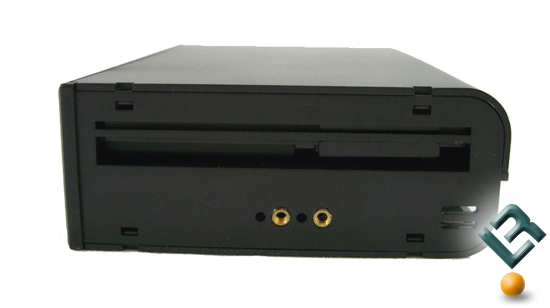
Now for the side, this is one thing that some folks may have an issue with, the mounting points. There are only two and they are on the lower part of the sides of the FP-01. Why is this an issue, some cases that have a toolless design utilize the top hole pattern of the standard 4 hole pattern for drive bay devices. This showed itself to me when I was looking at the In Win F430 case. I pointed this out for a reason, as it is something to check when research parts for a built, not every part will fit every case. Overall, installing the AreoCool FP-01 was simple and quick.
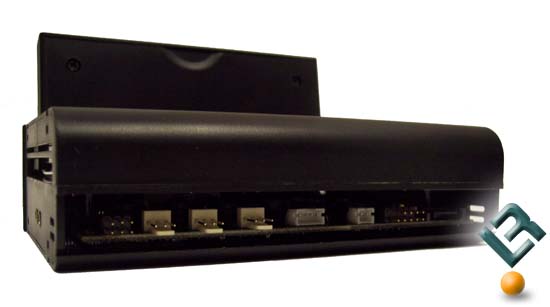
The back of the FP-01 couldnt be any simpler; all the connections are well labeled and easy to access even with my fat fingers.
Comments are closed.