Zalman Reserator 3 Max Dual Ultimate Liquid CPU Cooler Review
Installing the Zalman Reserator 3 Max Dual Ultimate Liquid CPU Cooler
I’ve had a chance to install many coolers inside my Fractal Design Define XL R2 chassis in the past, each with its own little challenges. Myself and many others can probably bang out an install in just a couple minutes, but I also like following through the instructions afterwards to see how the average Joe would read through them. Reading through the instructions that came with this cooler, I found a couple areas that told you to do things a little too early. For instance, the instructions with this kit have you mounting the water block before the radiator, which is backwards from how I have learned. There is a lot of extra hardware to install with this kit, so I would strongly suggest installing the radiator first.
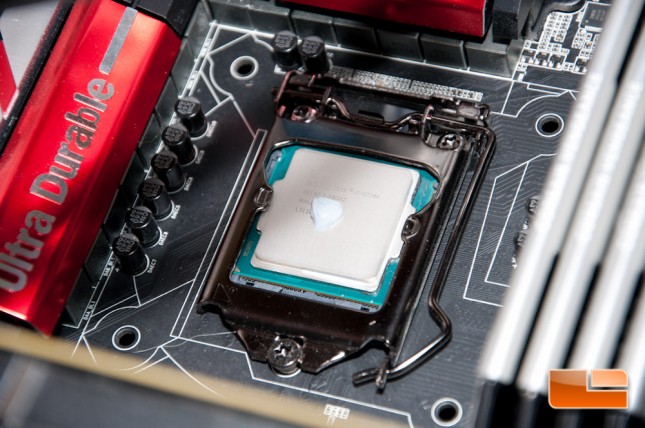
To start off, we’ll want to start with a clean CPU and clean it off with a lint-free cloth using the highest purity rubbing alcohol that you can find.
I’m going to prep the entire kit for install, so here goes!
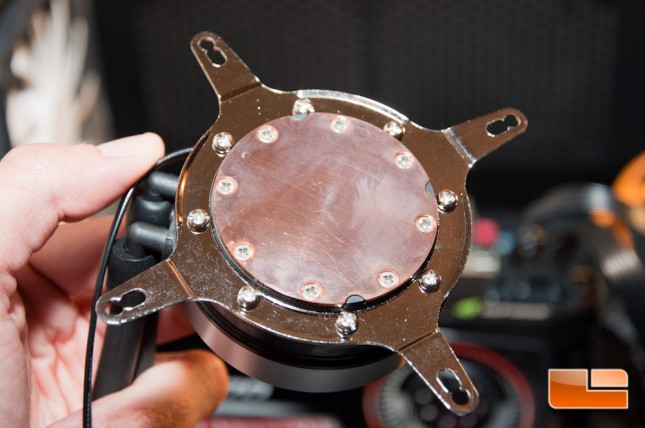
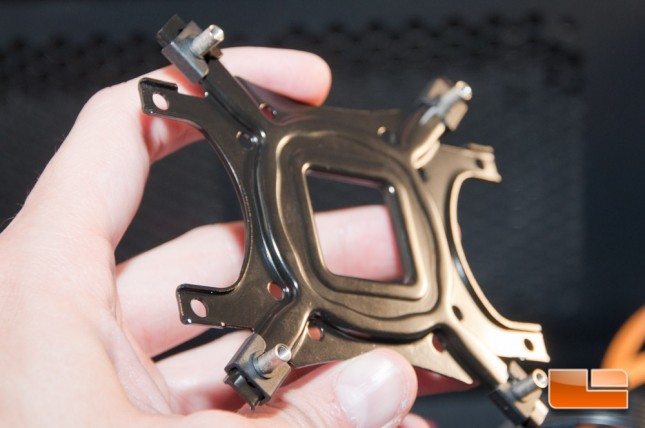
The water block is not prepped for either Intel or AMD mounting, so you’re required to attach a bracket via eight screws (seen just outside of the cold plate). The instructions will tell you how to position it on the block. This was a little tedious, but it only took a minute and that bracket is definitely secure.
Next up I got the back plate all set. You have to push a couple nuts into place…
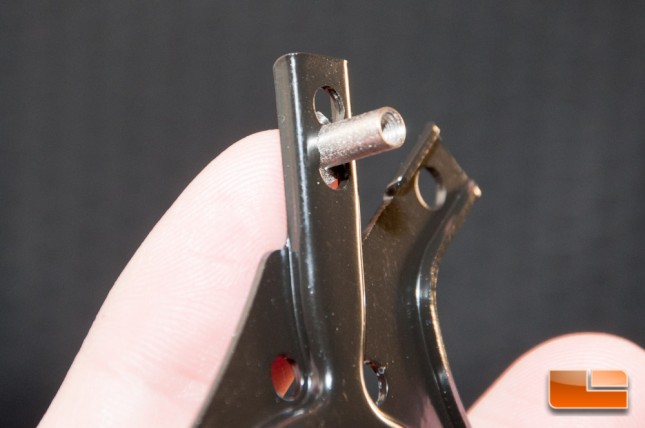
… and then cap them off. There was one of the caps that was difficult to push on, so I ended up carefully using a screw driver to aide in the install. Otherwise I set the pin in place, held it with one finger, then pulled the cap down towards myself with my fingers on the sides.
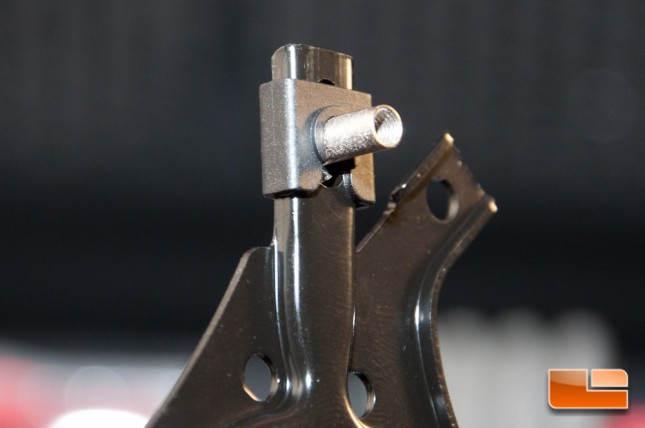
All four bracket nuts in place and this is what it looks like.
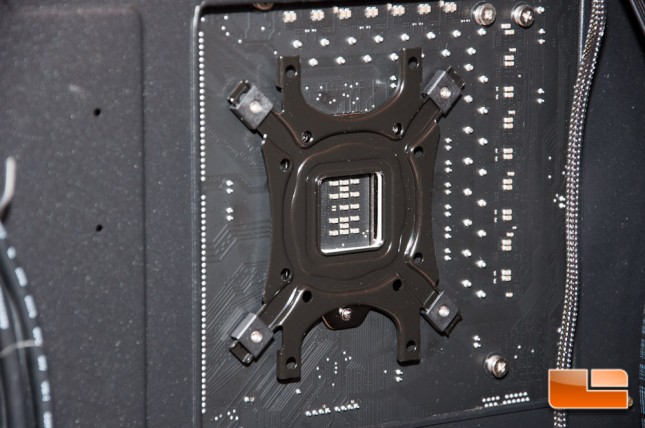
You can attach a double sided piece of tape to hold the bracket in place and I strongly recommend doing such. Normally I just skip that step, but for this cooler I needed it. I didn’t decide that until last second.
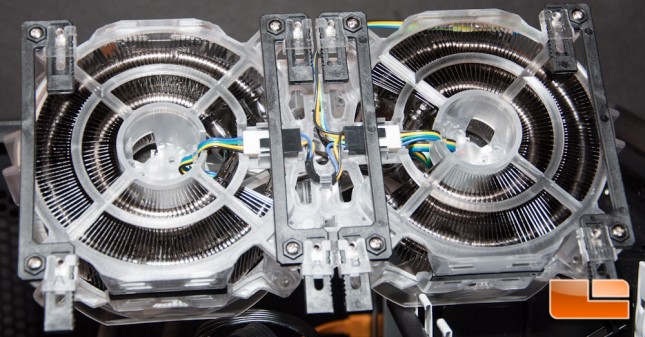
And then there are mounting brackets to make the radiator install inside most cases. Zalman recommends 15mm between your 120mm fan mounts to make this kit work. The purpose of these brackets is to minimize the interference with the components inside of your case. These basically require the same thing as the backing plate, a couple more bracket nuts and caps. The caps will be labeled ‘A’ and ‘B’ and is intended to help you figure out what way to orient the bracket.

All installed on the radiator, this is your end result.
Installing the radiator with the bracket was fairly easy. I did have one of the caps slide when I was trying to mount the radiator, pretty much forcing me to remove the radiator and be more careful the next time. I couldn’t get a small screw driver between the grille to push it back, which is why I had to remove it. Overall it was easy to do, though.
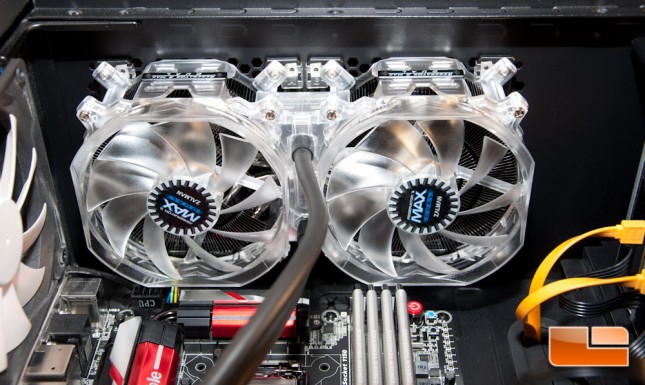
Fitment is definitely tight, since this is a rather large radiator configuration, but I didn’t have any issues in my system.
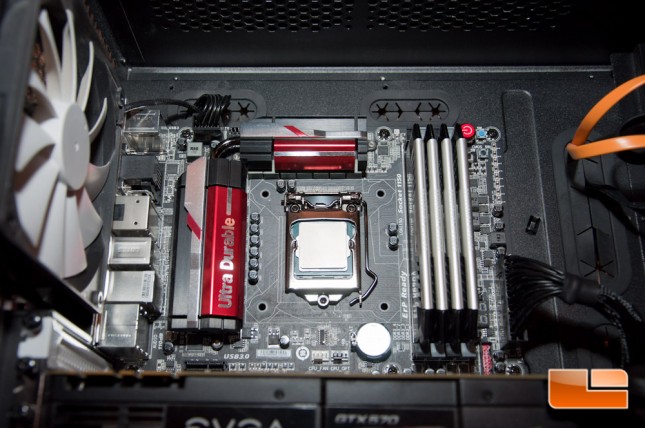
With the radiator finally mounted, now we’ll mount the CPU block. I drop a small amount of the included thermal paste right in the center of the processor’s IHS.
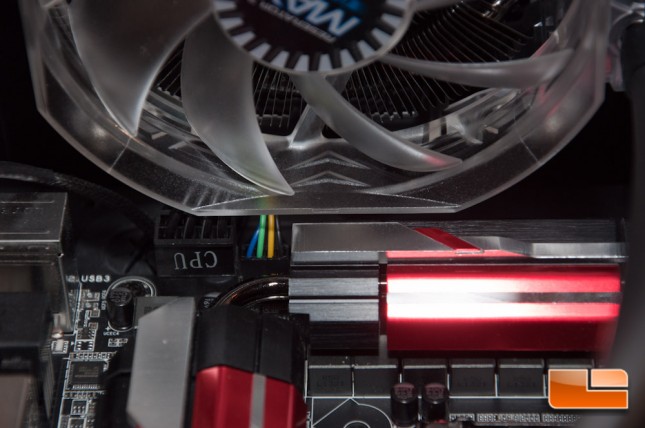
I then carefully threaded the screws in the crisscross pattern. I hovered the block above the paste while I started threading the screws, just so I wasn’t sliding the block around, dispersing the paste in a way that I wouldn’t want. I then gently set the block down and tightened the screws down fully. I finished off by hooking up the pump to any 3 or 4-pin header (CPU for me) and the fans to a 4-pin PWM header.
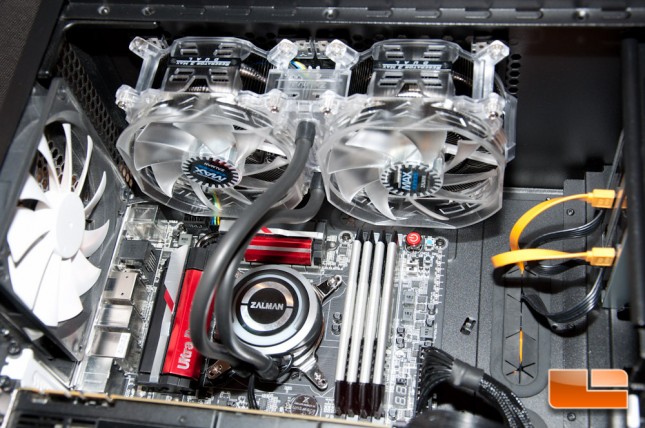
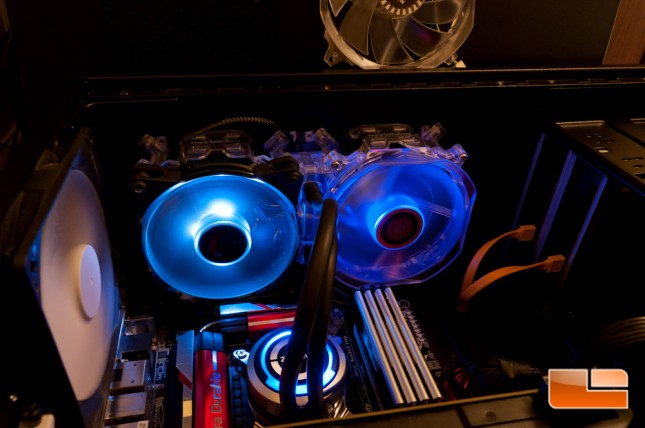
Firing up the system for the first time, I noticed the pump was a bit noisy. The noise appeared to be from air that has yet to work its way through the system, as it just had that bubbly sound to it. I gave the system a day before even doing any testing so it could work itself out, and that seems to have worked. The fans were nearly silent at the slowest 1000RPM setting, which was pleasant to the ear. Unfortunately they are very loud (rated at 23.2 – 46.6dBA 10%) when the system is under full load.
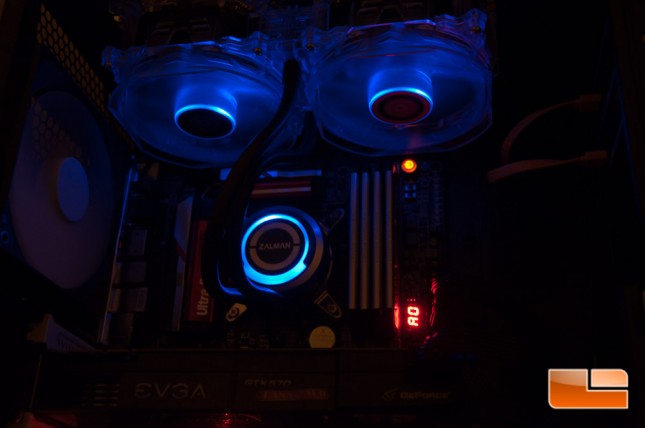
In regards to the blue LEDs, I did not find them obnoxiously bright by any means! They were just bright enough to give the cooler a little added flare and not be blinding, which many blue LEDs can do.
Finally, I just tried to mount different fans to this unique cooler for the fun of it, and to no surprise, it worked! I grabbed some Cooler Master Jetflo 120 fans and they hooked up just fine. I did also entertain myself to see if I could attach more fans to do a push-pull configuration and it looks possible, but the formed in brass fittings sort of ruined my chances of even trying. I would have had to find a screw with the correct threads to make that one happen, but not only that my case isn’t large enough for a push-pull cooler.
They don’t fit perfectly like the stock Zalman fans do, but they work nonetheless.
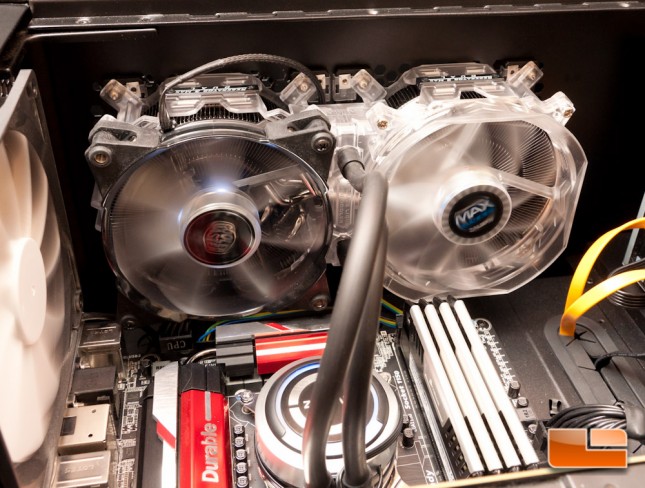
One final shot just showing that it doesn’t close off like the stock fan does…

Let’s move onto the testing, as we know that’s what everyone is here for. I will be using both stock fans, not the CM Jetflos. We’ll compare it to the various liquid CPU coolers that we’ve tested in the past and see how well it works with an overclock to 4.3GHz on a i7-4770k. Before we get into the tests, click the next page to see what we’ve got in our system.