be quiet! Dark Rock TF CPU Cooler Review
Dark Rock TF Packaging and a Closer Look
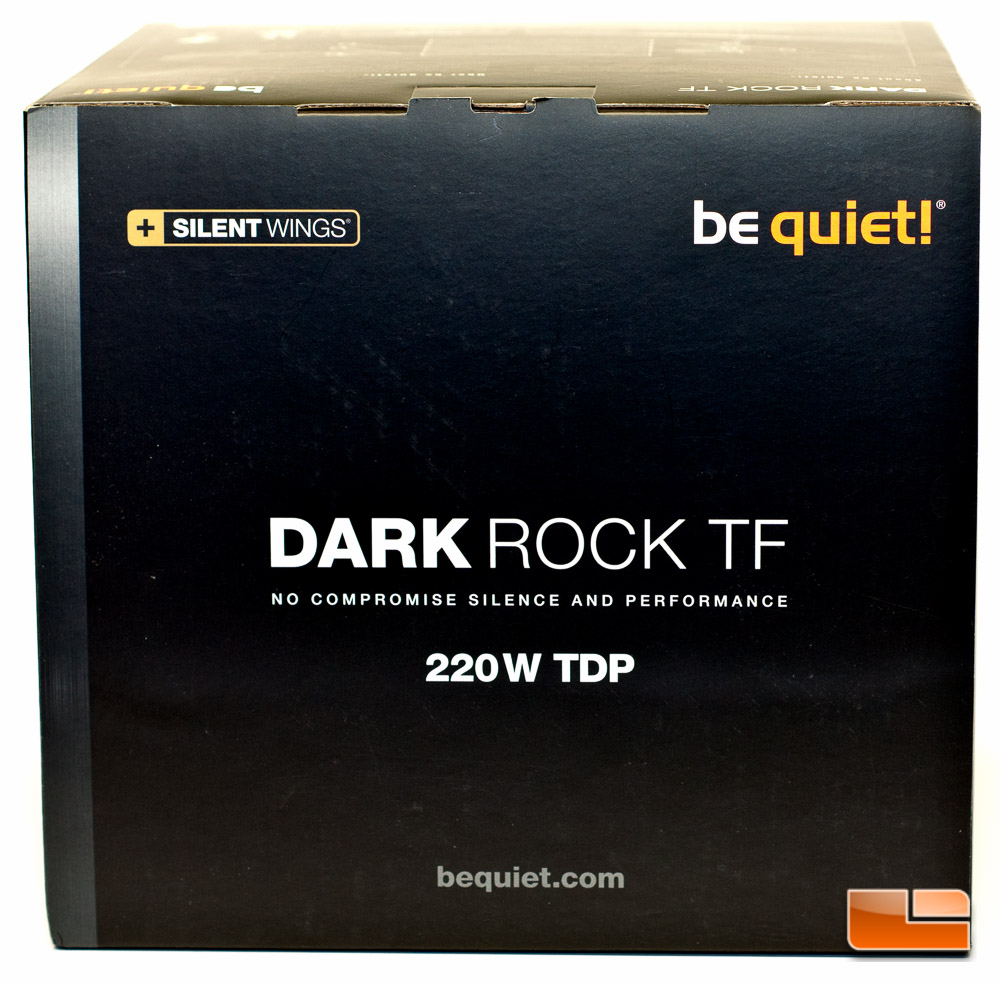
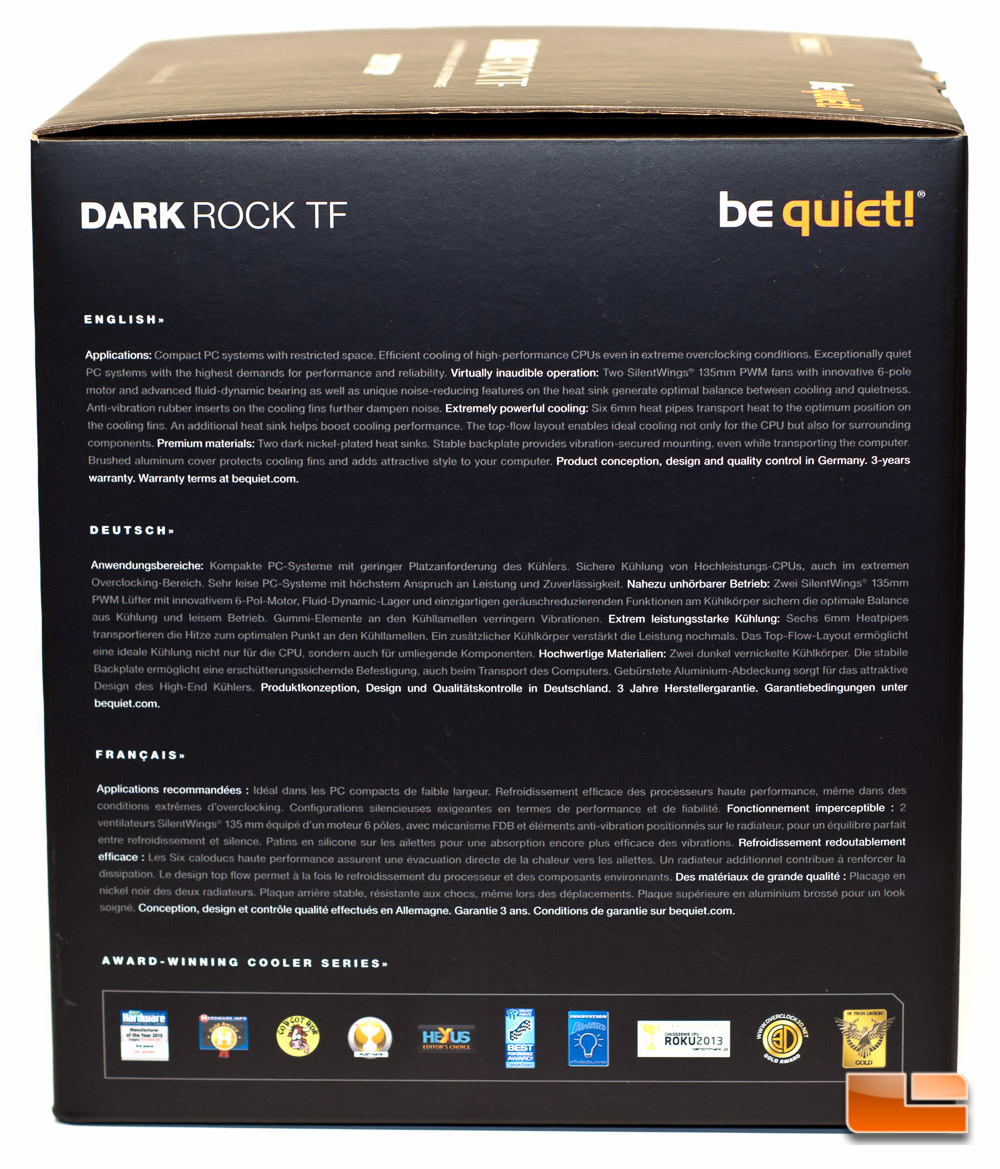
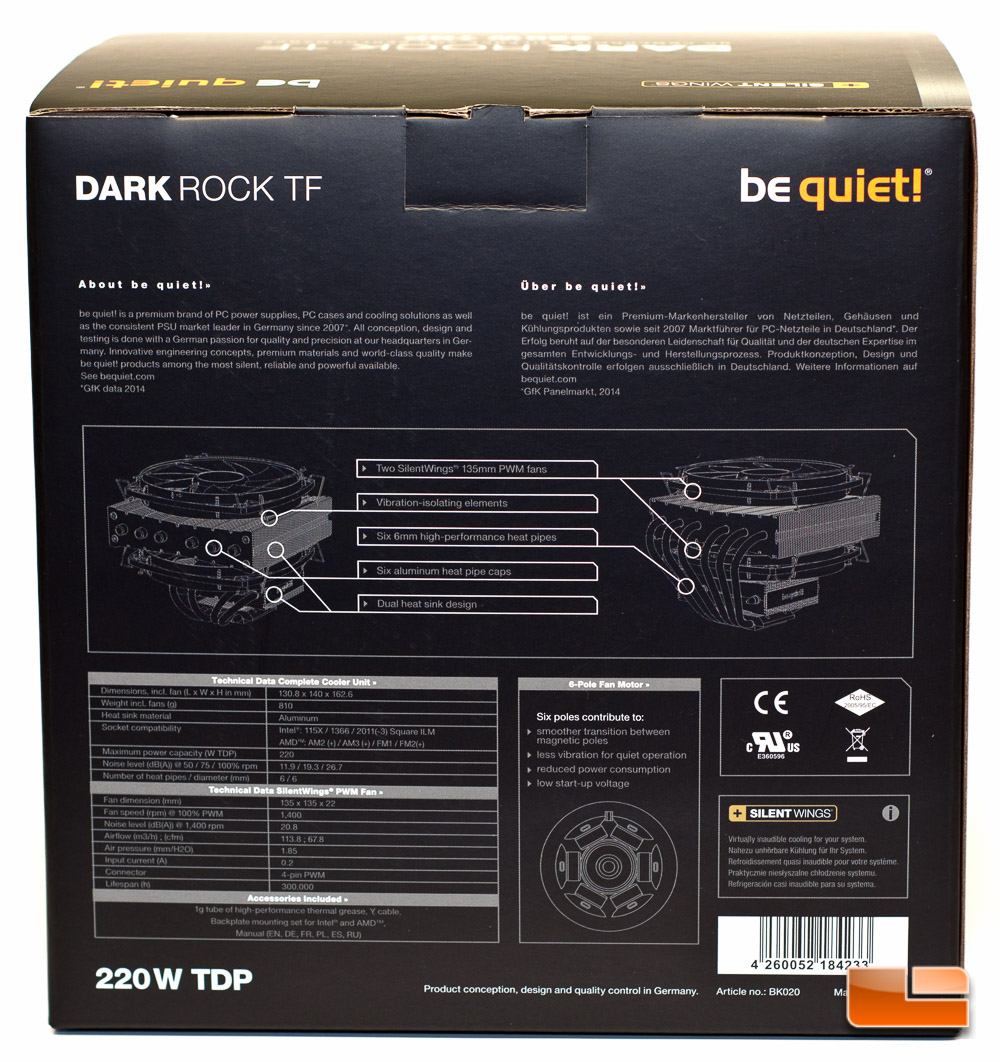
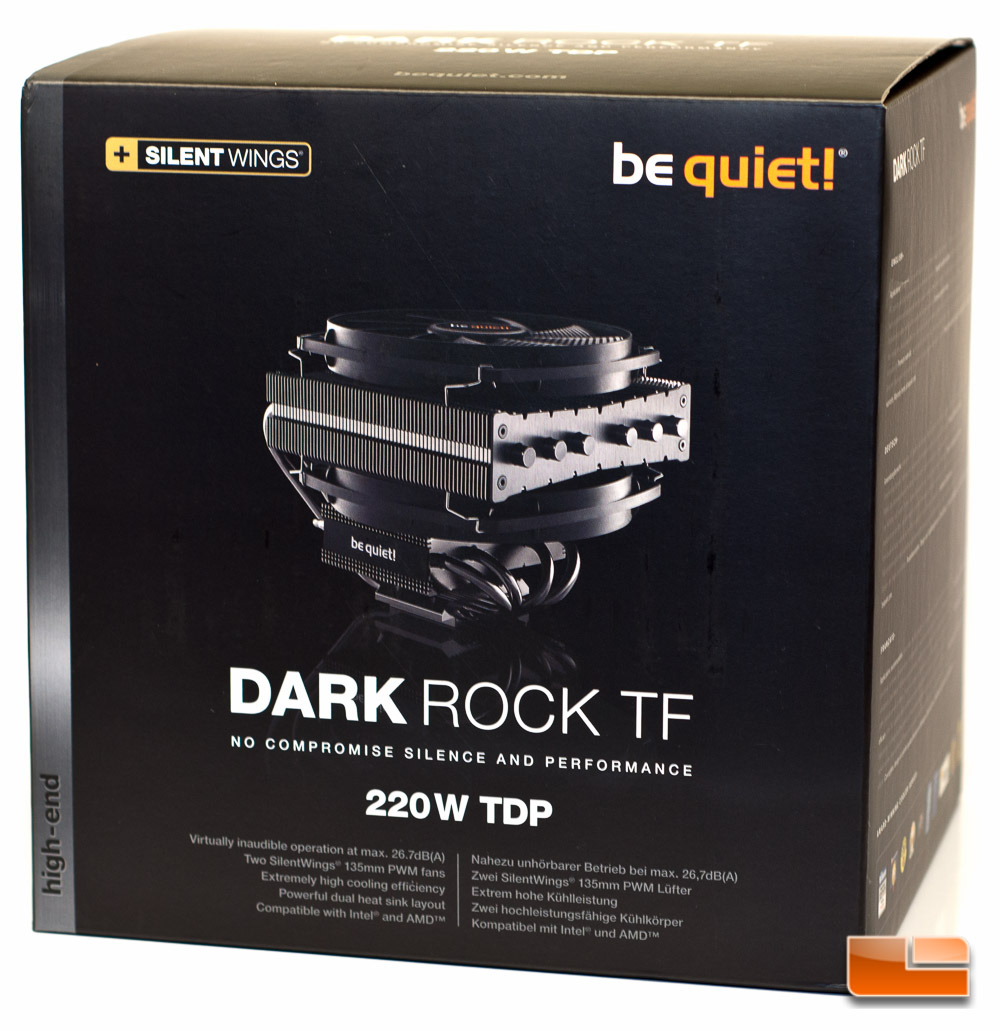
Like the Shadow Rock LP cooler that we recently reviewed, the Dark Rock TF has very slick packaging, giving you the right amount of detail to grab your attention and make you informed. The front of the box shows you a nice shot of the cooler, also informing you that it’s capable of handling 220 W TDP. It’s marked as a high-end cooler, and from the appearance on the package, we would have to agree. SilentWings is mentioned on the top left. The right side of the packaging gives you the rundown of how you could apply this cooler to your setup, while the rear gives you the finer details and specifications. The left hand side of the box gives you the same info that’s on the right, but in a few different languages.
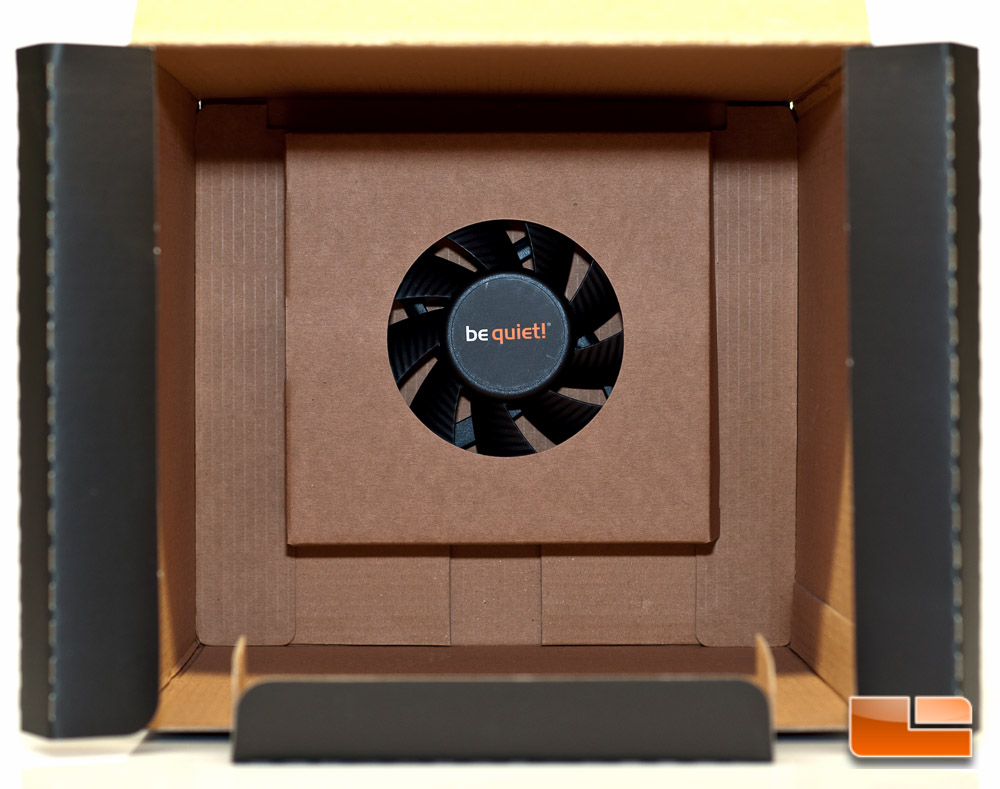
Looking at the top of the box, we have the Dark Rock TF name and 220 W TDP again. Flipping it open, we see the first SlientWings fan boxed up.

Taking the fan out of the way, we catch a glimpse of the cooler and how it is packaged inside. be quiet! did a fantastic job of boxing this cooler up!
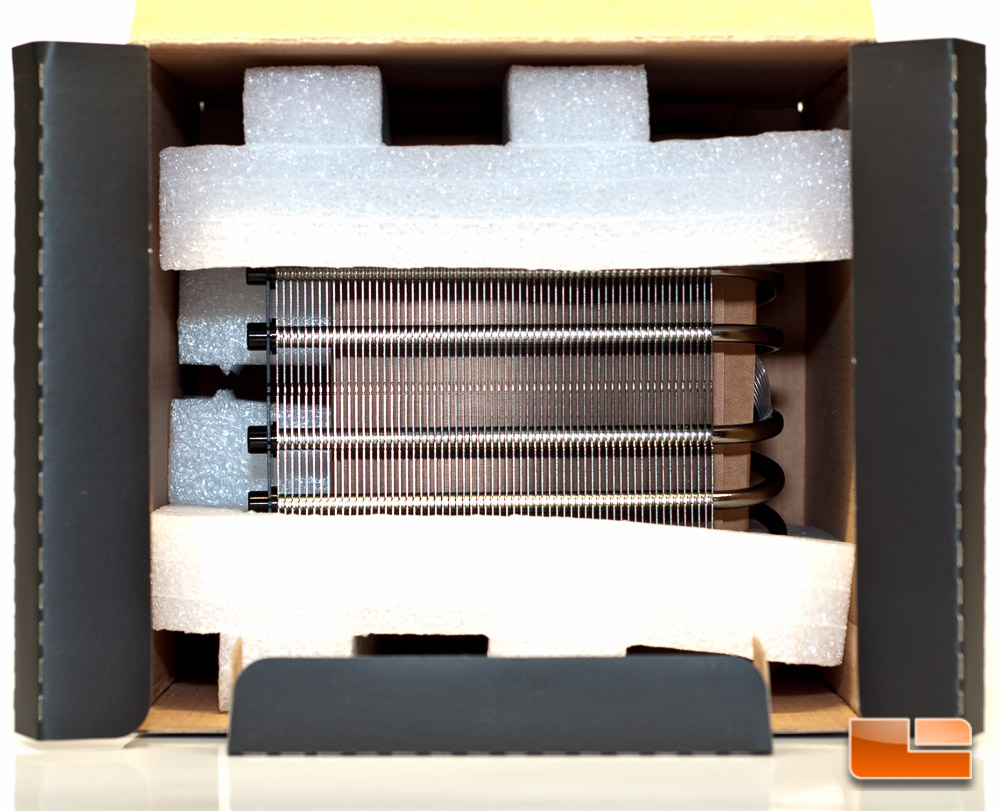
Taking the cooler out of the box, we find the second SilentWings fan boxed up on the bottom.
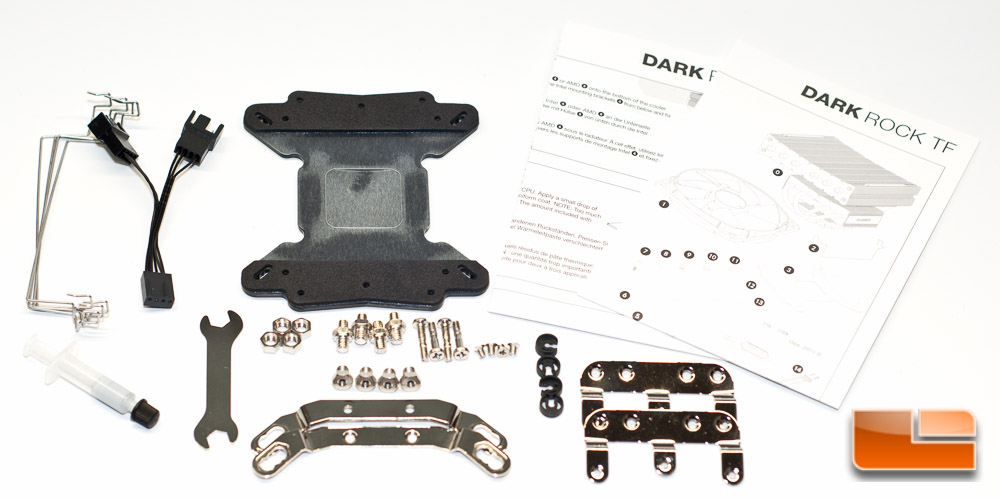
The hardware was inside a box, wedged between the two cooling stacks. Inside the box you’ll find hardware for mounting to both Intel and AMD setups, going back several generations, making this a very versatile cooler.
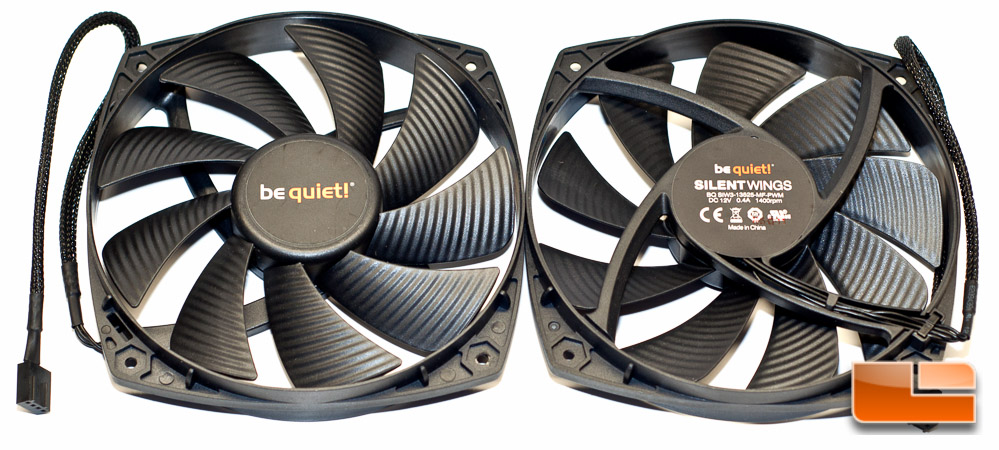
The included SilentWings fans are PWM controlled and have a braided cable, keeping them sleek looking. These fans measure 135 x 135 x 22 mm in size, spinning up to 1400 RPM, pushing up to 67.8 cfm @ 1.85 mmH2O.
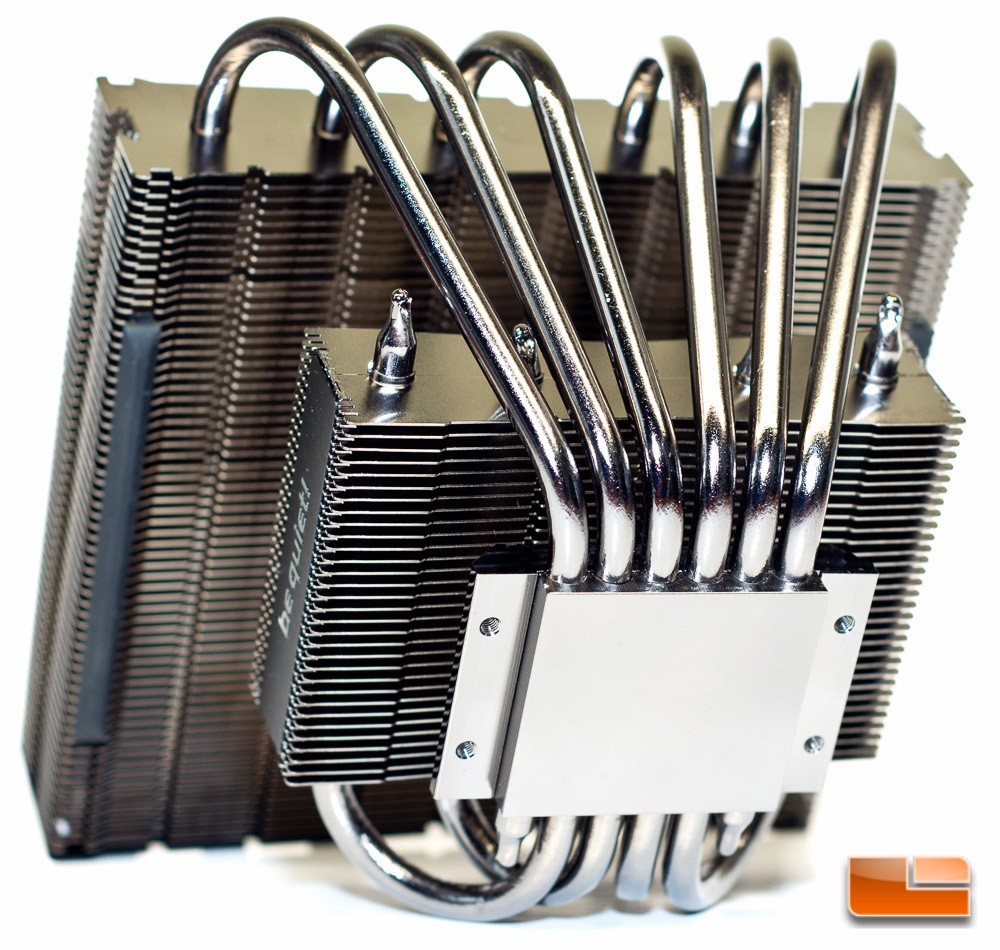
A first look at the cooler reveals how sleek it really is. The dark nickel plating makes the Dark Rock TF downright sexy. Once I pulled the cooler out of the box for the first time, I was stuck by its beauty.
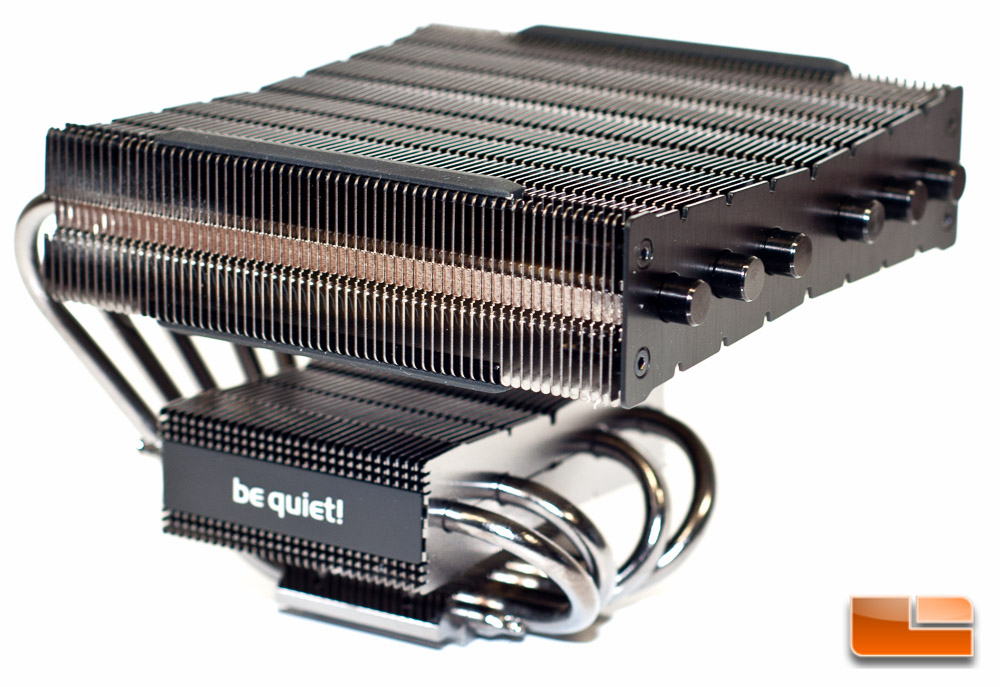
The ends of the heat pipes on the top stack are capped off, giving a significantly cleaner appearance.
From this next picture, you can see that the cold plate is pretty smooth and with no thermal paste pre-installed
However when we get much closer, you can see the machining on the cold plate.
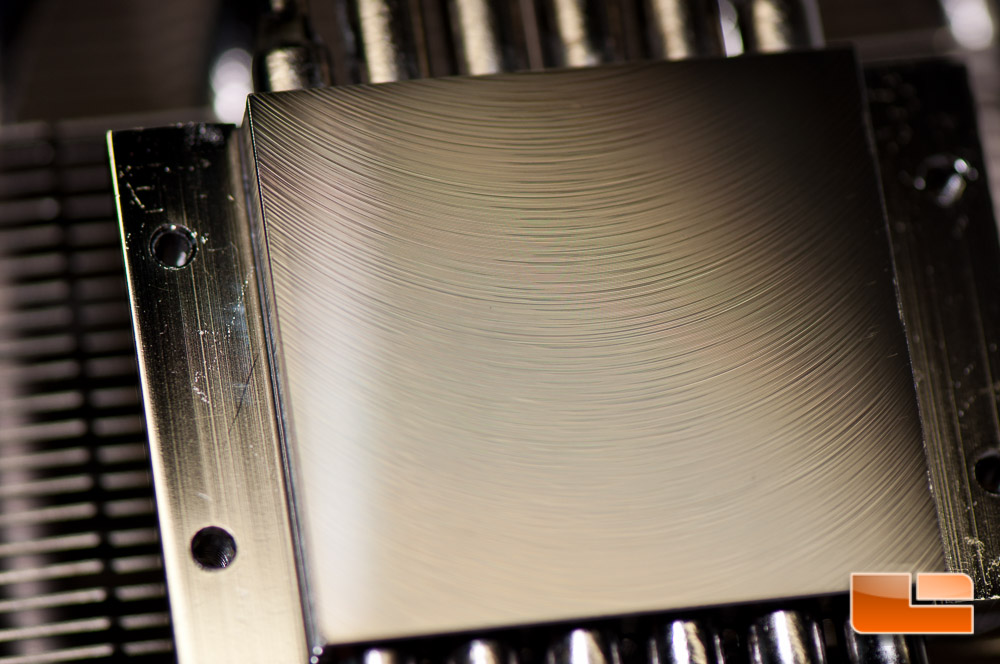
The cold plate is nickel-plated copper and is CNC machined, so it is not perfectly smooth, but darn close. Six 6mm heat pipes run through the cold plate and are not direct contact. Two of the pipes terminate right here, while the other four continue through from the top stack to the bottom stack.
If we look closely at the top of the cold plate, you’ll notice some fins located above. This you could almost consider a third stack, but I don’t think I would get too excited about it, as the fins are rather shallow and few in number.

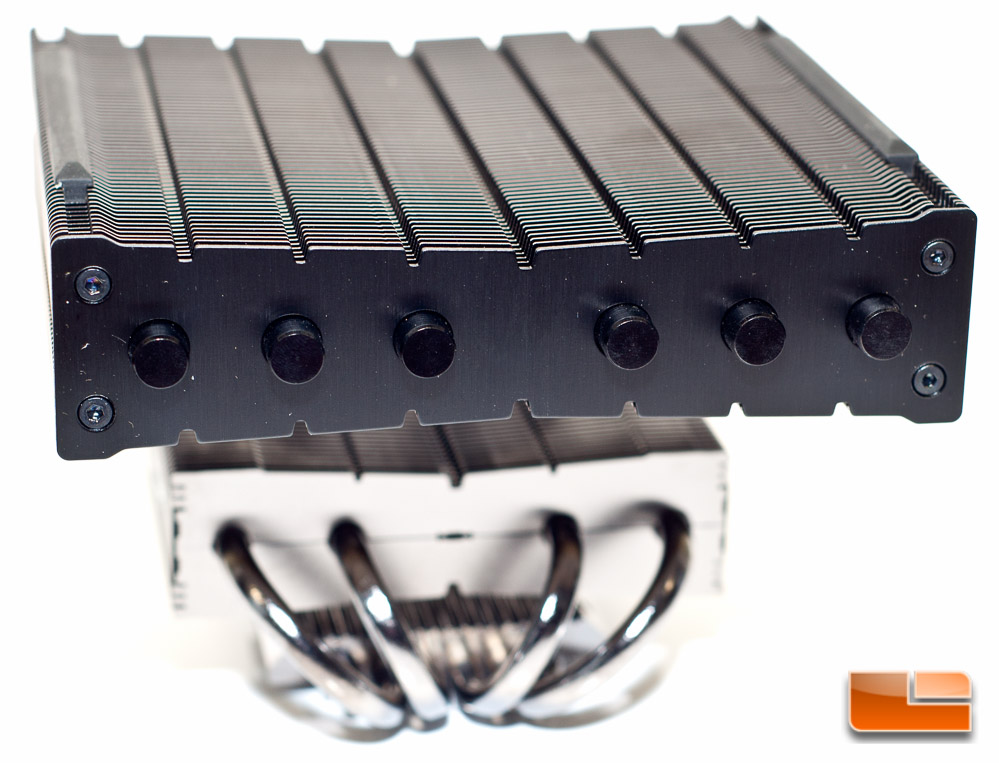
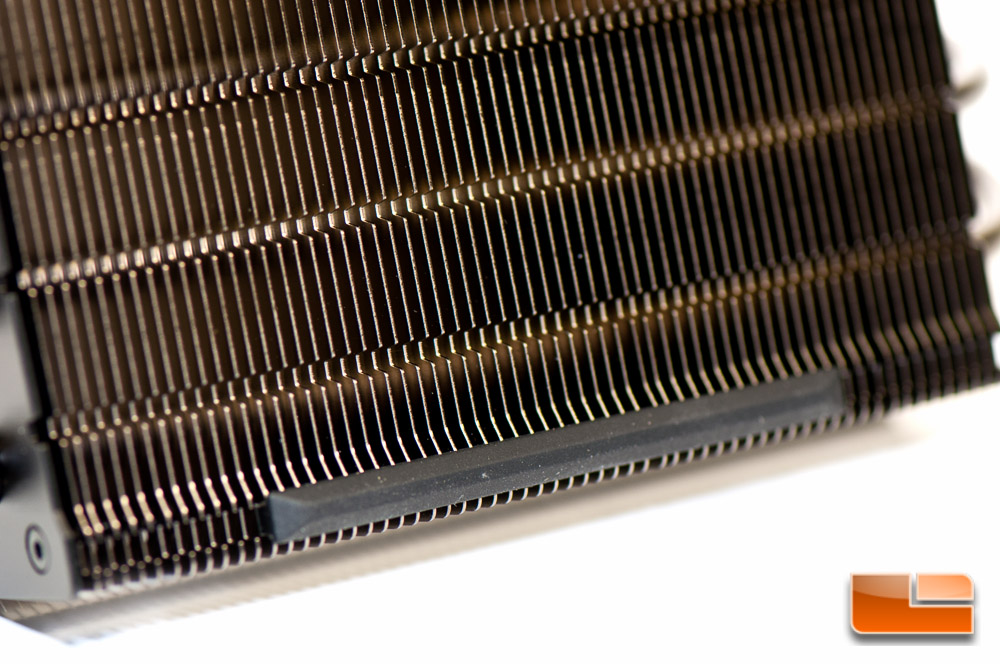
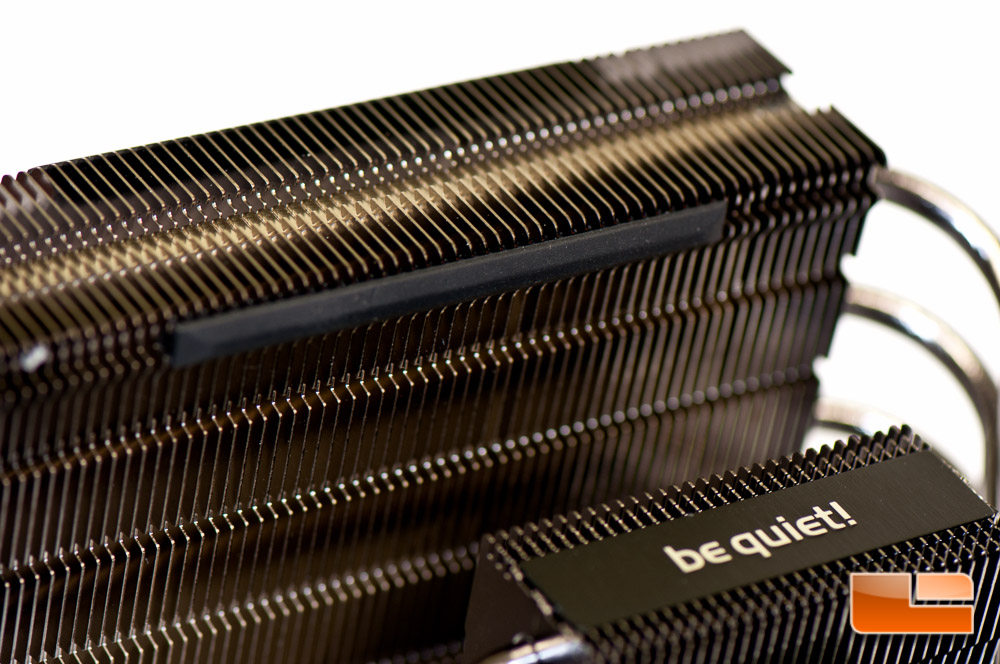
Taking a closer look at the top stack, you’ll notice rubber pads placed on the ends, both on top and bottom. These pads will further increase vibration reduction, helping keep this cooler as quiet as possible. Nice touch, be quiet!
The fans attach via a spring metal clip and can be slightly tricky to mount. I found it easiest to clip the bracket to the cooler stack first, then stretch the ends into the mounting holes on the fans. You’ll want to do this prep work prior to installing your cooler, otherwise you’ll be in for a headache.
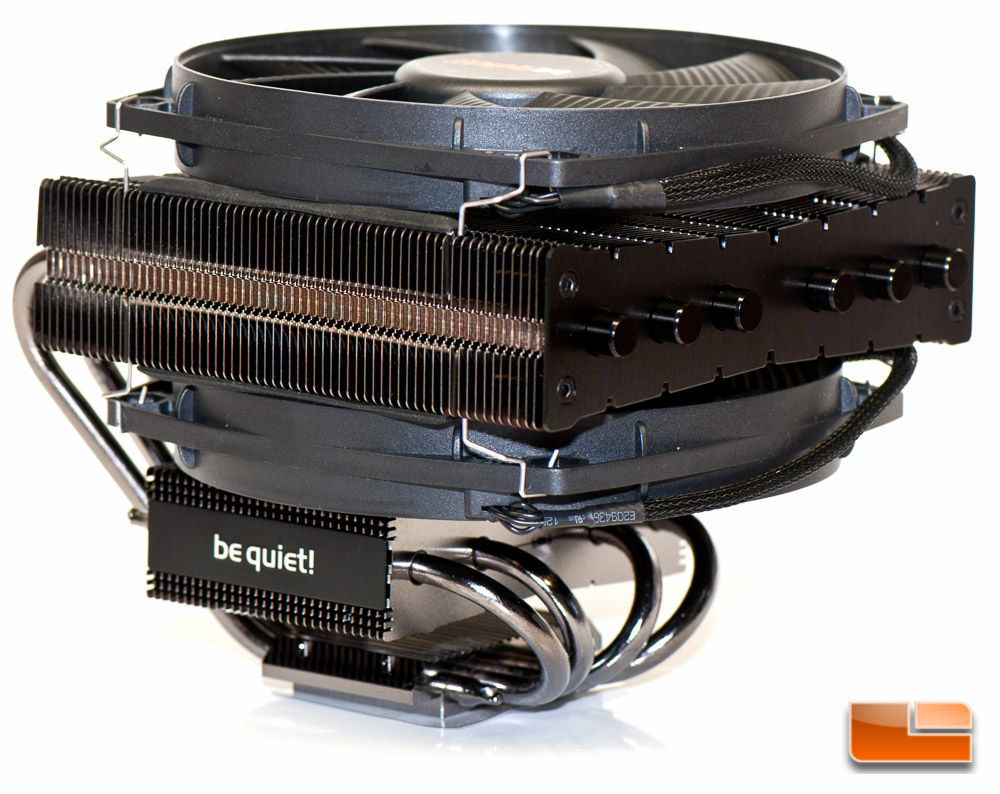
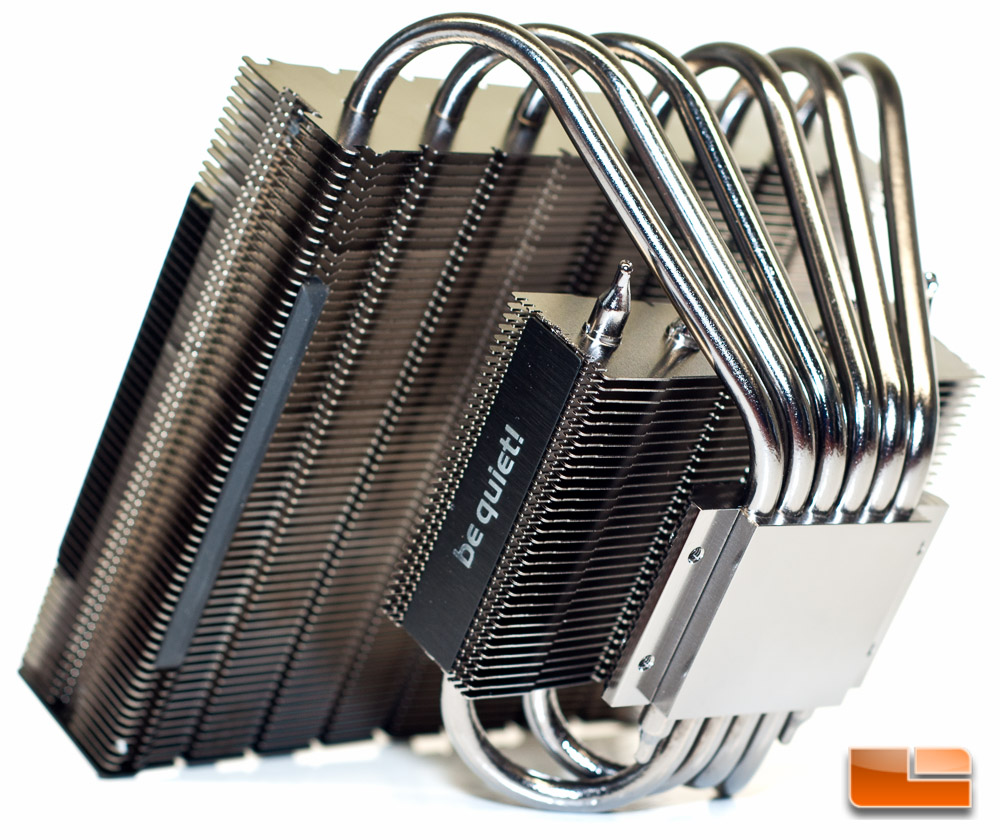
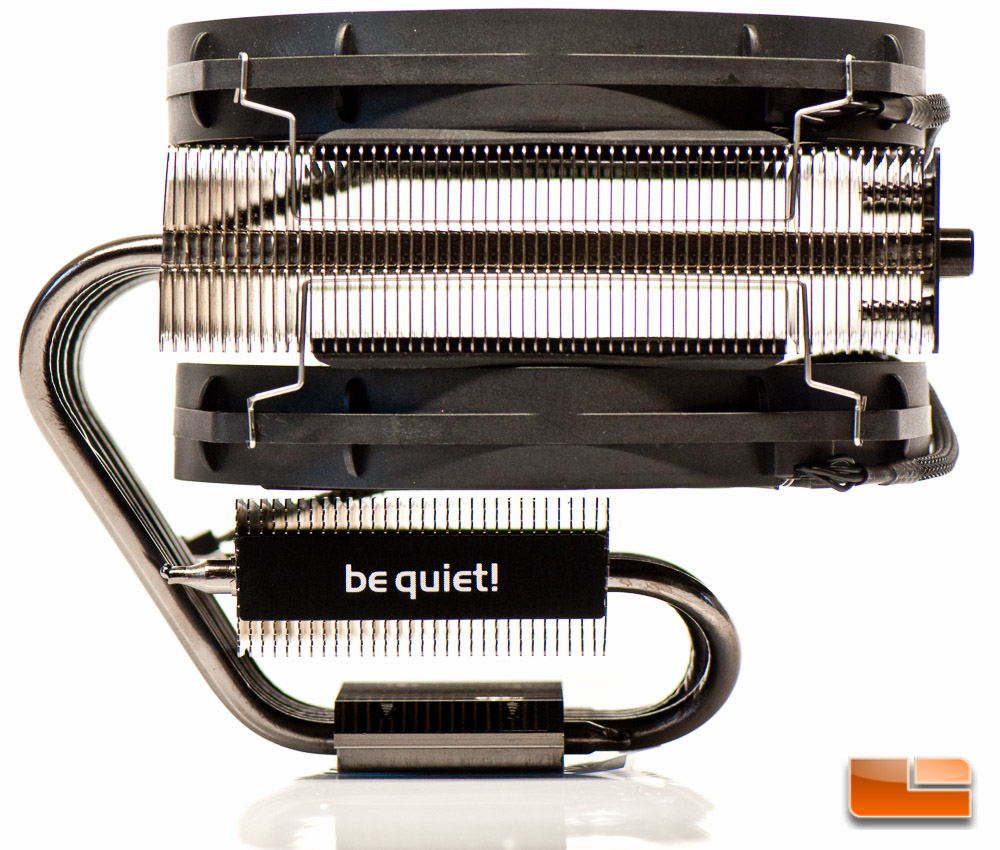
A side profile shot gives us a glimpse at the footprint of this cooler. The top stack overhangs the actual cooling surface a good amount, while the heat pipes on the right jut out quite a bit as well. This may be a problem when installing the cooler, so we’ll have to make sure we don’t run into any problems then.
This wraps up the introduction to the cooler and the packaging, so lets move on and see how easy this top flow cooler is to install!