NZXT Source 530 Full Tower Computer Case Review
Source 530 Hardware Installation
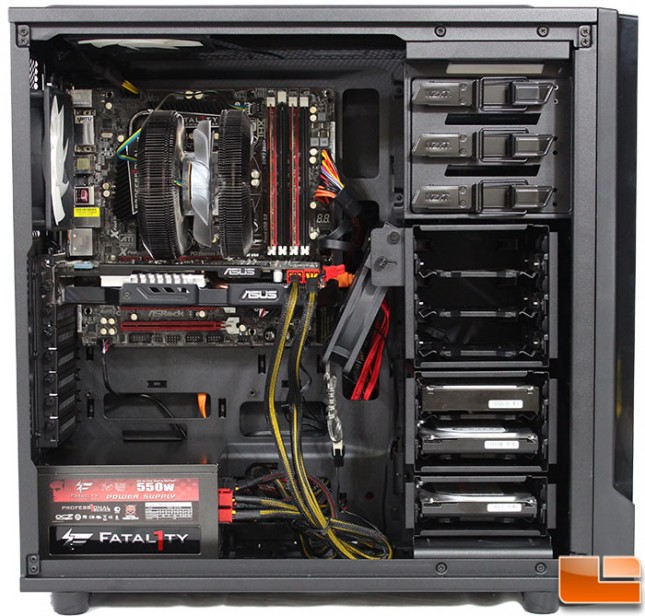
For the most part, building a system in the Source 530 was a breeze. A 5.25″ device slides into place without any resistance and is well secured using the tool-less clips. I was concerned about the motherboard tray being lowered a little, however with the front edge being sloped it made installing the SATA cables a breeze; removing the 3.5″ drive chassis wasn’t necessary to connect the cables.
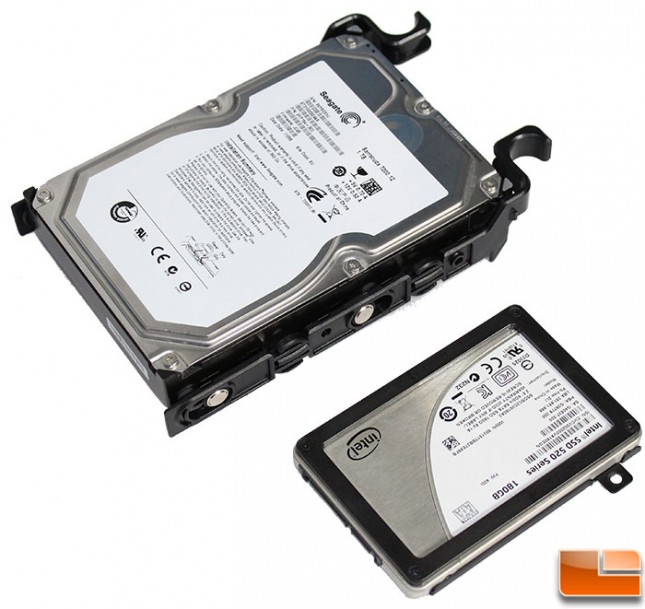
3.5″ drive install onto the tray by either slightly bending the tray, or pulling the pins out a little. Each of the trays can support either a 2.5″ or 3.5″ drive, while the little drive tray on the back of the motherboard tray only supports 2.5″ drives. In all instances 2.5″ drives require the use of screws.
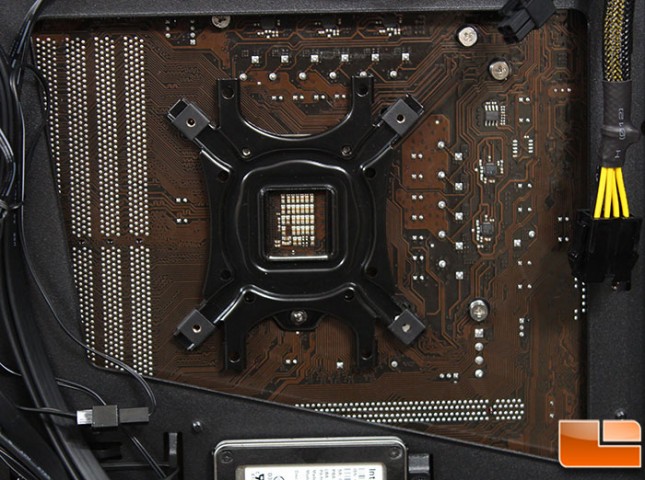
Every motherboard places the CPU in generally the same location, however slight variances happen. I can understand how difficult it is for case manufacturers to ensure the CPU cooler cutout supports the widest range of motherboards. NZXT made the cutout almost as large as possible, as such installing the CPU cooler after the motherboard is installed should not be a problem. Here I was able to access every part of the Zalman CNPS-9900 support bracket.
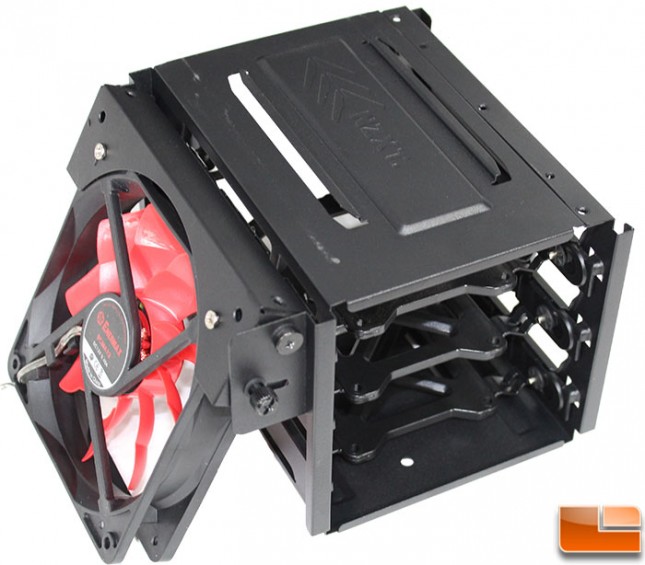
The largest 3.5″ drive chassis includes that positional fan bracket. Installing an Enermax Magma 120mm fan was easy, two fan screws (not supplied with the Source 530), and the fan is attached. Once it inside the case, it can be positioned and the thumbscrew tightened.
If installing a 200mm fan in the front, NZXT has included four long screws. However, if you wish to install 120mm or 140mm fans in the front, you need to use case fan screws to connect the fans to the case. Not a big deal. Except you have to remove the 3.5″ drive chassis’s and secure the fans from the inside. Some long screws for 120mm or 140mm fans would have been preferable.