NZXT Noctis 450 Mid-Tower Case Review
Noctis 450 Hardware Installation
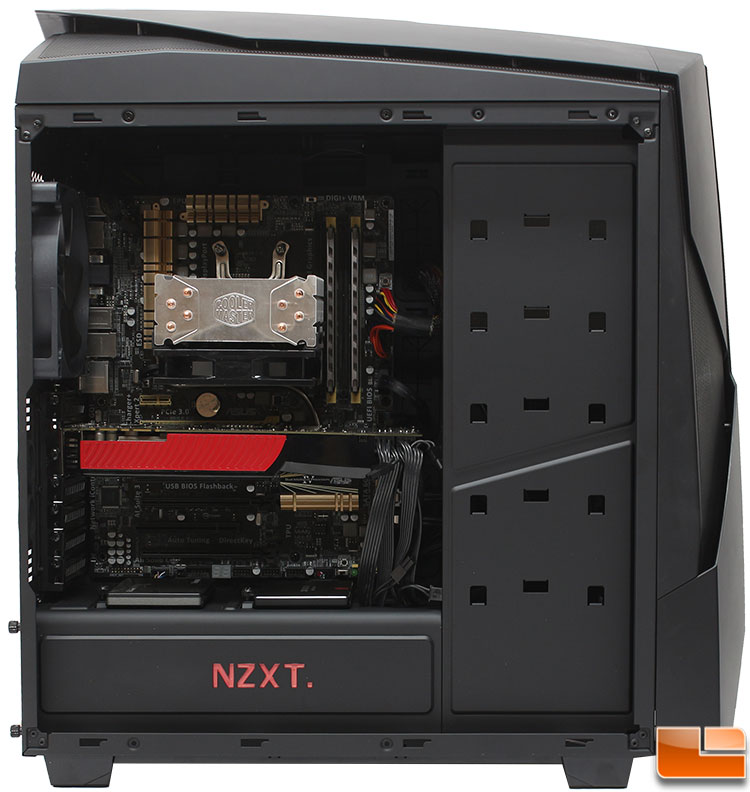
With everything installed into the Noctis 450, we can now take a step back and see how everything goes together in building a system within the Noctis 450. First, if you are familiar with the NZXT H440 series, then building a system into the Noctis 450 won’t cause any surprises. For the most part, everything gets installed exactly as you would expect. NZXT has pre-installed the motherboard standoffs making that go quickly and smoothly.
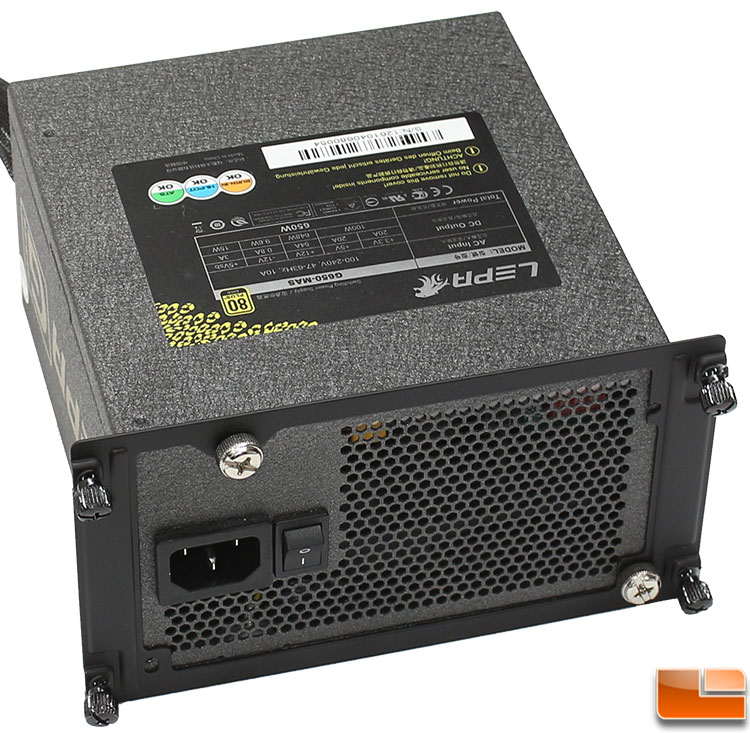
As the power supply is installed through the back of the case, we first attach the bracket to the power supply. Then slide the power supply into the case. The bracket and power supply is secured to the case using four thumbscrews that are attached to the bracket. The Lepa G power supply used in this build is semi-modular, the main 24-pin and 8-pin power cables are attached, however everything else is modular. It can be a little difficult, but not impossible, to attach modular cables after the power supply is in position. Whenever possible, install the modular cables prior to installing the power supply.
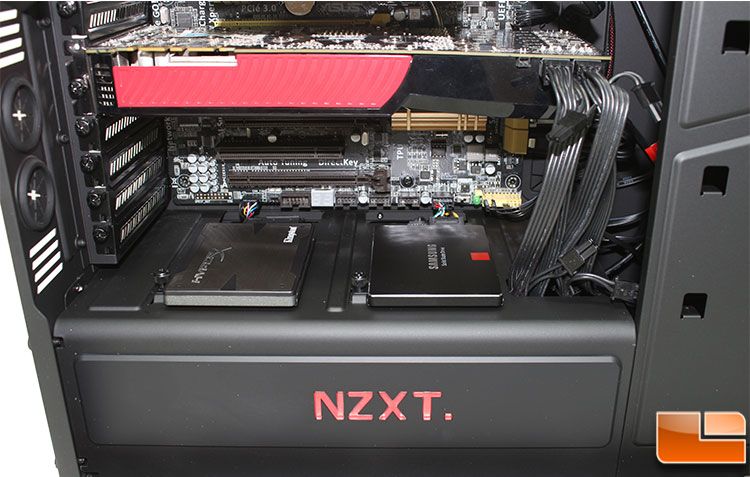
The two 2.5″ SSD’s are secured to the trays with four screws, and then secured to the power supply shroud with a thumbscrew making the entire process quick. As with the H440 series, there is a little gotcha with the SSD’s; they are resting pretty close to the power supply shroud making power and right angle SATA cables difficult to use. My suggestion would be to use a Molex to SATA power adapter or a SATA power connector at the end of the cable. Power connectors in the middle might pose a bit of a space issues. For the SATA data connection, just get a straight SATA cable, rather than a right angle connector and you’ll be good to go.

Like the 2.5″ drives, the 3.5″ drive trays use four screws to attach the drive to them. Then as you might expect, the tray is attached to the case with thumbscrews.
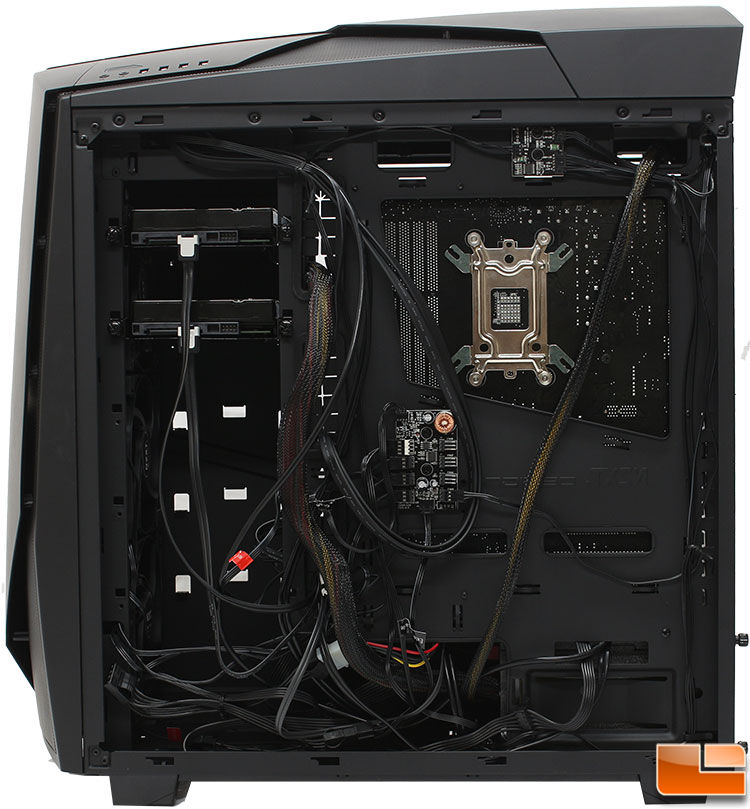
After doing very little cable management clean-up, the cables are in a decent positions. Most of the cables go into a decent path naturally, there are plenty of places to secure them to case if you wish. Even without doing any major cable management, the back cover slides into place without any issues. There is one small issue that I wasn’t entirely happy with the cable routing, the 8-pin motherboard power cable, it is fairly tight to get it connected, a slightly longer cable would be nice, but that’s not NZXT’s issue, that’s an issue with the power supply. As always, a simple extender would solve that and allow me to route the cable into a better position, if I was concerned about showing off the cable management.
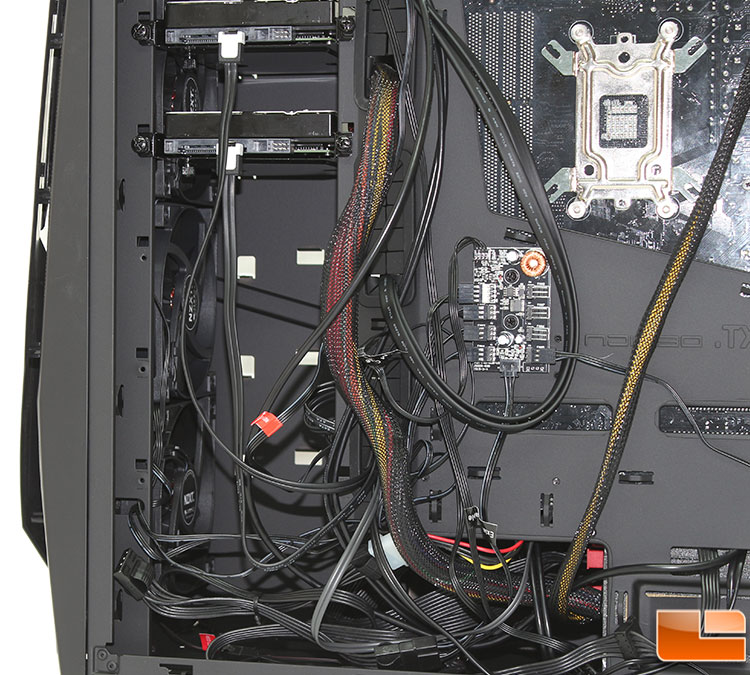
At the bottom of the case is a large area for your extra cables, this is hidden from the front view with the power supply shroud so you don’t really have to be too concerned with tidiness. But keeping them clean and organized will help with airflow. If you look closely, you can see the red PCI-E modular connector for the power supply. This is where the end of the power supply, and why you can install the modular cables after the power supply is installed, it just takes a little time and effort.
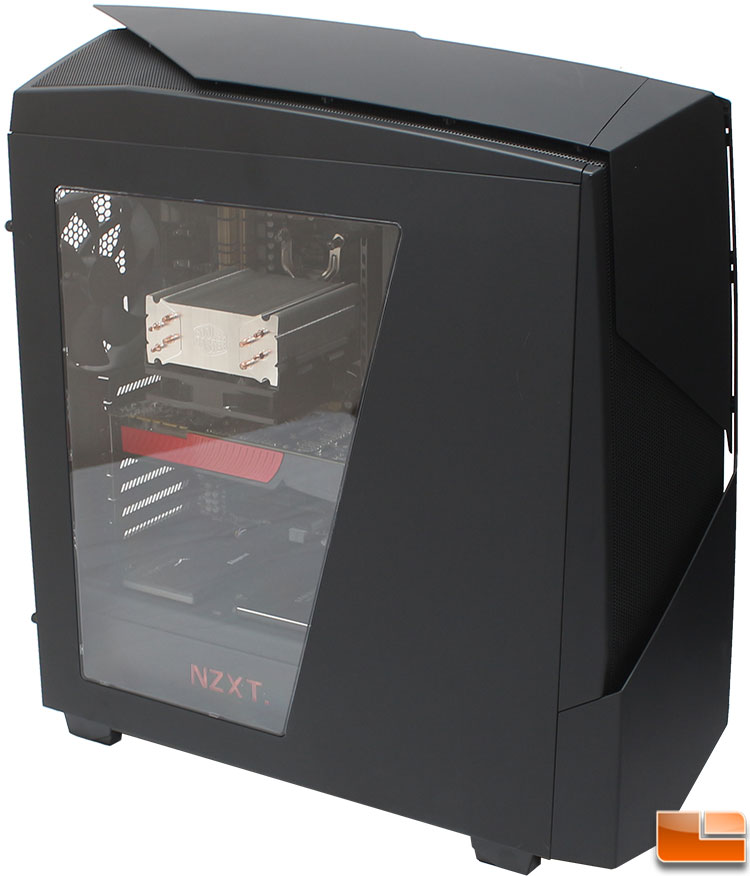
With the system fully assembled, the side panels go into place without any issues. The window provides a nice view of the system components, and hides the boring 3.5″ drive solid panel. The NZXT logo will look great through the side panel once the LED’s are turned on.
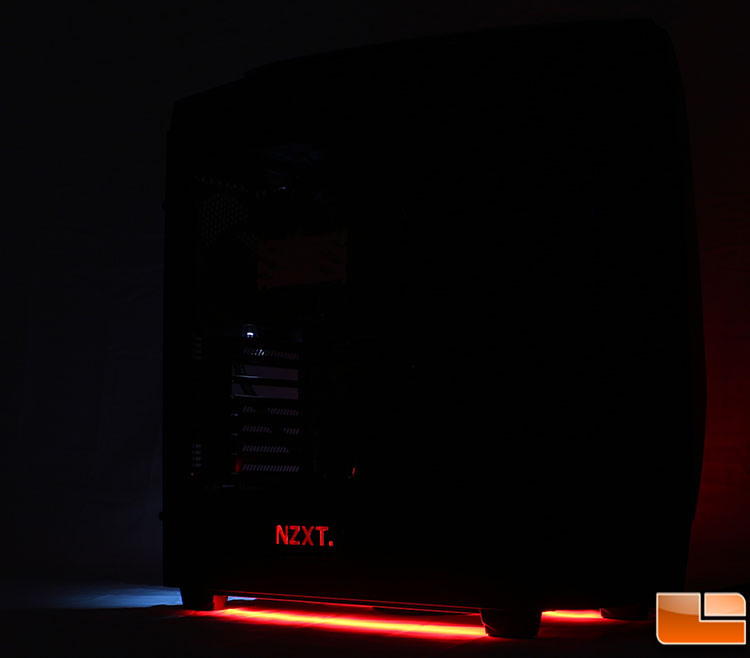
As the system is powered on, we can hear the familiar spinning of the included fans. The little button on the back of the case provides five modes for the lighting effects.
| NZXT Noctis 450 Lighting Modes | |
| 1 | Offf |
| 2 | All Lights On |
| 3 | Rear Light off, Logo and Bottom Lights Full |
| 4 | Rear Light off, Logo on Full, Bottom Lights Dim |
| 5 | Rear Light off, Logo on Full, Bottom Lights Off |
A few other options or effects would be nice to have on the next generation, maybe a pulse effect. If your PC is in an area where you are sleeping, you will appreciate the option to have certain lights on and others off.