Corsair Carbide Air 240 mATX Case Review
Carbide Air 240 External Impressions

The Corsair Carbide Air 250 is available in Arctic White and Black models, supporting Micro ATX and Mini ITX motherboards, it is a rather small case. The dimensions of the case is 397mm x 260mm x 320mm (L x W x H) or 15.6in x 10.2in x 12.6in (L x W x H), and weighs just 5.6kg (12.35lbs) empty.

Looking at the front of the Air 240, half of it is mostly mesh wire, while the other half is solid. Looking through the wire mesh, we can see the two intake fans. On the solid half, the front I/O cluster is located. This cluster includes a reset button, hard disk activity LED, power button, microphone/headphone jacks and two USB SuperSpeed 3.0 ports.
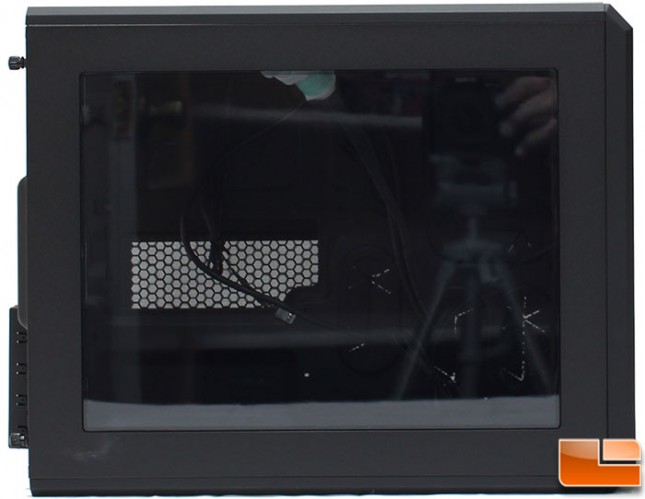
The left side panel features a large window into the case, and measures 12in x 9in (L x H). Once the components are installed, this window will provide a nice view of the completed system.

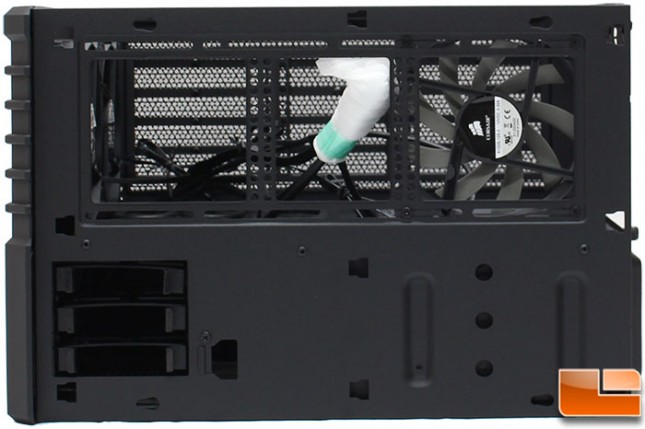
The back panel is pretty basic with everything we would expect to see. On the right half, we find the motherboard I/O port key, with four vented expansion slot covers, and two 80mm fans. On the left side, there is a large vented cover that is held in place with a single thumbscrew, and the power supply, which will be placed on its side, pulling fresh air in through the side panel.
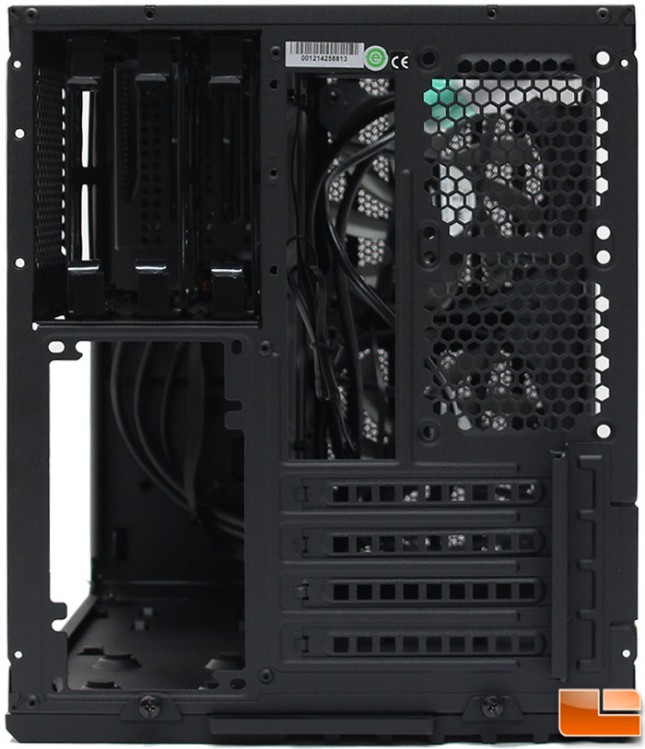
Removing that cover above the power supply, we find three 3.5″ hard drive trays. This should make it easy to access them, however the side panel still needs to be removed in order to disconnect the cables. So, two panels are removed to swap hard drives. Had Corsair installed a backplane for the hard drives to slide into, it would have made it easier to swap drives. In addition, there is no lock on the cover, so if you go to a LAN party with the Air 240, somebody could quickly take the drives out and walk away.
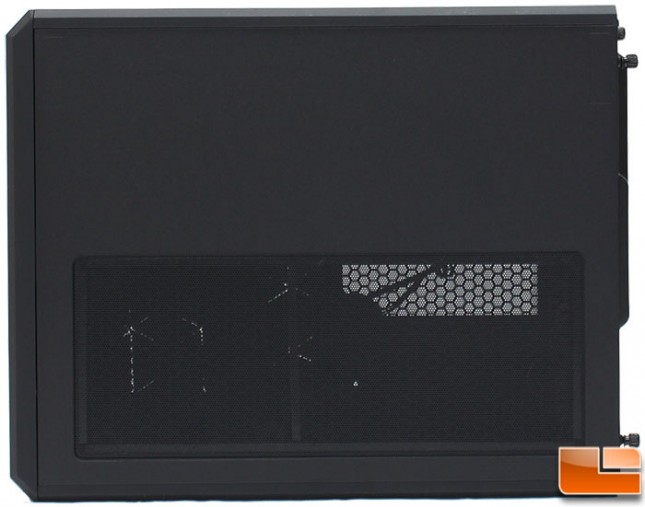
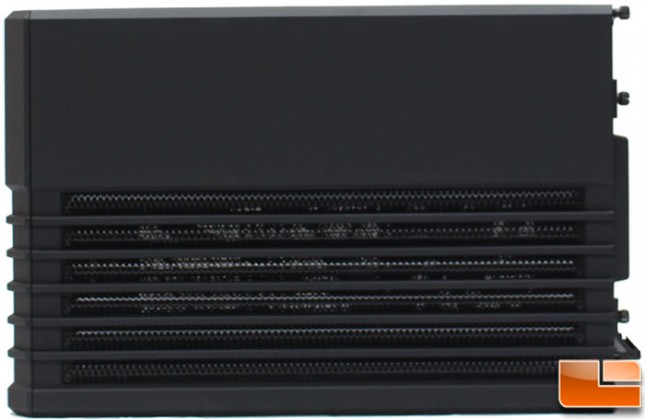
While the main side panel has a large window, the right hand side panel is half solid, and half vented. Previously we mentioned the power supply draws air through the side panel, and this confirms it. The other half of the vented area can be used to install a 120mm fan or small liquid cooling radiator.
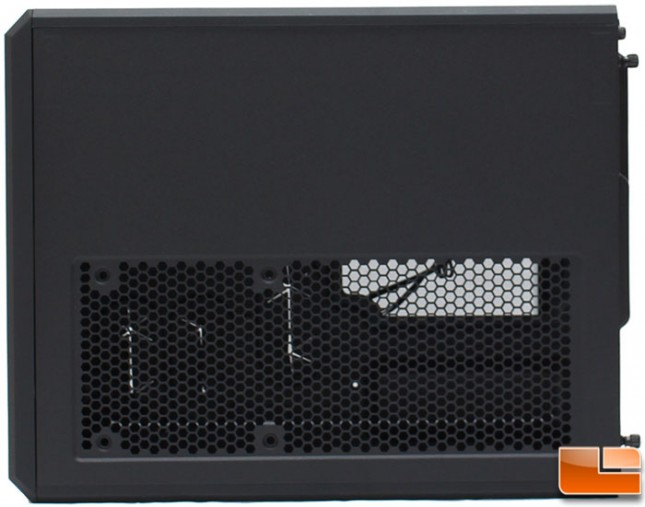
The filter on the side panel is extremely easy to remove as it is held in place with magnets.

The top panel, is once again half vented and half solid, like the front panel. The vented half, Corsair includes one 120mm fan, and there is room for a second fan to be installed.
The top panel is held in place with a thumbscrew on the back panel, then it slides off. With the top panel off, we can see the large amount of room for the second 120mm fan, with plenty of empty space left over. On the other half, which was under the solid portion of the top panel we find the three 2.5″ hard drive trays. Like the 3.5″ trays on the back panel, we have to remove two panels in order to change the 2.5″ drives.
The bottom panel looks almost identical to the top panel. There are no feet pre-installed on the Carbide Air 240, Corsair included those in its accessory pack, should they be installed, there are no markings where the feet should go.