Building Your Own Computer (DIY) Guide
Installing The Processor
Now that the hard drive is installed we can move on and get the motherboard ready to install. The first thing we are going to do is install the processor. Picking up the motherboard the first thing you need to find is the processor socket. This is easily located as it has a big yellow warning sticker on it about installing your processor.

The first thing to do is to remove the cover off the processor socket and then open the lever by pressing it down, pulling it out, then lifting it straight up.
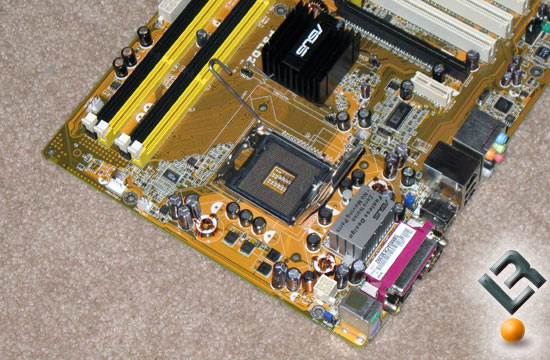
With the lever open lift open the bracket the covers the processor socket, but be careful not to touch any pins with your finger tips. When the socket looks like the above image you are ready to drop the CPU into place.

Gently pick up the Intel Pentium D processor and lower it into the CPU socket. The processor will only fit one direction so be sure to line up the notches on the processors with the socket. Once the processor is sitting in the socket it should be perfectly flat. If it is angled weird or one side is higher than the other stop now and re-align the processor in the socket.
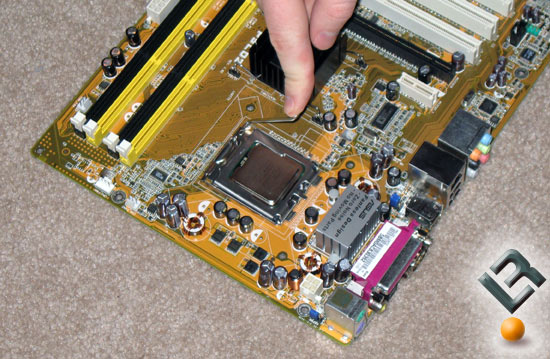
Once you are certain that the processor is correctly placed into the socket place the bracket back over the processor and then gently, but firmly press the lever back down to the board locking it in place. There will be slight tension when pressing the lever down as the processor is being mashed down into the pins.
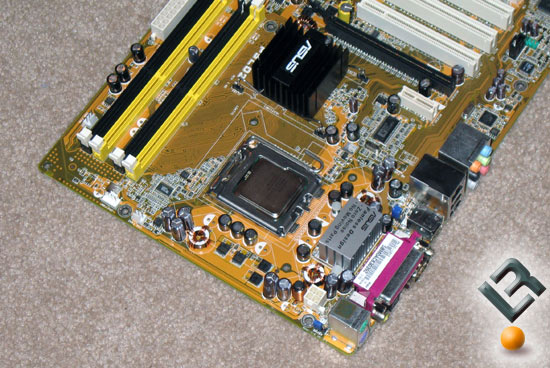
With the processor locked down it should look like the image above. Now we are ready to install the reference heat sink fan onto our system.
Comments are closed.