V3 Components Voltair TEC CPU Cooler Review
Installing the V3 Voltair TEC CPU Cooler
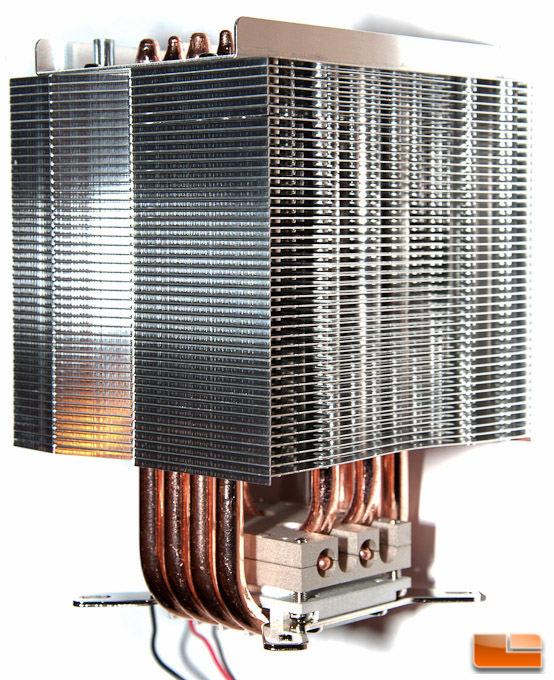
The V3 Voltair is a very intimidating cooler, based on its size, and may look like a tough install. Let’s dive in and see how easy or difficult it is installing this cooler.
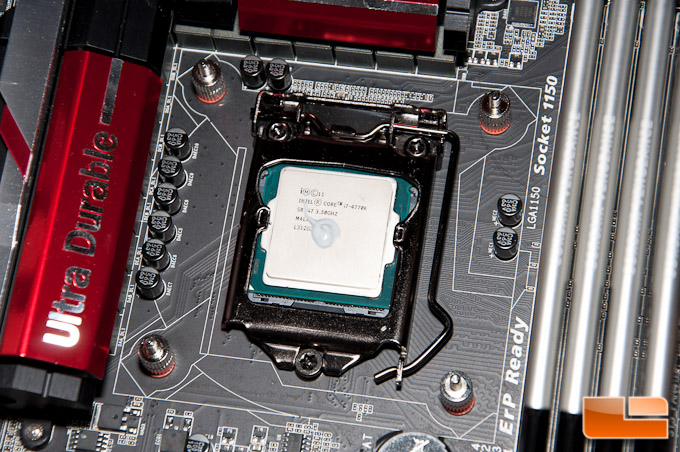
As always, when working with a new cooler, you’ll need to make sure your CPU is cleaned off with rubbing alcohol and a lint free cloth. You don’t want any of the old junk on there of you could affect cooling performance.
Browsing through the instructions, V3 recommends dropping your dab of thermal paste on your CPU right away, but I’m very much against this due to runny pastes and I waited until I was truly ready. I skipped ahead of their instructions and installed the mounting plates to the bottom of the cooler for my Intel CPU. These are held on by two screws each and they are very easy to install.
Putting on the back plate should be your next step. This is a little tricky to get right by eyeballing it for Intel sockets, but the instructions do indicate what holes are for what if you’re having troubles. The appropriate side of the plate for your CPU will have black plastic adhered to it this will go against your motherboard.
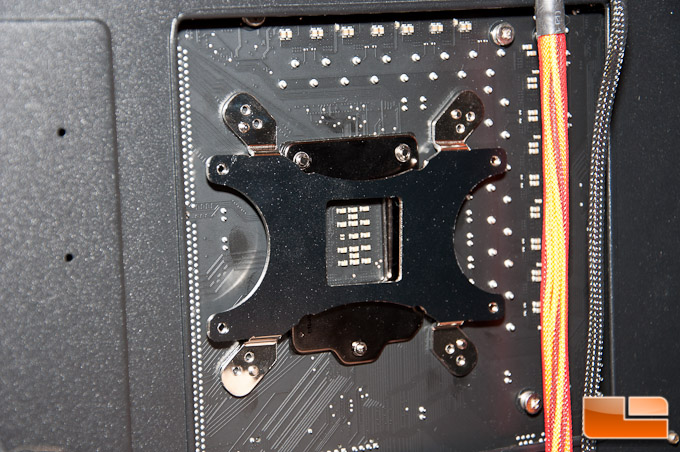
You will secure the plate in place with some paper washers and standoffs. My below picture shows you these standoffs, plus a slight skip ahead with my application of the thermal paste.
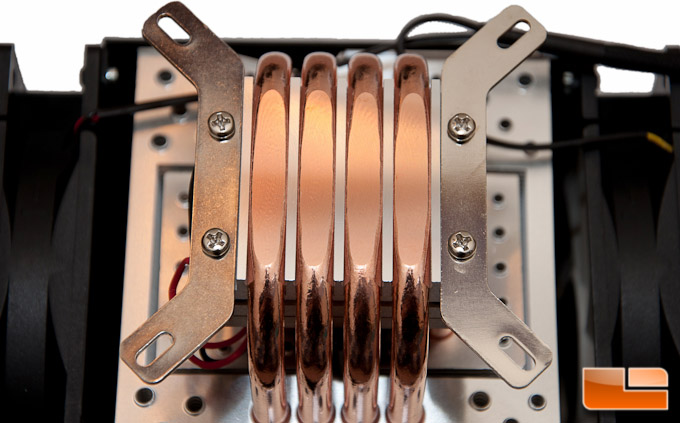
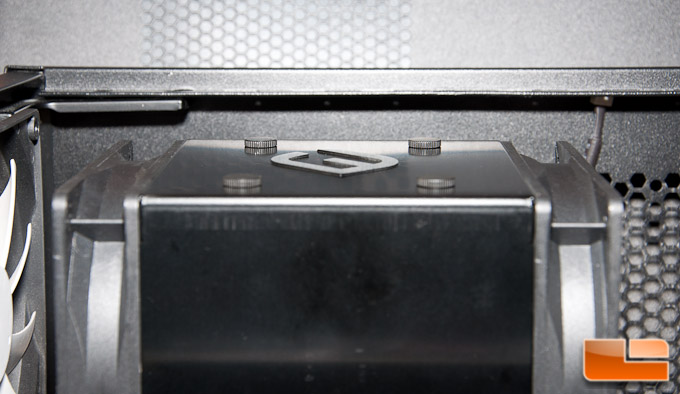
Next up, I strongly recommend removing the shroud that fits over the heat sink. The instructions more or less ask you to do this later on, but it’s a hassle when the fan wires like to work their way into the cooling fins, making it difficult to lift up. You do this by unscrewing the four flat thumbscrews located on the top of the cooler, next to the giant V3 logo.
Now is the time you can install the fan controller, should you decide to use it. I opted to skip it, as it felt funky inside my case and the fans will be maxed out by the motherboard anyway. This is more than adequate to me because these fans aren’t going to be obnoxiously loud to me.
Before you can drop in your shroud-less Voltair cooler, you’ll want to put a pea-sized dab of thermal paste on your CPU. Once you squeeze this stuff out of the syringe, you’ll understand why I chose to wait as it is quite a bit runnier than other pastes.
Dropping in the cooler was a piece of cake, but I highly recommend removing all of your RAM modules first. The holes on the plates you attached lined up perfectly with the standoffs and you can secure it with the included thumb screws. You’ll tighten these in a crisscross pattern, so going in an X, to apply even pressure and squeeze the paste properly.
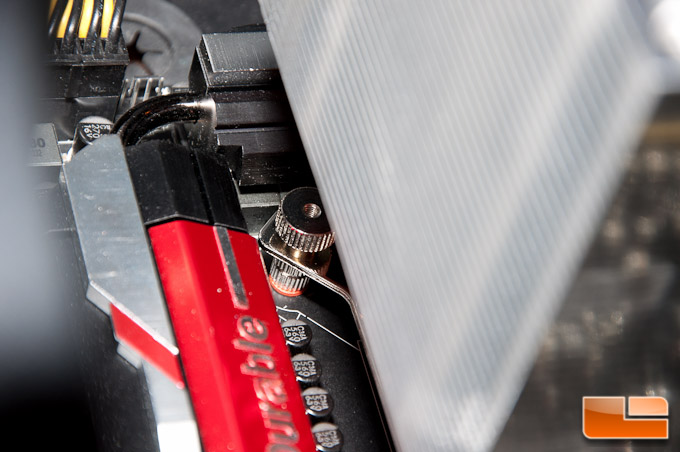
Three of the four thumb screws were pretty easy for me to get at, but the fourth one by the MOSFET cooler was a royal pain. I had to use some ninja finger moves to tighten that thumb screw, but I got it fully tightened. See the below picture of my pain.
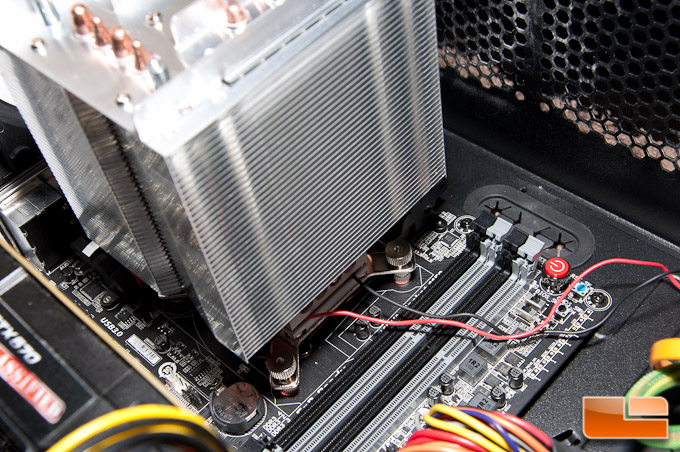
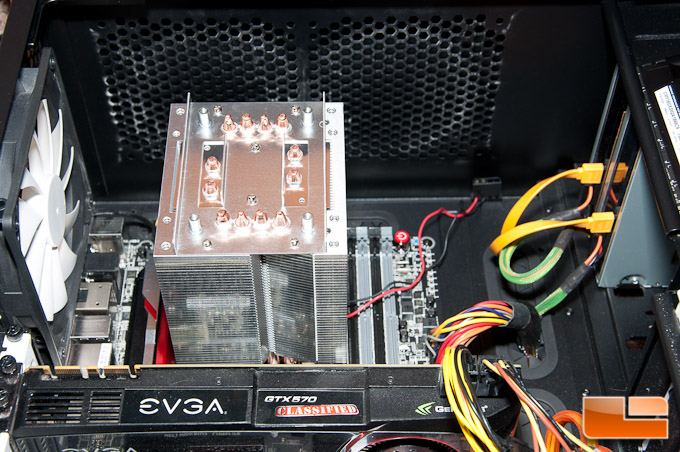
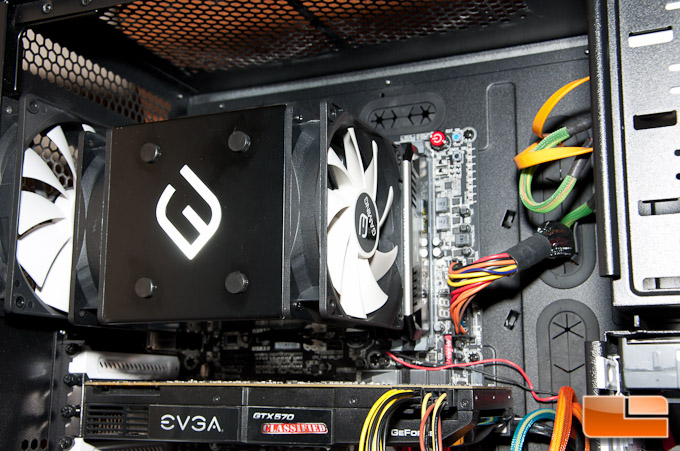
This is a shot of the cooler installed, but still without the shroud. I recommend reinstalling your RAM modules at this point, as the shroud will cover them when you reinstall it.
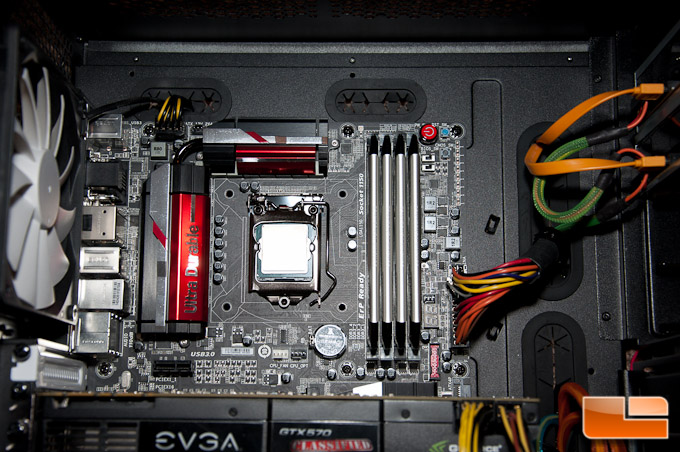
A quick near side profile shot shows how tall the Voltair is inside my NZXT Define XL R2 chassis, leaving me with only a little room to spare.
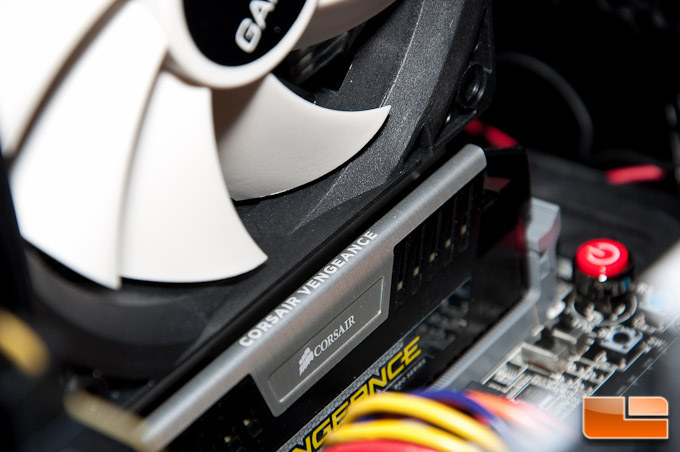
Speaking of only a little room to spare Once I reinstalled my RAM and the shroud, I was amazed with the tiny bit of clearance I had between my Corsair Vengeance Pro RAM and the Voltair cooling fan. Yikes! Fortunately the Vengeance Pro RAM is on the taller side of RAM, but I know there are taller yet. The majority out there should not have an issue, as V3 specifically designed this cooler around tall RAM modules. For your reference, the RAM used here measures approximately 44.45mm tall.
Here’s one final shot of the Voltair all installed inside my system.
I must note that when I fired this up, the fans were not loud to me by any means; I’ve got noisier fans on other computers. Should you not like the noise level produced by these when just hooking up to a fan header on your motherboard, you can install the fan controller for precise control. Don’t get me wrong here, they are fairly noisy when they’re running at 1800 RPM, but it’s a hum you can ignore or basically tune out if you’re using headphones.
Let’s move onto the testing, as we know that’s what everyone is here for. We’ll compare it to the various liquid CPU coolers that we’ve tested in the past, see how well it works with an overclock to 4.3GHz on a i7-4770k, and see what happens if the TEC plate were to fail on you. Before we get into the tests, click the next page to see what we’ve got in our system.