ThermalRock Circle Full Tower Case
The Looks
Inside the case there is a box that contains drive rails, a manual and 4 red
CD-Rs for the front of the case. There are three styles of drive rails,
6 CD-ROM, 5 Hard Drive and 2 Floppy Drive rails. The box also includes a key
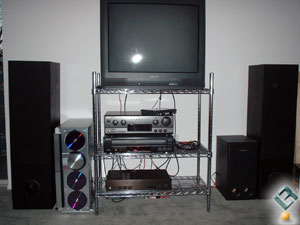
for locking the case door. I decided to test fit my case with my home theater
and I must say it looked good and like it belonged. The styling did not match
what I already have on the plus side it does not look like a computer case either.
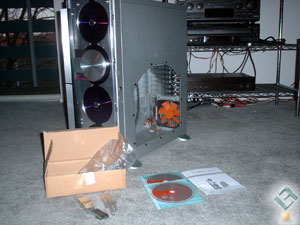
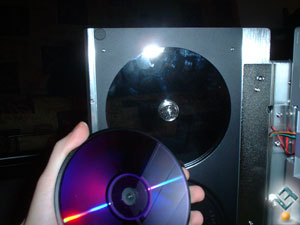
I swapped out the purple CD-Rs for the red ones because I find that
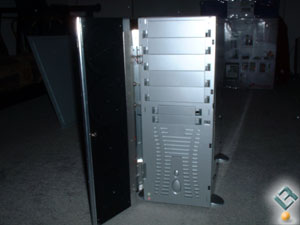
they look better, though thats my taste. Opening up the case door you
can see the five exposed 5.25 drives and the two 3.5 bays. Also
visible is the front grill which actual allows for some air flow. The front
door to the ThermalRock Circle is raised off the front bezel allowing for air
to come in from the top and bottom as well as a gap in the bezel its
self.
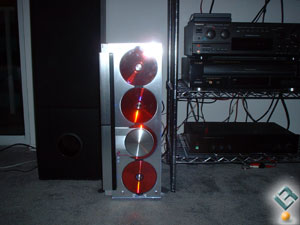
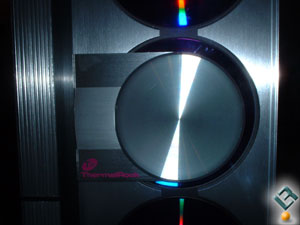
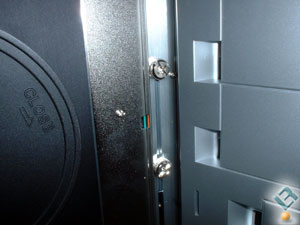
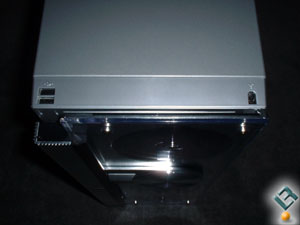
Sadly the cool looking arm on the front of the case is not able to read CDs
but who knows it could happen in the future?. With the front door open there
are two thumb screws that hold the arm in place loosening the screws allows
you to adjust it from the top position to the bottom position.
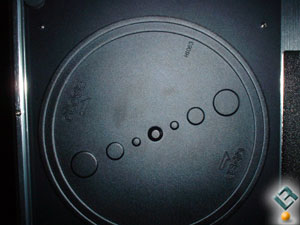
Spinning the black disks on the back of the door reveals the CD holder. Not
much really to say about this because I dont think its all that
functional more of an eye candy thing really. It is a decent design and I had
no problem loading in the red disks and screwing back on the black covers.
On the top of the case are two USB ports and a firewire port. I am very glad
that ThermalRock put them on the outside of the case rather than behind the
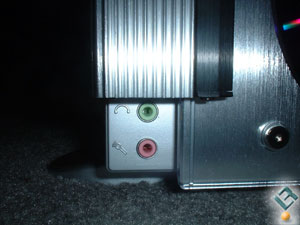
door as this makes them far more functional. In the bottom left corner of the
front bezel are the headphone and microphone jacks. This time around I am not
thrilled with the placement. This case is large and heavy so there is almost
no chance that it will ever be on a desk where the ports are actually accessible.
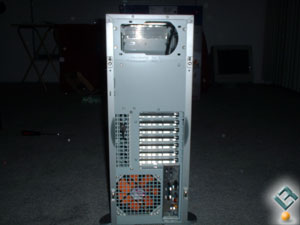
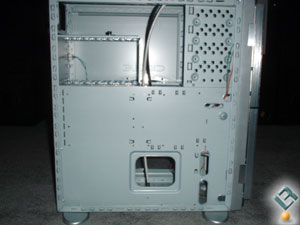
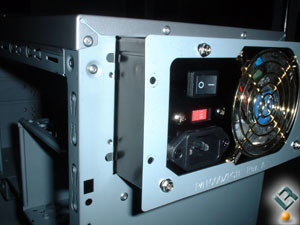
The back of the case is simple and has a spot for the power supply at the top
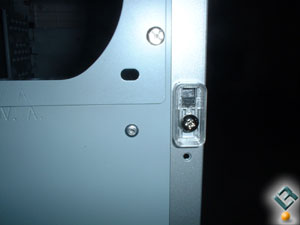
with a large 120mm fan grill on the exhaust. The only thing of real note is
the side panel locking system. Four plastic latches held down with screws snap
into place locking or unlocking the side panels. While neat in concept I did
not find the latches to work all that well, luckily they do not detract from
the overall functionality or design of the case.
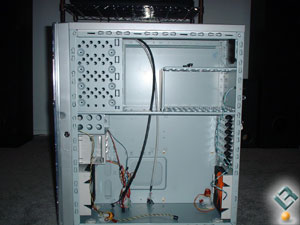
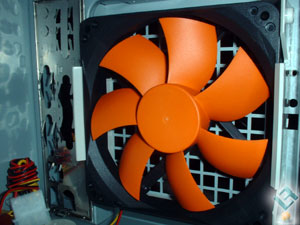
Inside the case you can see how much room there really is to work with. Up
to six hard drives can be mounted vertically below the power supply allowing
for the heat to be drawn up and out the back. You can also see that the motherboard
is mounted upside down allowing for the two 120mm fans to create decent air
flow over the cpu and heatsink.
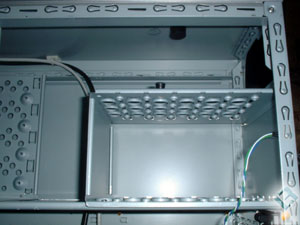
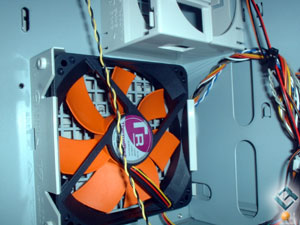
Here is a simple close up of the hard drive mounting cage and the extra 80mm
fan slot that could help cool the graphics cards and create some air flow above
the cpu region.
Here are the two fans that cool the system. They are very quiet I really dont
notice them, but then in my room anything under 45dB is quiet. The fans are
powered with two 4pin Molex connectors and have a separate tachometer wire that
connects to the motherboard.
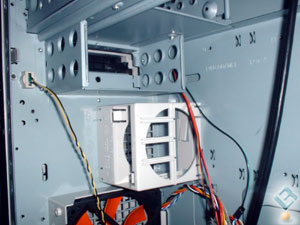
The last thing were going to look at before I start installing they system
is the tool-less PCI slots. The black clamps snap up allowing you to insert
the PCI card and then snap closed pushing down on the PCI cards tab holding
it firmly in place. Also shown is the power supply bracket that you can mount
the power supply to before attaching it to the case.

Comments are closed.