Sentey GS-6000 Optimus Mid Tower Case Review
Interior Thoughts
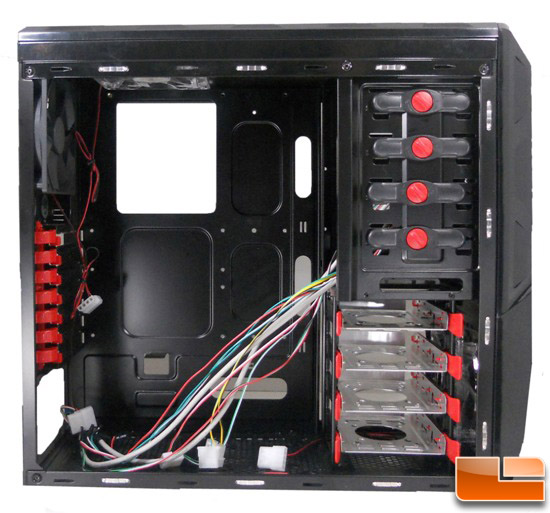
The Sentey Optimus GS-6000 has an interior to match the exterior. The black metal painted interior is matte. Although four fans are already installed for good airflow, three more can be installed at the bottom of the case. The non-screw features are easily detectable being in red plastic with the contrast of the black case. All case wires for the Optimus GS-6000 are easy to distinguish with colors.
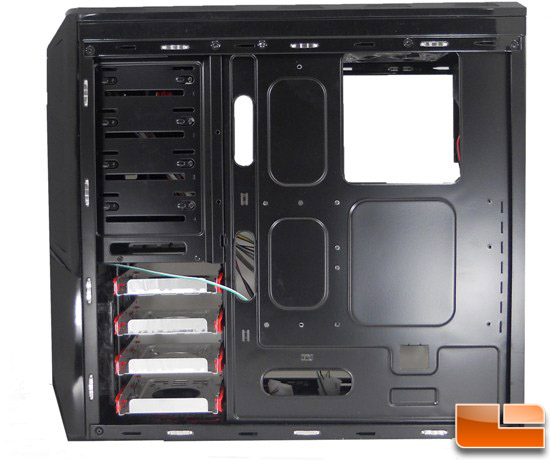
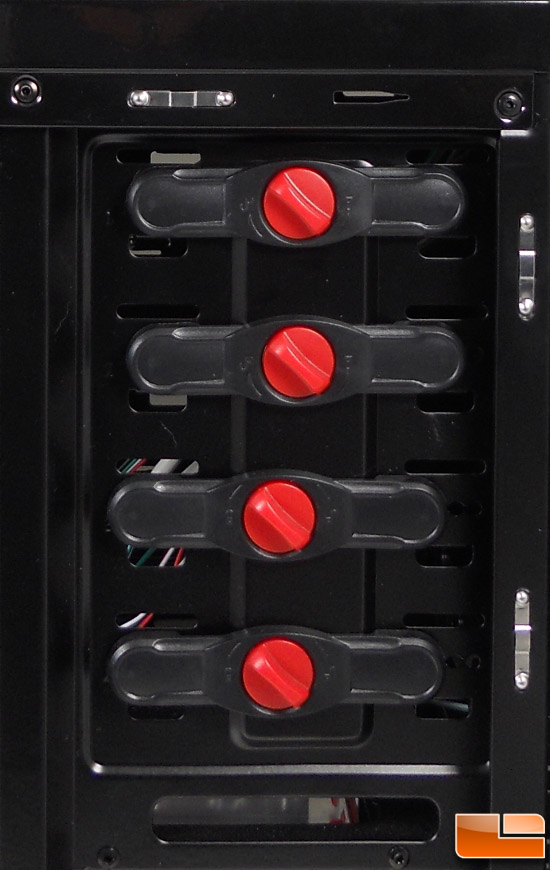
The alternate side of the case is an also well played out metal in black matte paint. The top drive bays prove to be completely a non screw installation. The bottom drive bays are easily contrast by being the only metal pieces not painted black. Four cute outs show up on the alternate side to make the Sentey Optimus GS-6000’s wire management easy. A fifth large cut out is installed for CPU cooling options. The case door also install back easily.
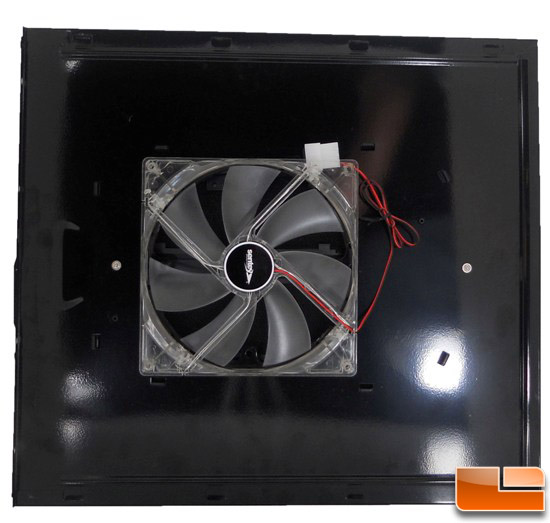
The primary side does have a 180mm LED fan. The fan connects with a conventional four pin Molex connector. This will help light up your tower as we will see in the next section.
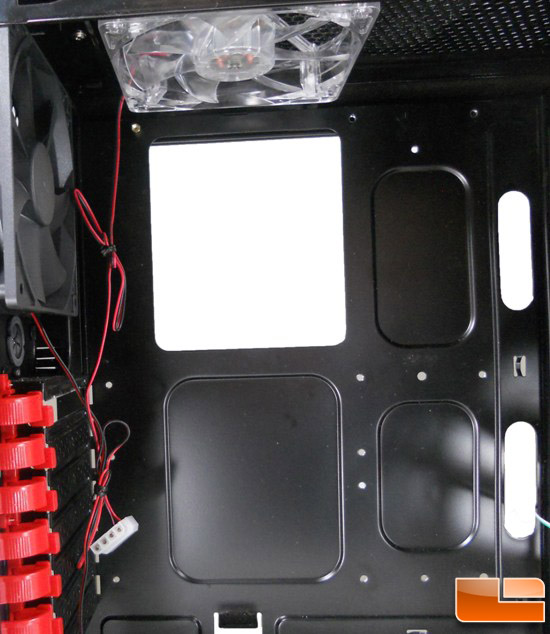
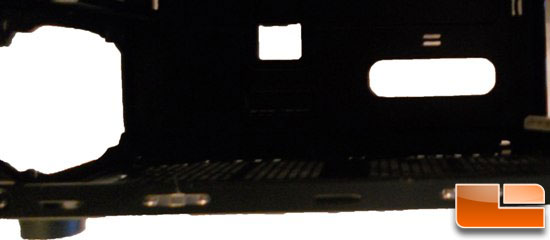
The mother board tray has a large cut out to help with options for CPU cooling. The layout happens to only have one setup screw for the mother board to be installed. The board layout is outlined with four cut outs that can be used with wire management.
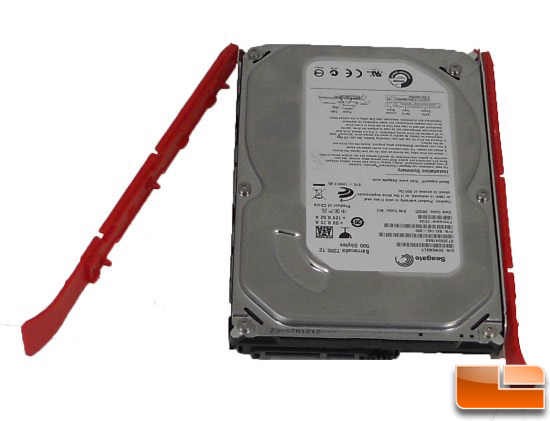
The hard drive cage does not have any real distinct features other than being placed over an area a fan can be installed. The hard drive caddy is actually set up very well. They happen to be the only metal component not painted black. The caddy has a circular hole at the bottom set up for cooling if a fan is installed below the cage. The caddy also does not need screws. The red rails can be popped off and popped back on to secure a drive. The caddies over all are a nice surprise.
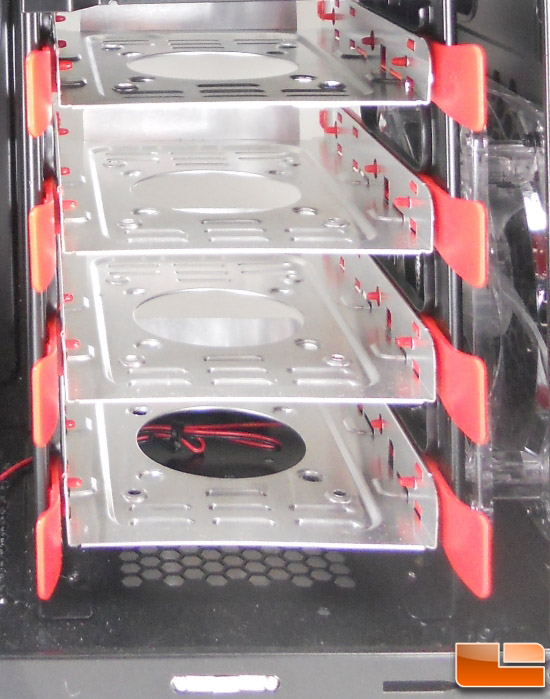
Four screw holes are on the caddy for 2.5″ drives, including solid state drive support.
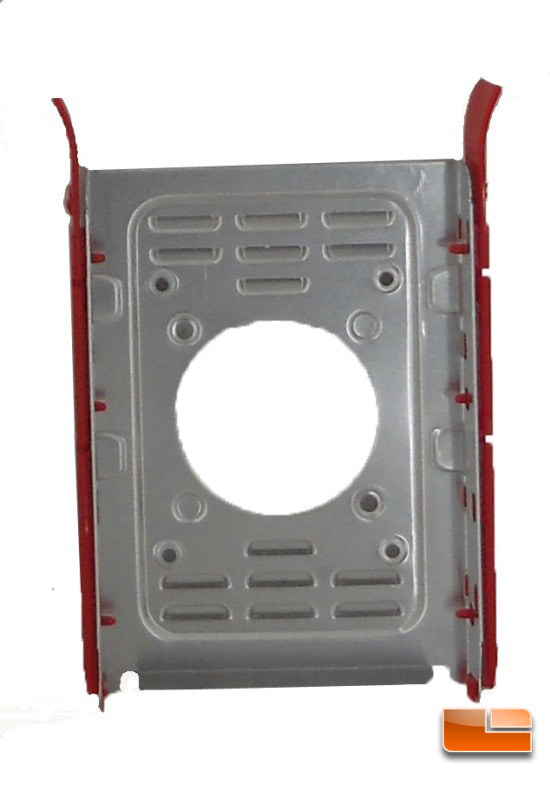
Here are the easy to use hard drive rails
The top bays also continue to not need screws to install devices. A simple red turn key is used to install a drive.
The typical four items are rounding out the back on the interior. The I/O cut out does not come with an I/O snap in for the cut out. The 120mm has a four pin Molex power connection. The power supply location is typical for being at the bottom of the case.
Lastly we have the bottom. This is surprising a nice set up. Two fans can be set up beneath where the power supply is installed. A third can be installed under the hard drive cage. Sentey seems to be trying to keep the Optimus cool.

Comments are closed.