Rosewill Viper Z Mid-Tower ATX Case Review
Rosewill Viper Z Mid-Tower ATX Case Internal Features
Accessing the internals of the Rosewill Viper Z is simple. The side panels are held on by thumbscrews and once loosened, the panel slides back within the case frame and then slides off. This is a typical door mounting mechanism and not one I am fond of, though it works and is a mechanism everybody who has built systems is familiar with. Other manufacturers have been using hinges and other mechanisms to make door installation and removal easier, so the use of these standard mounts is a bit of a let down, though there weren’t any issues and Rosewill’s panels are well made and fit on the case without issue.
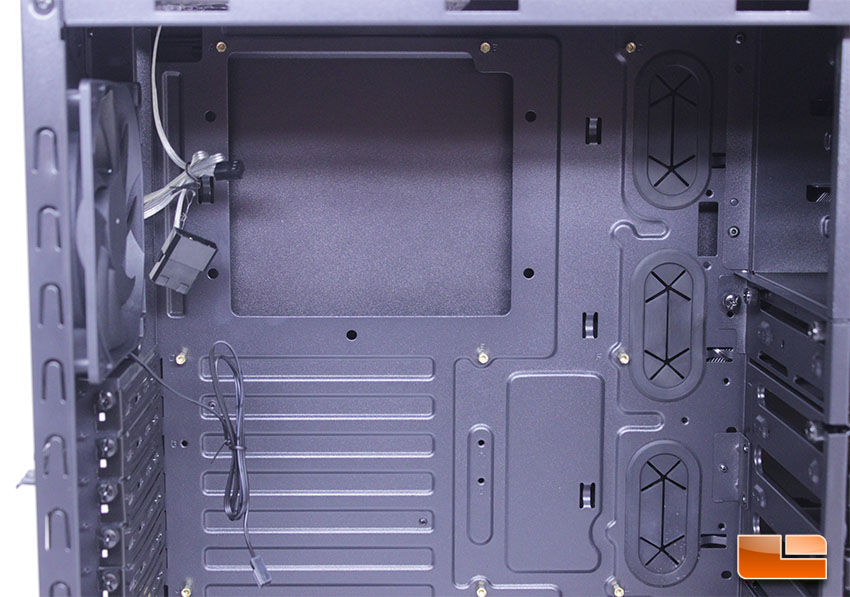
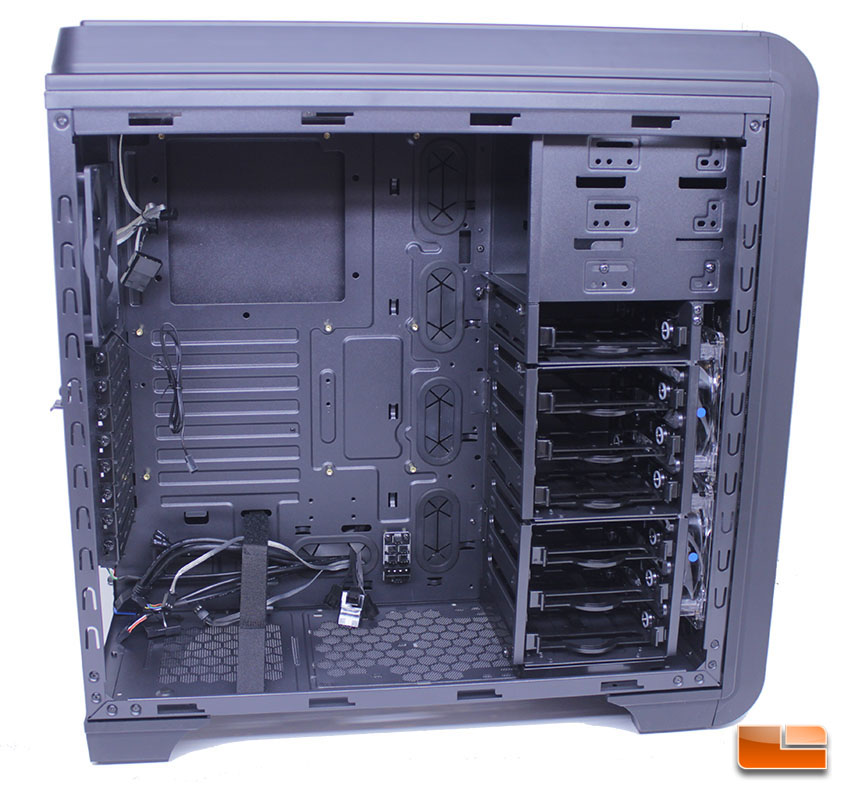
The interior of the Viper Z is pretty modern, with rubber grommets, removable drive cages and black header cables present. Rosewill has taken the liberty of installing motherboard standoffs for an ATX board, which is something I really appreciate and wish that other manufacturers would do, since it’s safe to assume most users who pick up a mid-tower case are going to be using full sized ATX boards. There is a large CPU cutout on the rear of the motherboard tray to assist with aftermarket cooler installation.
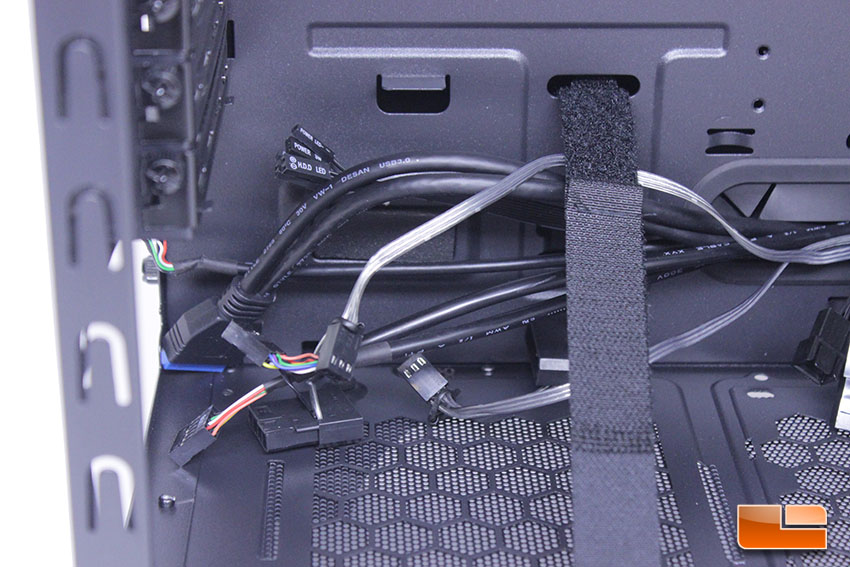
The header cables are all black, with the exception of the audio header, which has both AC’97 and HD Audio headers, creating a glorious rainbow of cables. Black cable headers make for a much cleaner looking build than multicolored cables.
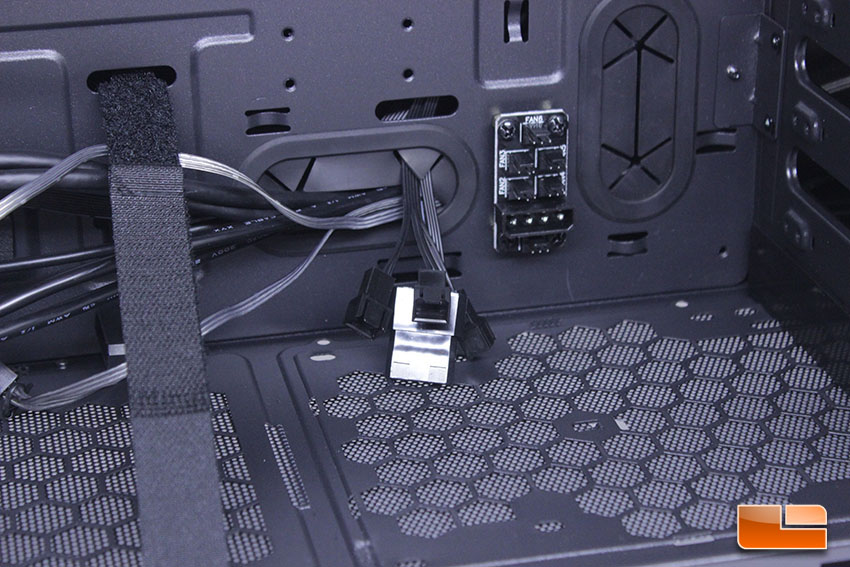
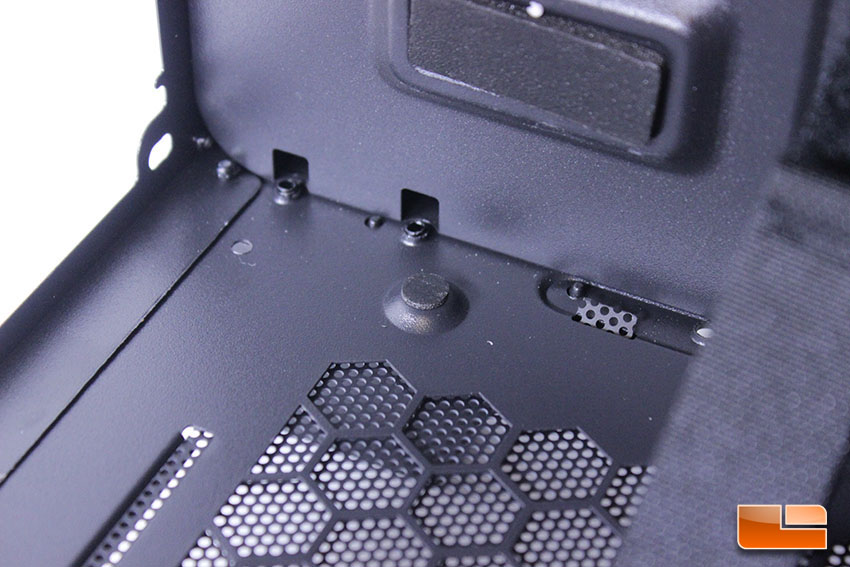
Along the lower right edge of the motherboard tray, there is a fan hub that is powered by a 4-pin Molex and can control up to six fans. This hub isn’t able to be speed controlled and since the IO panel does have a three fan hub, most users will likely run the rest of their fans from the motherboard and use built in speed controls. Pictured are the fan headers for the top panel fan controller. The top panel fan controller requires a 4-Pin Molex for operation, to power the controller itself. An accessory of interest is the PSU strap, which helps hold PSU’s in place.
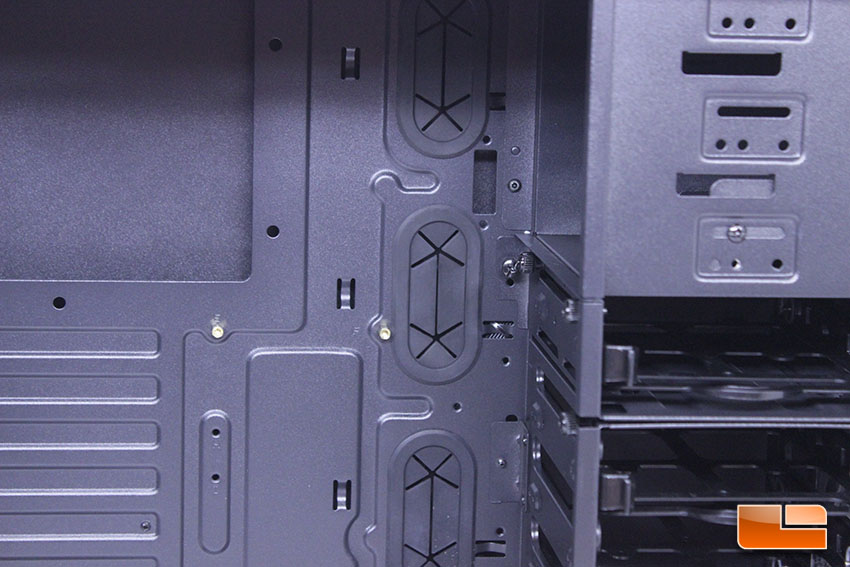
The rubber grommets for cable management are high quality and sit in the case properly. They are secured well in their position and don’t fall out while working with them, which is an issue I’ve seen with some cases in the past.
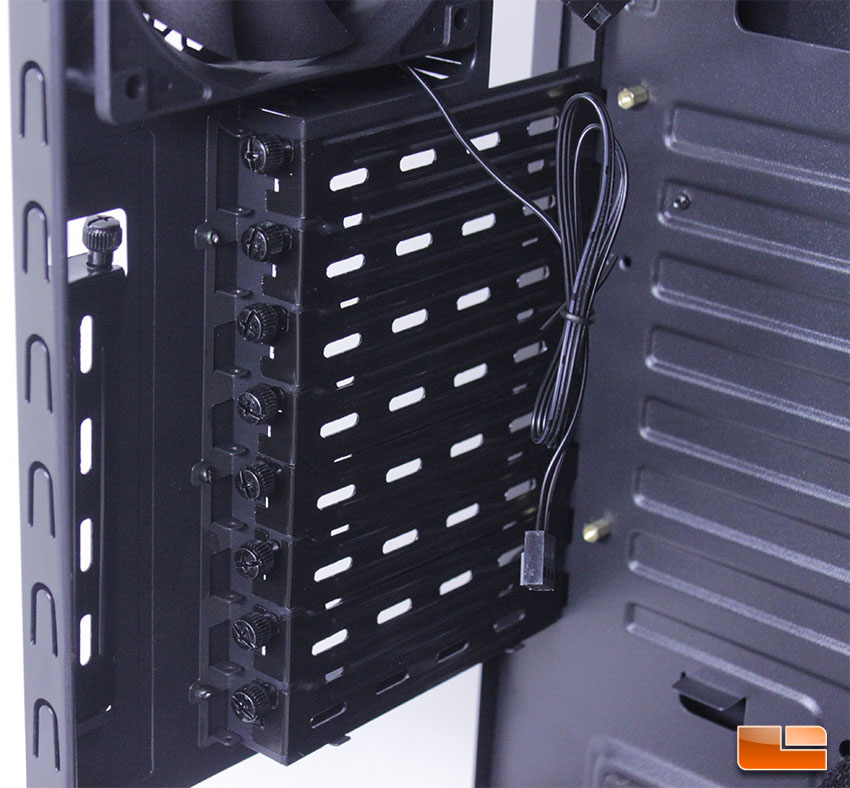
The PCI-E slot covers are held in by black metal thumbscrews and there are eight total slots, which is one more than your standard mid-tower would provide. Rosewill is using individual slot covers that can be put back on later should you decide to change your PCI-E card configuration, rather than using cheap stamped metal covers..
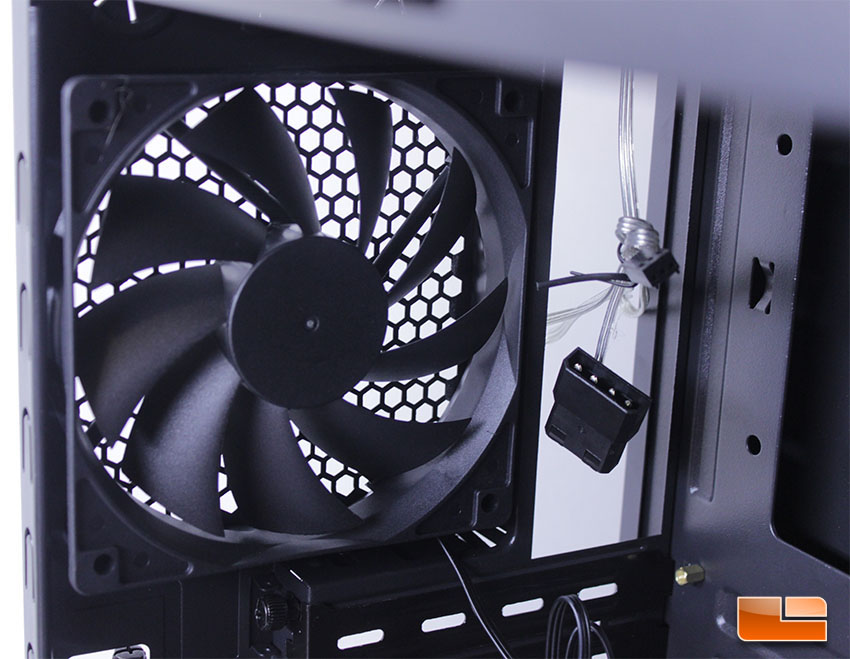
The 120mm fan installed on the rear of the Viper Z runs of a three pin connector and is a standard fan. This area can also be used to install a 120mm AIO cooler. Unfortunately, there is no provision for a 140mm fan to be installed.
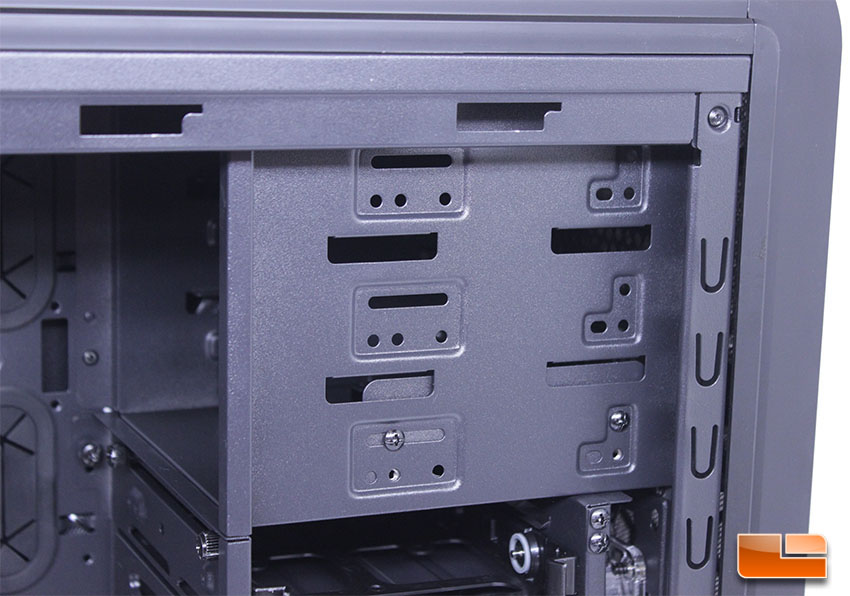
Optical drive bays do not feature a tool-free attachment mechanism, which isn’t a huge problem, though it would be nice to see a tool-free mechanism on the case as an added value. Due to how far the front panel extends, only two screws can be installed to secure your optical drives, but this shouldn’t be an issue. The bottom 5.25″ bay is populated with a 3.5″ adapter that can be used with storage drives, or with external devices, such as card readers, as the optical drive bay cover has a cut out to support 3.5″ devices.
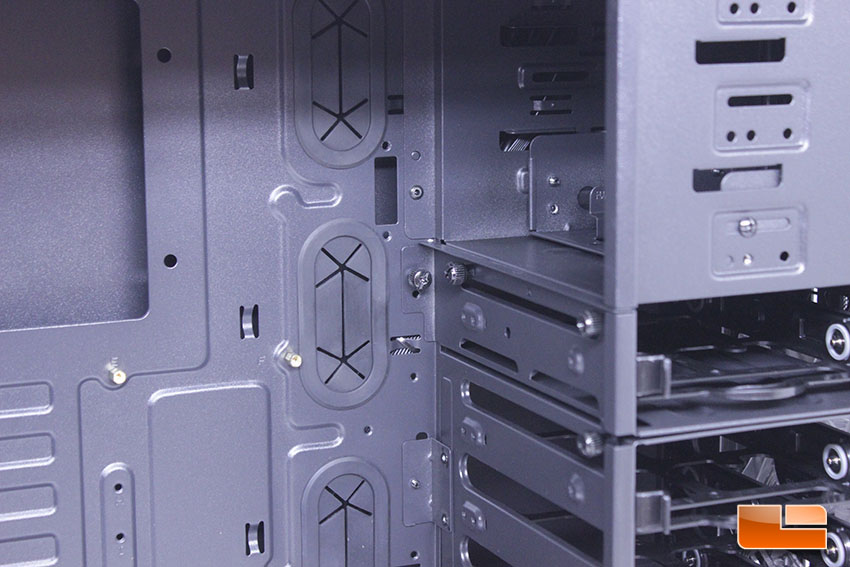
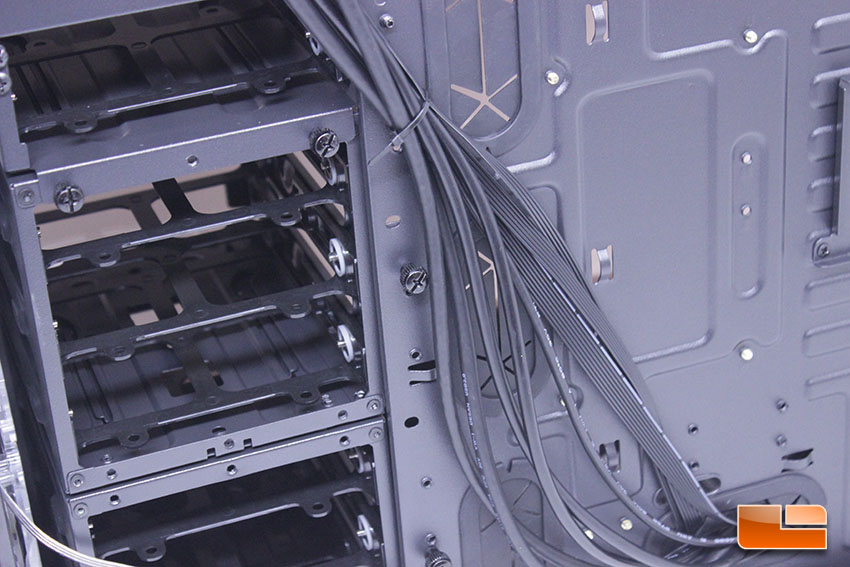
The hard drive cages in the Viper Z are secured on a rail that is riveted to the case frame by thumbscrews that are easily removable. The caddies in these cages support 2.5″ and 3.5″ drives and there are six caddies included. There looks to be room at the bottom for an additional caddie, but Rosewill didn’t include a provision for this, likely due to clearance issues with the bottom of the case.
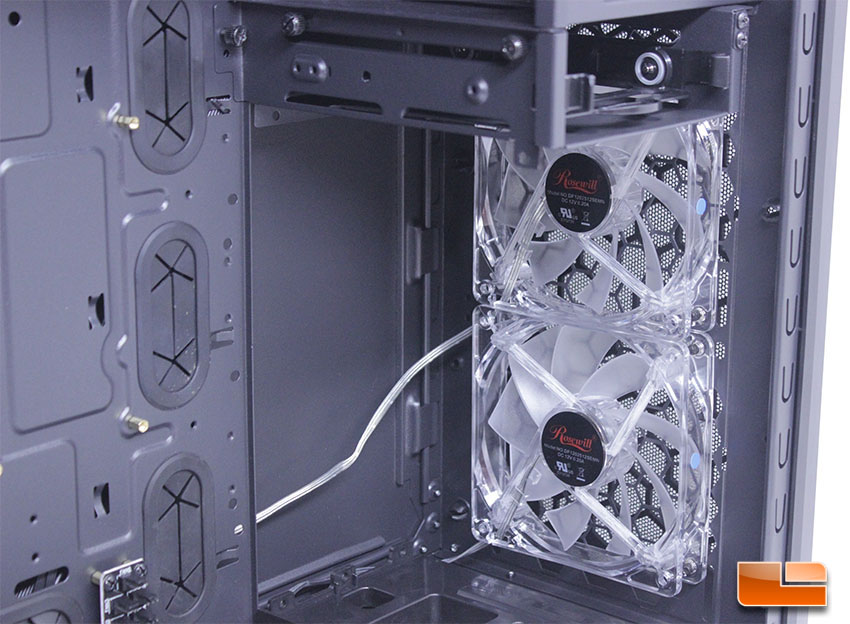
Removing the drive cages allows us to see that the front of the Viper Z isn’t restrictive and features a nice, open design that promotes optimal air intake to the fans. The included fans can be routed to the fan speed controller connected to the IO panel, or you can run them to the fan hub that is installed in the main component chamber. There is definitely room for a front mounted 240mm radiator on the inside of the Viper Z, with the fans running as intake on the outside, though you’d have to run the hoses along the bottom. With the front cages removed, there is sill support for two 3.5″ drives in the main chamber and a 2.5″ SSD on the rear motherboard tray.
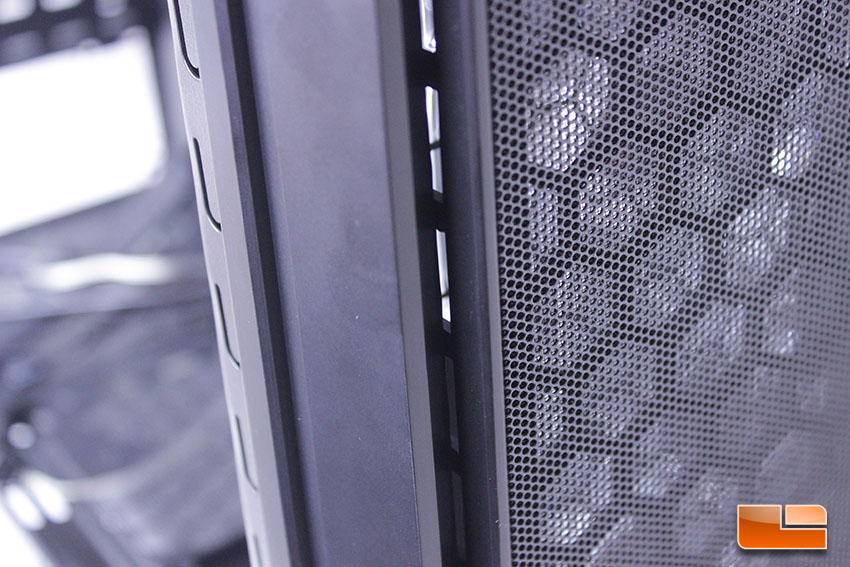
While airflow is optimal in the Viper Z, with a wide open, front design that can intake plenty of air, there is a lack of filtration that will cause internal dust build up. The gap in the front fascia will allow dust and other particles to be drawn into the case, as there is no filtration between this gap and the fans.
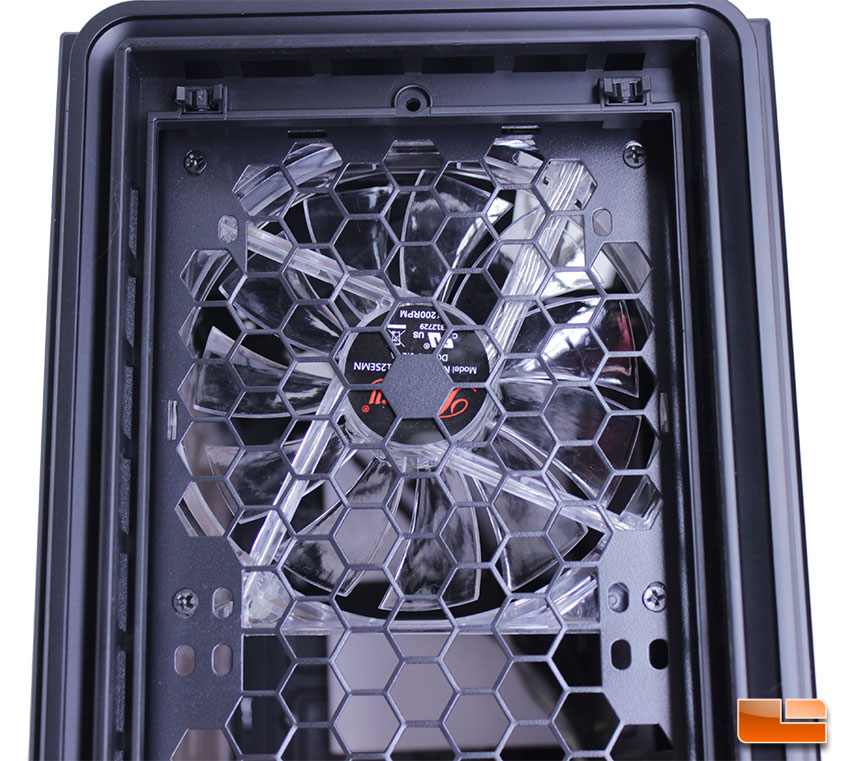
The blue LED fan installed in the top of the case sit above the main chamber in a fan frame. There is plenty of room here to add a radiator inside of the main chamber, with fans installed above the radiator.
The PSU area has four raised areas with rubber pads to help reduce vibration. These are very small pads, but should be adequate and better than just running the power supply on top of bare metal support. There isn’t a lot of clearance provided by these metal supports, so PSU’s with large fan grills that protrude may have some issues.
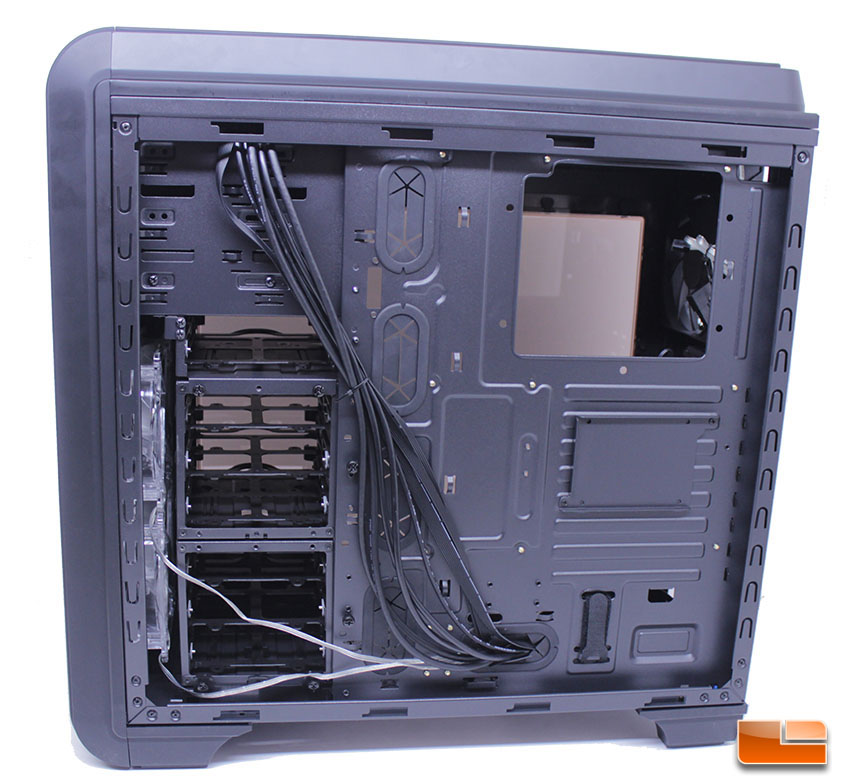
The rear of the motherboard tray has cable tie down points running alongside the grommets to assist with cable management. The layout is standard and lets you route cables from the drive area to the drives through rubber grommets in the tray. There is about a half inch of space behind the tray for cable routing, which is adequate, but barely. A power supply with flat modular cables is definitely going to help, but given the ample room and wiring space, wiring pretty much any PSU in the Viper Z shouldn’t be an issue.
Rosewill has taken the time to pre-route the cables pretty neatly and has even moved the fan headers to the main chamber. It’s a pretty good cable job from the factory that will put first time builders on the proper path.
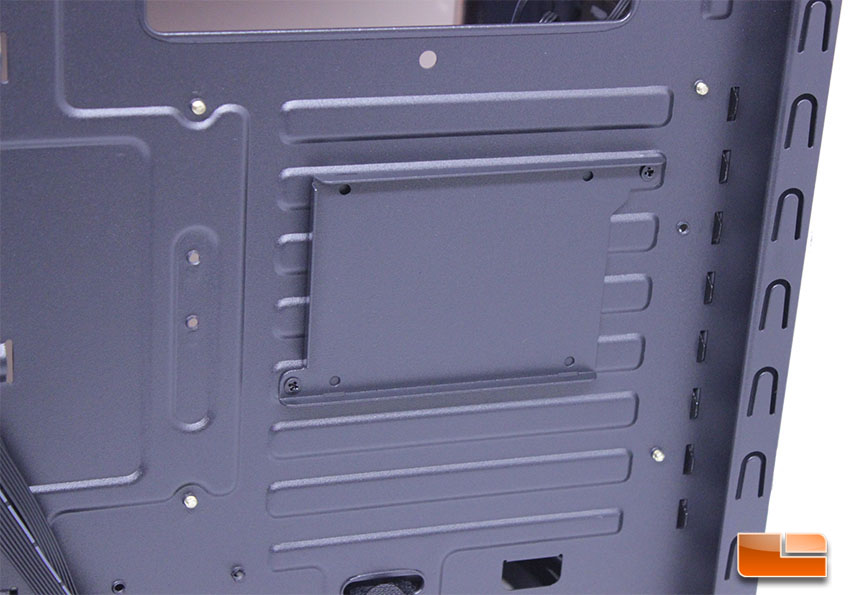
There is a dedicated SSD installation point on the Rosewill Viper Z. We’re seeing this more and more and like this as an installation point, as it can allow users with a single SSD + single HDD installed in the optical drive mount to eliminate the drive cages completely for optimal airflow, or to install a radiator up front.
The Viper Z has user-friendly internals, with adequate cable management features and solid build quality. The Viper Z has a very competent fan control system, offering not only a three fan hub with speed control, but an additional hub for running six more fans. The modular drive cages are done well and the ability to remove two of the cages to increase airflow or run a radiator up front is a well thought out feature. The inside of the Viper Z is spacious and should be more than capable of housing a mid-range enthusiast system with dual GPU’s. The lack of tool free optical drive bays and a non-modular optical drive area are shortcomings, but far from deal breakers.