RIOTORO Prism CR1280 Full-Tower Chassis Review
Hardware Installation Inside The Prism CR1280
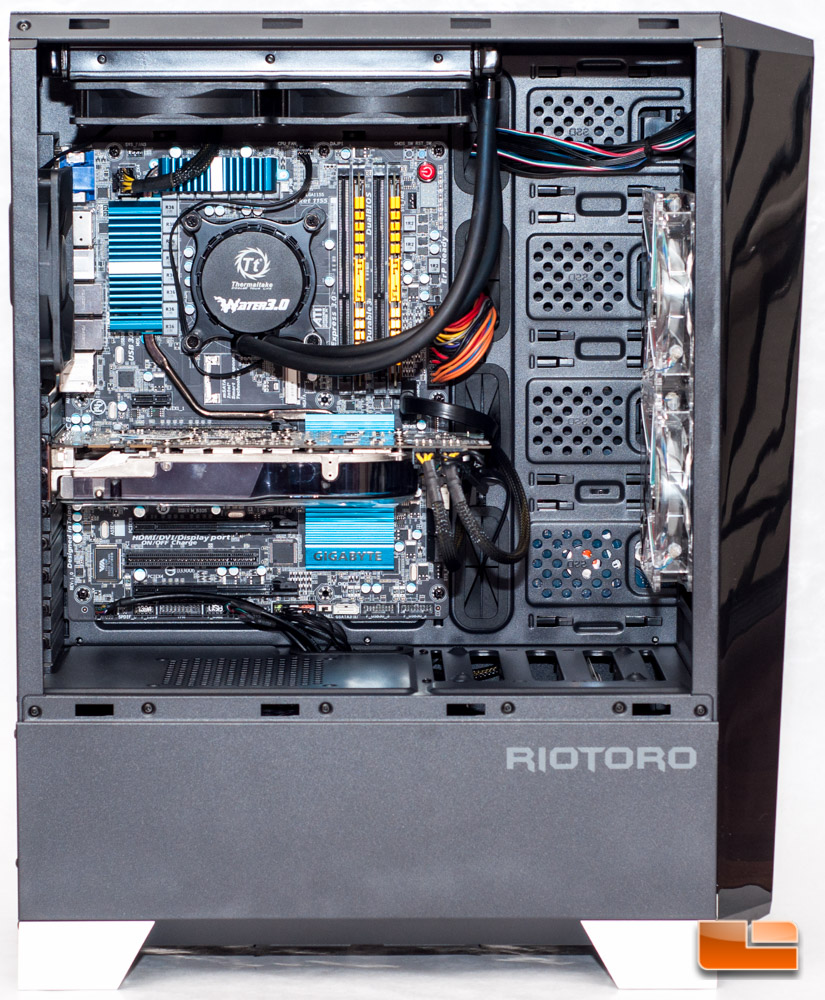
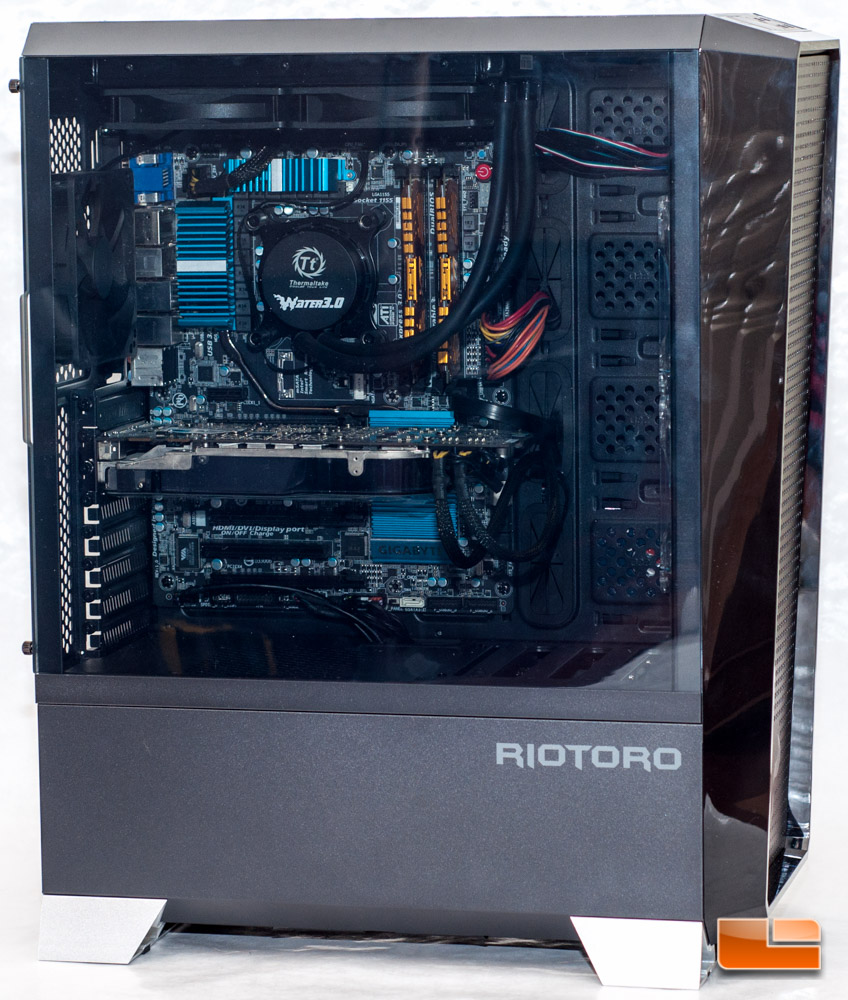
When it comes to full-tower cases, I typically expect little to no struggle installing hardware inside. As of writing this and photographing it, I did not have a 2.5-inch SSD handy, so I will just use a 2.5-inch laptop HDD instead, so you can get an idea of what your drives will look like. The 8800 GTX that Im using in this build is a golden oldie, but the card length is similar to cards that are out on the market today, measuring approximately 10-9/16-inches (~268 mm) long.
Starting with the motherboard, I didnt have to do any prep work as RIOTORO installed the standoffs from the factory. Slipping the board in place was easy as expected.
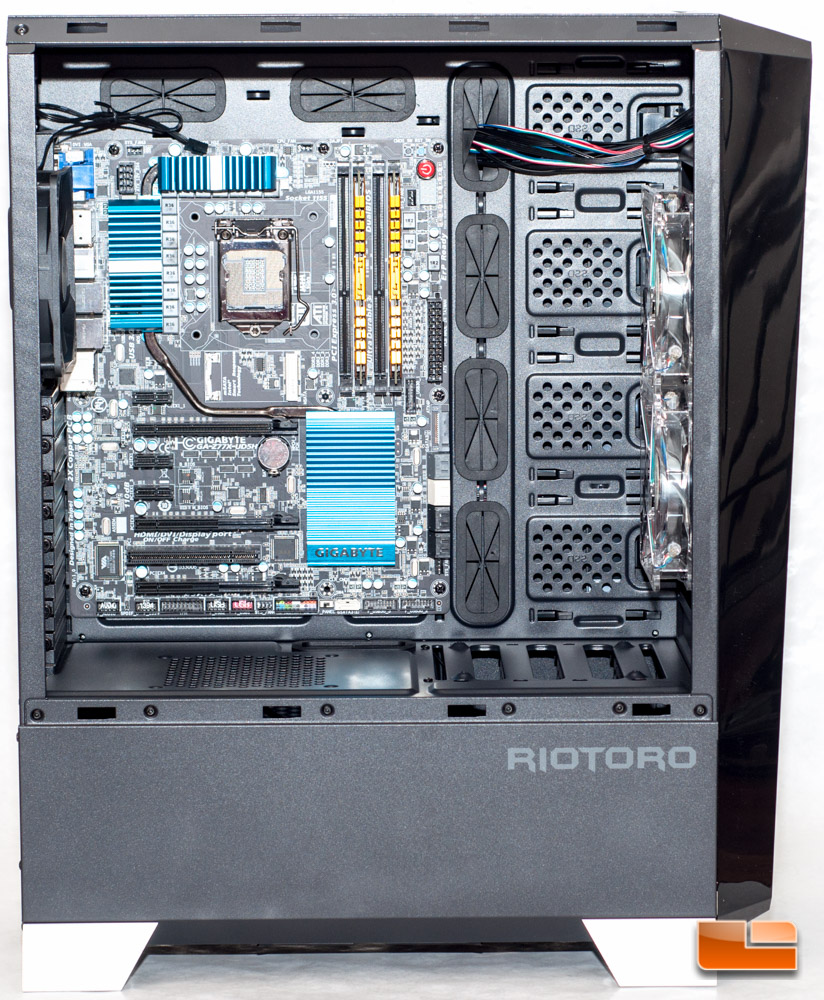
I then placed my hard drives where I wanted them. This was made extremely simple thanks to the completely tool-free design of both sizes of drive brackets.

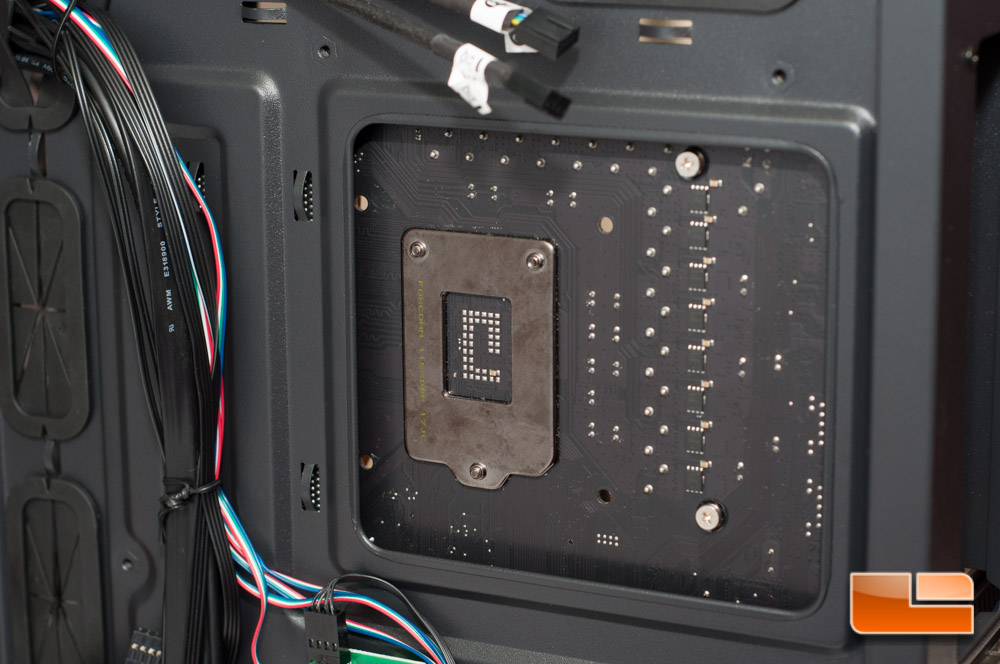
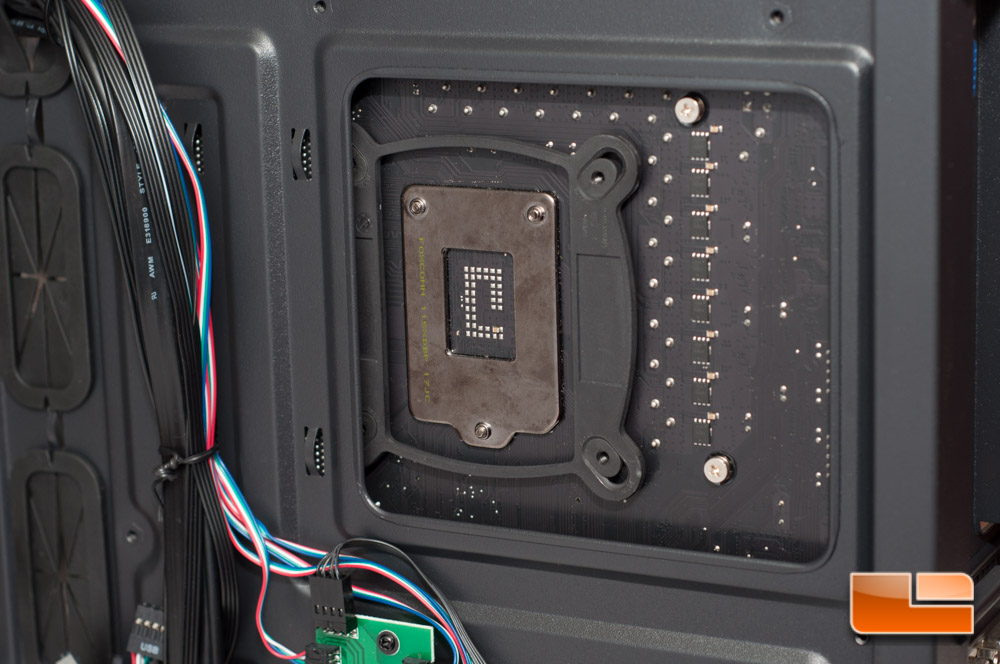
Next I mounted my video card and CPU cooler and had some issues mounting the cooler. I found the cutout on the motherboard tray is either not large enough or is positioned incorrectly for my motherboard. I had to remove some screws to squeeze the backplate into place. If you look at the pictures below, you can see that its hidden behind the motherboard tray a bit this is a problem. I did remove the top shroud as I did install a water cooler and found the install to be relatively easy after I got the backplate situation figured out, but not without a hitch.
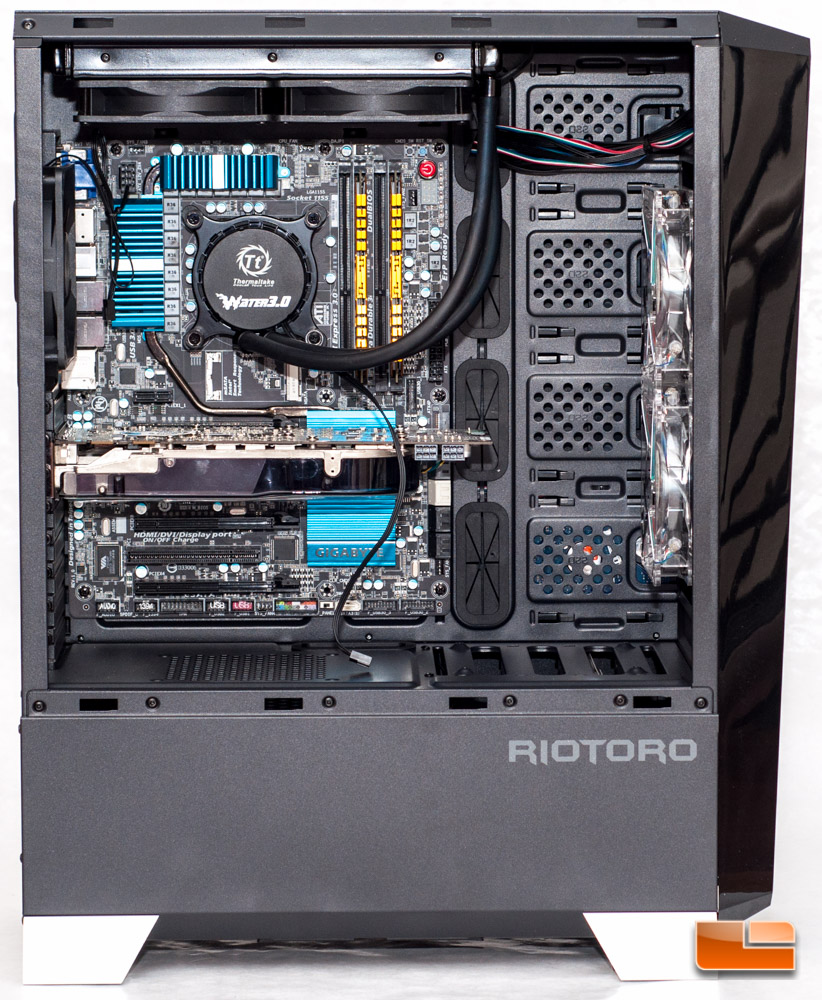
So the radiator ends up hitting the little button that holds the top acrylic shroud in place. I actually had to push the radiator into the button in order to get my screws in place above. It looks like this button can possibly be removed, but not that easily. I apologize but I could not get a photo of this as it was in a very tight space.
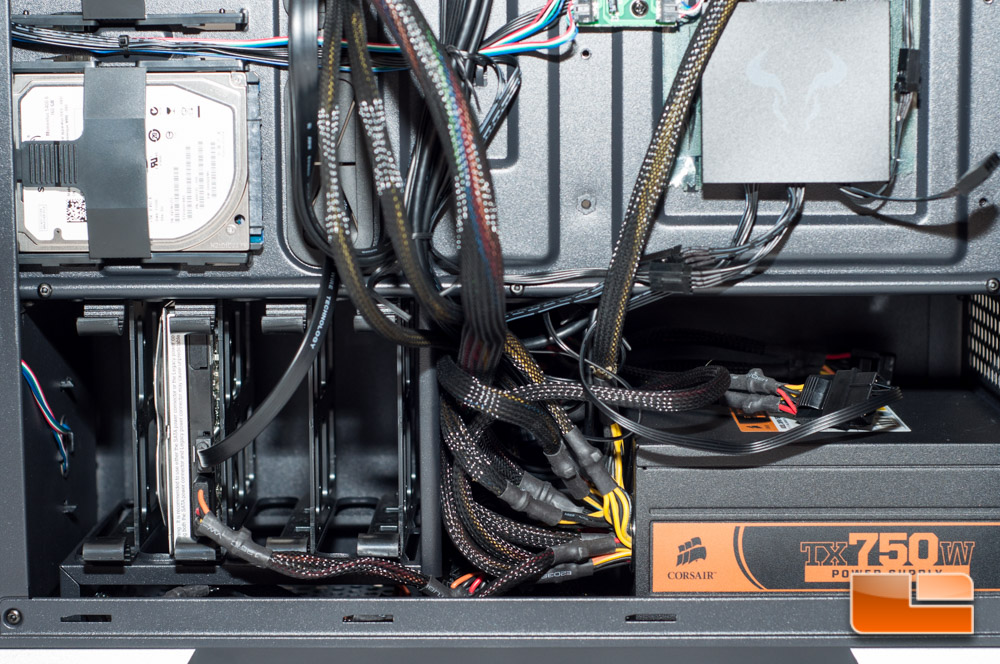
Finally I installed my PSU in the bottom chamber and routed my wires to their respective places. Youve got 1/2 to 7/8 inches of space in the rear, so for the most part you should not have to worry about picking and choosing which wires to route in the rear.
The PSU that I am using is not modular and has a bunch of extra baggage, so I found it a little rough getting all of my wires tucked away. After the wires were in place, I felt bad for my hard drive as it felt trapped inside a small compartment with no airflow.
Overall the build was fairly easy, as expected, but as mentioned it didn’t come without troubles or concerns. When I fired up the case, the built-in fans were not whisper quiet on the low setting, and they got a fair amount louder at the fast setting. I apologize but I do not have a sound meter and could not measure this.
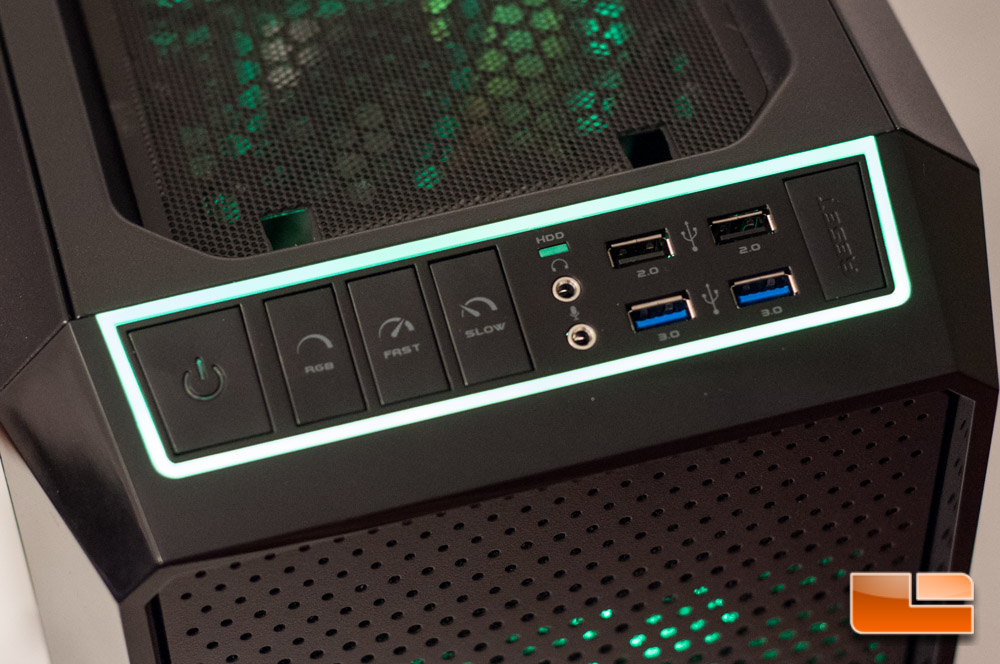
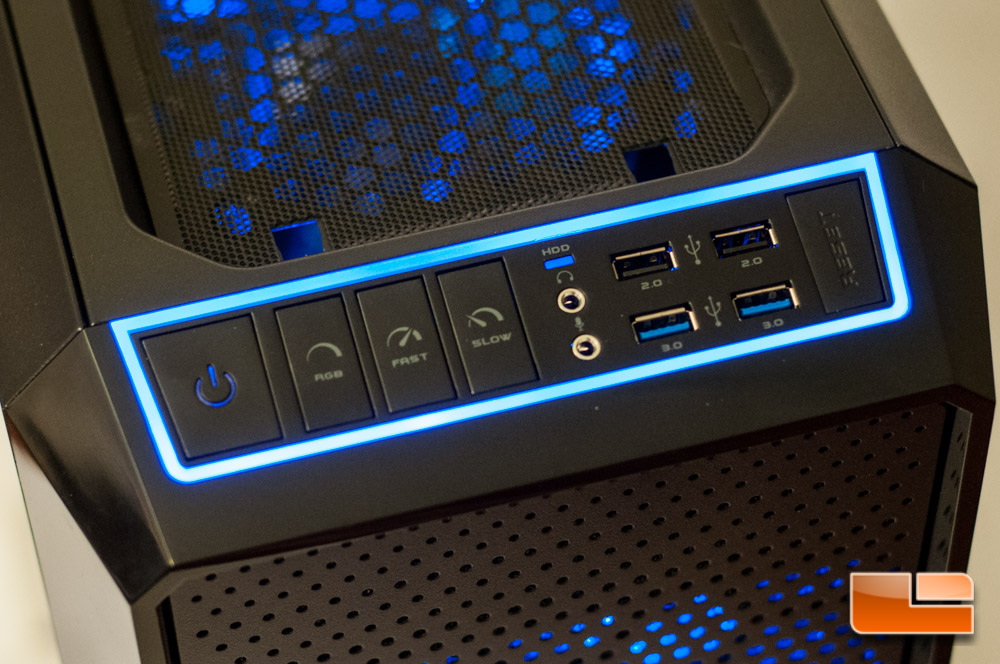
The LED system is pretty neat, especially through the side panel. The LED color auto rotates with no option to change that, unfortunately not that I could find a way to stop, anyway. Here are a couple shots of the different LED colors.
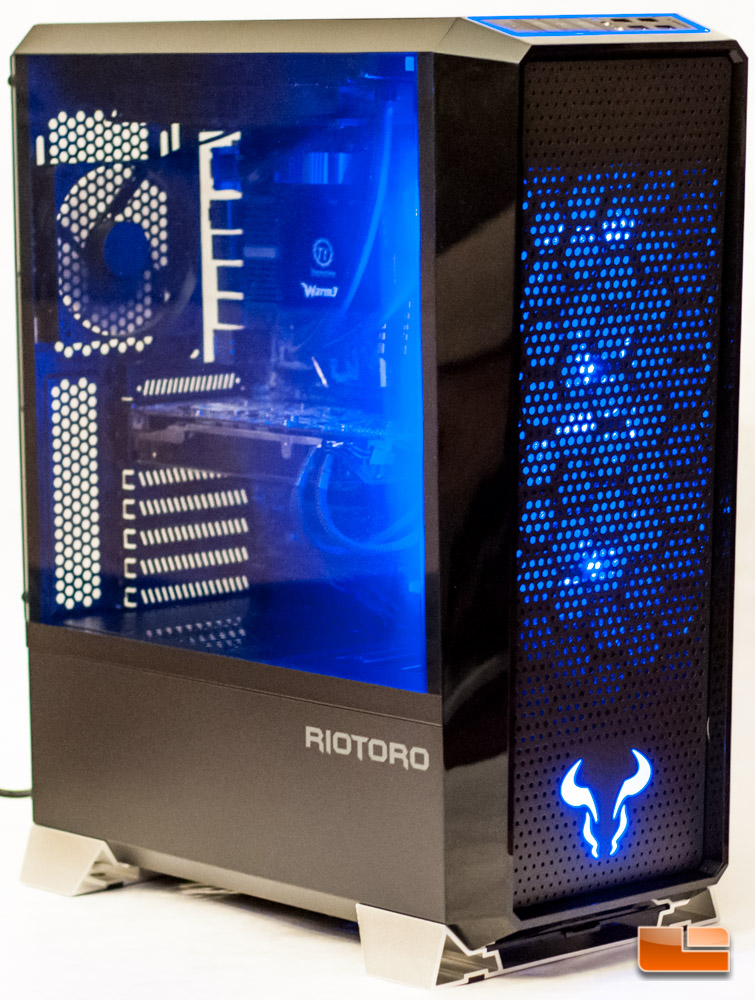

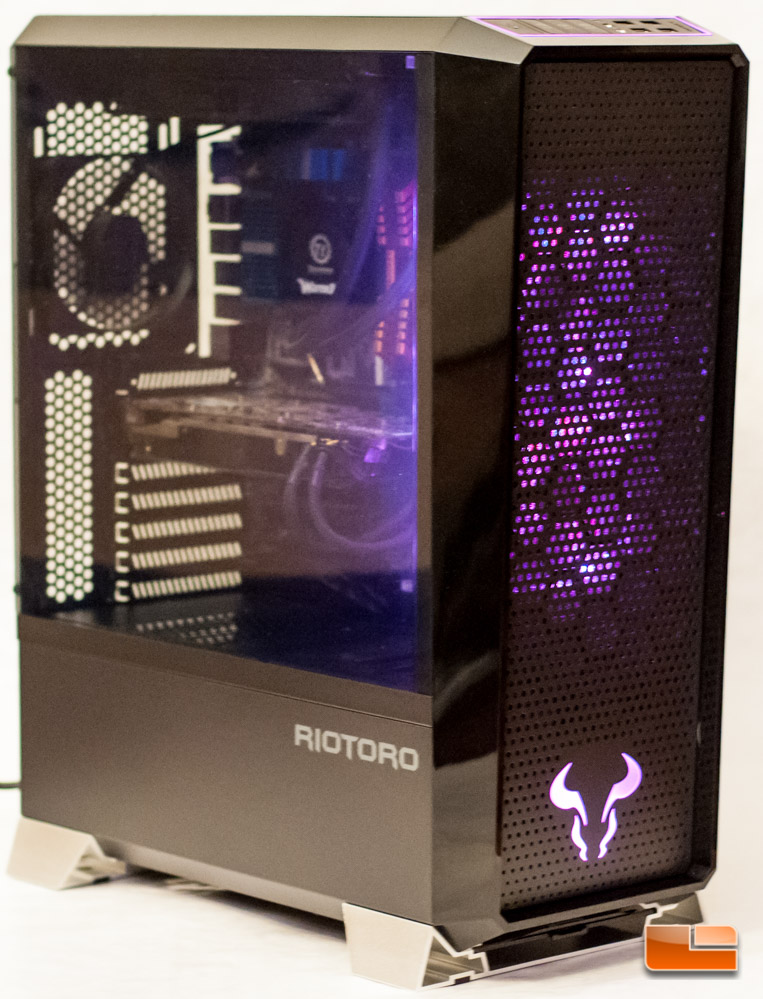
The top I/O panels LED ring is a nice touch, too.
Lets wrap this review up with some final thoughts.