RIOTORO Prism CR1280 Full-Tower Chassis Review
Prism CR1280 Packaging, Product Tour, and Impressions
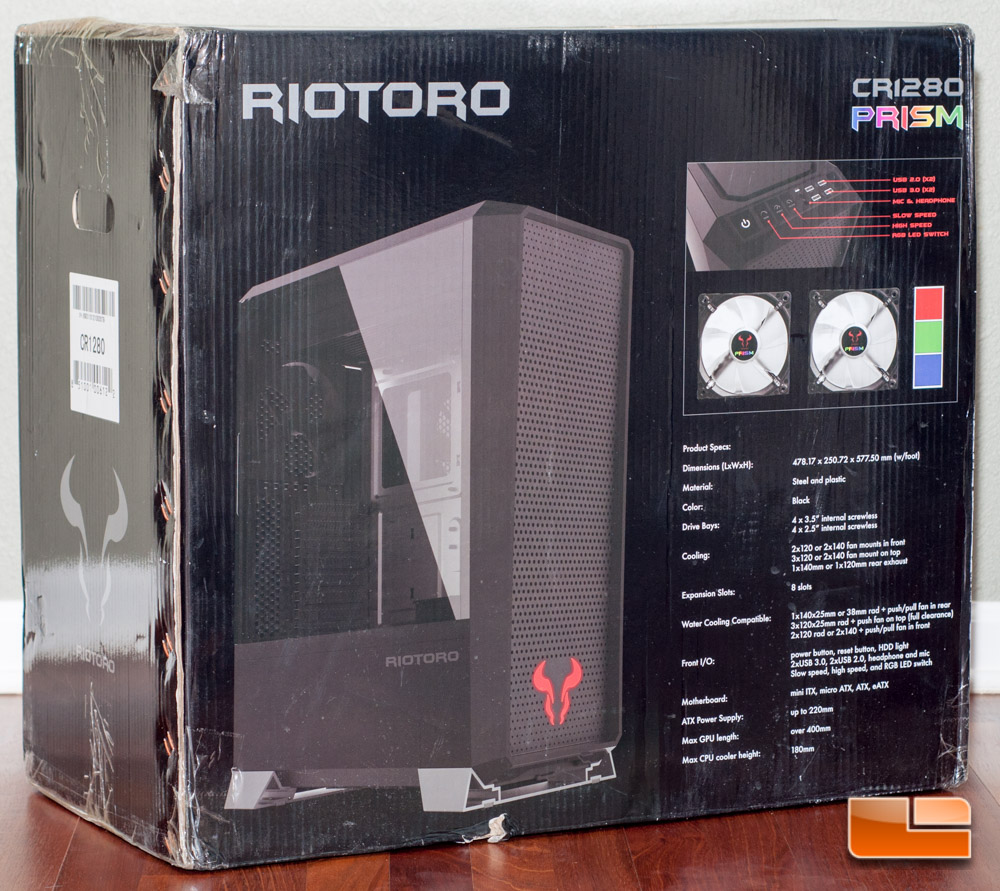
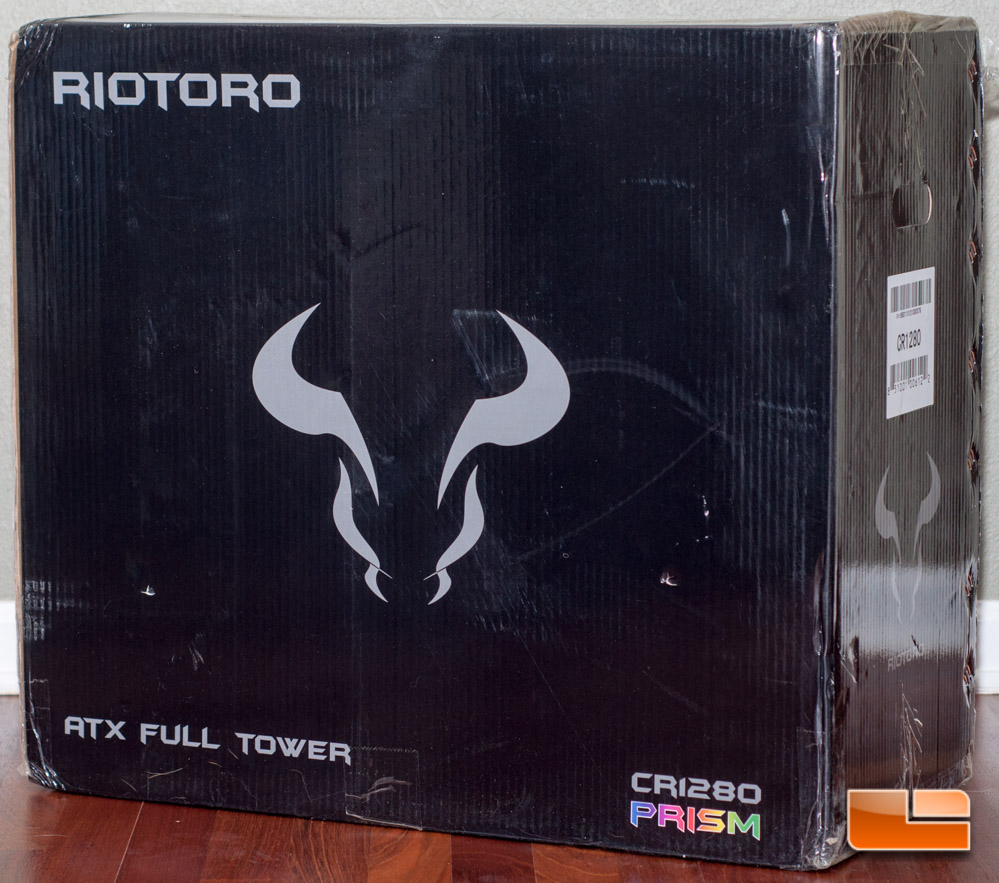
RIOTORO is a very new business and appears to have wanted to keep things simple. The packaging is a gloss black with information on one side only; the rest of the package is just the RIOTORO logo.
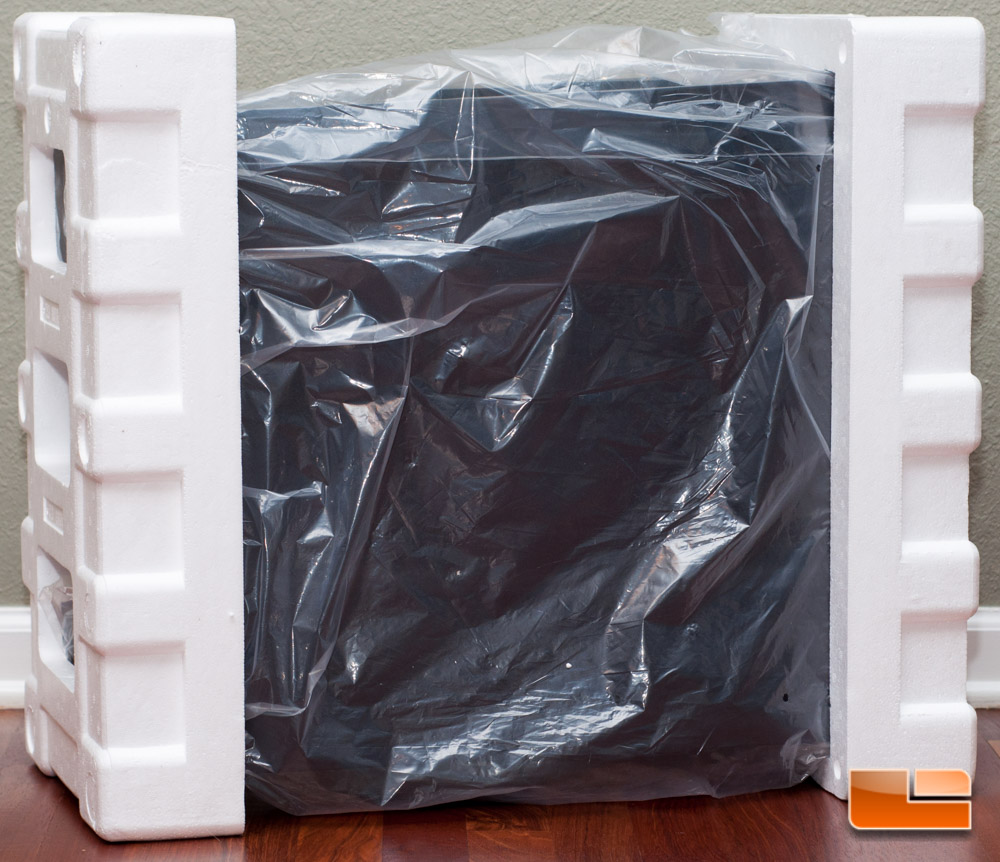
Inside we find the Prism CR1280 protected like we would expect any case to be protected with formed foam blocks and a plastic bag. When we pull these packing materials off, all of the gloss plastic sections and the full-sized acrylic window are protected with a film to resist scratching.

Pulling everything off, we see exactly how nice looking this chassis really is.
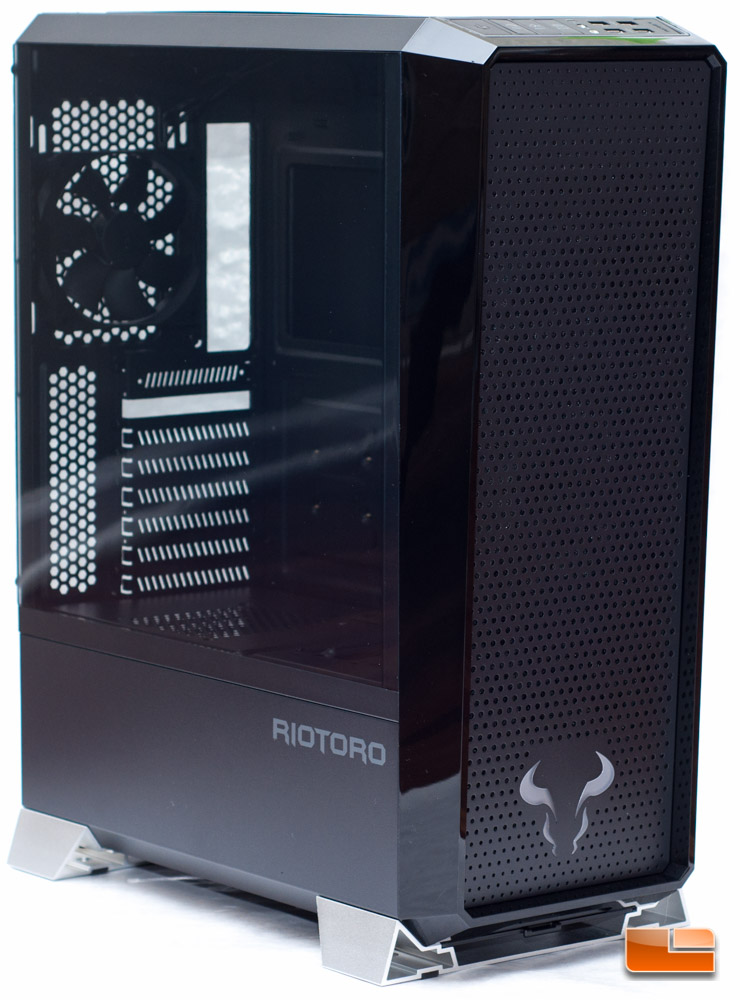
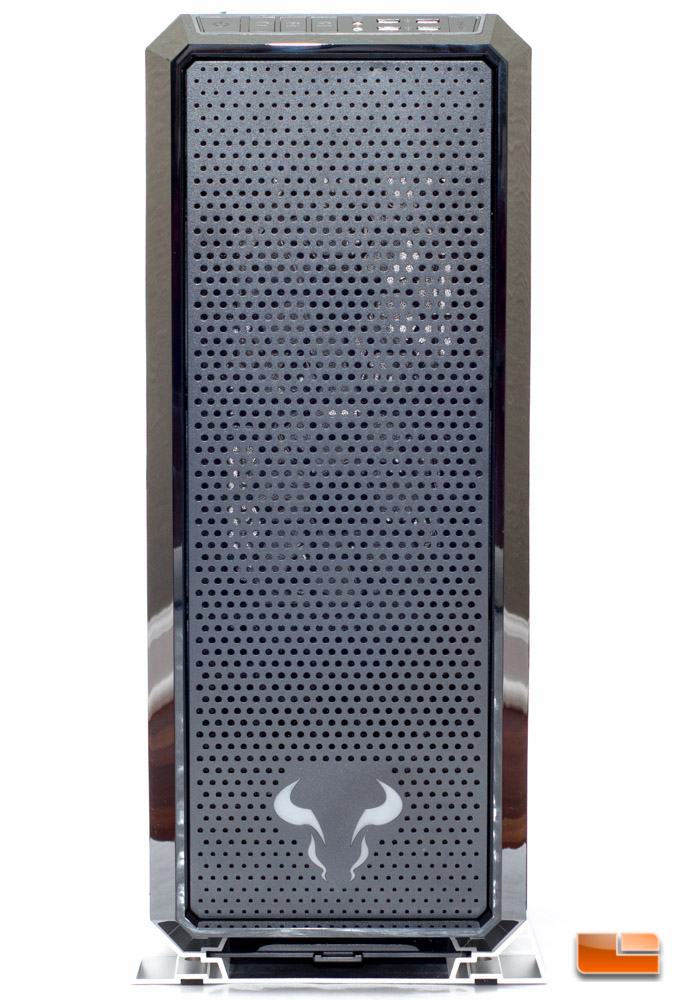
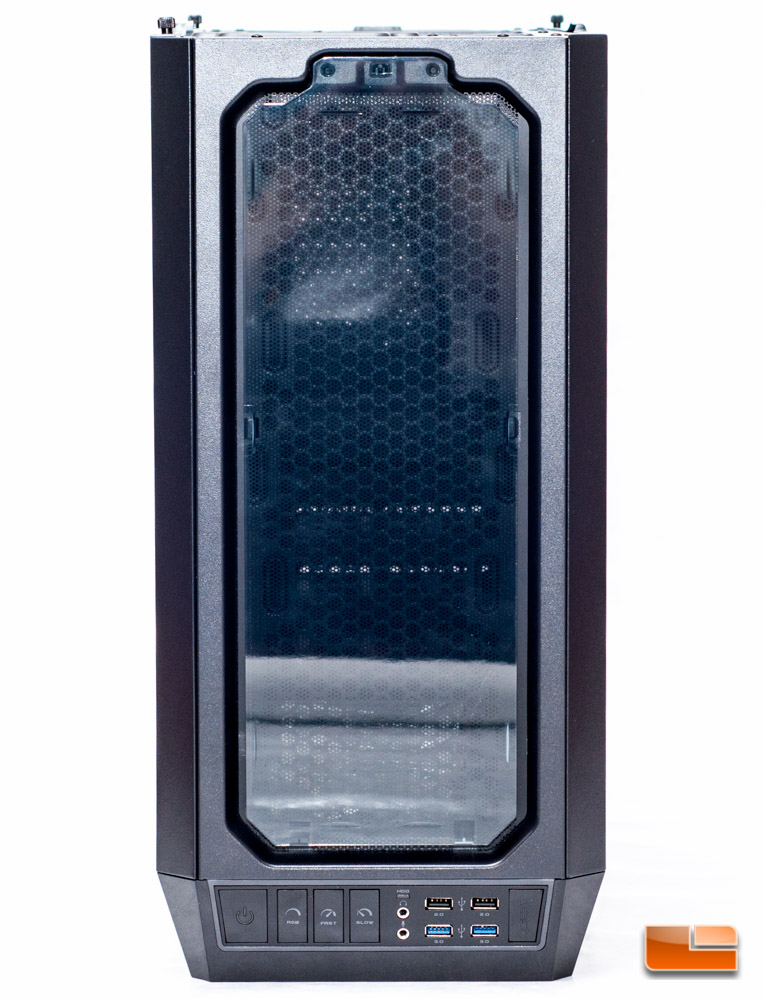
Lets start with the front of this case. As you can see, there are zero 3.5-inch bays on this case, which is a trend were likely to see more and more with the parting of optical media in favor of USB flash media. At the very top you will see the I/O panel (more on that in a bit), and on the very bottom is the RIOTORO logo. This logo is one of four items that lights up on this case with the 256 color light system.
Pulling off the front is very easy, as you just reach on the underside of the face and pull forward. You catch a glimpse of how the logo lights up on the bottom.
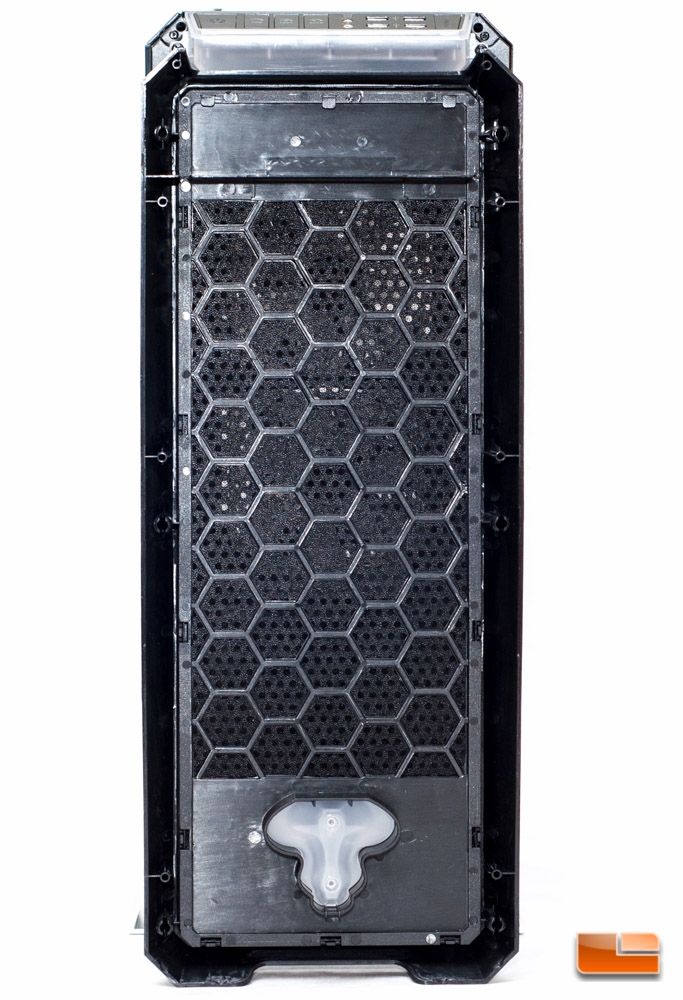
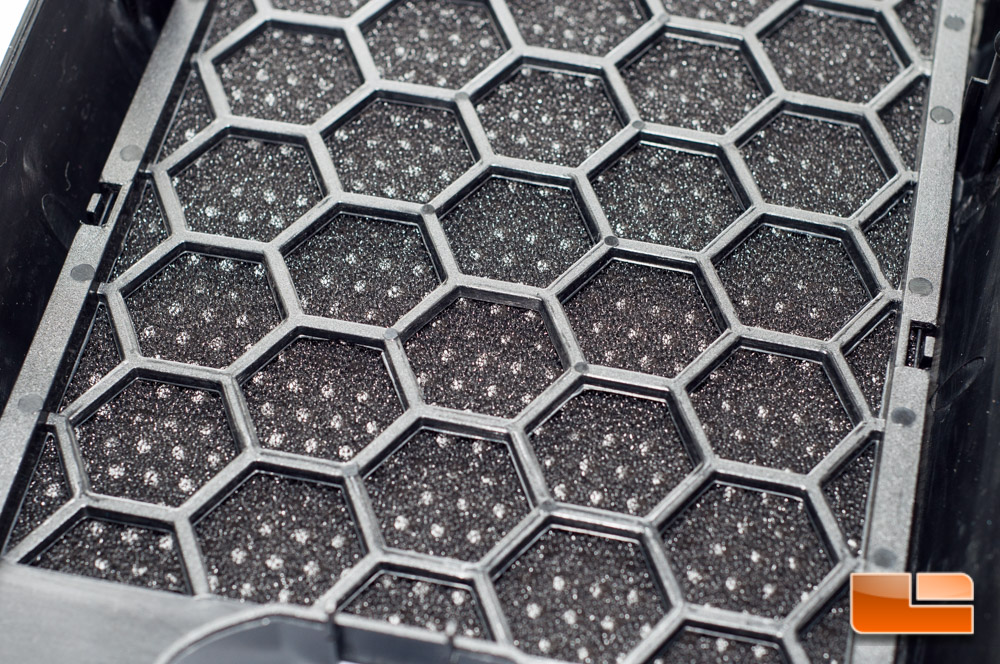
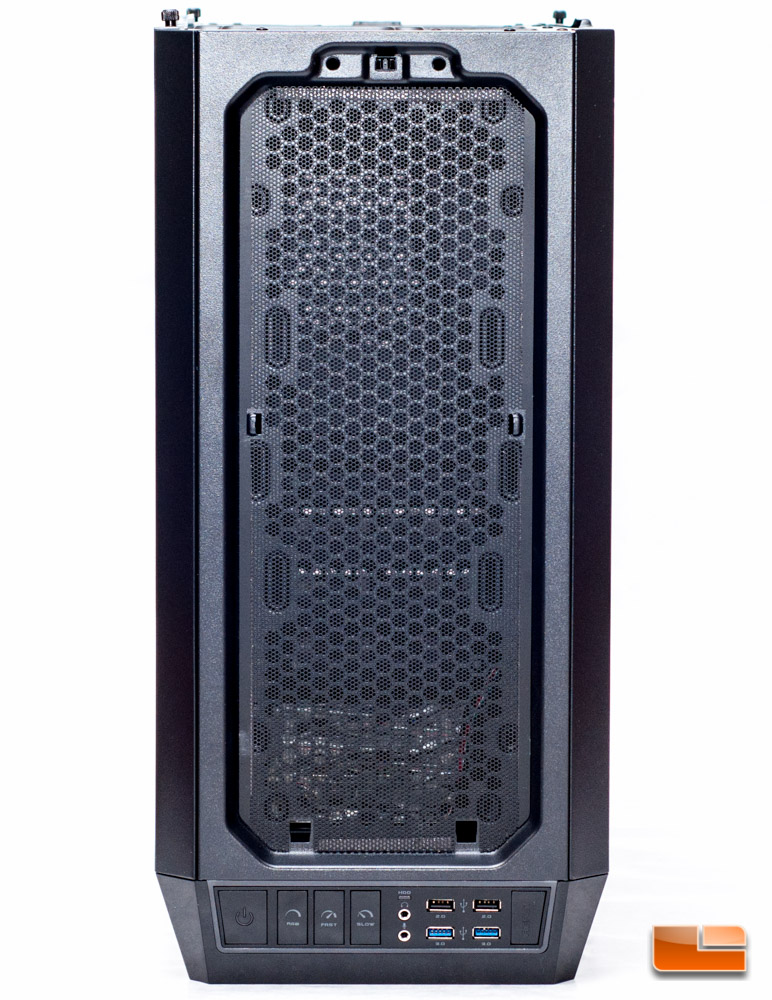
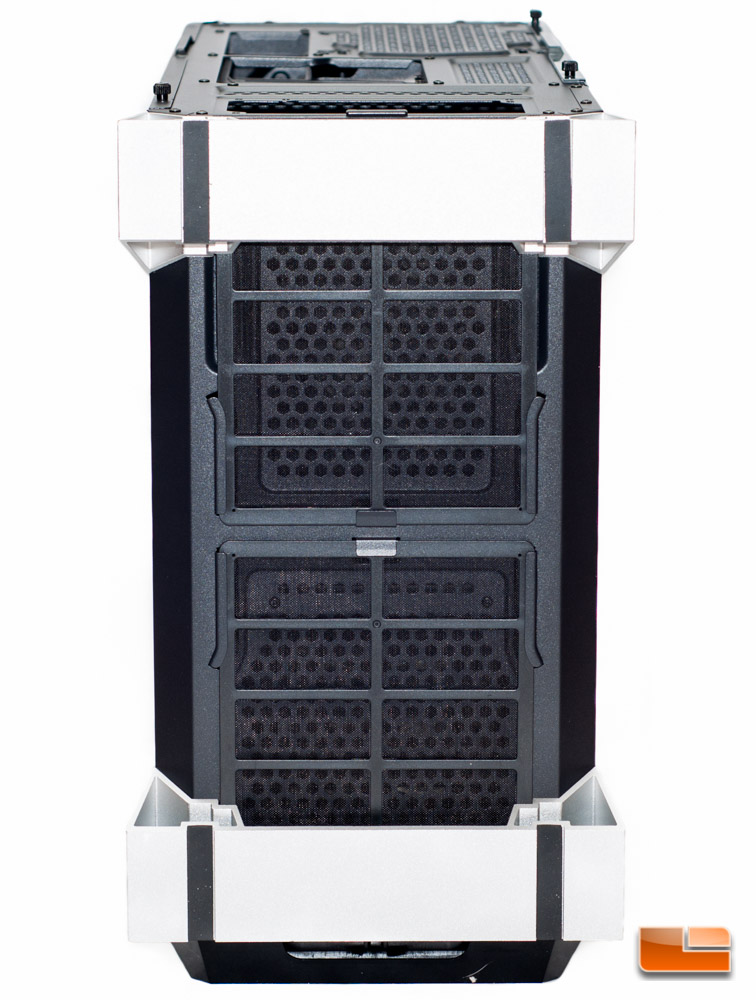
Looking a little closer at the front panel, we see that this is filtered, though not removable. In all honesty, this filter is definitely better than nothing at all, and you can clean it by simply vacuuming it off or blowing it with compressed air.
Setting the front panel aside, we have now exposed the included fans. Unfortunately RIOTORO doesnt have any specifications for these fans on the CR1280 landing page, so I cannot comment with that. Their website also appears to be under construction and the data is not there for just the fans, either. These fans are attached on the interior of the chassis and can have a 140mm fan installed instead of the stock 120mm.
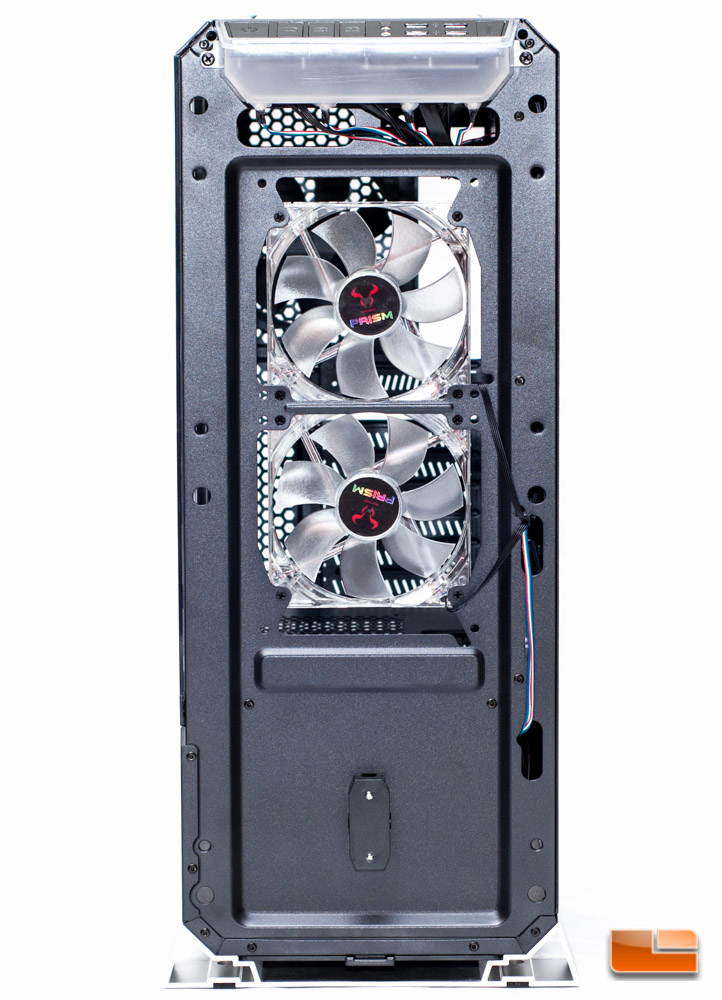
At the very top where the I/O panel is located, there is a plastic housing here. This housing not only encases the wires, but it is the rectangular ring that lights up around the buttons.
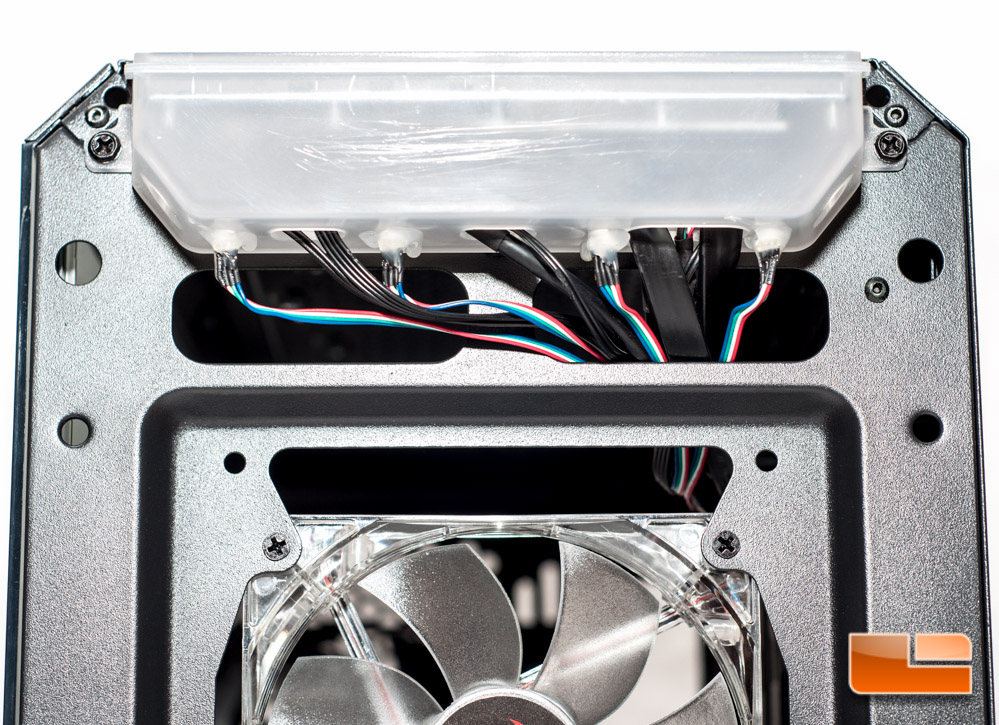
On the bottom are the two LEDs that illuminate the RIOTORO logo. If you look at the bottom of the following picture, the little tab in the center is to pull out one of two filters.
Reattaching the front panel was quite tricky and not easy like it was to remove. I had a hard time getting it to attach in all of its points without another point popping out; even at one point I couldnt get a couple posts to go back in, despite pounding on them with the side of my hand.
Jumping to the left side exposes the full-sized tinted acrylic window. Most manufacturers simply build the window into the side panel, but with the CR1280, the window is the side panel.

Heres a quick look at the side panel. At the very top of the panel there is a metal trim piece to make the case look sleek.
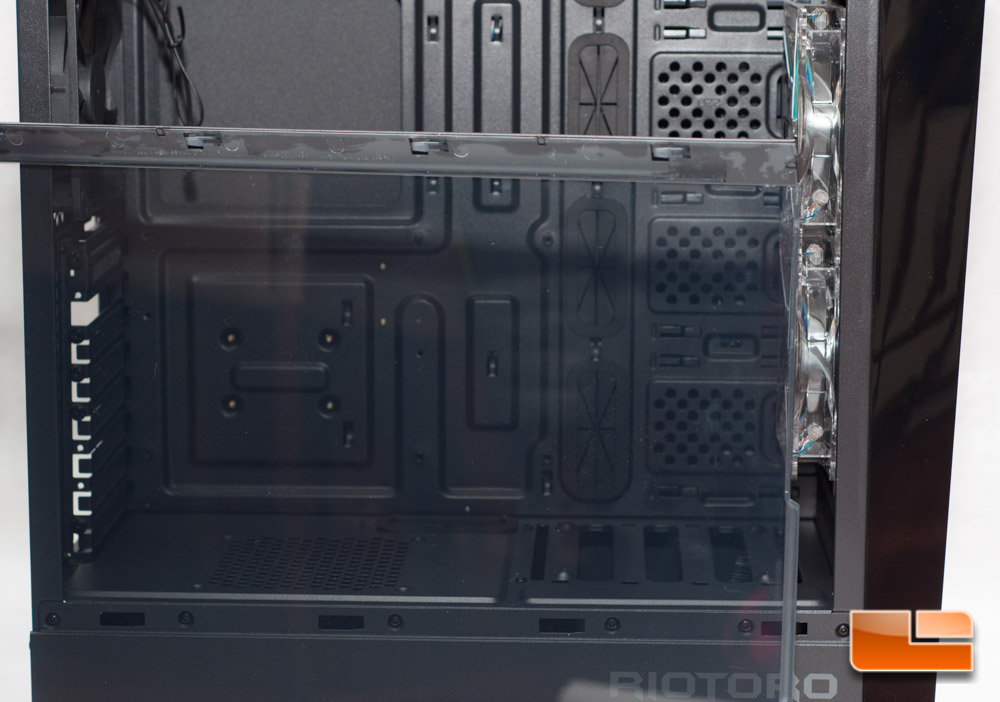
Heres a shot with the side panel completely removed. You will clearly see that this case is comprised of two chambers, but the PSU will mount strictly in the bottom chamber. Note that the bottom metal piece that says RIOTORO is not removable at all. Im not really sure what the reason was to disallow access to the bottom chamber from this side, but it is not the end of the world, fortunately.
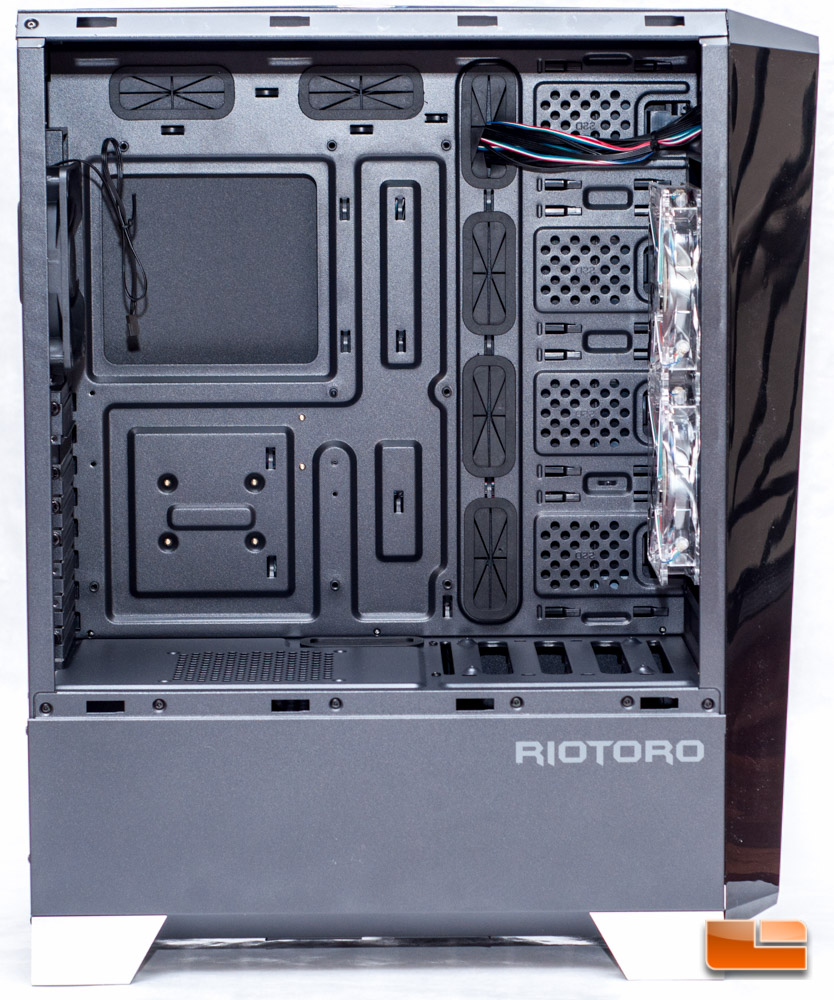
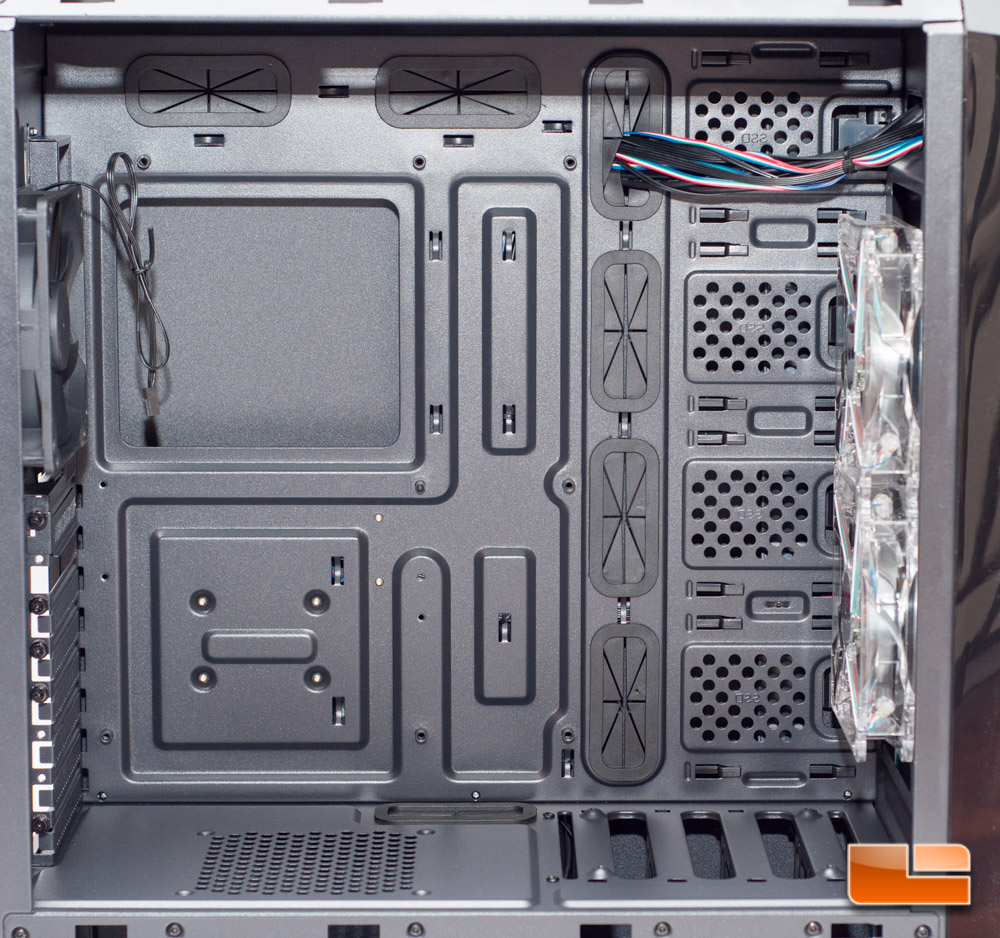
Inside here we can see several wire pass-thru points, so you will have no shortage of points to make your interior look nice and clean. The cutout on the motherboard tray is nice and large, leaving you with plenty of access to the rear of your motherboard for cooler installs or swaps. You will notice that the hard drive cage is missing here, and thats because its located in the bottom chamber. The included exhaust fan measures 120mm, but like the front fans, RIOTORO has no specifications on this fan.
When we got this case, there were three thumb screws and an expansion slot filler flying loose inside the case.
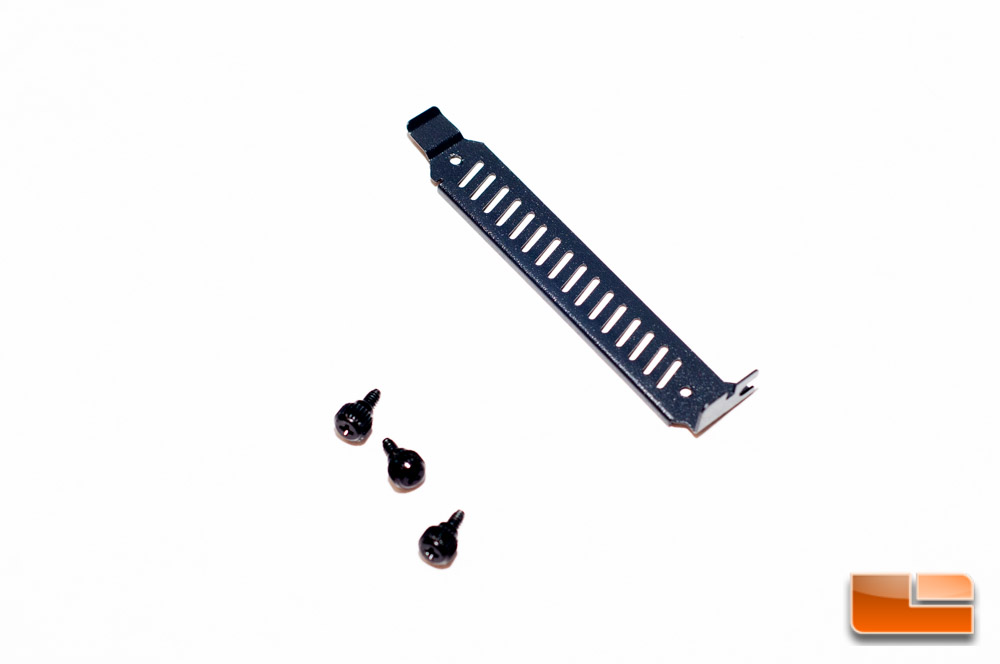
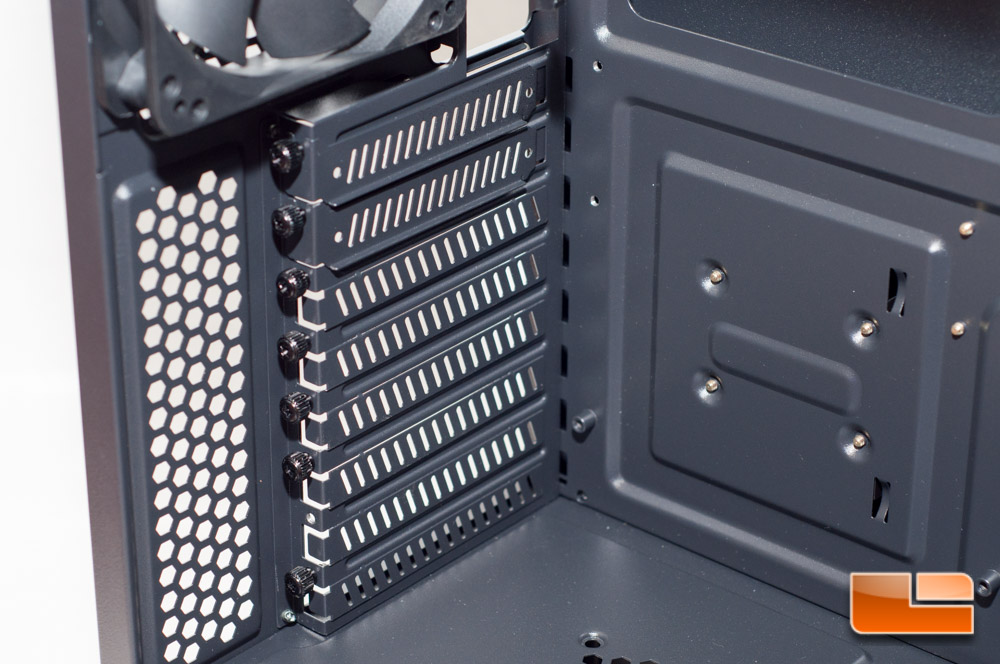
I discovered that there were three screws missing on the expansion slots, one of which was for my loose filler. I did realize later on that there was an additional screw missing from a side panel, so I had to rob one from the expansion slots, which is why one is missing in the following picture. Thankfully after opening the accessories package was that last screw and more filler plates. Why there was one screw in there gets me wondering, but I decided not to pursue that thought. Anyway, the expansion slots have knockouts in all but the top two slots, which can be later closed off with the fillers if needed. There are eight slots in total.
On the bottom of the top chamber was a spot for a 120mm fan to be installed on the underside (based on the indentation for the screws). I cant say this spot would be ideal for a 120mm liquid cooler, as it will rest just above the PSU and there is next to no room there to begin with, so don’t try it!

Moving onto the rear, it is about as basic as you can get. The exhaust fan can be expanded to a 140mm fan and is also vertically adjustable. In this dual-chamber case the PSU will only mount in the bottom chamber, so some users may have to ensure they have an 8-pin 12-volt motherboard power cable extension handy if their PSUs wires are shorter.

The right hand side of the case is very plain, so there is not much to see here.
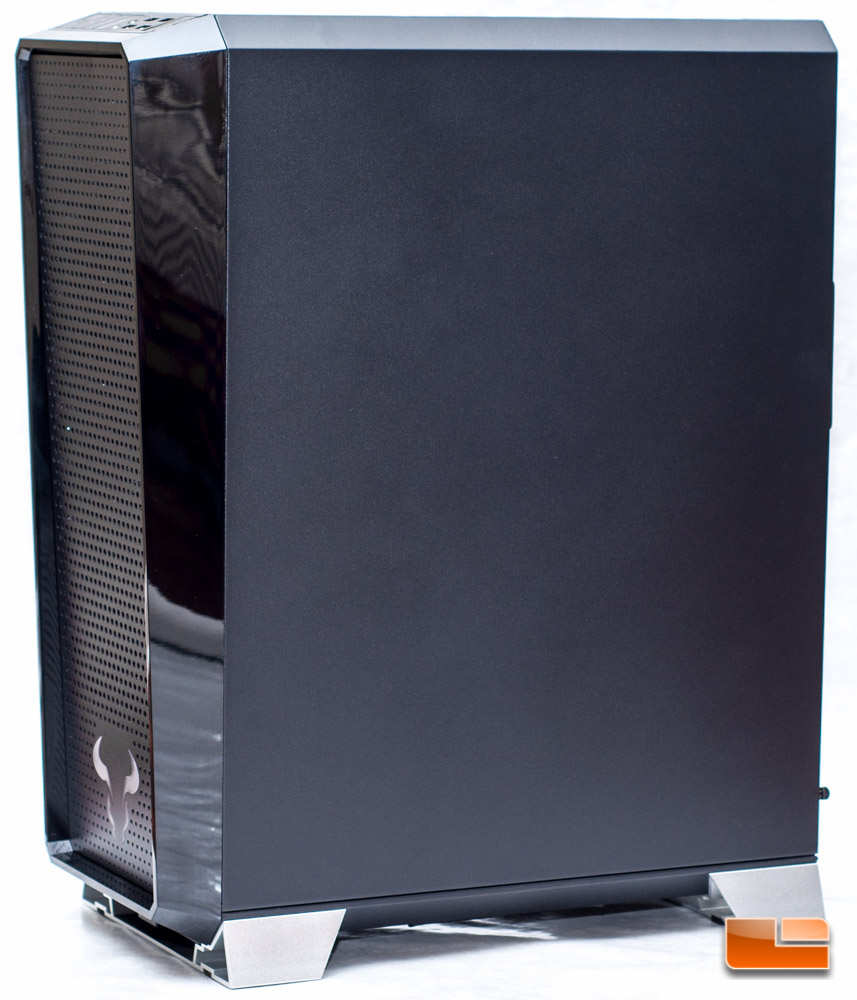
Pulling off the side panel exposes a bunch of goodies, however.
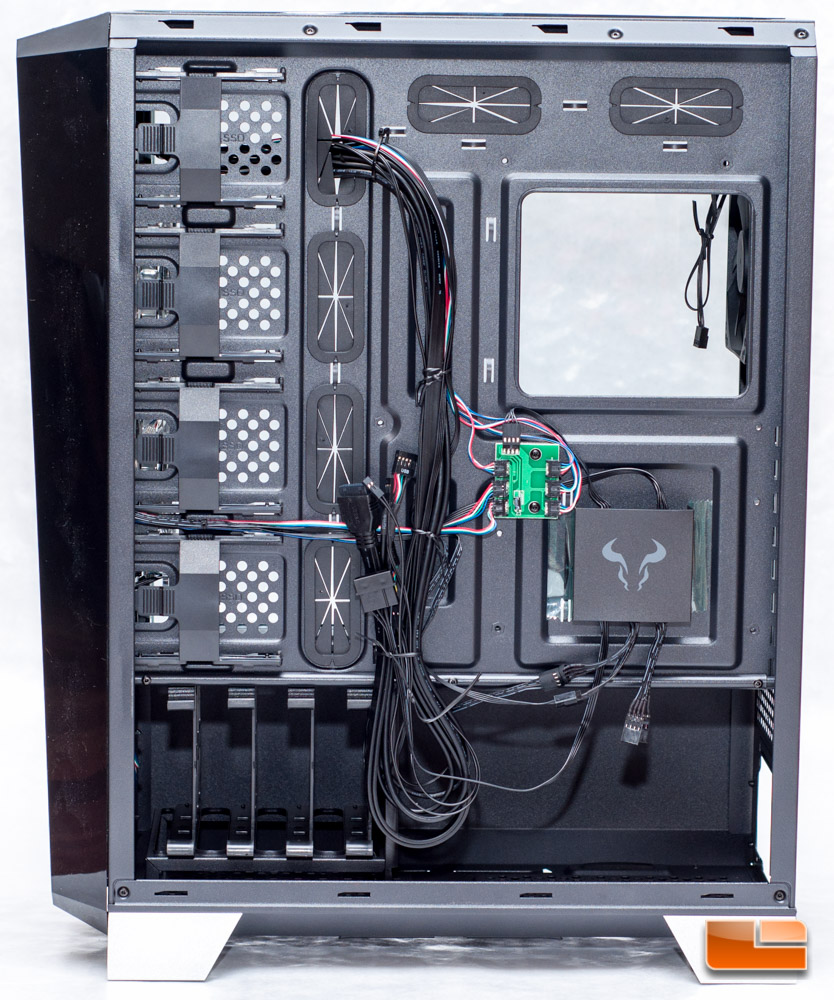
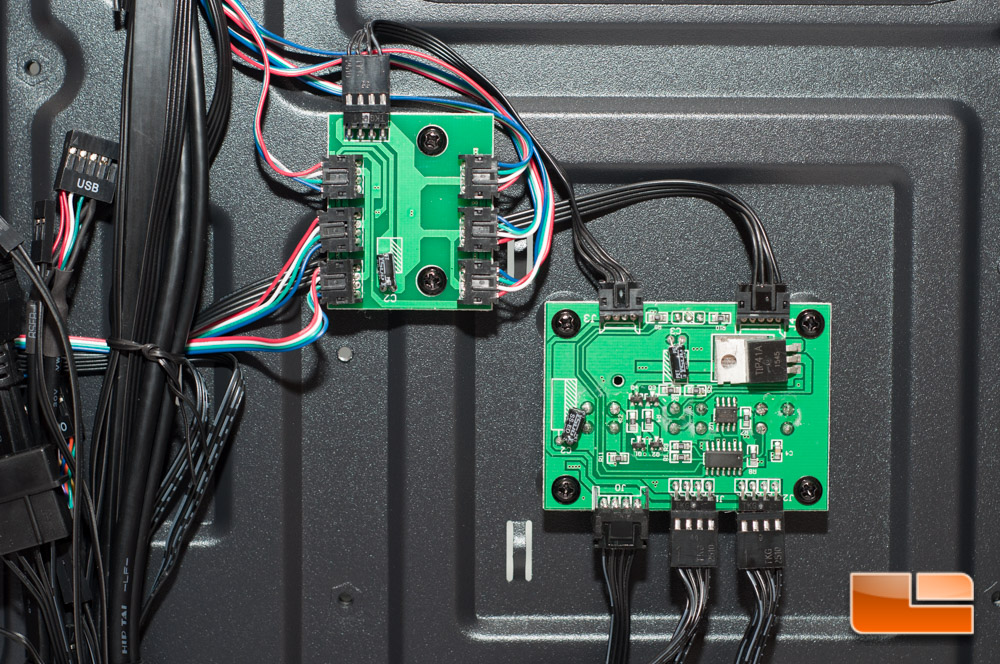
Starting with the most noticeable item are the circuit boards, one hidden behind a RIOTORO logo. The one hidden behind the logo is simply removed and put back into place via the magnets adhered to it. The top board is for the LED light system, while the one on the bottom is a fan controller. The fan controller actually has room for two more fans thanks to the pre-installed splitter on the bottom right connection.
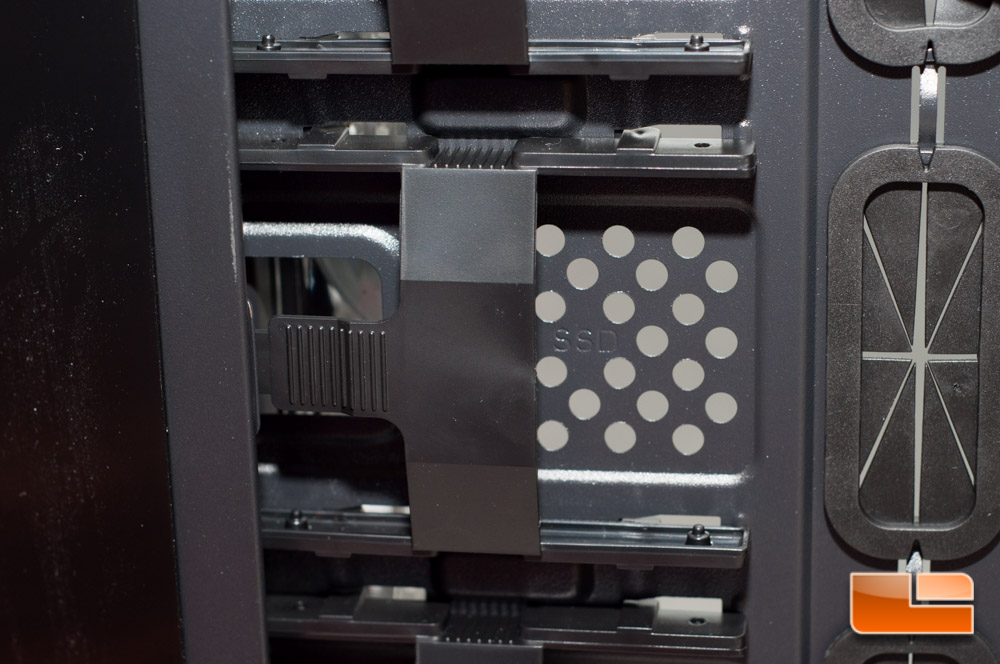
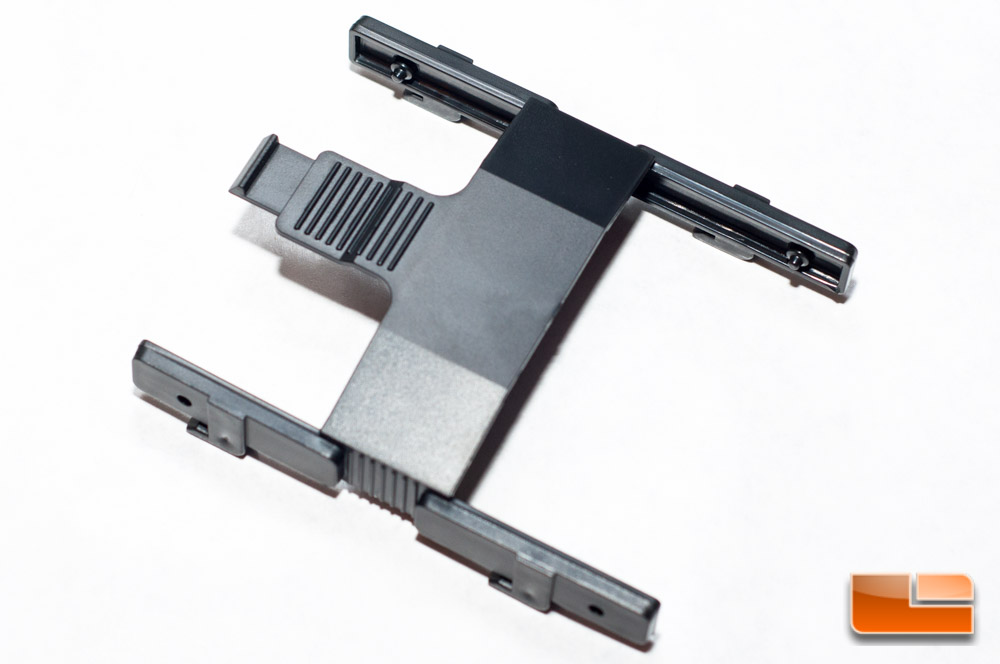
Room for four 2.5-inch drives on the rear is a nice touch. The brackets can be a little tricky to remove, but theyre removed by pressing the tab on the left side down and sliding to the right.
Heres a shot of the bracket itself no tools required.
On the bottom left is where your 3.5-inch hard drives will live. On the bottom chamber, I would have liked to see some active cooling in place for the hard drives. RIOTORO did design this case with air flow in mind, trying to keep all of the hard working components as cool as possible with direct airflow (AKA: No obstructions), but neglected to give your drives any cooling. Fortunately there are several vents to help dissipate heat, so its not just going to get trapped in the bottom. I know some drives, like my HGST NAS series drives, which are known to run a little warmer than others, wouldnt be happy inside this case.
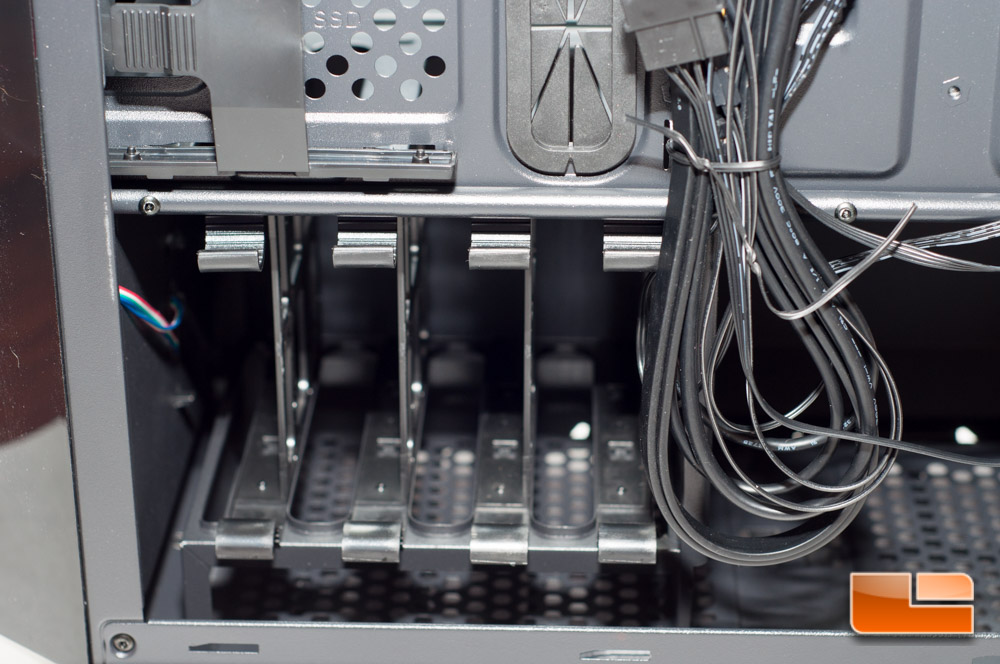
The 3.5-inch HDD bracket is also tool-free, so installing or removing these drives will be made easy. This is the 3.5-inch bracket:

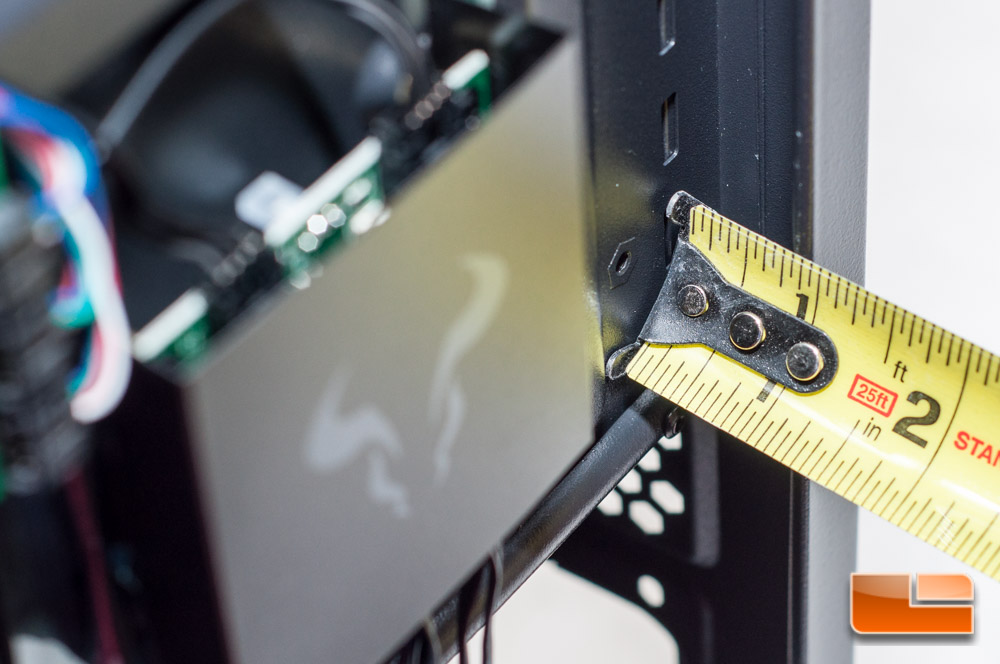
Wire management wise, you have 1/2 to 7/8 inches of space in the route your cables. Im happy to see more manufacturers go towards giving you more and more room for wire management. This case definitely could have used a little more, but I was able to squeeze my wires behind the cover with little effort.
On the top there is an acrylic shroud which I believe is in place to assist with silencing the case when no fans are in use, but still allows for any extra heat that the fans didnt push to the rear to escape.
To remove the shroud, you simply press down on the rear, youll hear a click, and itll pop up, allowing for quick and easy removal. With the shroud removed, its now easier to see that you can install up to three 120mm fans or a as large as a 360mm radiator. There is also a mesh filter up here that is removable and is held in by little magnet strips.
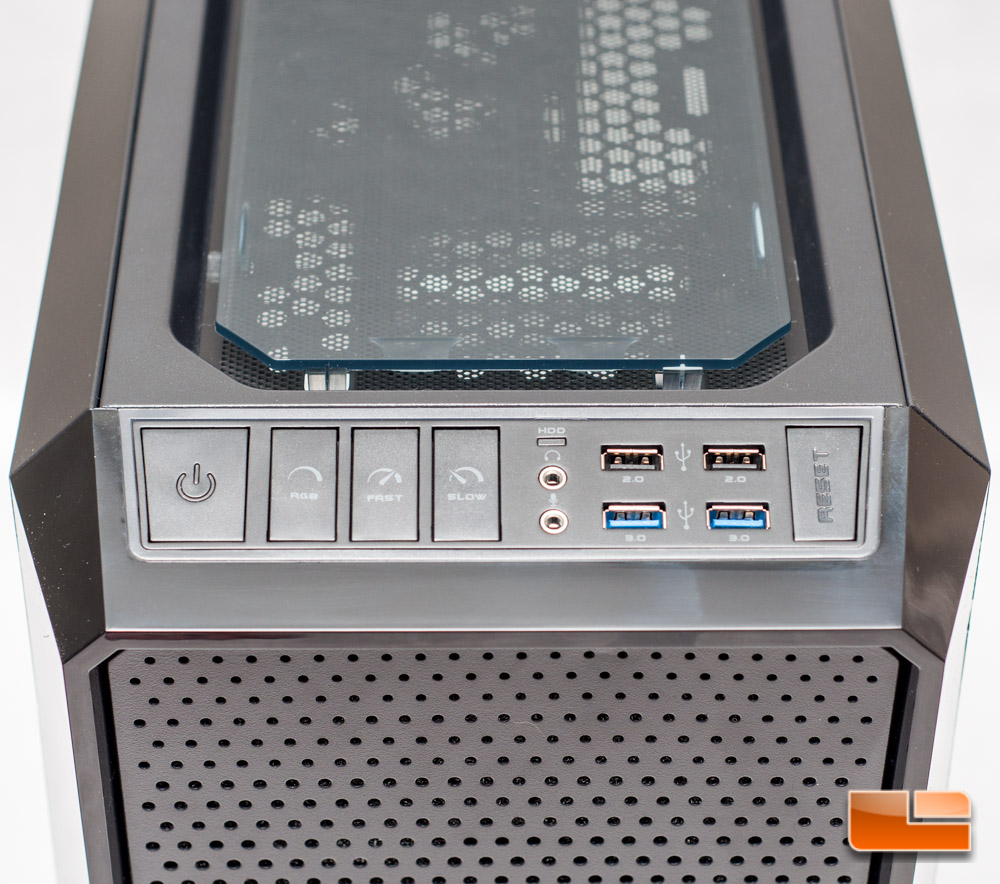
So that I/O panel that has been mentioned a few times is angled towards the face, helping you more easily access the buttons or connectors. You can also see the translucent outline, which you will later see lit up by the cases RGB light system. Working our way left to right you find an illuminated power button, RGB button, a fast and slow speed for the fan controller, HDD activity, headphone in, mic out, 2x USB 2.0, 2x USB 3.0, and a large reset button.
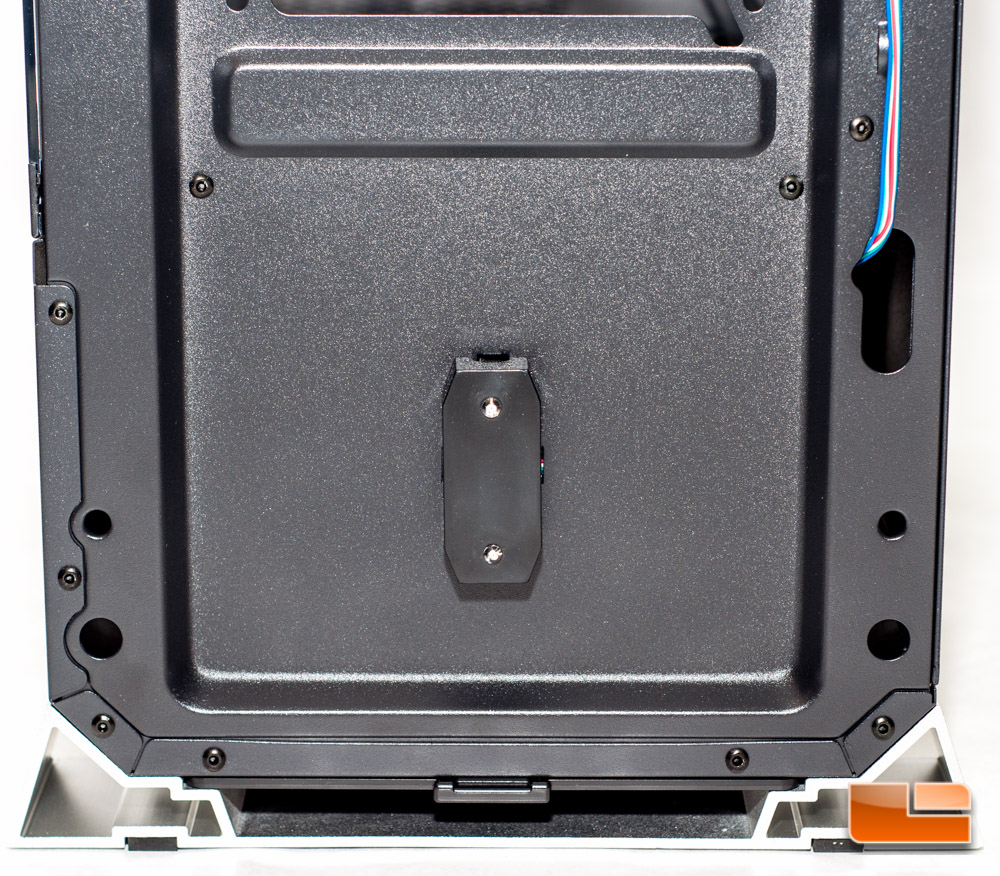
Finally on the bottom of the CR1280 are two nicely machined aluminum feed with rubber pads installed plus two removable air filters one accessible from the rear, one the front.
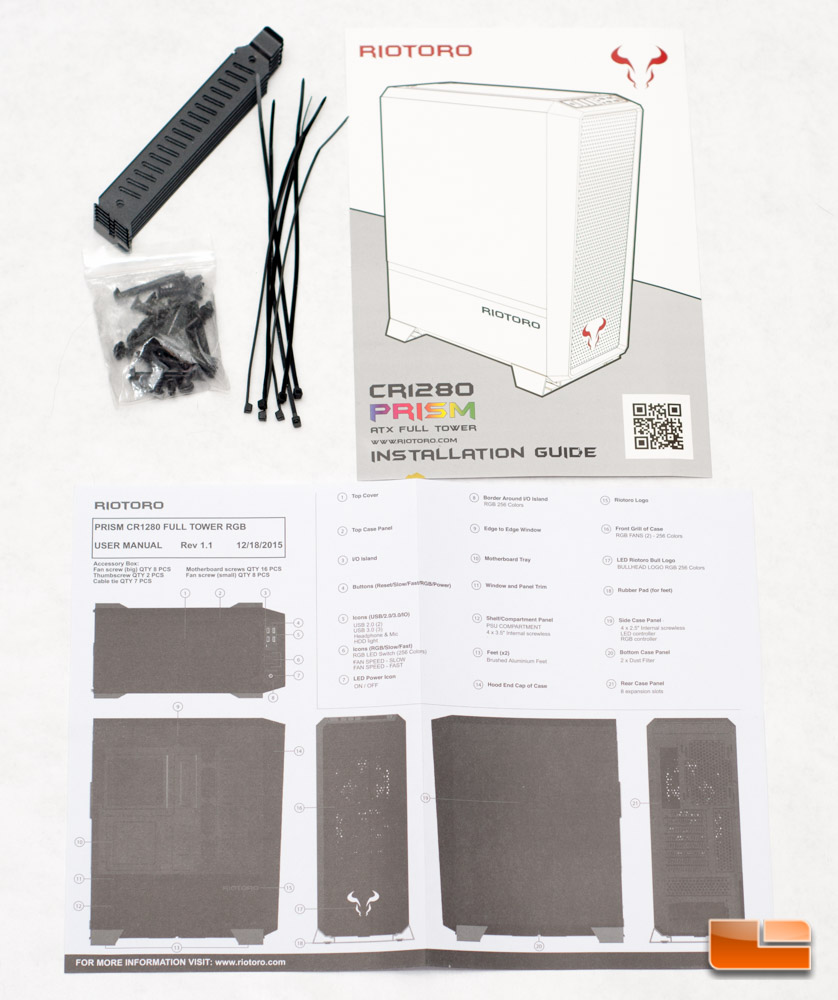
Included with this case are only six expansion slot filler plates, screws to install your components, and a piece of paper with a QR code for installation instructions.
This wraps up the product tour, so lets take a look and see how easy it is to install hardware inside the Prism CR1280.