Razer Krait Gaming Mouse Review
The Software
To take advantage of the mapping features and the on the fly sensitivity ability, you need to install the control panel for the Krait. Its a simple and straight forward process, so we will move on to the screen shots.
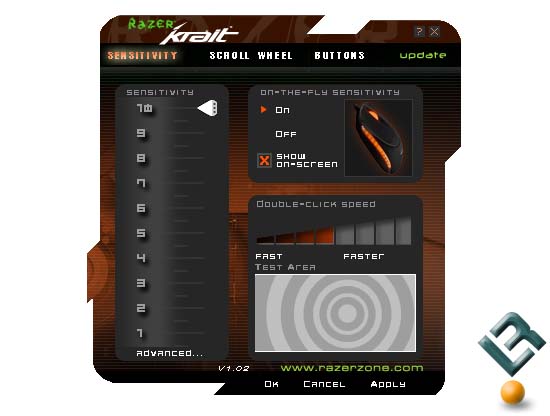
When you first start the control panel, you start in the sensitivity settings. Here, you set the sensitivity for the mouse and double click speed.
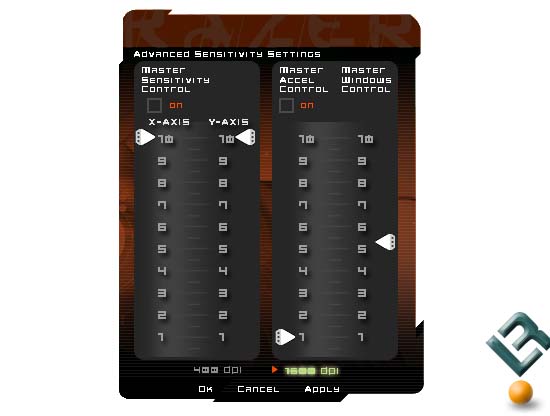
At the bottom of the sensitivity scale setting is the advanced tab. In the advance tab you can adjust the X- and Y-axis independently. Here is also where you find the Aceleration control; you can either adjust the Windows setting or override it. You are also able to change the DPI setting all the way down to 400 DPI if you so choose.
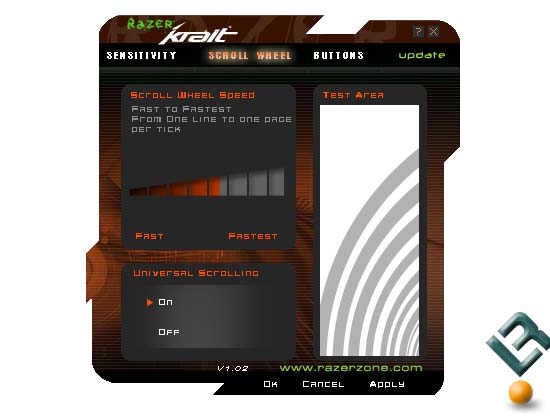
In the next tab we have the Scroll wheel settings and testing area. Nothing earth-shattering here so we will move on.
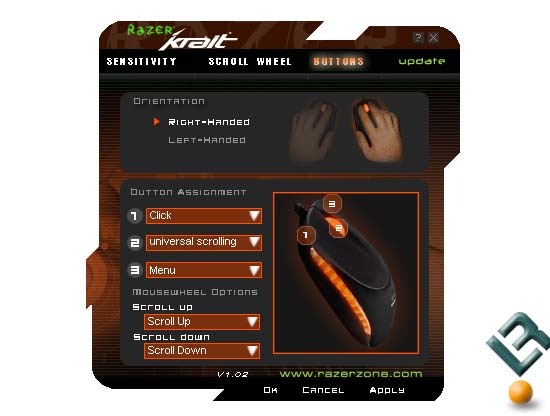
The last tab is where you can customize the buttons themselves, and the right/left orientation. In each of the drop downs there is a list of options available to each button, even an option to add your own macro.
With the Krait configured to have the on the fly sensitivity turned on, you can hold down the button you have assigned to it for second, then roll the scroll wheel and the sensitivity bar pops up in the lower corner. Adjust to the sensitivity you need for the moment, release the button and then you are good to go.
Comments are closed.