MSI Big Bang XPower II Motherboard Review
MSI Big Bang XPower II Motherbaord BIOS
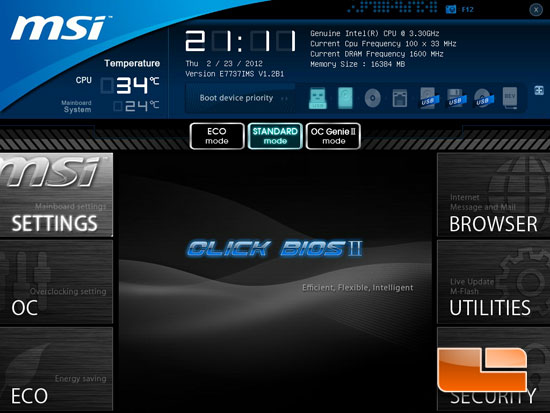
Booting up the MSI Big Bang XPower II for the first time we stuck our curious little head into the MSI Click BIOS II. The MSI Click BIOS II is quite a bit different that what we saw with the MSI P67A-GD65 Click BIOS that we saw back in January of last year. The MSI Click BIOS II is a much cleaner looking UEFI interface than the original click BIOS that we saw then. The first page that pops up gives us some basic information about the system as well as access to the rest of the Click BIOS II pages.
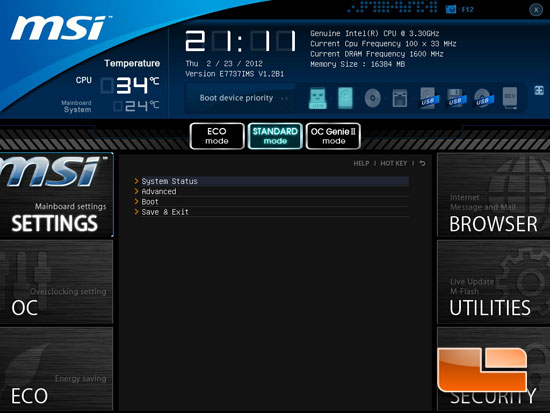
Each of the various sections of the MSI Click BIOS II can be found along the left of right side of the page. The first page that we are going to look at is the MSI Settings page. The MSI settings page will give us access to the System Status, Advanced settings, Boot Settings and the Save and Exit page.
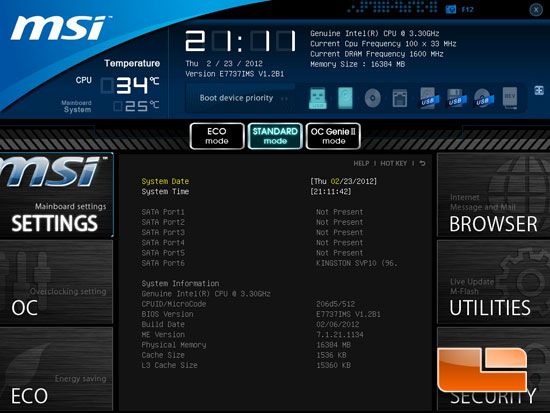
The system status page isn’t exactly what I though it would be, I though we were going to be looking at the various temperatures and voltages of the system. Instead it gives us the system date and time as will as more information about the system hardware.
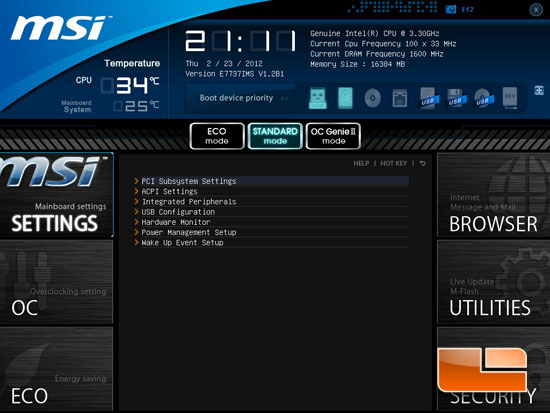
Heading into the Advanced page of the MSI Click BIOS II we gain access to several more sub pages including, PCI Subsystem settings, ACPI Settings, Integrated Peripherals, USB Configuration, Hardware Monitor, Power Management Setup, and the Wake Up Event Setup.
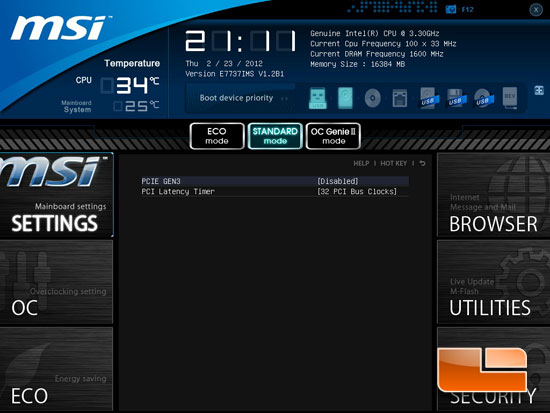
There isn’t much to the PCI Subsystem Settings, the ability to enable the PCIE Gen3 which is disabled by default, and the PCI Latency Timer.
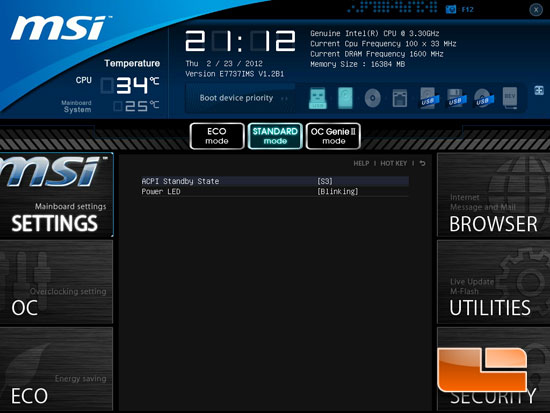
Above you can check out the page for the ACPI settings. The only options here are the ACPI Standby State, and the Power LED settings.
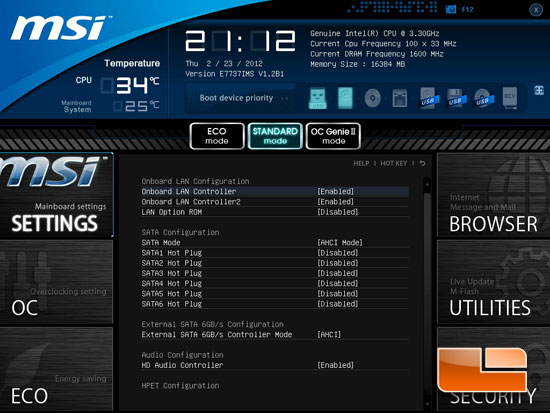
The Integrated Peripherals page has the options to enable or disable the various onboard devices of the MSI Big Bang XPower II.
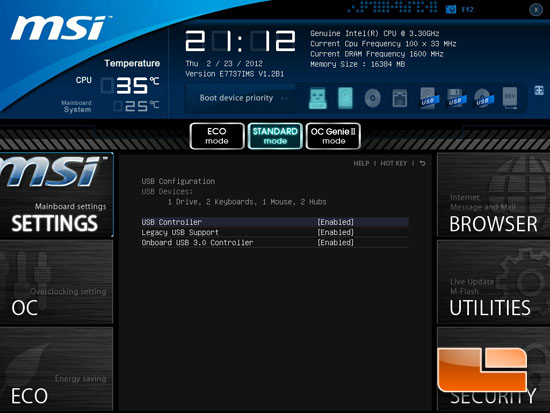
The USB Configuration page allows us to enable/disable the various controllers and legacy support for USB devices.
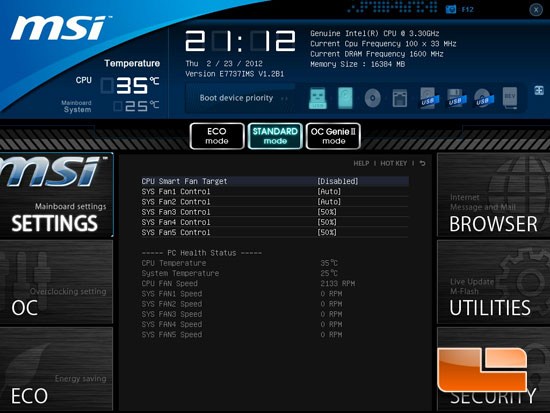
The Hardware monitor is a little on the light side. There is nowhere to monitor the system voltages. Though we can see the temperatures and fan speeds here as well as set the fan profiles.
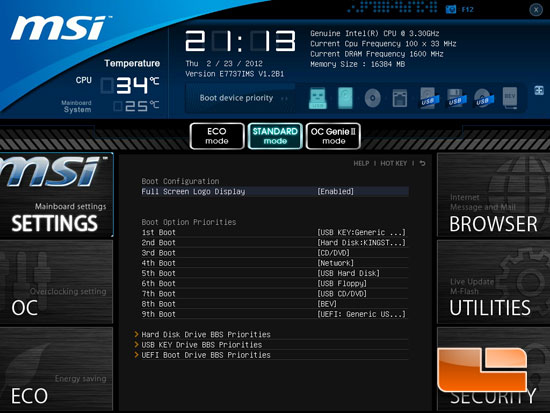
Heading into the boot page of the MSI Settings we can change the order of the devices that we want to boot from.
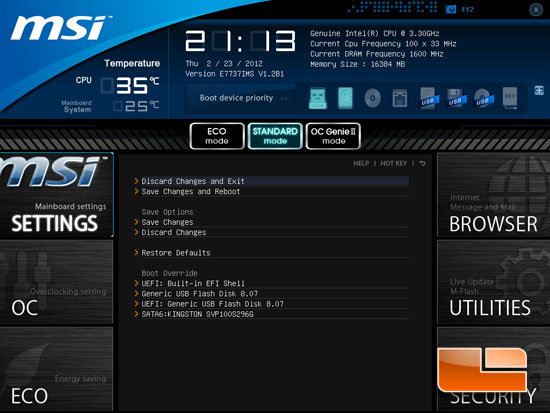
What is normally the last page of the BIOS, is found among the first set of pages in the MSI Click BIOS II. The ‘Save and Exit’ page lets us save and exit, load the system defaults, or simply discard the changes we have made and restore the previous settings. We can also set the Boot override for a one time boot device.
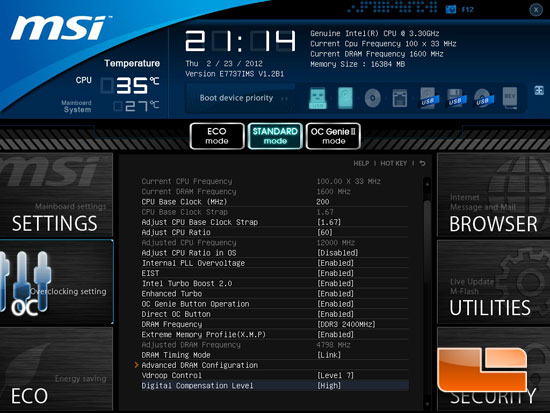
Heading into the Overclocking Settings pages we start to get to the meat and potatoes of the MSI Click BIOS II. Here we can tweak the system settings to get the most from the MSI Big Bang XPower II, Intel Core i7 processor, and our choice of memory. Above you can see the various settings set to their respective maximums. The maximum CPU Base Clock of the Big Bang XPower II is 200MHz and a maximum x60 CPU multiplier.
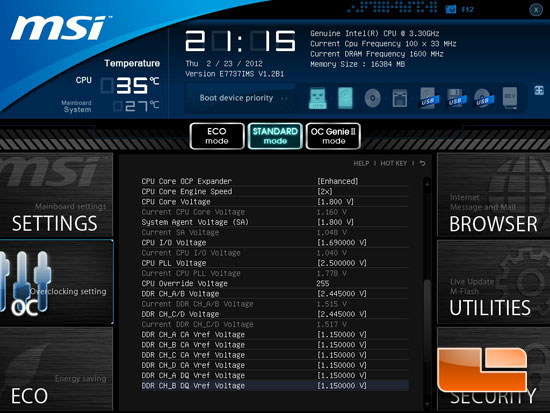
Scrolling down the OC Settings page we can see that there is more than enough voltage options and capability to put our hardware in danger if we aren’t just a little careful. The MSI Big Bang XPower II has a maximum CPU core voltage of 1.8 Volts available which is higher than most of the boards that we have come across which have had a limit of 1.7 Volts.
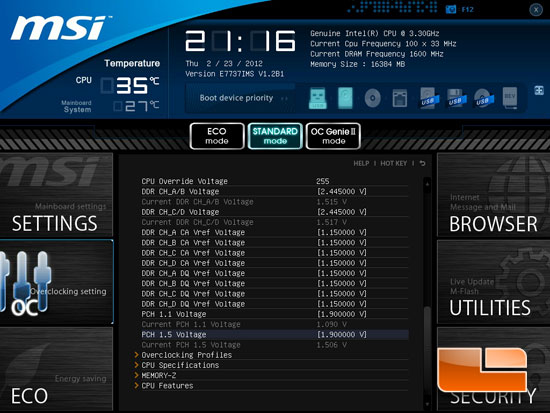
At the bottom of the page we have the page access for the Overclocking Profiles, CPU Specifications, Memory-Z, and CPU Features.
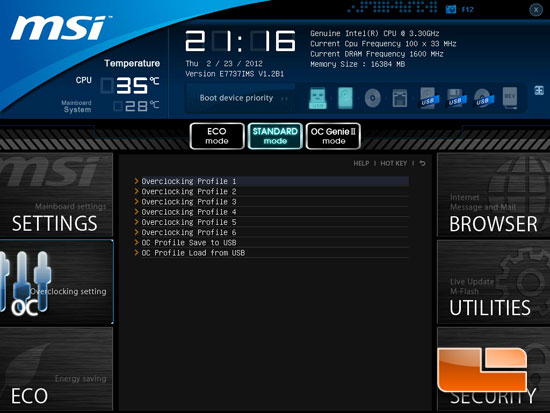
The MSI Big Bang XPower II Click BIOS II has 6 available profile slots to save your BIOS profile to. If that isn’t enough, you can also save your profile to a USB flash drive so it can be share among friends.
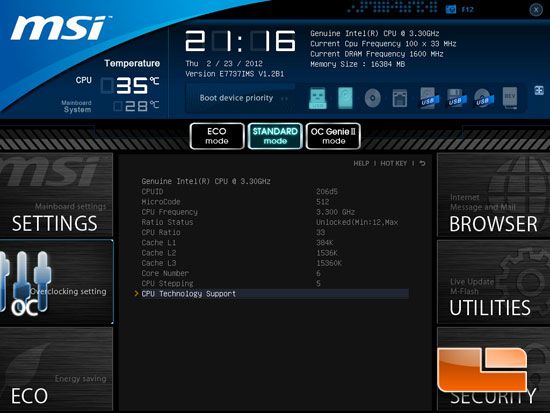
The CPU Specifications page gives us the information about the CPU that is installed into the Big Bang XPower II. In our case we are using an Intel Core i7 3960X.
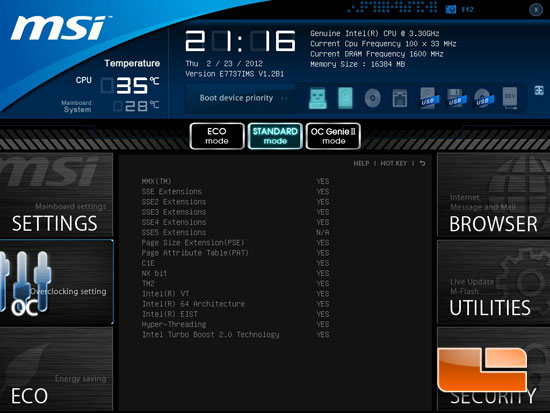
Heading into the CPU Technology Support page we can see the various technologies supported by the Intel Core i7 3960X.
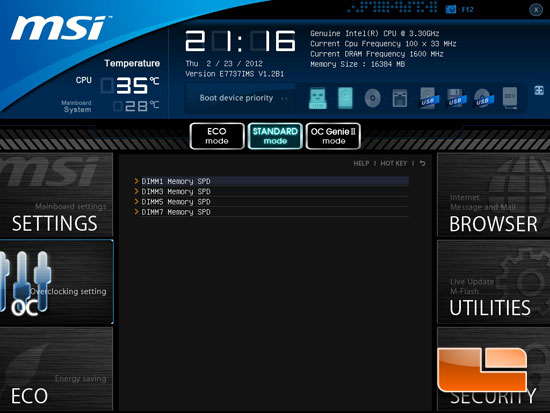
The Memory-Z page shows us only the DIMM slots that have a memory module installed.
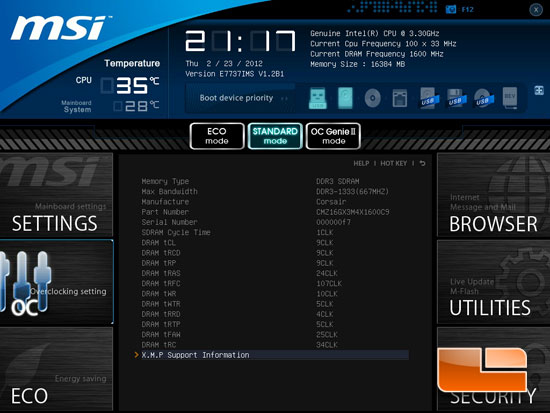
When we open up one of the DIMM slots we can see the standard JEDEC settings, at the bottom of the page we can open up another page that will display the XMP profile settings of our Corsair Vengeance memory.
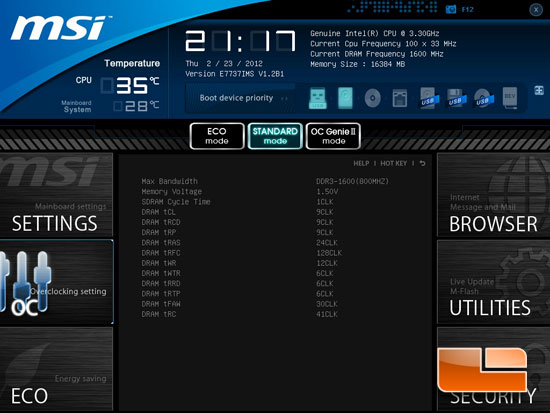
The X.M.P. Support information page will display the XMP profile settings of your chosen memory.
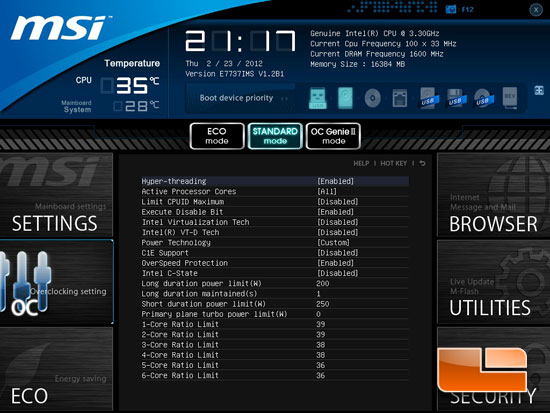
The CPU Features page lets us set the various user adjustable settings of the Intel Core i7 3960X.
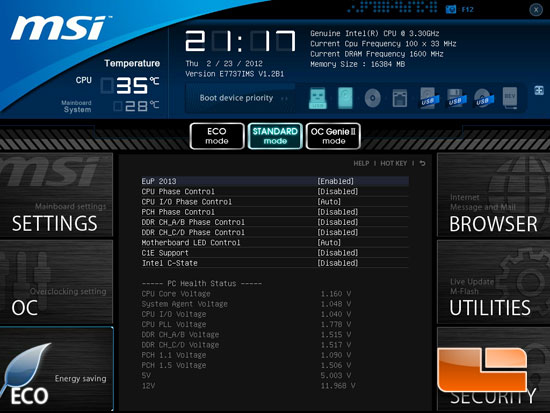
The MSI Big Bang XPower II Click BIOS has a seperate page for all the Eco settings. Here we can set the power saving features of the Big Bang XPower II.
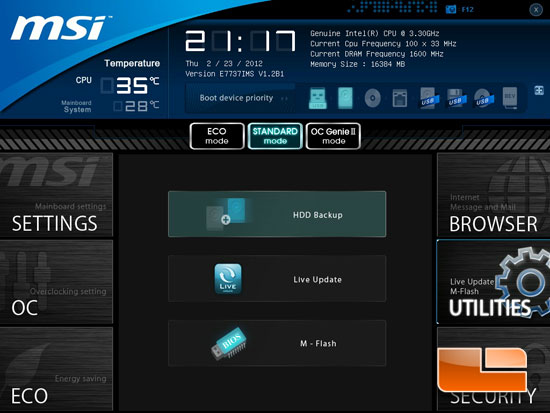
The Utilities page of the MSI Big Bang XPower II has the HDD Backup, live update, and M-Flash utilities on it.
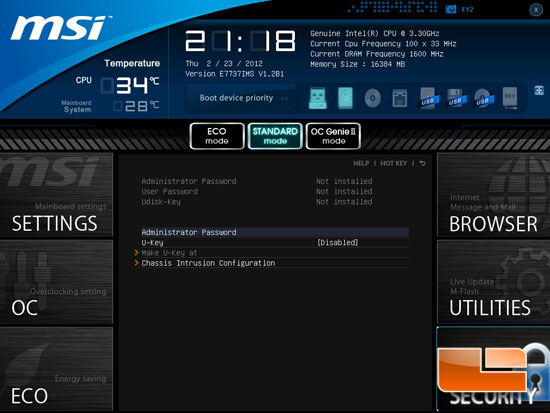
The final page of the MSI Big Bang XPower II Click BIOS is the security page. Here we can set the various passwords, U-Key, and Chassis Intrusion Configuration.

Comments are closed.