Modding: Single-Layer to Dual-Layer
Introduction
With the recent introduction of dual-layer DVD burners many consumers found that their high speed single layer DVD burners are no longer cutting edge. There is a way to update the firmware on several of the more recent single-layer DVD RW’s that will essentially turn it into a dual-layer burner. If you are one of the many enthusiasts that must have the latest and greatest technology don’t toss out that “old” single-layer drive just yet!
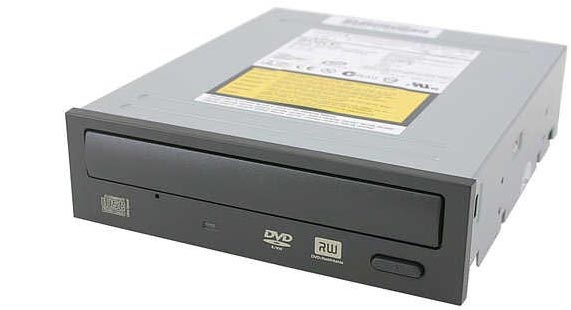
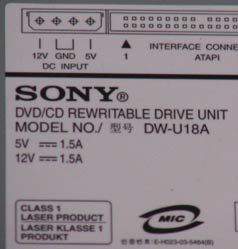
We happened to have the popular Sony model #DW-U18A 8x single-layer DVD burner on hand and wanted to see how easy it is to mod into a dual-layer drive. Basically what we are going to do is take our Sony drive and put a Lite-On 832s firmware update on it, which is known to work fine. This will allow our DVD burner to function as a Dual-Layer (DL) drive! If this works, then this is a nice free upgrade that will save you a few bucks!
I must indicate now that this will void your warranty with Sony if something with the drive ends up going bad. So, use the instructions at your own risk!
Here is a quick list of the steps we used to flash our DW-U18A to a Lite-On 832s.
To determine if this mod will work for your DW-U18A
As far as we know, this mod will only work for Revision 1 models of this burner, which has the gear-driven tray. Revision 2 has a belt-driven tray and has not been tested. To tell if you have revision 1 of the DW-U18A, open LtnFW (see below on where to download it) and look to see if the current firmware version of your drive is UYS1. If it is, then you have Rev. 1 of this drive and may continue. If it says UFS1, then you have the belt-driven tray and these instructions are not known to work for that drive.
Flashing Instructions
Step 1: Obtain the latest 832s firmware (.bin) file. The source we used was located here.
Step 2: Obtain the latest version of Omnipatcher and the Latest “Recommended Tweaks” File. CodeGuys was our source. Put the unzipped recommended tweaks file in the same directory as the unzipped omnipatcher file.
Step 3: Obtain the latest version of LtnFW which is the windows flash utility for Lite-On drives. This Club.CDFreaks.com thread was our source.
Step 4: Run Omnipatcher and load the 832s firmware file you downloaded. At the bottom of the “General Patches” section, check the “Fix the ‘dead drive blink’/Enable cross-flashing” checkbox. Click the “Save As” button and save this new .bin file.
Step 5: Run LtnFW. We recommend that you first choose the backup option to save your current firmware. Then use LtnFW with the update option and flash the drive with the new firmware file you saved from the Omnipatcher program in step 4.
Step 6: Once the flash is complete, reboot and test your new 832s drive! Everything should have completed successfully and you can now burn DL media! Our result from following the steps on our Sony DW-U18A is shown in the images below.
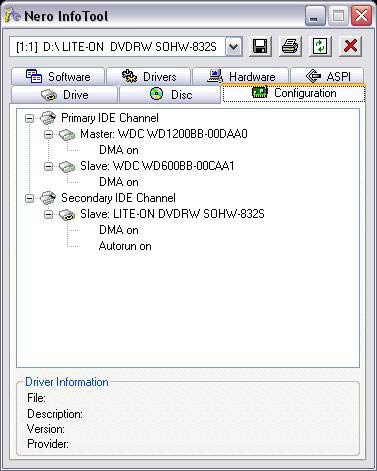
As you can tell, Windows now recognizes this burner as a Lite-On 832s! Now let’s run some tests to see how well these instructions work!
Comments are closed.