Logitech G413 Mechanical Backlit Gaming Keyboard Review
Logitech G413 Mechanical Backlit Gaming Keyboard Closer Look
Though there are two different colors of the Logitech G413, they are otherwise identical in the hardware layout/design.
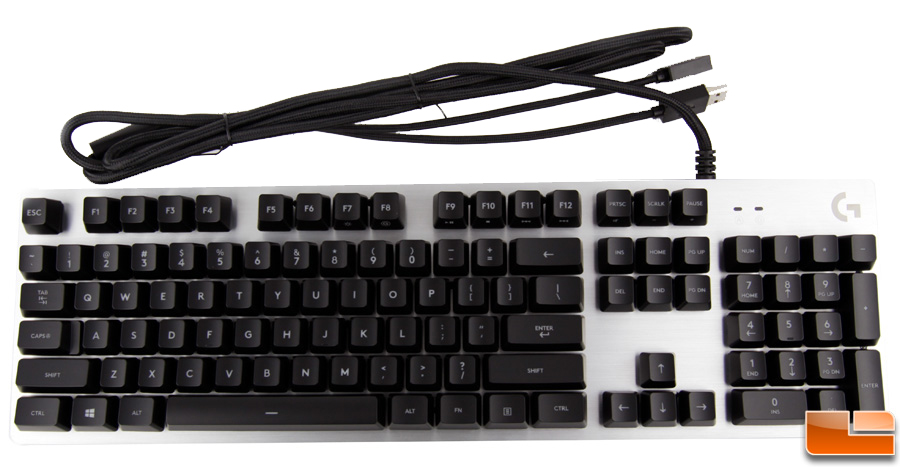
Looking down on the G413, you can see it’s a more or less standard keyboard layout complete with function keys along the top and a number keypad on the right side. The keys on the silver model are black with white backlit characters and the surface underneath is an aluminum alloy and plenty stiff. There are two indicator lights above the numpad – one for caps lock and the other for when the G (game) mode is engaged. Curiously, none for the number lock toggle which uses an on screen display messaged at every toggle. The only other key to use an OSD is the scroll lock key.
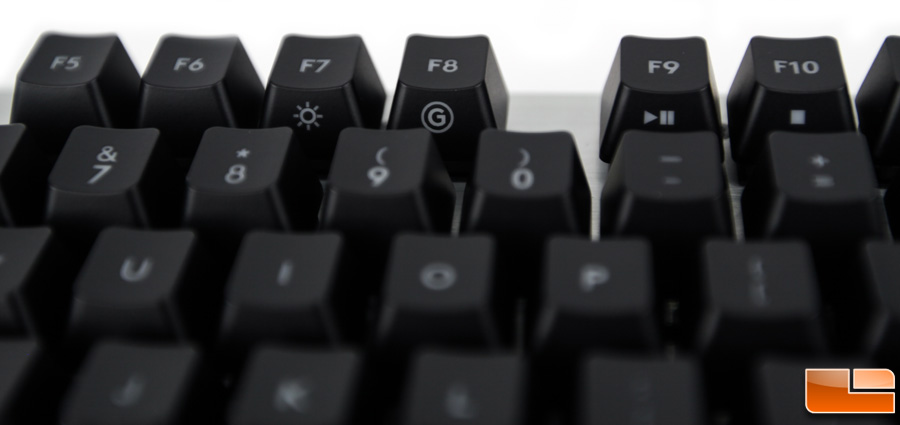
It’s not a super thick keyboard and not overly large though absent is any sort of wrist rest. If you look closely at the fronts (as you face the keyboard as in use), you can see a number of the keys have secondary characters printed on them starting with the F7 key and moving across to the right to the pause key. These characters represent special functions that are triggered when the FN key is pressed in conjunction with one of the aforementioned keys (unless of course, you’ve set the software to behave the opposite way). These do things like change the backlight brightness, enable gamer profile modes, and media player including volume/mute controls. This allows the keyboard to keep a relatively small footprint as it negates the need for extra dedicated keys.
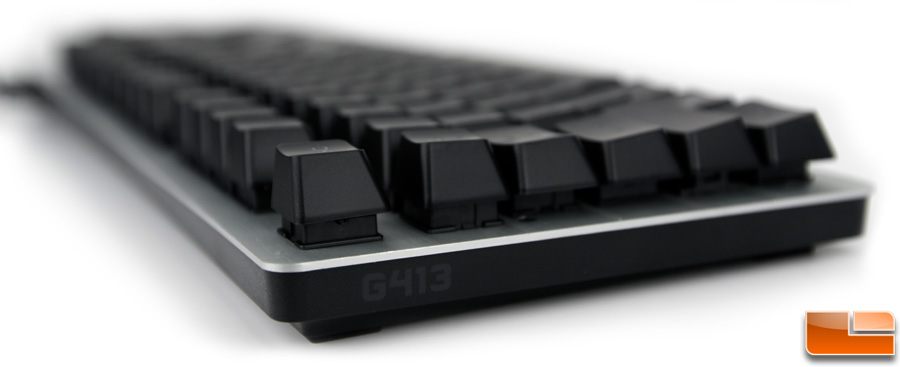
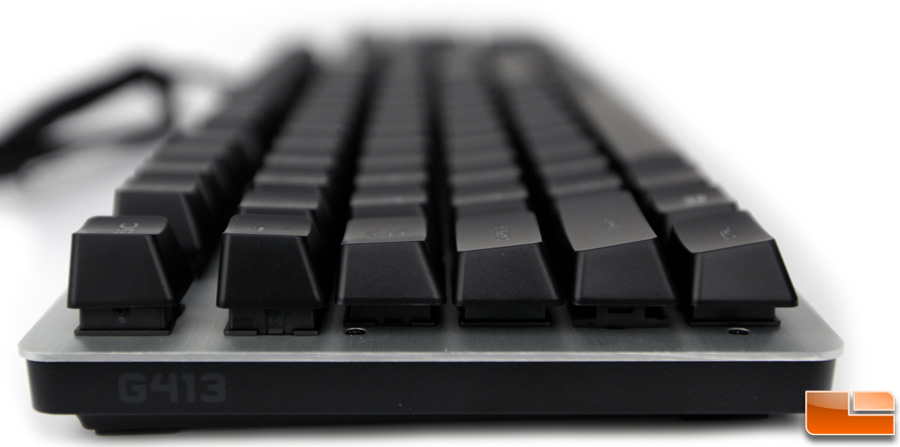
Around the sides, the plastic base becomes visible and on the left side there’s a G413 stenciled on though hard to see in poor lighting.
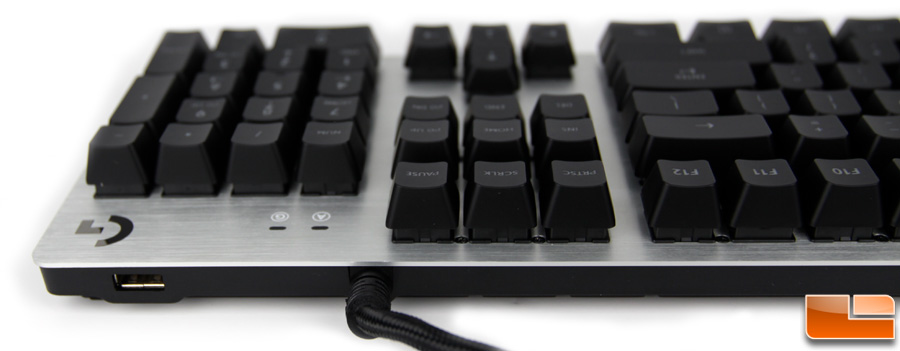
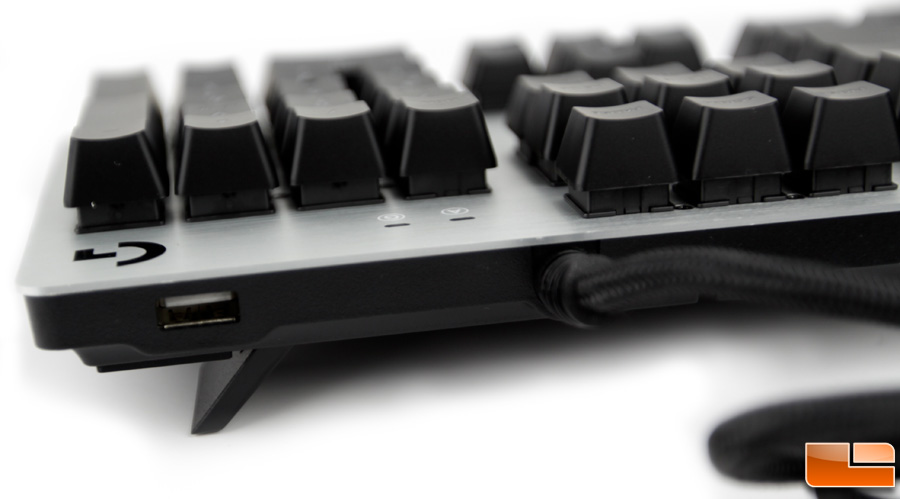
On the back, the cord is hard wired into the keyboard and behind the numpad is the lone passthrough USB 2.0 port though I would rather see a USB 3.0 port instead.
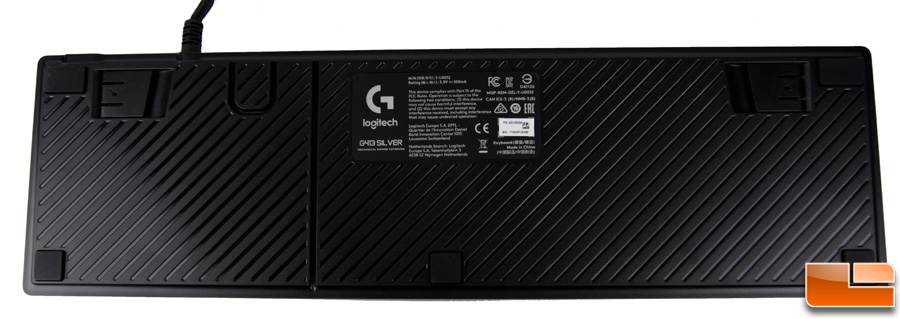
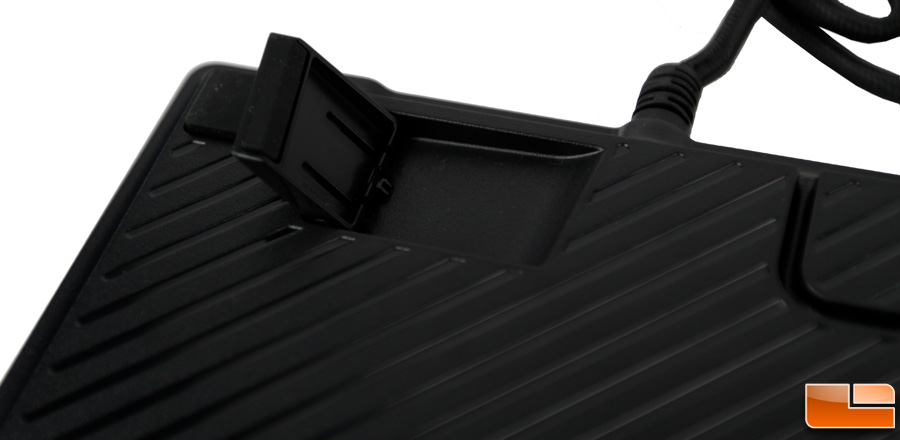
On the bottom there are a few channels molded into the plastic for cable routing purposes to help keep things tidy. This would be for mouse or headset cables as the keyboard cable itself is much too thick. There is a short U-shaped channel and one that cuts straight across, front to back. There are also fold out risers on each rear corner to raise the back of the keyboard up to what most people would consider a more comfortable typing position. Only two settings though – up or down.
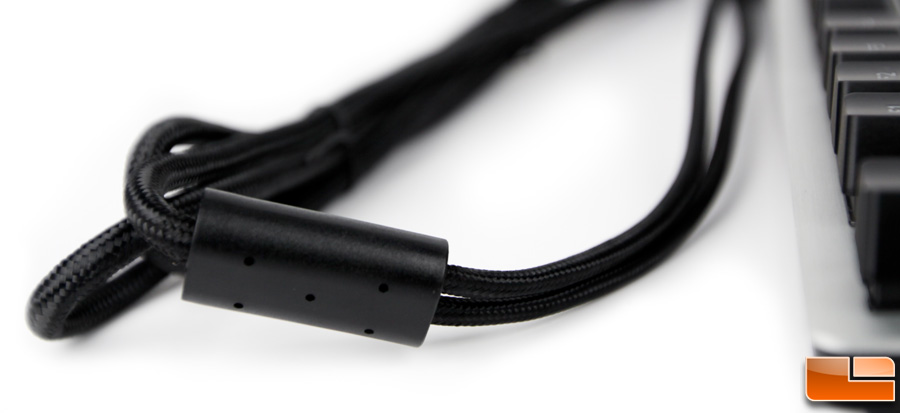
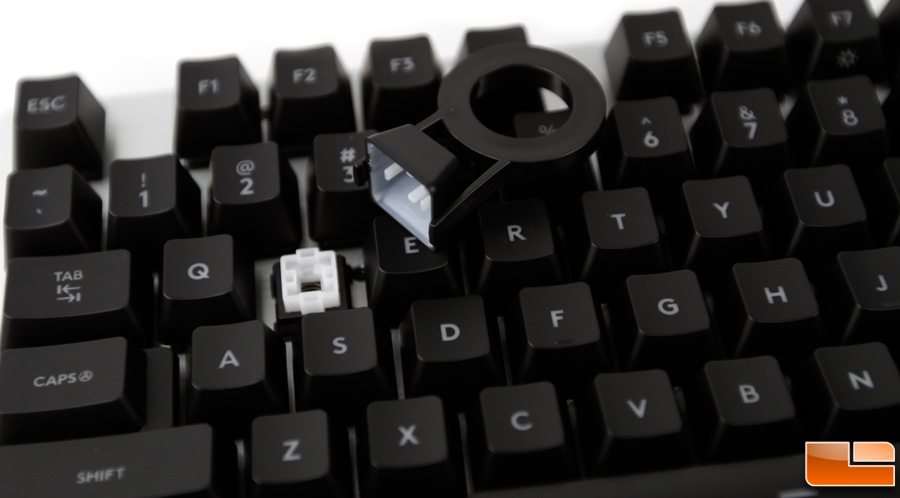
The 1.8m cable is split into two which takes up two USB ports on the PC but then enabled the single passthrough USB port on the back of the keyboard itself. The cords is braided and looks very clean. The included key cap puller included works well – just side it down over the key until it locks in place and then gently pull up and the cap comes right off. To install one of the alternate caps, just position it oriented correctly over the intended switch and press it firmly but lightly into place. It really only takes a few seconds to swap them out. Now we can look at customizing the keys programmatically.