Fractal Design Define 7 XL Case Review
Define 7 XL: Build Process
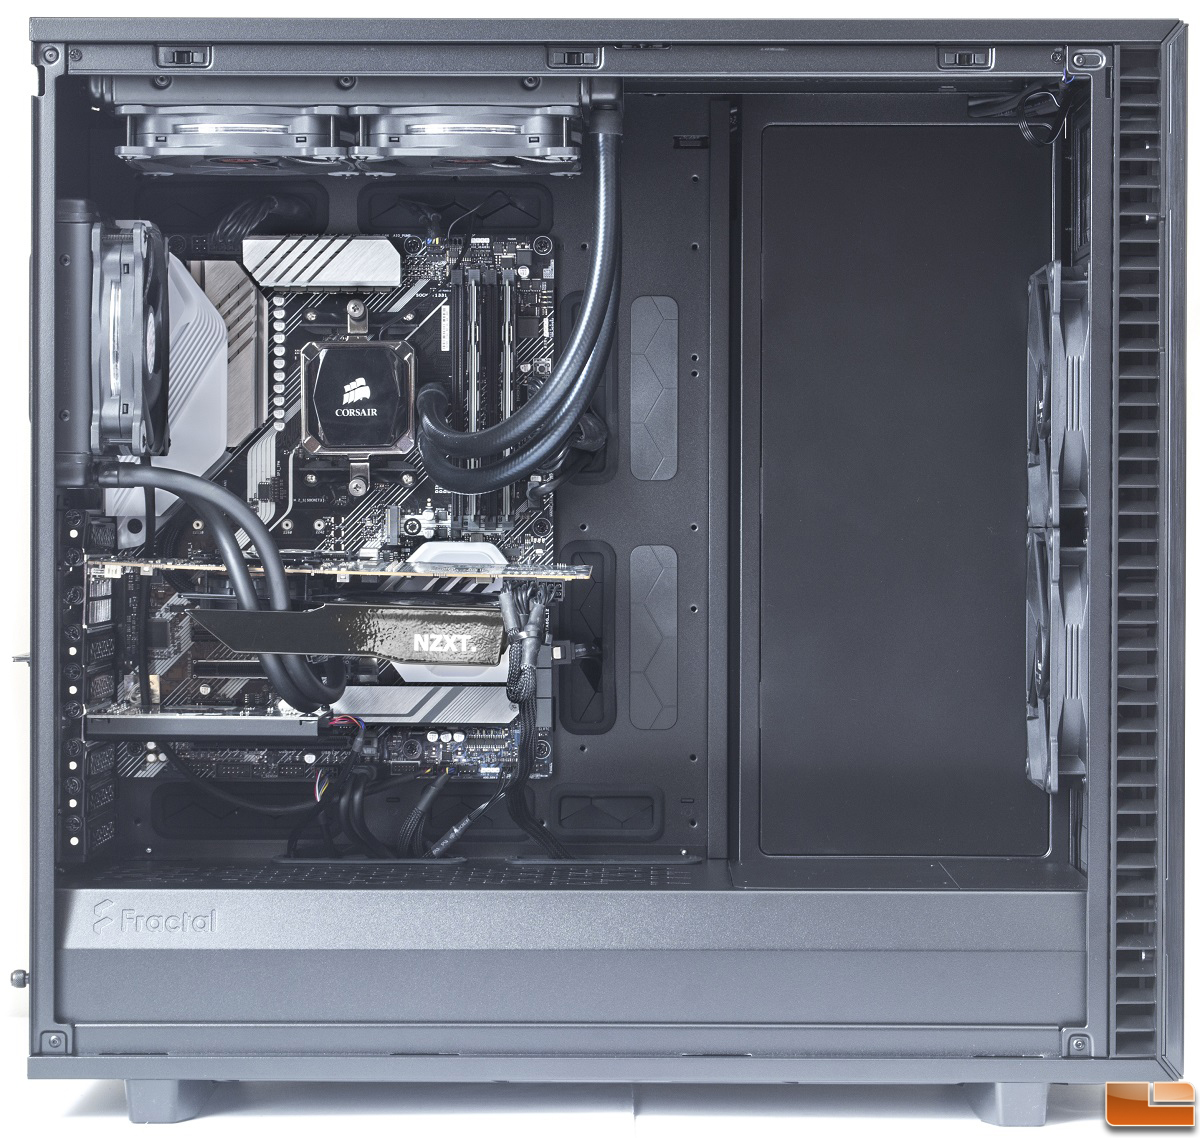
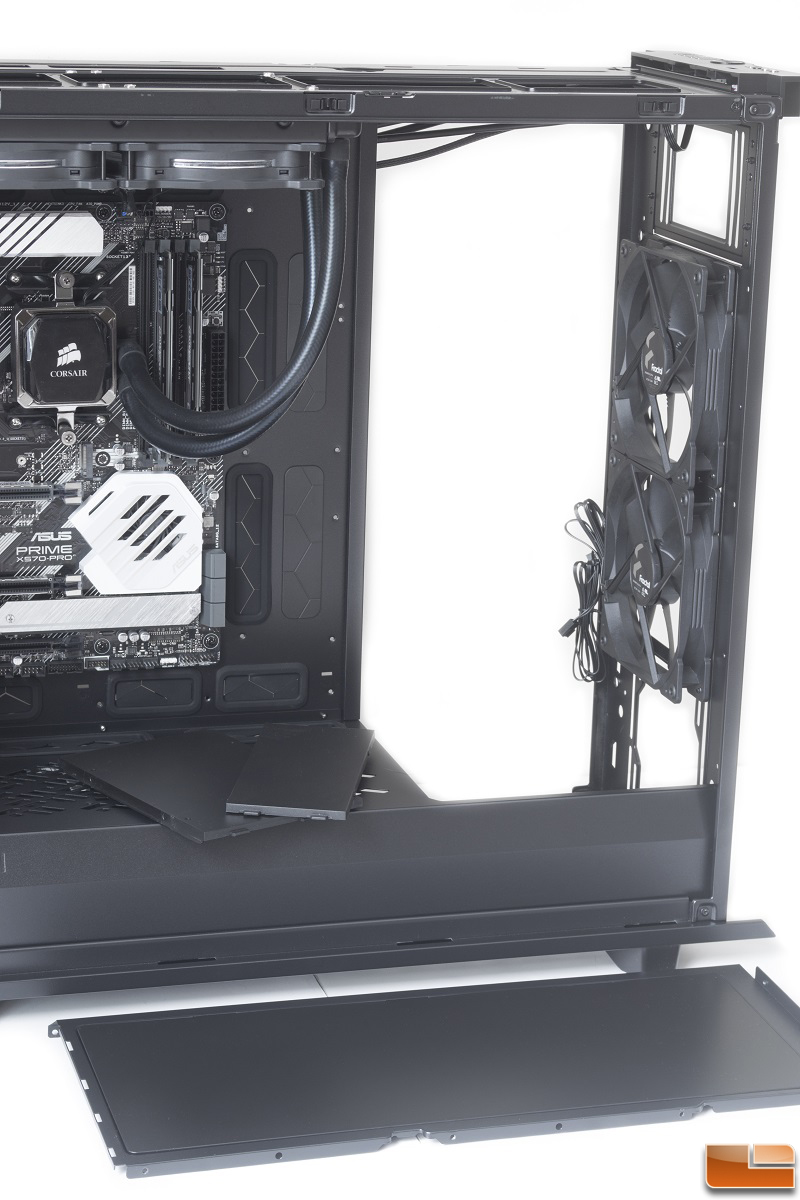
Using the open layout configuration, the build process with two AIO water cooling units went very well without too many problems. This build features the ASUS Prime X570 motherboard with a Ryzen 9 3900X and a Radeon RX 5700 XT graphics card. Even with a standard ATX motherboard, the Define 7 XL has no problems housing this motherboard. It may even be able to house two of these systems if it wanted to. This much interior space allows for the support for EE-ATX, SSI-CEB, and SSI-EEB motherboards.
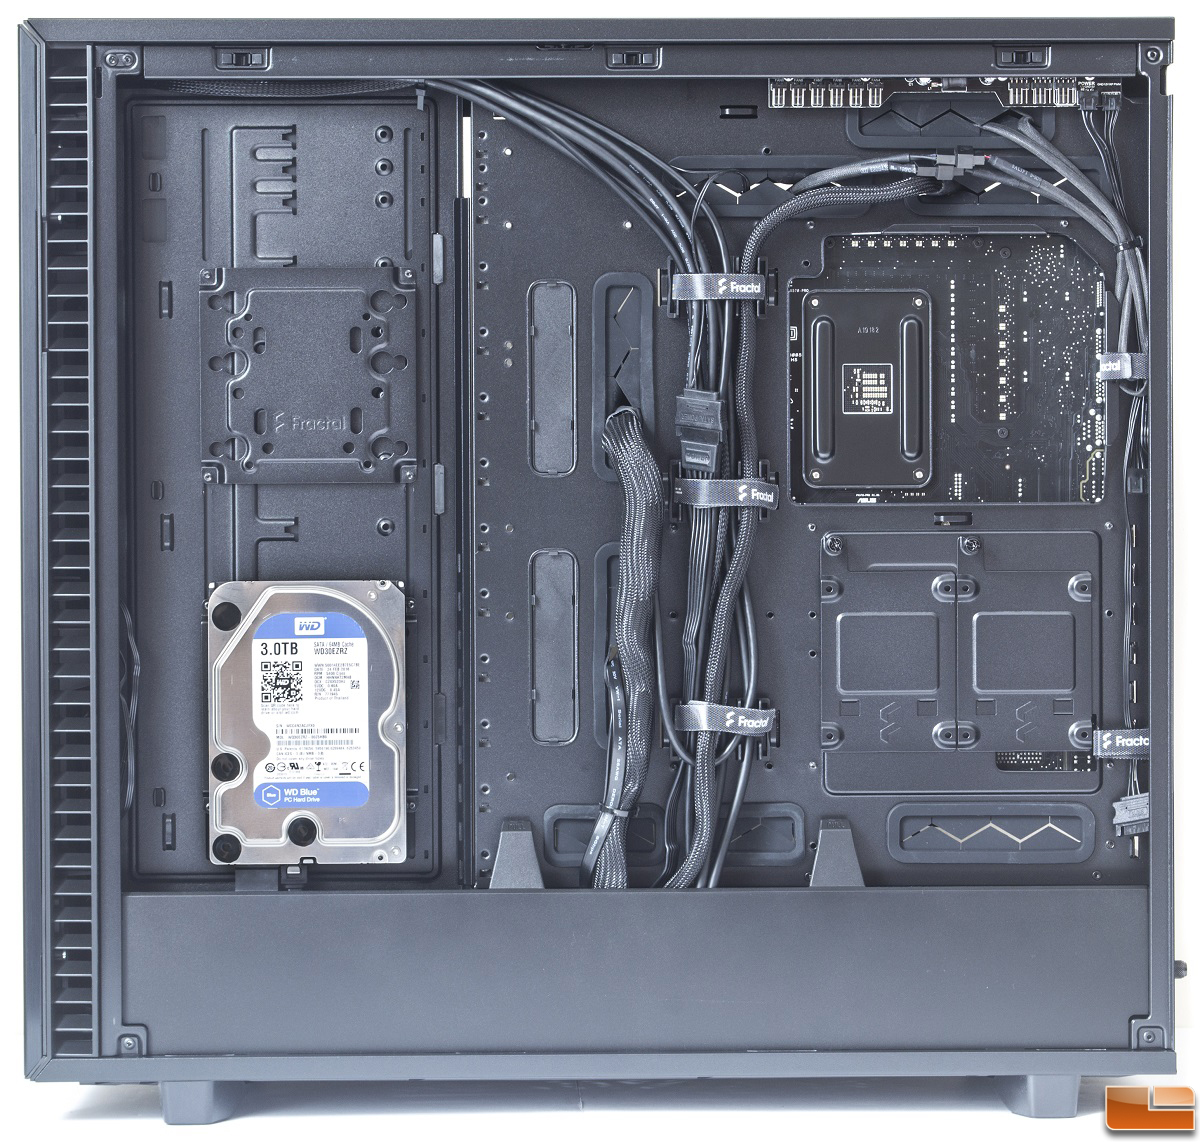
With some slight adjustments, the Define 7 XL can convert to a storage layout configuration by placing the vertical wall and cover closer to the tempered glass side panel. This gives us room to install up to 12 storage devices above the power supply chamber using the 3.5″/2.5″ storage trays. Two are included in the box, but the others are sold separately.
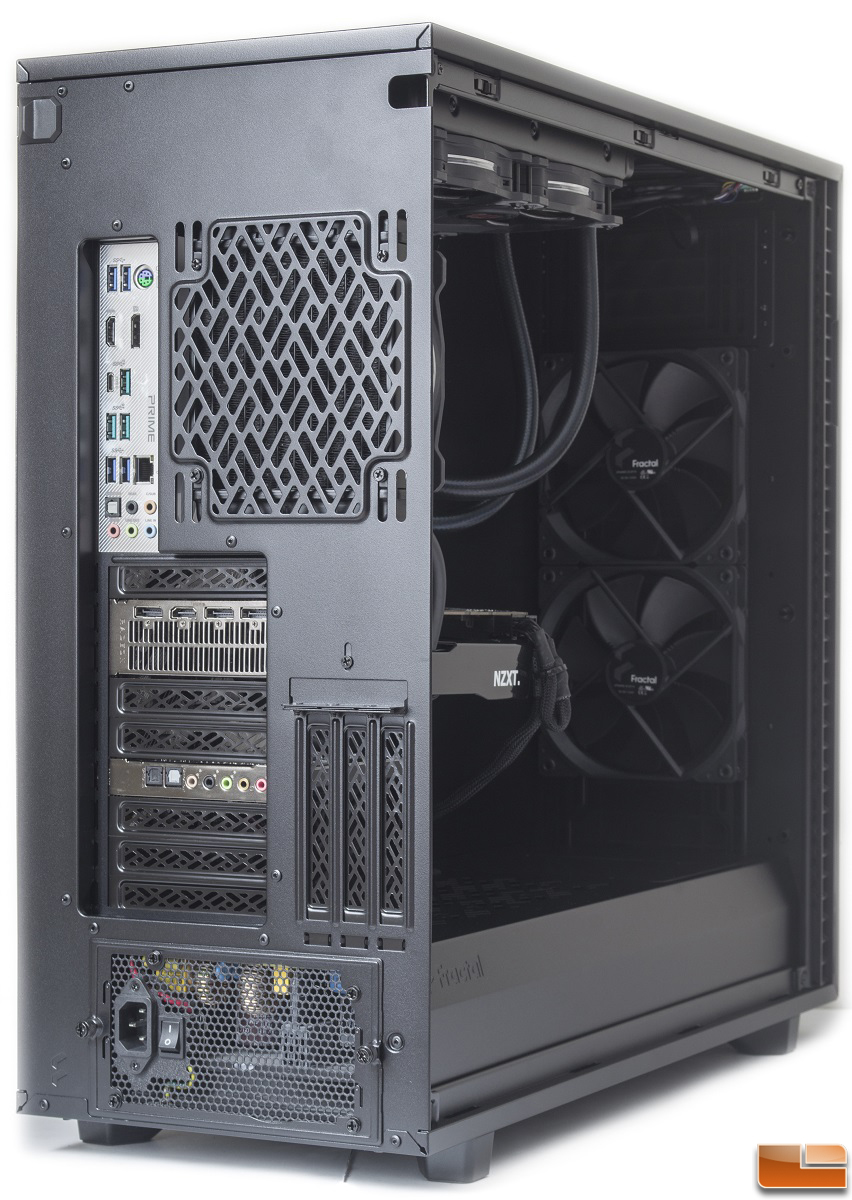
Cable management went pretty well thanks to the many tie-down points and the cable straps. I mounted my 3TB storage drive behind the vertical wall, and my primary SSD inside the power supply chamber. I did run into some issues while mounting my 3TB drive. At first, I mounted it as far down as possible without accounting for the power supply housing cover. When I tried putting the cover back on, it would come into contact with my HDD. This made it impossible to close the side panel.
Knowing I had to move my HDD further up a bit, I had to remove all five screws to take the vertical wall off, then clip off the cover, and that finally gave me access to the screws mounting the HDD tray. This was a little time consuming, but in the end, everything worked out just the way I wanted it to.
I would also like to point out that in my use case, the CPU cutout on the motherboard tray aligned perfectly with the CPU mount on my motherboard. If you plan to use a motherboard with dual CPU sockets, be sure to mount your coolers onto the motherboard prior to installing it into the case.
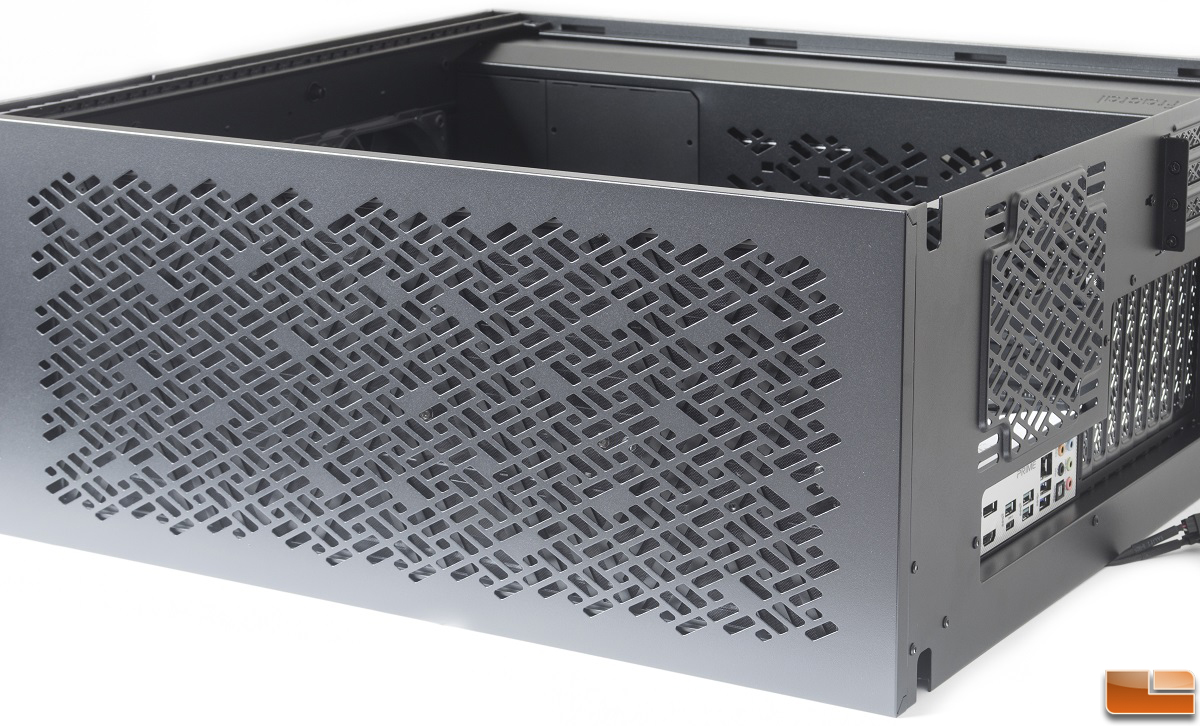
The 240mm radiator on my Corsair H100i fit nicely at the top of the case with extra room for additional fans. This top radiator/fan bracket is removable via two screws, which allows for easier radiator and fan installation. Aside from the additional cable cutout holes, there is also a water cooling fill port with a diameter of 25.4mm.
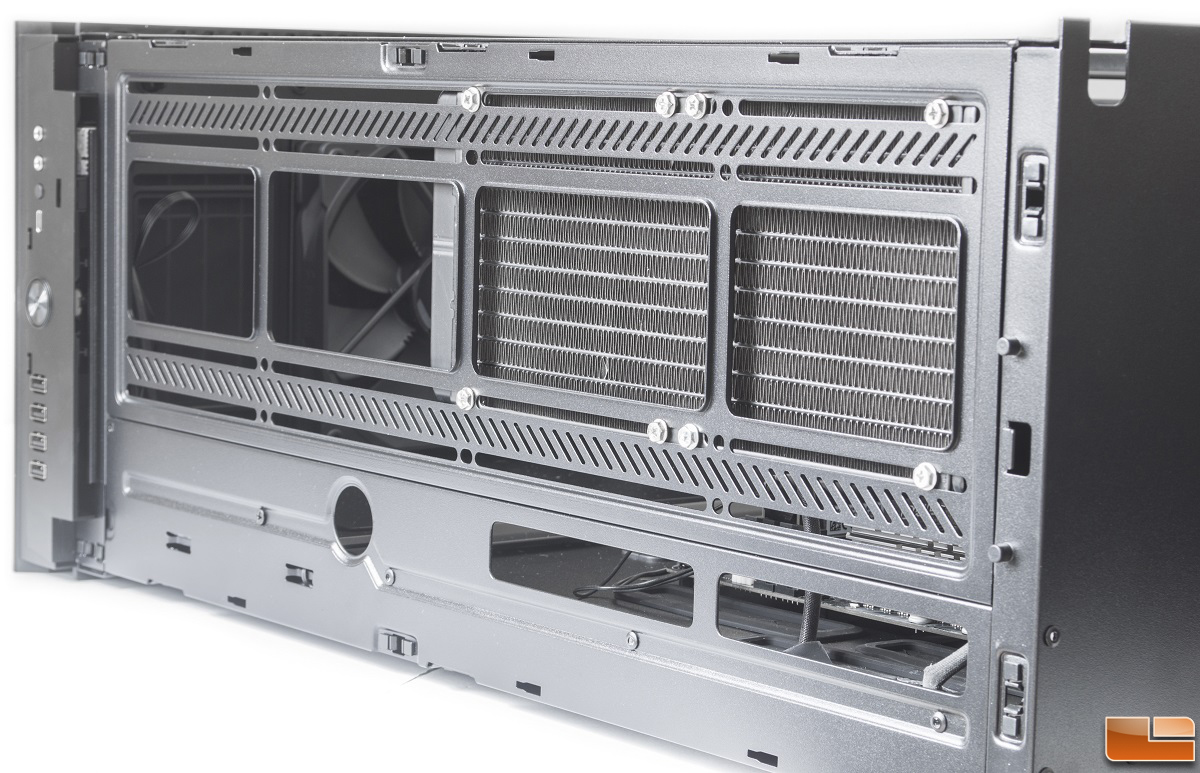
Knowing that users will be accessing the top for cleaning off the dust filter or filling their system using the fill port, the top dust filter does not have to slide all the way to the back of the case. Instead, it slides back about a centimeter or two to release it from the case, then pulling it straight up removes it entirely. This is a nice design considering most computers have their rear end facing the wall.
Because I had a top radiator with two 120mm fans, I opted for the included ventilated top panel. This is a great accessory to include right out of the box without having to go out to purchase this part separately. My only concern about the top panel is how it secures itself to the case. I have had a few episodes where I would grab the top panel by mistake just to have it pop off while trying to reposition the case. From what I could tell, there was not a way to secure it via screws.
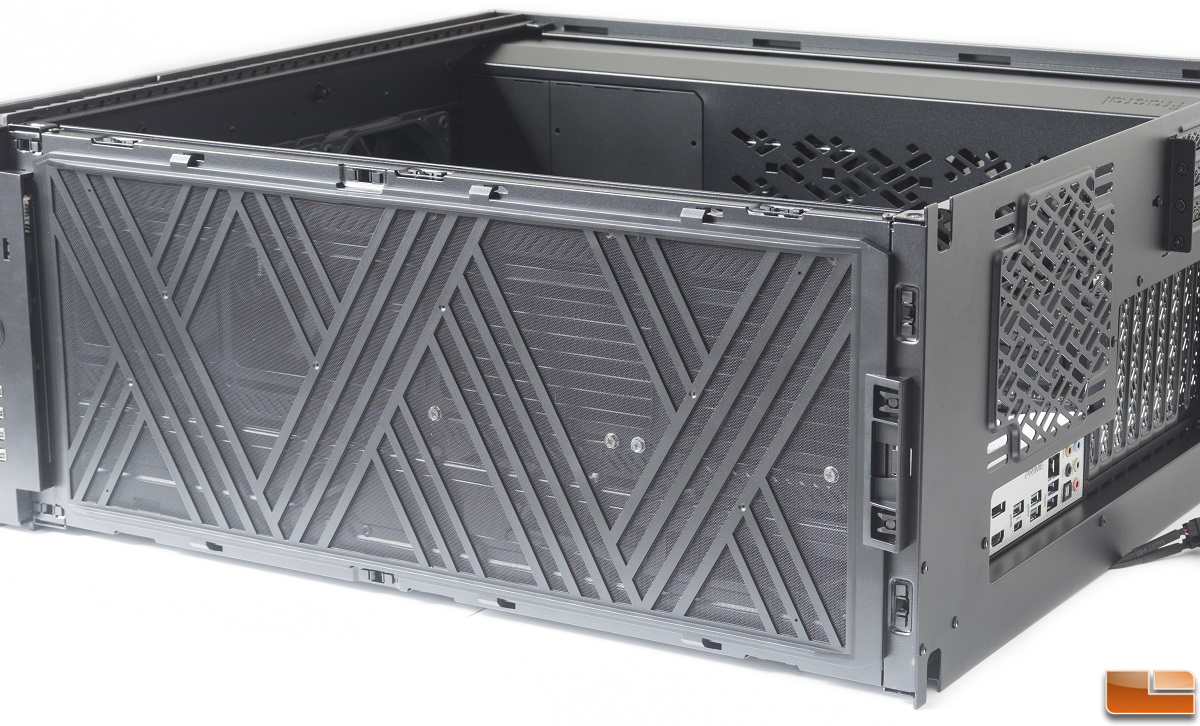
Because I only had my SSD in the power supply chamber, I decided to remove one of the two HDD cages from the power supply chamber to save some room. It was a little confusing at first trying to figure out how to remove the HDD cages as they did not have enough clearance on the other side to slide out.
After consulting the user guide, they were removable only after removing the two shroud inlays from the power supply chamber. To remove the two shroud inlays, I had to reach my hand underneath the power supply chamber to tap them upwards to release them. I was hoping to see an easier method of doing this without having to go underneath the power supply chamber.
Not only is the power supply chamber ventilated, but it has support to mount three 2.5″ SSDs via the 2.5″ brackets. Cable cutout holes are already in place for routing power and data connectors to the storage devices.

As for performance, system temperature remained relatively cool overall. Ambient room temperature was 24C. With the H100i AIO on the 4.2GHz overclocked R9 3900X, it touched 81C after half an hour with AIDA64. The Gigabyte RX 5700 XT in this system originally came with the reference cooler design. Having the Corsair H55 AIO attached to it, it maxed out at 66C on the core with a GPU junction temperature of 83C. These were acceptable temperatures thanks to the two front 140mm fans along with sufficient airflow at the front.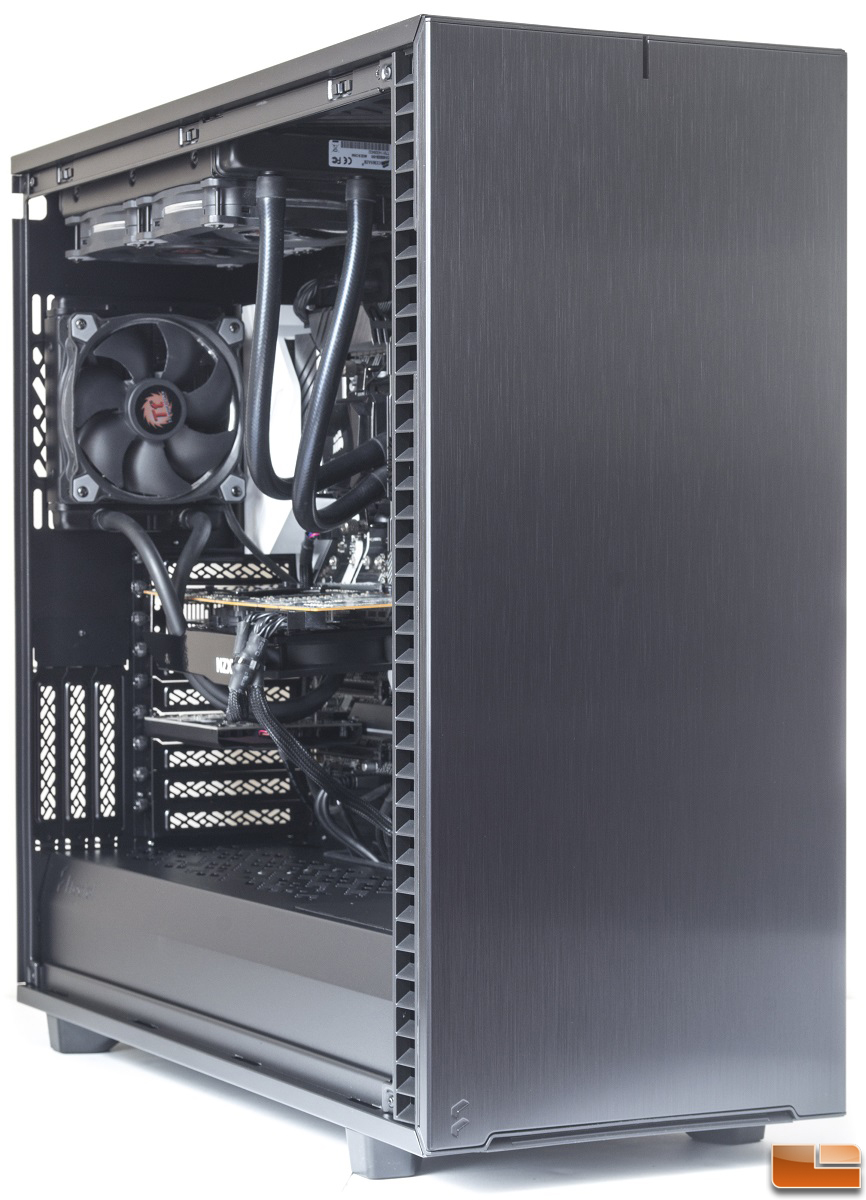
System noise level was pretty quiet at these temperatures even with the ventilated top panel. I would imagine the system to be somewhat quieter if the solid top panel was installed. This would mean I would have to mount the radiator for the H100i at the front of the case. Unfortunately, the tubes do not go that far. Even if it did, the hot air from the radiator will circulate towards the rear fan and radiator, forcing my GPU temperatures to rise further up.
Let’s end this review with my final thoughts and conclusion.