Fractal Design Define 7 XL Case Review
Define 7 XL: Exterior Review
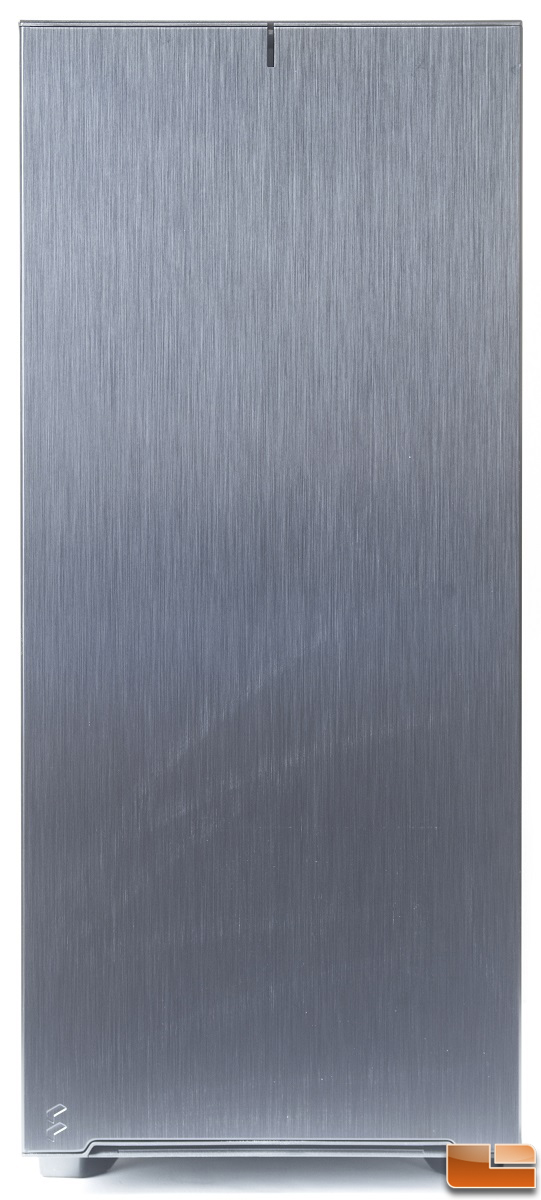
Taking a look at the Define 7 XL from the front, we can immediately tell this is a Fractal Design product with its sleek and minimalist front panel design. The front door panel has a shiny brushed aluminum texture with the power LED at the very top. On both sides of the case towards the front, there is airflow access for the front fans without leaving them to suffocate while the front panel is closed off.
Here is a closer look at the anodized aluminum front door panel of the Define 7 XL. There is the power LED at the very top, which illuminates white when the system is powered on. Towards the bottom left corner, we have the company logo. The company logo is not conspicuous and allows the front to maintain its minimalist appearance.
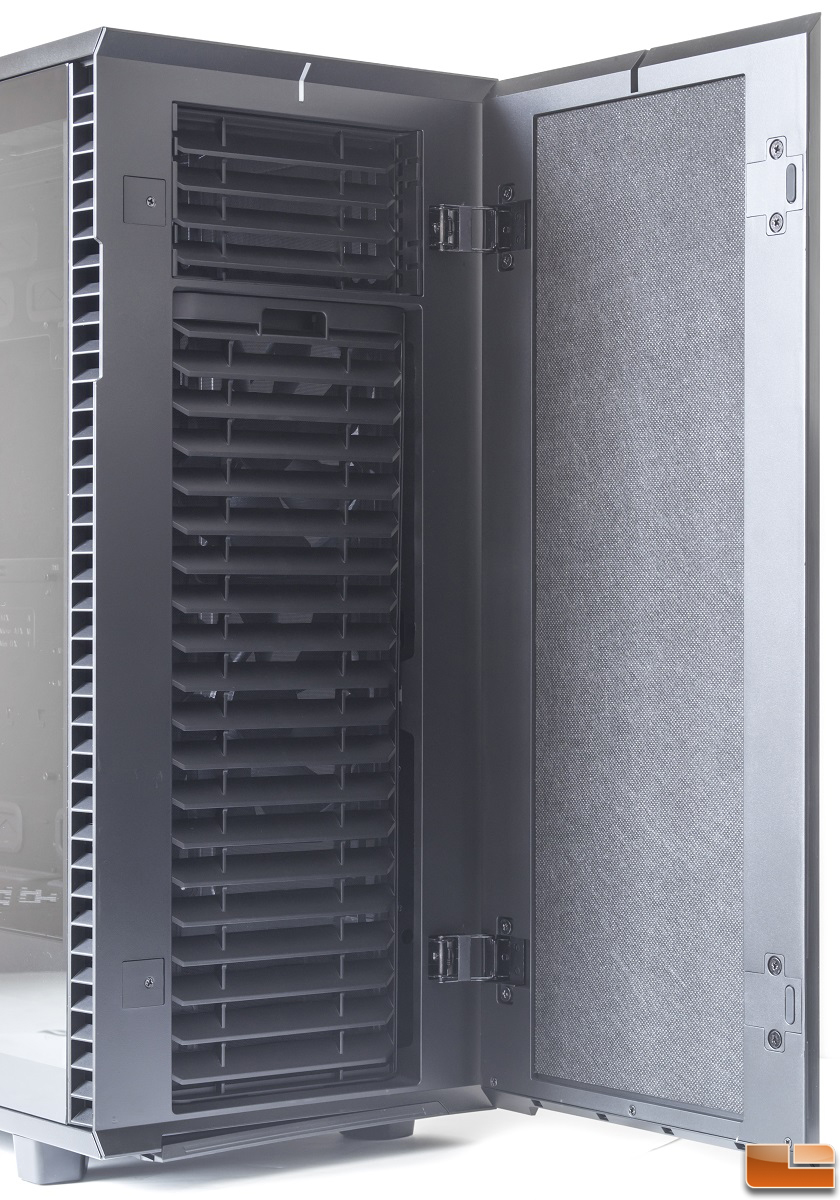
Looking at the case from the front of it, the door panel swings open from the right side. This is by default, but there is the option to undo the screws to the dual-handed door hinges and place them on the other side. This will allow the door to swing in the opposite direction. There is also a layer of sound dampening material behind the door panel for reduced system noise. In front of the two pre-installed Dynamic X2 GP-14 140mm fans is a large removable dust filter. The dust filter is held to the case via small clips making it easy to remove.
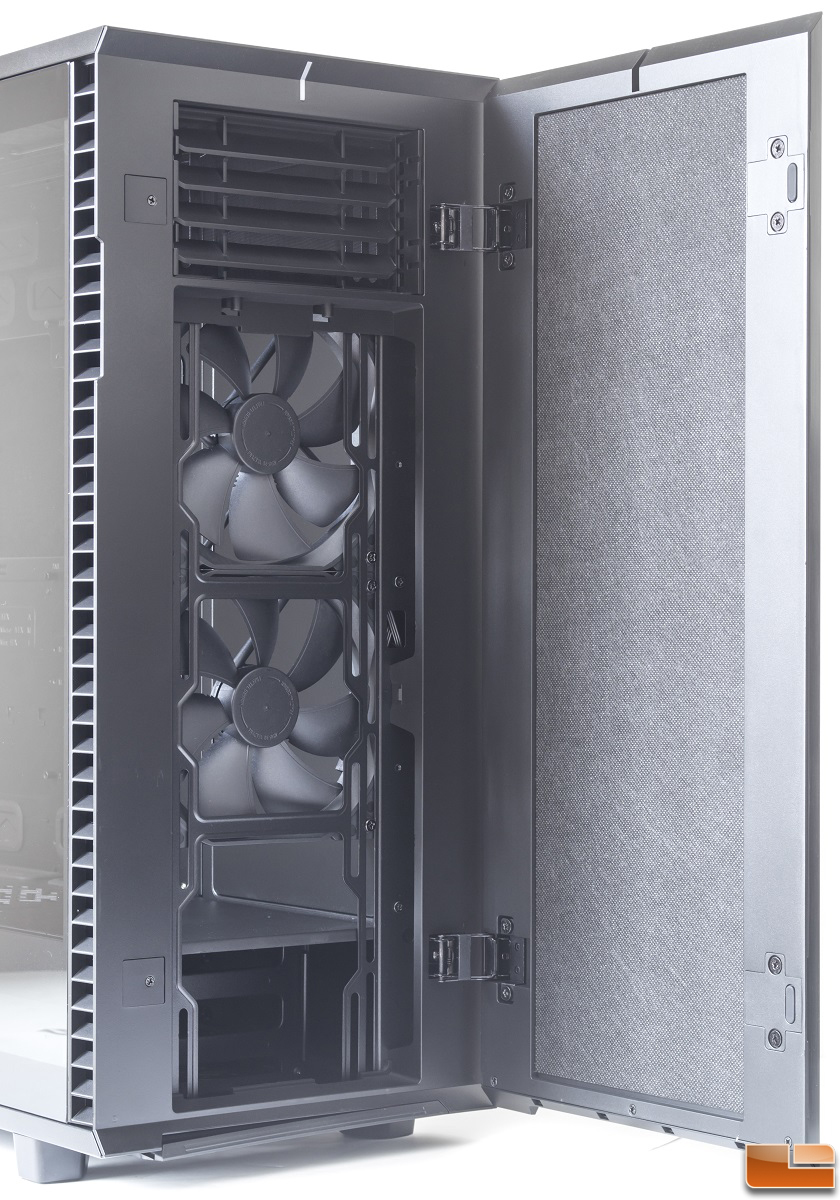
With the front dust filter removed, we have a better view of the two pre-installed Dynamic X2 GP-14 140mm fans. These fans have a max rotational speed of 1000 RPM and a maximum airflow of 68.4 CFM. They are relatively quiet at 18.9 db(A), but even quieter with the front panel closed off.
With a 5.25″ optical drive, the front can mount three 140mm fans or three 120mm fans. But without a 5.25″ optical drive, the front can mount four 120mm fans. When it comes to radiator support, the front can mount a 280mm or 360mm radiator with an optical drive. When not using an optical drive, it can mount a 420mm or a 480mm radiator.
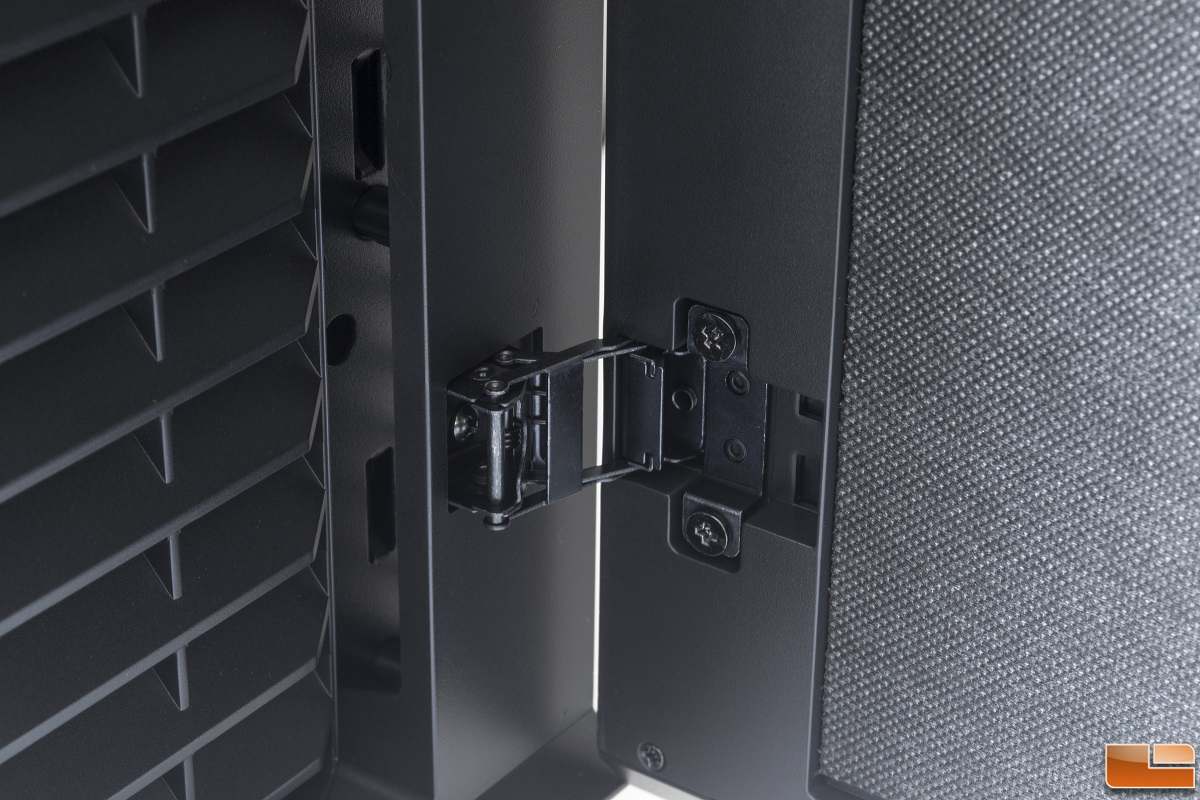
The dual-handed door hinges are very robust with its metal construction. This is a different design when compared to its predecessor. As mentioned earlier, the door hinges are removable via screws in order to mount them on the opposite side of the case. This allows the door to swing open from the opposite side.
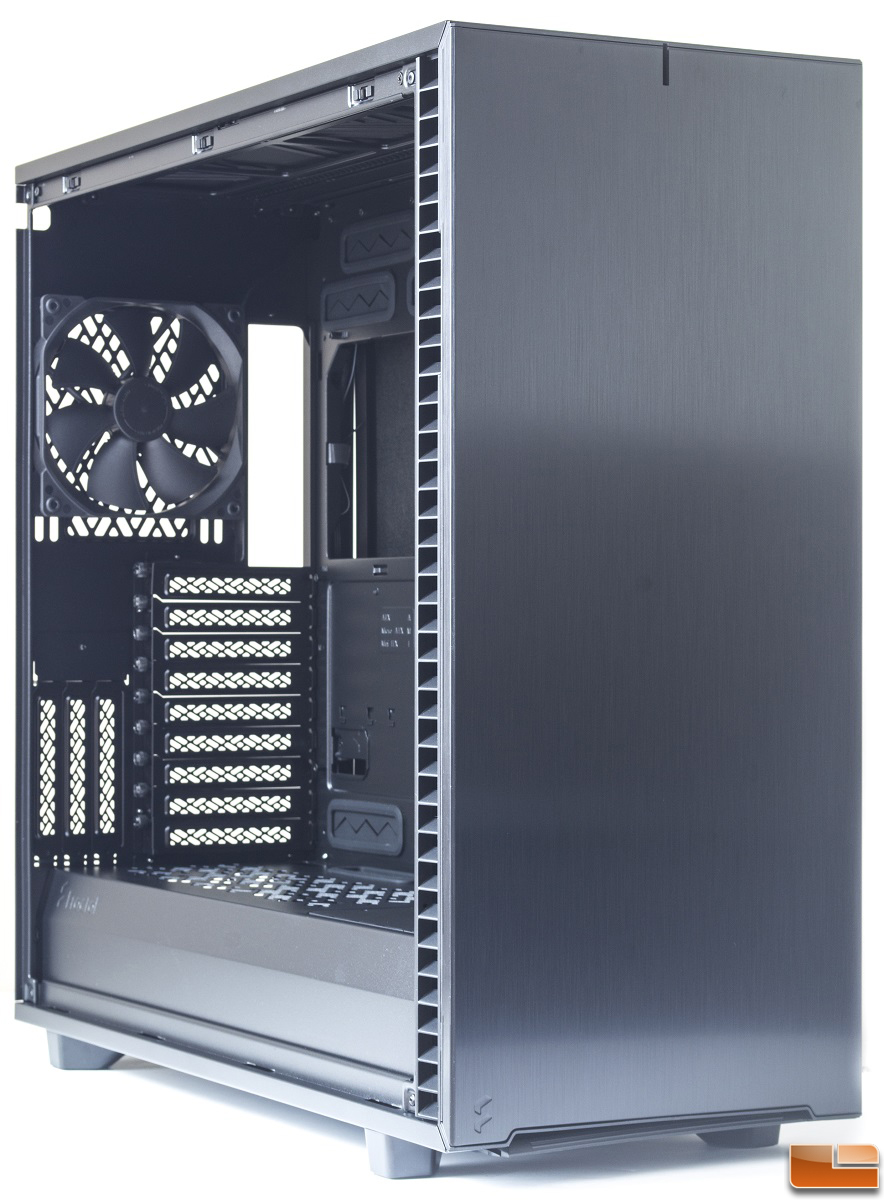
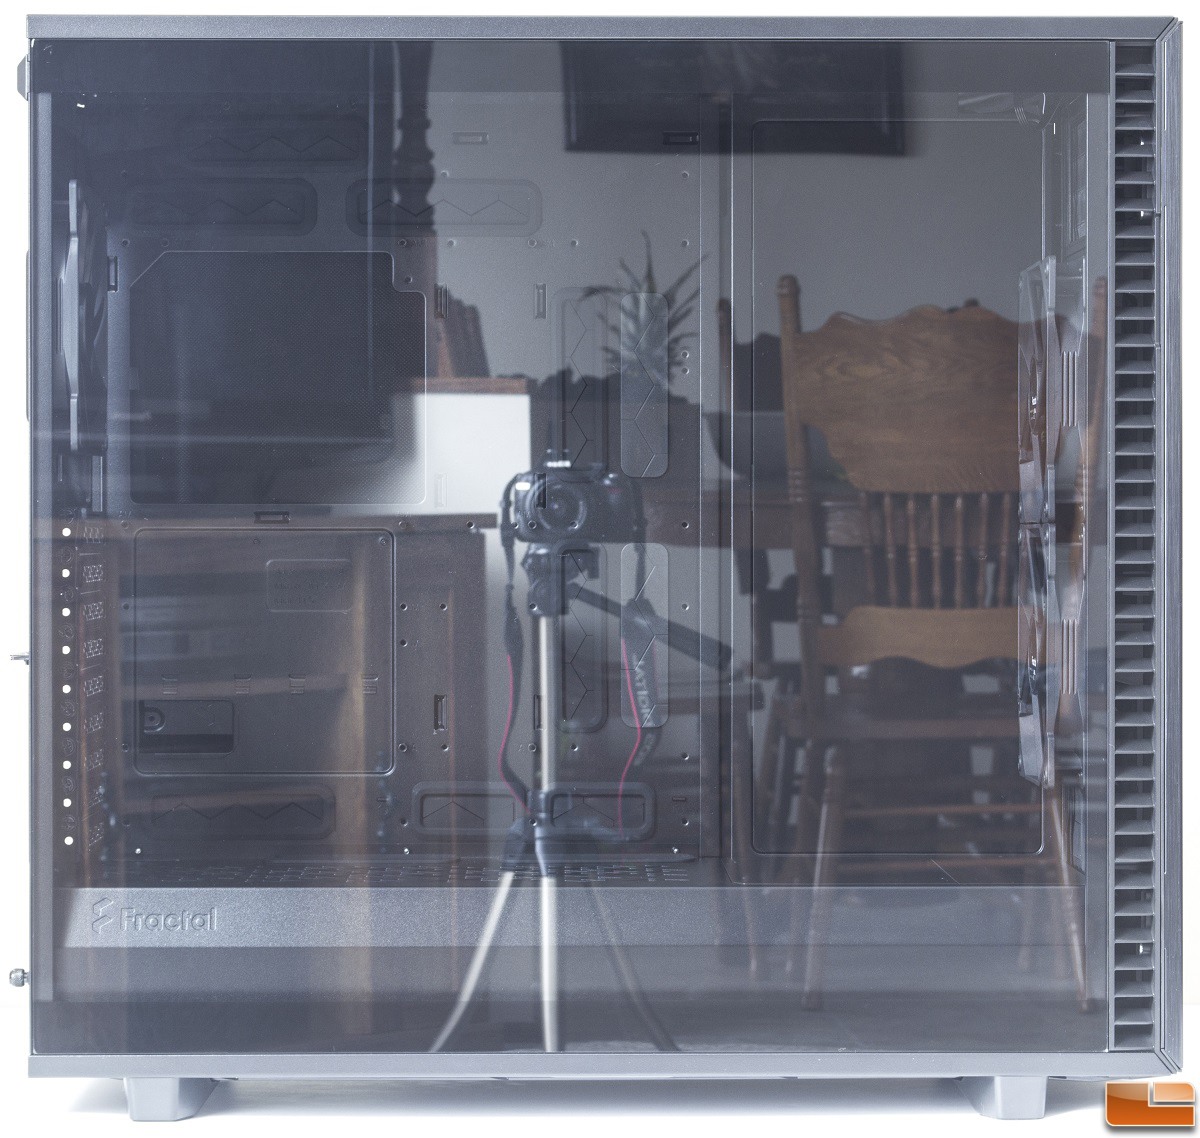
The tempered glass side panel is very reflective and removing it requires very little effort. Because this is not the version with the dark tempered glass side panel, we have a clear view of what is inside of the case in a well-lit room. We also get a better look at the front ventilation for the front fans.
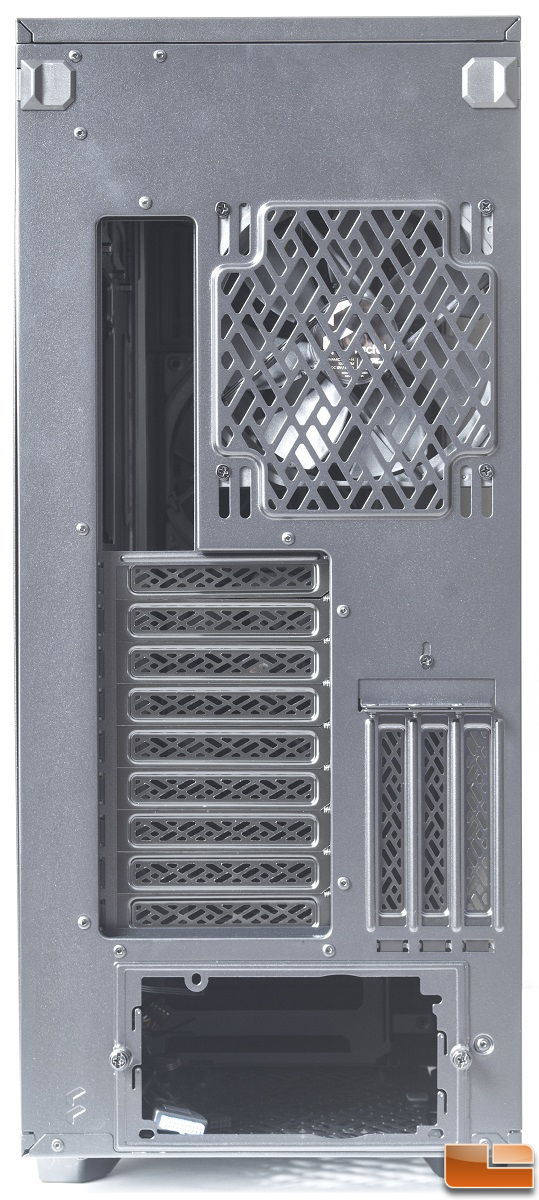
At the rear of the Define 7 XL, at the very top we have a latch on both sides of the case. These latches allow for the removal of the side panels without the inconvenience of screws. Pushing the latch out and away from the center of the case will release the side panel without the risk of dropping and damaging it.
Moving down we have a place for the motherboard I/O and a pre-installed 140mm fan. There are also mounting holes for a 120mm fan. Below that are nine expansion slots and an additional three vertical expansion slots for a graphics card. The power supply mounts at the very bottom of the case.
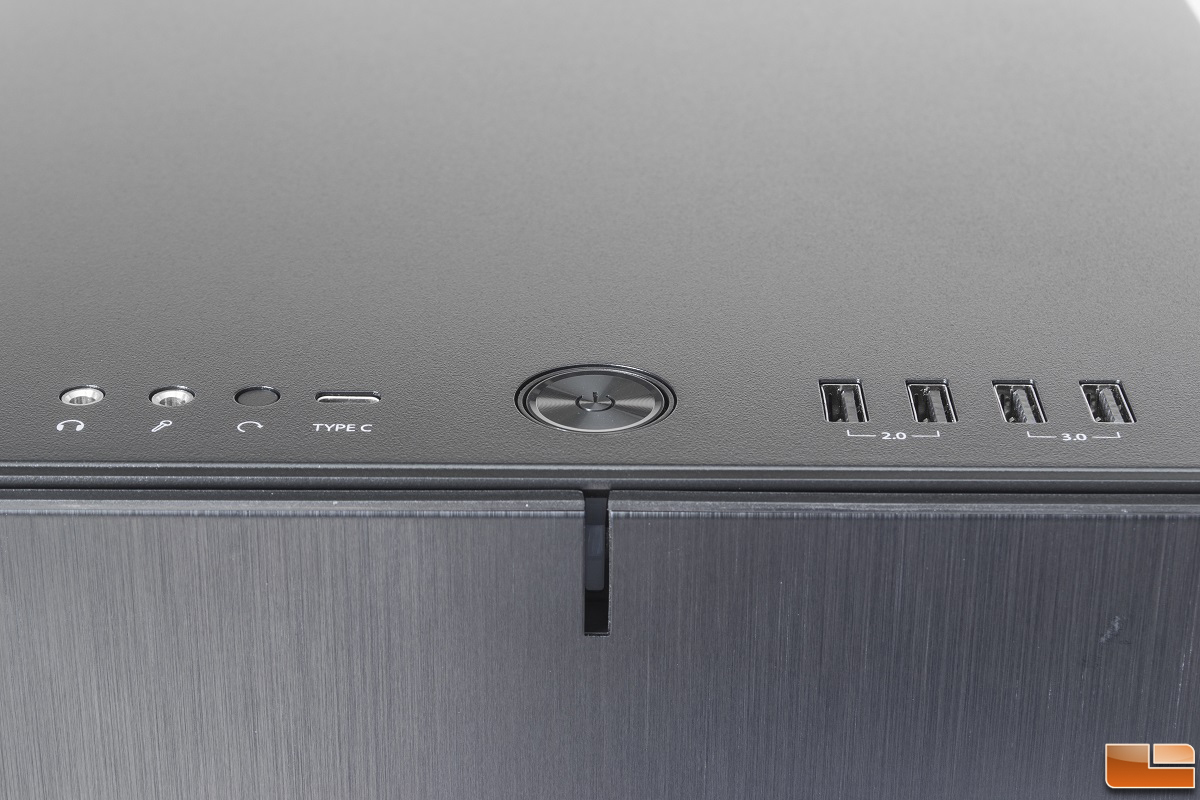
The front I/O ports contain a 3.5mm headphone/microphone jack, a reset switch, a USB Type-C port, and a large power button. Moving to the right, there are two standard USB 2.0 ports and two USB 3.0 ports.
On the bottom of the Define 7 XL, we have four rubberized feet along with a large removable dust filter that spans across the entire bottom of the case. Unlike its predecessor, this dust filter is easily accessible by sliding it out from the front of the case, not the rear. The bottom will also fit a combination of radiators with fans. Without the HDD cages, it can mount a 280mm/240mm radiator, or two 140mm/120mm fans.

Now that we have seen what is on the outside, let’s take a look at the interior of the Define 7 XL case.