Corsair Hydro Series H75 Sealed Water Cooler Review
Corsair H75 Packaging & Unboxing
The packaging on the outside of the H75 is pretty basic, but it does give you plenty of details about what youre about to buy. Lets take a look at the packaging and then what you get inside.
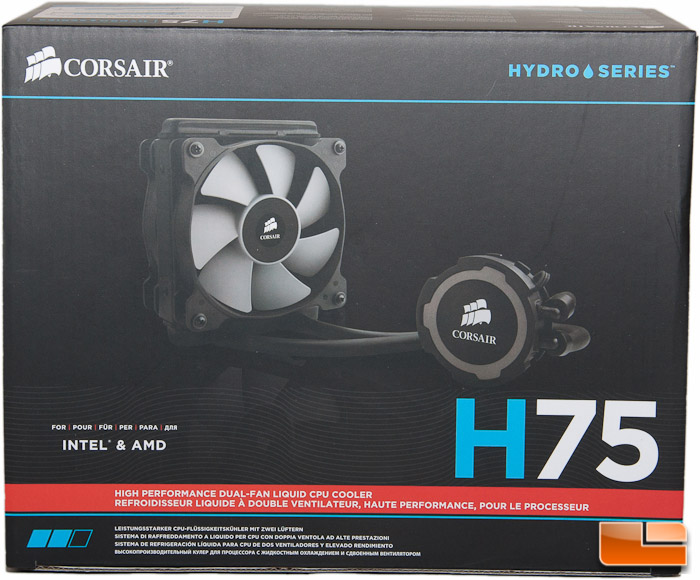
The top of the box is just a glamour shot of the water cooling kit and lists the compatibility with Intel and AMD CPUs.
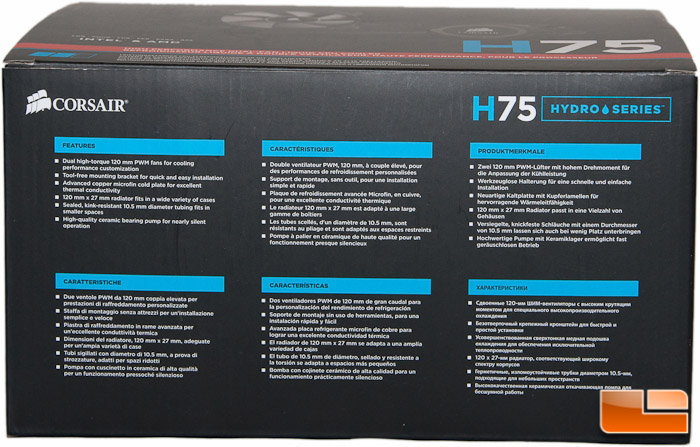
The front of the box lists several features of the H75 kit.
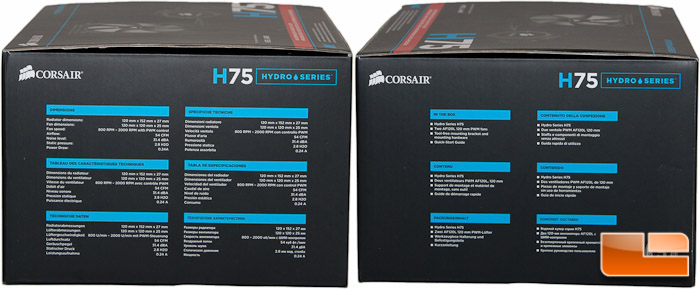
The left side gives you the dimensions and statistics, including fan speed, airflow, and power consumption. The right side lets you know whats in the box.
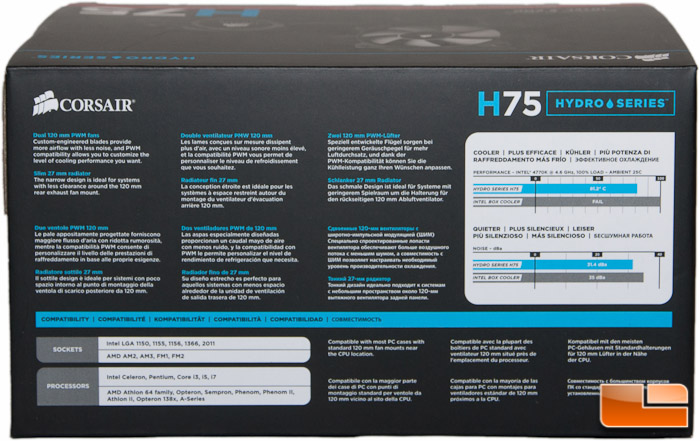
On the rear, youll find some general information about the fans and radiator dimensions. One thing that was interesting on the box, in several places, is the fact that Corsair says the radiator is 27mm thick. Well, it is indeed only 25mm thick as their product page specifies. Someone must have fallen asleep on this one! There are also some test charts comparing the H75 to a stock Intel cooler for both temperature performance and noise levels.
Popping open the top of the box, there was a piece of foam padding on the top. We can see that everything is neatly sectioned off like an egg carton, but the radiator itself has no additional protection around it aside from the cardboard slot that it sits in. Jumping ahead a little, fortunately there were zero bent fins on the radiator, which I was impressed with.
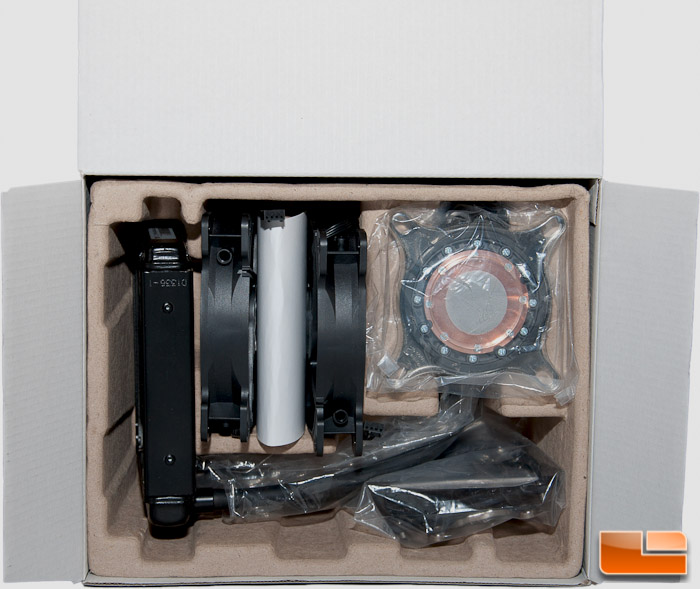
Pulling the kit out of the box, the block/pump had plastic film protecting the Corsair logo on top, and the cold plate had a plastic cover protecting it and the pre-applied thermal paste.
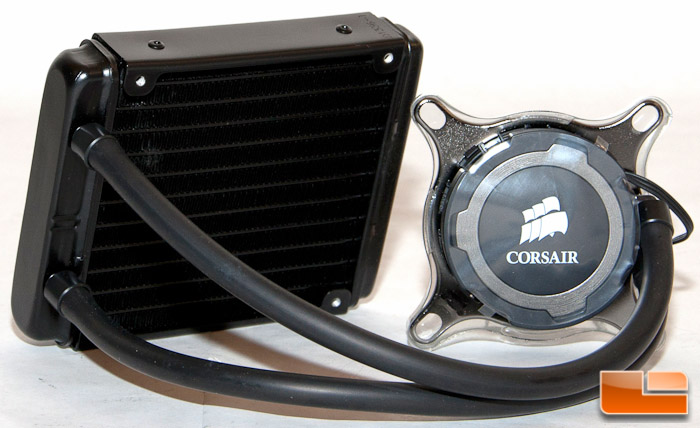
Removing it, this is the kit in all of its glory. You will notice a wire hanging off of the right side of the pump, which is just for hooking it up to power. Its a 3-pin PWM connector.
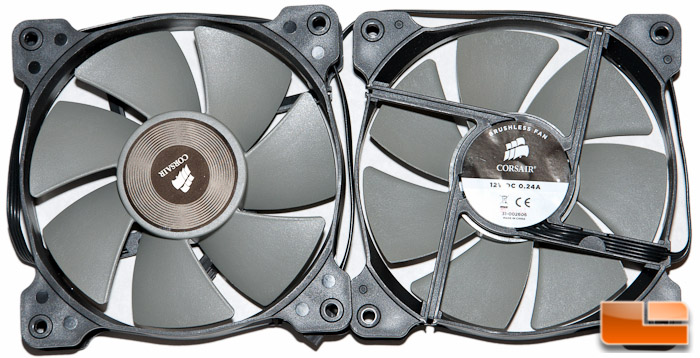
Inside the box, Corsair includes two SP120L fans for a push-pull configuration. Having dual fans installed will help maximize the potential of the kit.
Also included inside the box is all of the hardware that you will need to get this kit installed. Out of the box, the Intel ring was installed. The pump installation is meant to be completely tool-free, but thats not always the case with some tool-free items, so well verify that claim later on.

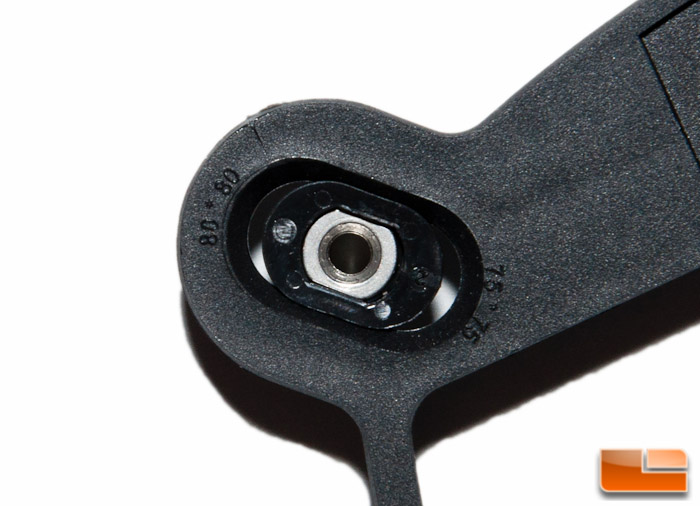
The rear bracket uses a slide mounting system to easily position it behind your CPU.
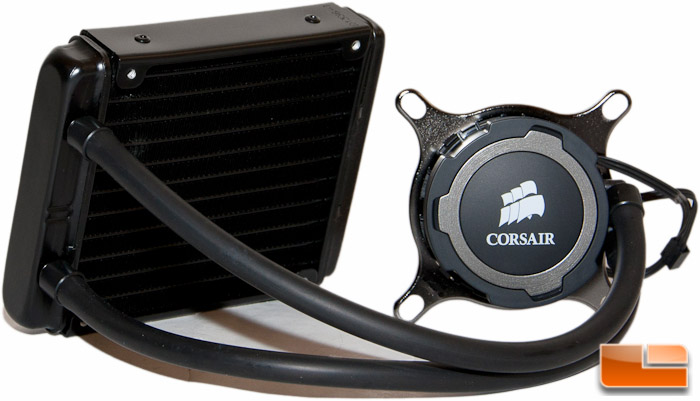
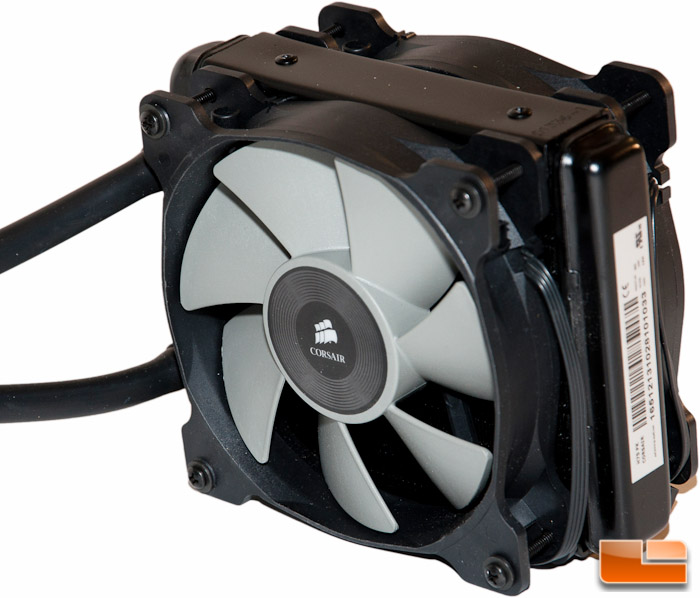
Heres a side profile shot of the kit with both fans installed. Of course you will only want to install the push fan prior to installation in your case, so I only did both to capture this picture.
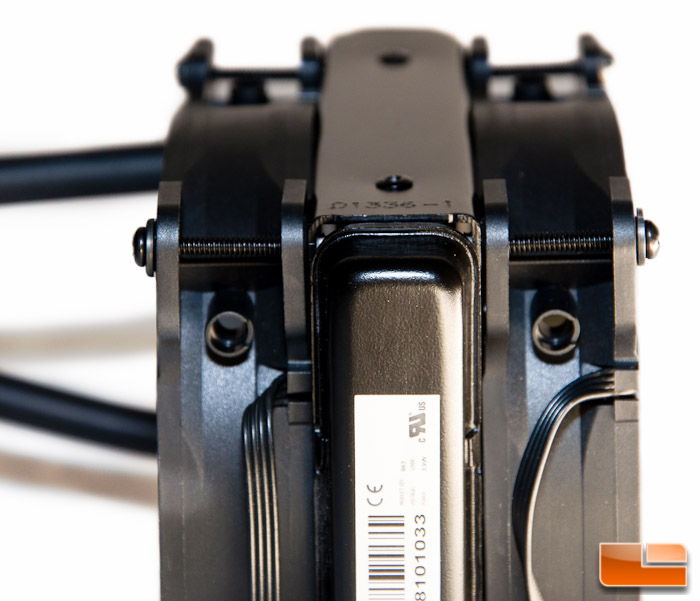
Another shot.
Heres a closer look at the Asetek pump. Not much to see here other than a nice looking Corsair logo.

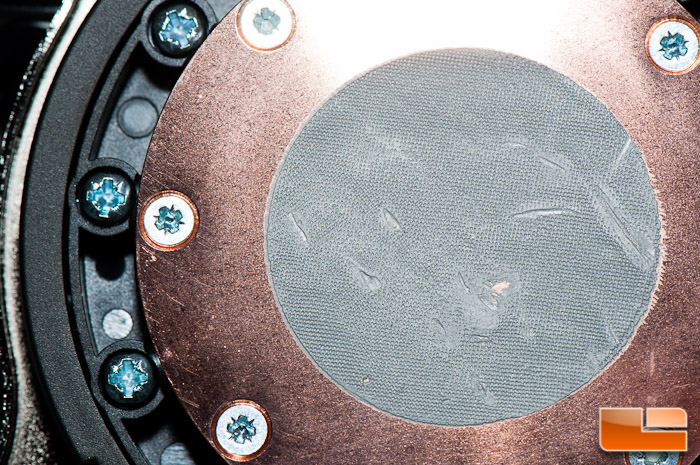
Flipping over to the cold plate, you can see the pre-applied paste. I am not sure if I was the one that caused the dents in the paste and botched the nice smooth application, or if it came that way, so Im just going to blame myself. This wont be a problem, but I wanted to point it out if anyone was wondering.
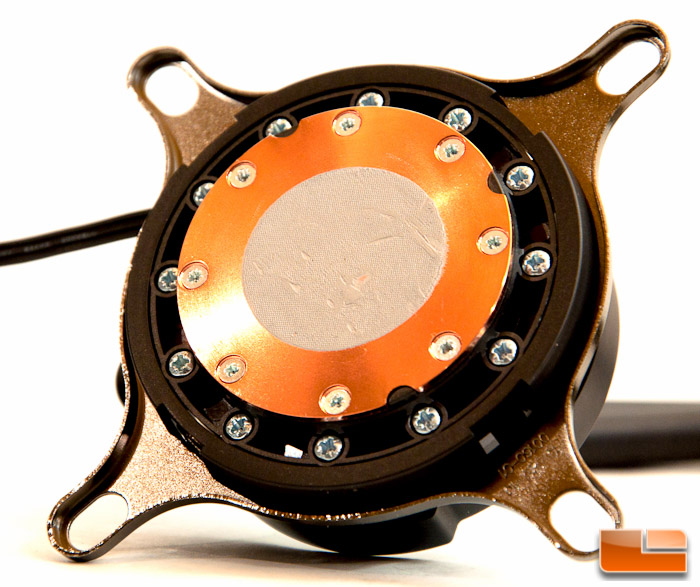
Looking closely at the cold plate, it is not at all a smooth (mirror) finish. Some people may be annoyed by this, though these are usually your extreme enthusiasts that prefer a mirror finish.
That wraps up this section. Lets take a quick look and see how easy it is to install this kit on an Intel Core-i7 4770k (Haswell) CPU.