Corsair H105 Extreme Performance Liquid CPU Cooler Review
Installing the Corsair Hydro H105 Liquid CPU Cooler
We have already discovered that Corsair has made your installation of the H105 potentially easier, by having the Intel mounting bracket pre-installed and thermal compound pre-applied. Corsair did also attempt to make your life easier with the Intel backplate, in the fact that you only have to slide the mounting points to your socket’s needs.
Before you get to installing, you will want to change up your accent ring if the stock silver doesn’t suit your needs. Corsair includes both a blue and red ring to hopefully match your system’s color theme.
Taking off the ring is pretty easy, and Corsair recommends using a flat blade (standard) screw driver. Pry up on one corner and you can easily drop a new ring on. Here’s what the blue looks like:
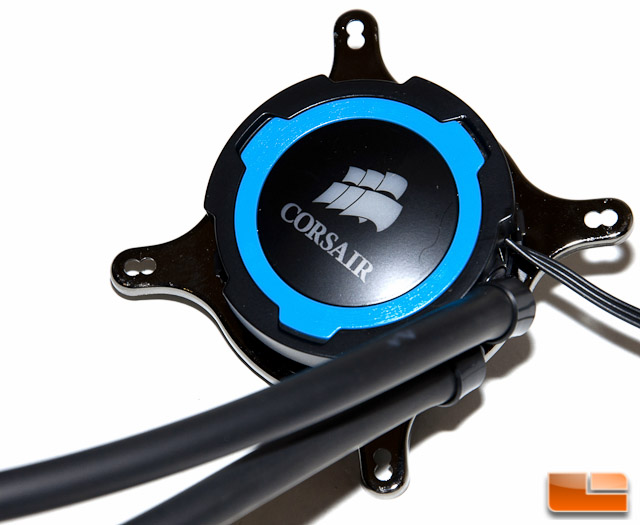
and red:

Now you will want to note a couple things with removing the colored rings and putting the new one on. The new ring will only go on one way. If you’re putting it on the wrong way, you will notice it doesn’t fit quite right. Also note the potential damage to the pump’s finish. I was being as careful as I could be, and not careless, but I still managed to ding the finish on the pump. Fortunately much of this will be hidden by the new ring, when properly installed.

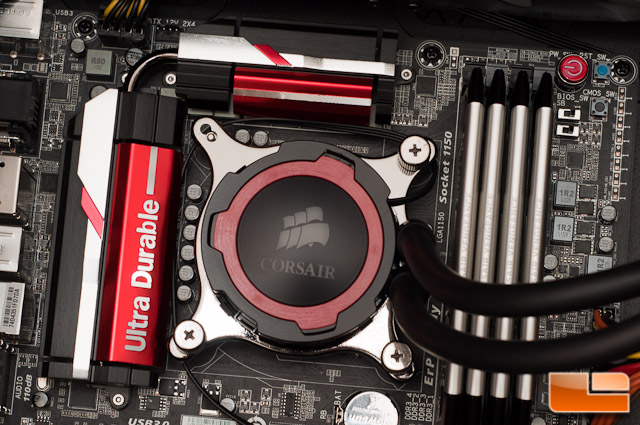
My color theme is red in my case, with the GIGABYTE Z87X-UD4H motherboard, so I’m leaving the red one on.
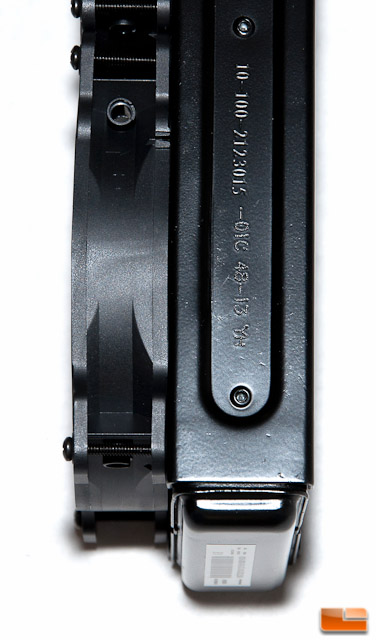
I strongly recommend installing the fans before you even begin putting the radiator inside your case. You will save yourself a lot of headaches. We’re doing a push or exhaust setup. Here’s what the radiator looks like with the fans all installed.

One profile shot of how thick the radiator is in comparison to the fans. The Corsair SP120L fans measure 25mm thick while the radiator is 38mm thick. These provide a full thickness of 63mm, so you need that at minimum to get the H105 installed in your case.
Moving over to the case, setting the backplate in place is plenty easy; however, Corsair does not have a means of holding the backplate in place permanently.
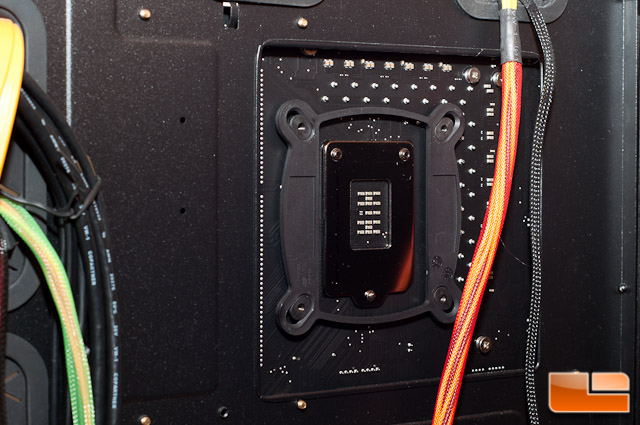
Next up I had to screw in the standoffs for my Intel i7 4770k CPU, which this explains and will be more than enough to hold the backplate in place.

Mounting the radiator to the case is another easy task with the included screws and washers. Since we pre-installed the fans, we made our lives that much easier.
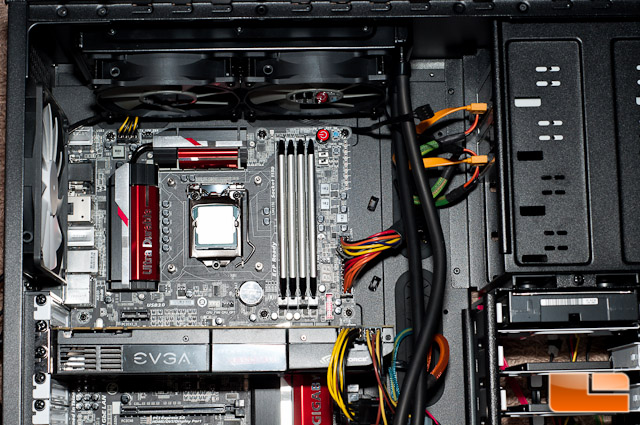
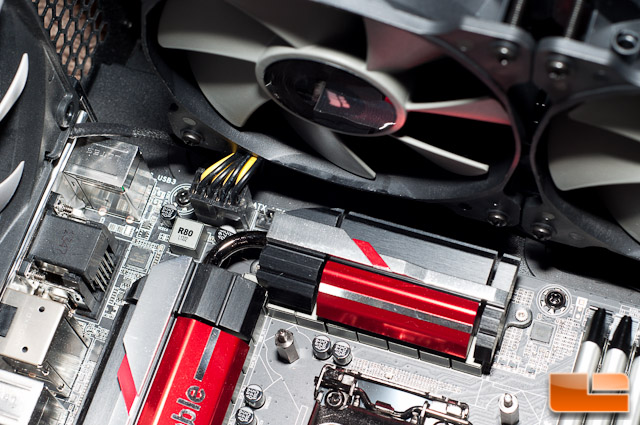
One thing that I noticed, and had only a little trouble with here, is the fact that the 8-pin power connector almost got in the way of the radiator/fans. This case is already pretty huge so I’m concerned that other cases might have an issue. Again, you need to make sure you have at least 63mm of clearance up here. Fortunately in my application, I was far enough away from the motherboard and MOSFET cooler to make this not an issue.
Next we can drop the cooler itself on top of our CPU and attach it. Positioning it is a breeze with how the holes are designed on the mounting bracket. Attaching it to the backplate is done via large thumb screws. When screwing these down, use a crisscross pattern to apply even pressure across your CPU. When I got the thumb screws tightened down by finger, but not tight down, I used a screw driver to finish the job off.
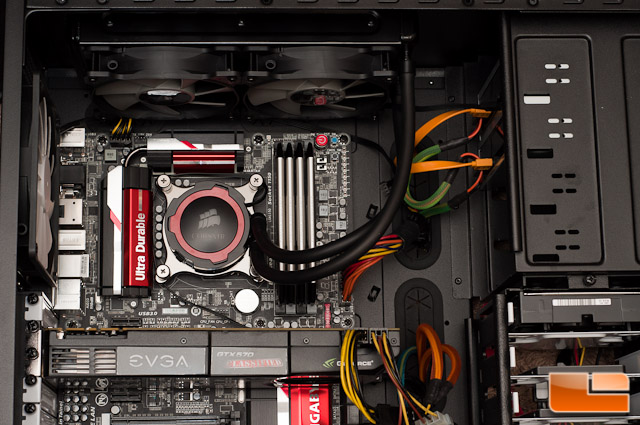
Here’s everything all installed. Don’t forget to hook up your fans to a 4-pin PWM header for better control, or you can utilize the y-header cable to hook both fans up to a single 4-ping header. Also don’t neglect to hook up the pump to a 3 or 4-pin header for power.
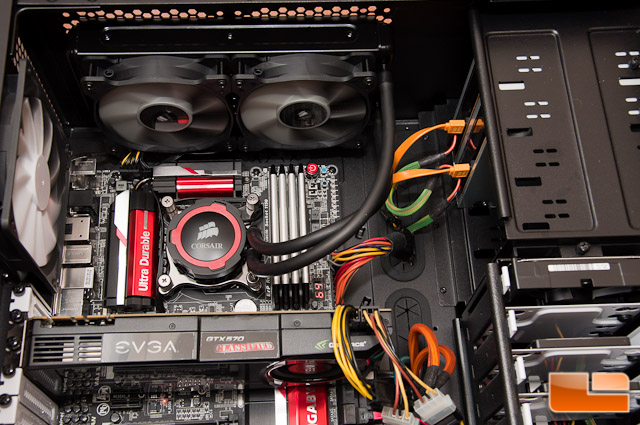
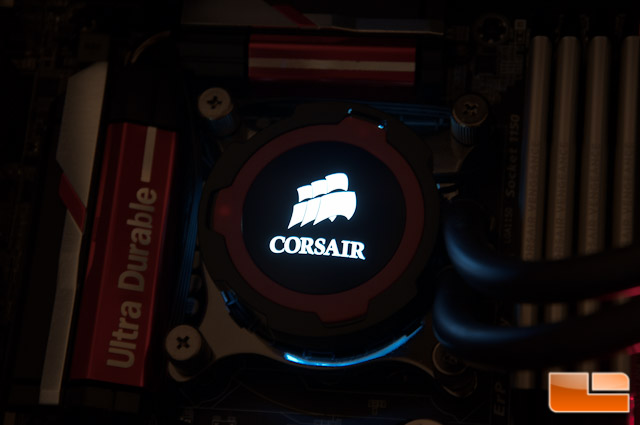
Firing everything up I caught the white glow of the Corsair logo on the pump and the fans did not sound overly noisy. When I got the fans to go their max speed, they did get somewhat noisy but they were quite tolerable. The average gamer will have headphones on, so you probably won’t really notice them.
Here’s what the pump’s light looks like in a dimmer setting. Up on the top you will notice a couple pricks of light at the edge of the red ring. This is an unfortunate consequence of taking the stock ring off and the light damage from the screwdriver.
Let’s take a look and see how Corsair 105 performs and compare it to the other coolers that we reviewed.