Corsair Crystal 570X Tempered Glass Case Review
Crystal 570X Interior
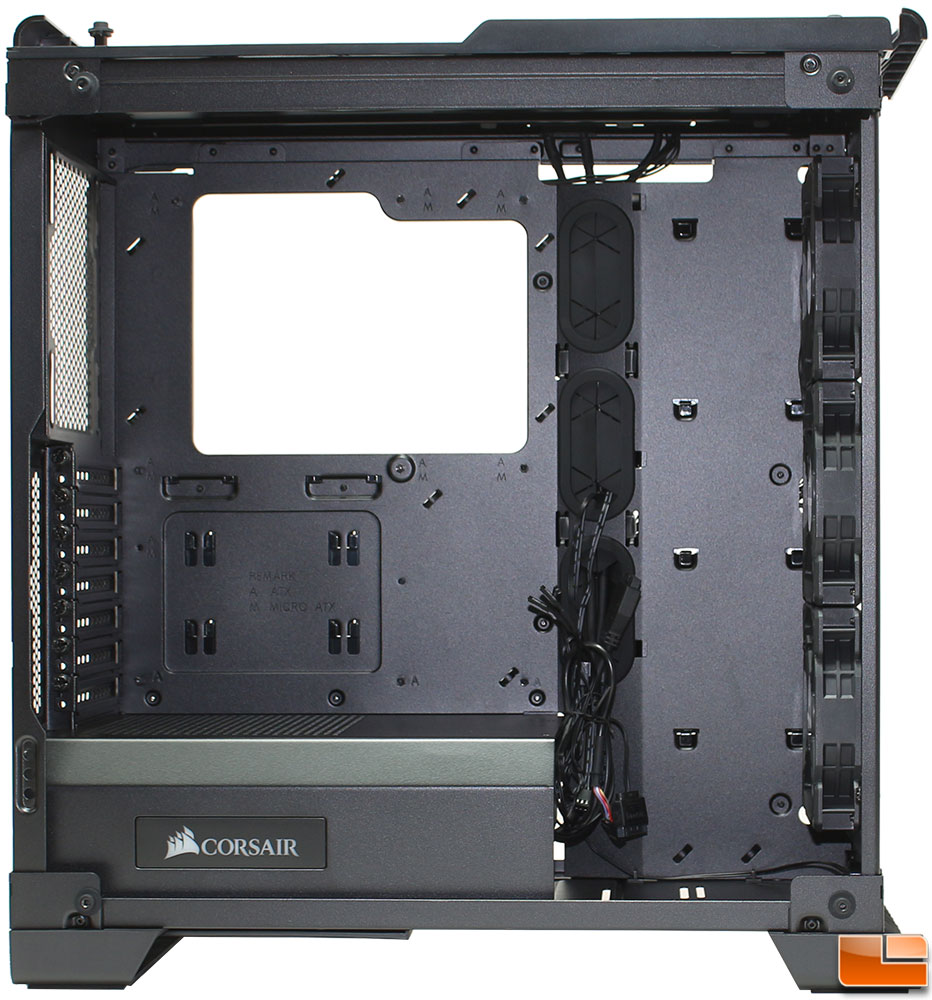
If you know how to use thumbscrews, then removing any of the four Tempered Glass side panels will be easy to do. With the panels off, we can get a clear view of the internal components. On the main side, we see that the entire case has been painted black, which offers a nice contrast to any color scheme. Corsair has pre-installed the standoffs on the motherboard tray, with the center standoff being a guide post. There are a total of five cable management holes, two at the top and three along the edge. The three along the edge are grommeted to provide a sleek view. Between the front panel and the motherboard tray is a flat unused space, which could be taken up with a liquid reservoir or an AIO cooler with push/pull fans. We can see that Corsair has installed a 3/4 length power supply cover, that has the Corsair logo on it.
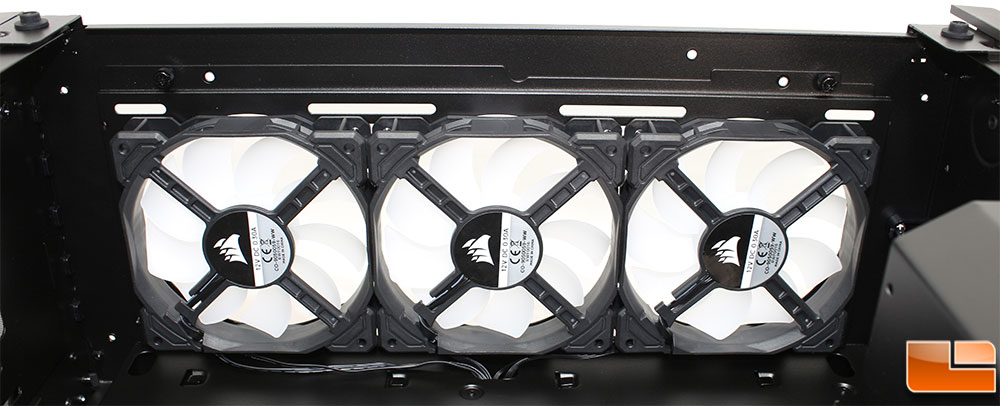
The front panel, we don’t find anything unexpected. The three SP120 fans are packed here, and could be placed with 2x 140mm fans. Up to a 360mm radiator can also be placed here if you are going for liquid cooling.
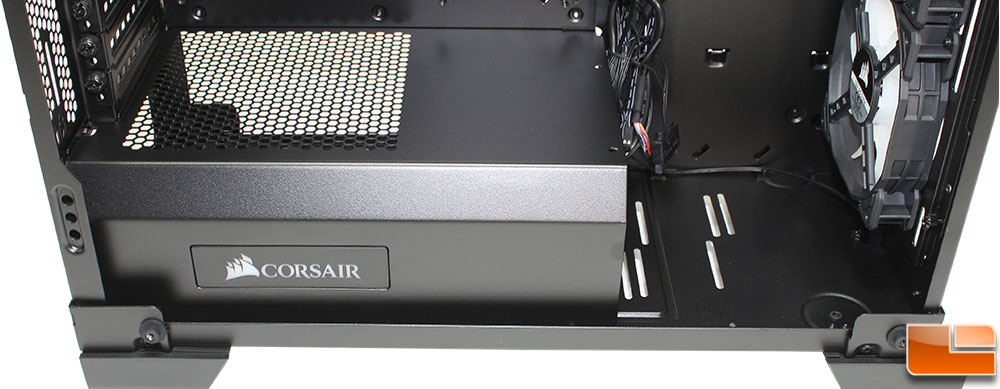
The bottom section of the case has the power supply cover, which covers about 2/3 of the bottom bottom. The rest of the space is open, which should allow for plenty of room to install your AIO cooler with a push/pull configuration, or place a liquid cooling reservoir here. Corsair has placed their logo and name on the side of the power supply cover. Looking at the preview pictures provided by Corsair, this should light-up in white, making it stand out from the rest of the case.
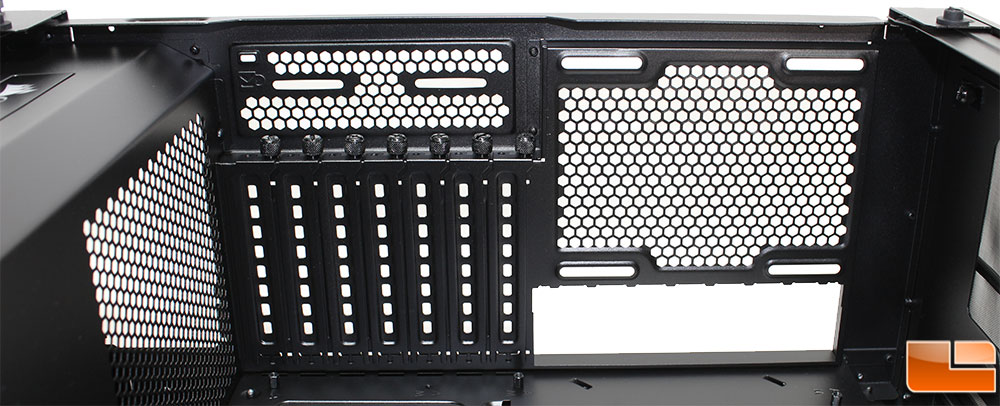
No surprises on the back panel, we can see there is ample room to add a 120mm fan exhaust fan, it would have been nice if Corsair had included a fourth SP120 as an exhaust fan. The explansion slot brackets are vented and held in place with thumbscrews. There are aditional air vents above the expansion slots, and enough room that should you have a tall GPU or one of the new larger SLI brackets you should have plenty of room.
-

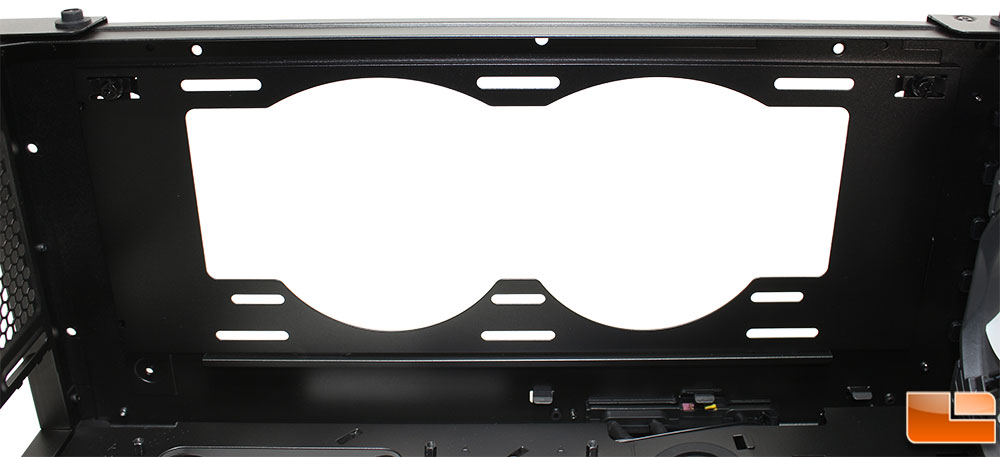
- Corsair Crystal 570X Top with Radiator Support
-
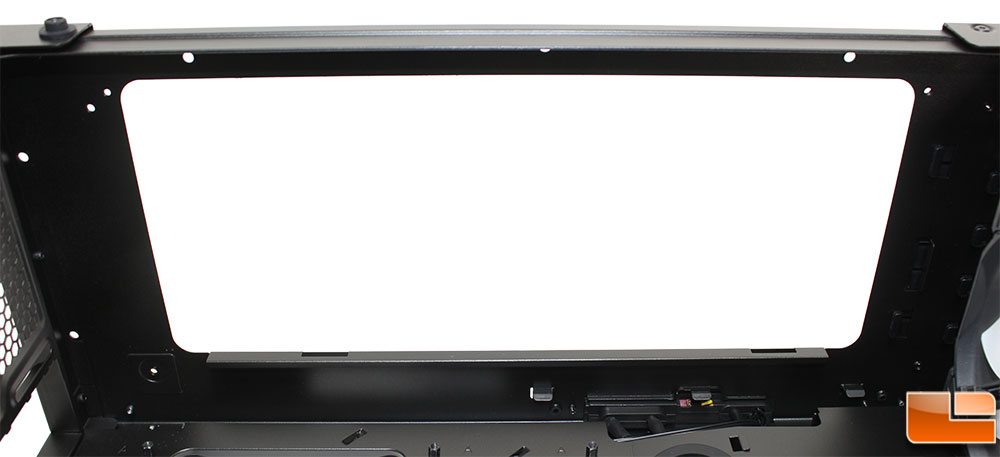
- Corsair Crystal 570X Top without Radiator Support
-

- Corsair Crystal 570X Top Radiator Support
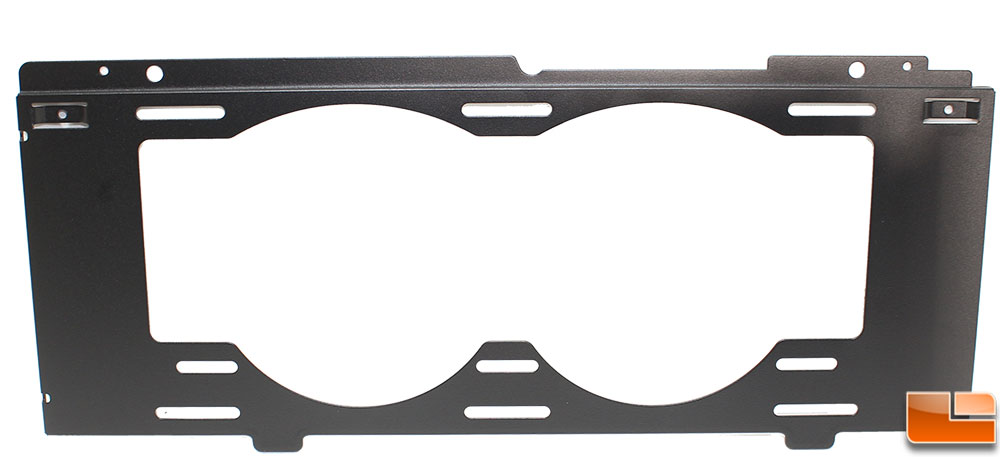
At the top of the case is room to mount up to a 280mm radiator, or two 120mm or 140mm fans (keeping in mind that Corsair’s specifications only list up to a 240mm radiator). To make installing your radiator easy, Corsair has made the top bracket removable. Removing two thumbscrews the bracket can be removed to install your radiator outside of the case. Or if you don’t want the bracket in there, you can always opt to leave the top open.
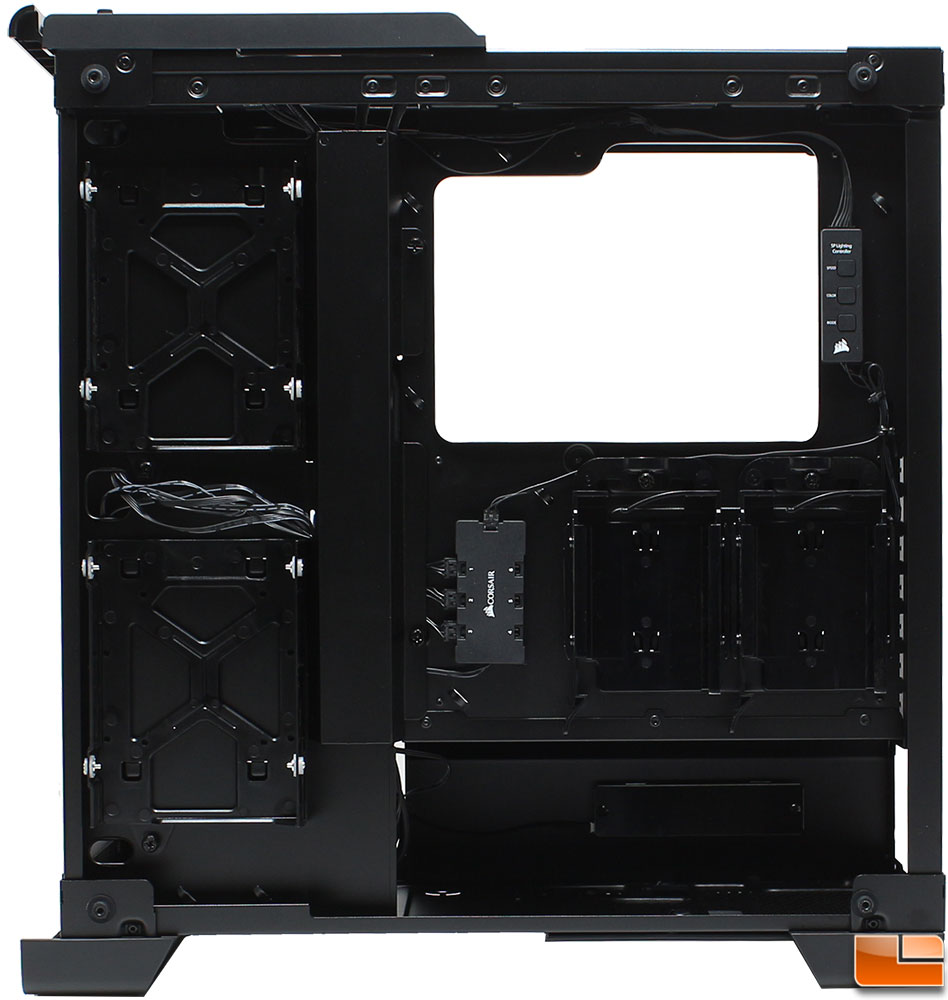
Taking a quick glance at the back of the motherboard tray, we can see that Corsair has done a great job at using the space to it’s maximum potential. There are multiple cable tie locations spread around the back side in key locations. The power supply is installed from this side, and has several rubber feet to keep the potential vibration to a minimum. Let’s take a closer look at the back panel, and see what else the Crystal 570X offers.
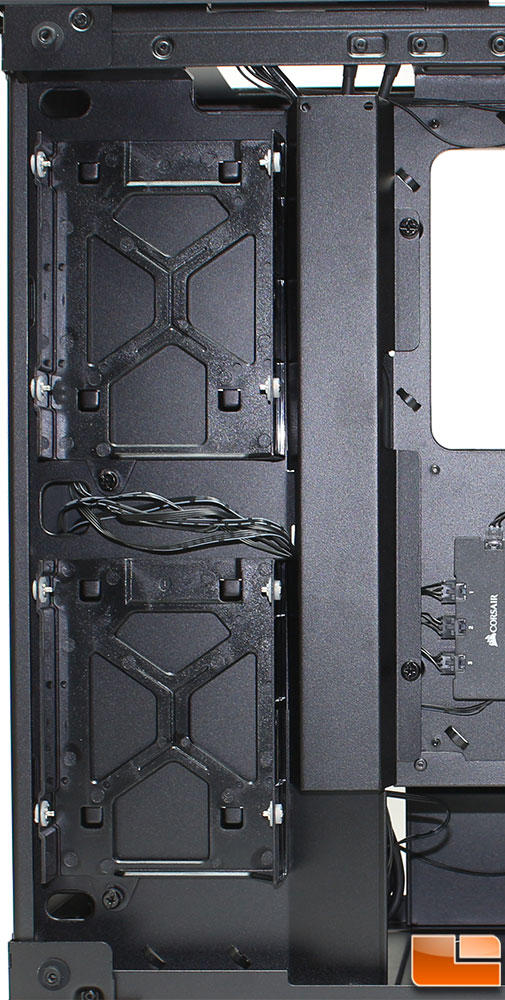
On the back of the side of the motherboard tray, Corsair has done a good job at hiding as much as possible, while still making all t he components readily available. On the front section of the back side, we find the two 3.5″ hard drive trays that are held in place with two thumbscrews. These plastic trays are of a common design allowing for a tool-less installation of the hard drives. To help keep the cables tidy, Corsair has installed a cable cover, that is held in place with a couple of thumbscrews. The front fan cables are routed between the two 3.5″ hard drive trays. They aren’t bundled together, to keep things a little cleaner, I’d probably bundle them with a few cable ties or wrap.

In addition to the hidden 3.5″ drive trays, Corsair has also placed two 2.5″ drive trays on the back of the motherboard tray. We have seen these trays before, they are extremely easy to use, simply slide your drive in, and they snap into place. To the right of the CPU cutout hole, is the SP fan light controller, which has three buttons on it, with a pass-through control option for the top buttons. This connects to the included fan controller, which will support up to 6 SP fans (the controller has to be populated in order 1 – 6). This is not a PWM controller, you would need to upgrade the fans to the HD series with a new controller for it to be PWM controlled.
Now that we have seen everything the Crystal 570X has to offer, let’s put a system in it and see how it looks.