Corsair Carbide Spec-Omega Mid-Tower Case Review
Corsair Spec-Omega Build
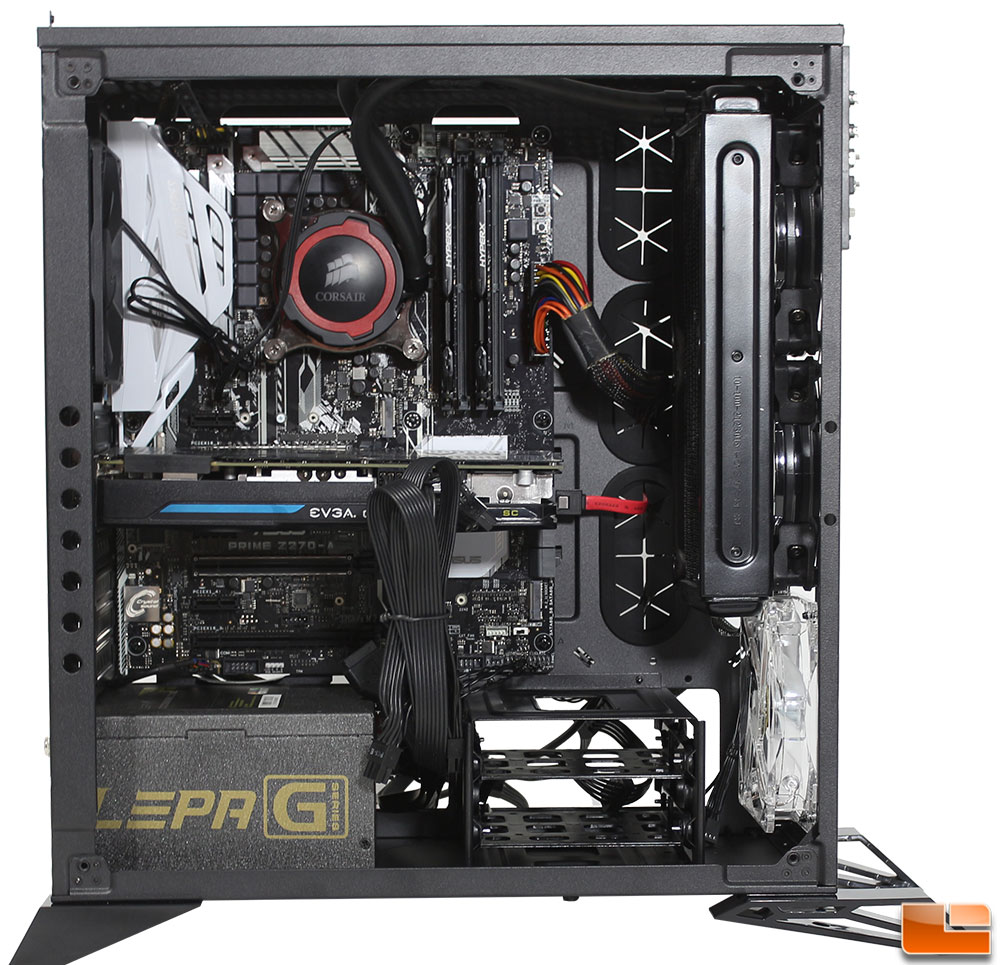
During the build process, there were several things that caused us to take a step back and do a little modification to our build process. None of them took more than a few minutes to fix and overall everything went into the Corsair Spec-Omega with ease. Let’s take a look at some of the things we found during the build.

Typically I like to install the AIO liquid cooler at the top of the case, and I typically build it in an orderly fashion. After the motherboard and CPU is installed, I install the AIO liquid cooler; usually before anything addition is put onto the motherboard. However, with the Spec-Omega you could run into some spacing issues, in connecting the 8-pin AUX power cable, and fan headers. In addition, installing memory is highly problematic after the liquid cooler is installed.
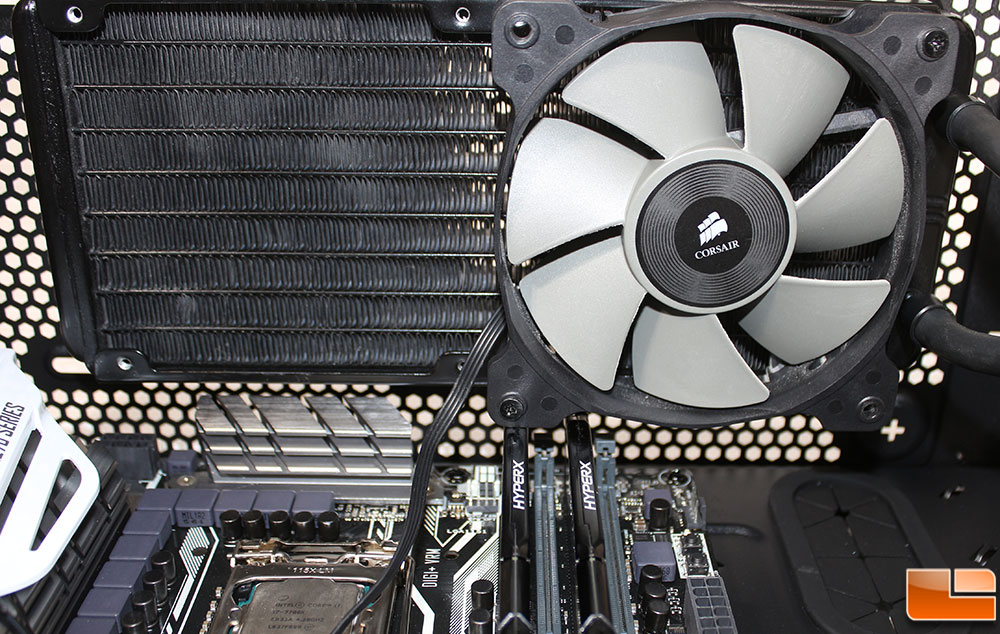
Removing the fans did allow the memory to be installed, however the fan headers and AUX power cable the entire cooler would need to be removed. With the memory installed, in this case the HyperX Fury DDR4 kit, which has a small headspreader over the top edge, it barely fit. There was just enough space to force a single sheet of paper between the two. Had I wanted to install the HyperX Predator memory, or memory with LED there wouldn’t have been enough space. I considered installing the radiator, and placing the fans in a pull configuration on the other side of the top panel. With the fans there, the top wouldn’t go into place; if I had some thin 15mm fans it might have fit.
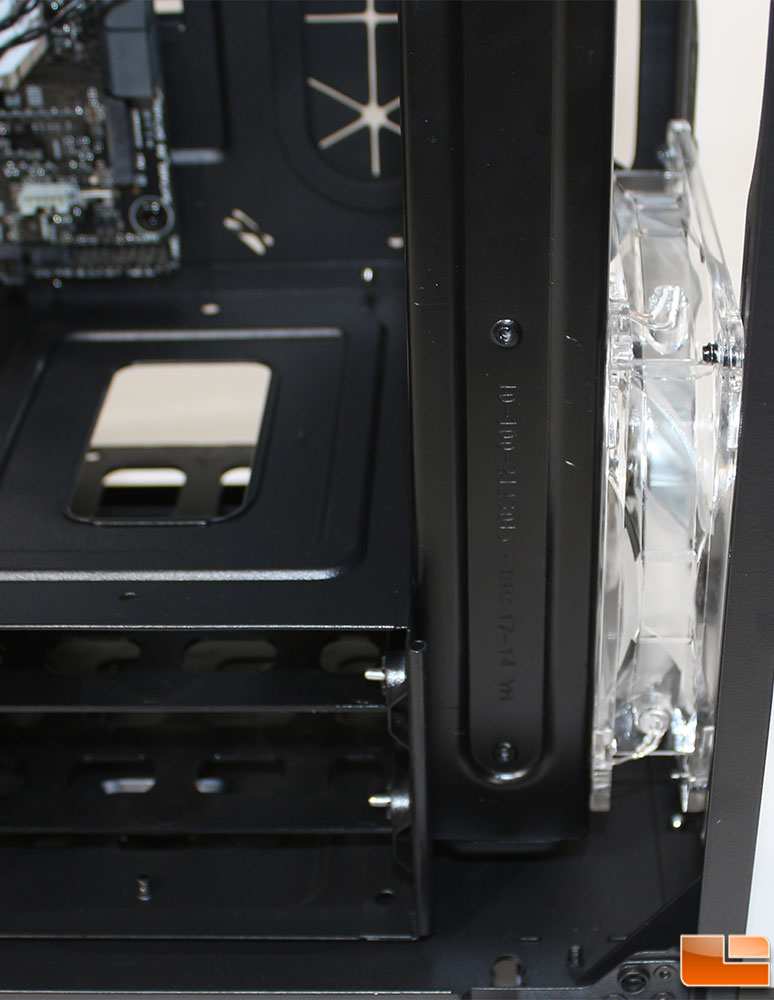
Corsair says a 360mm radiator will fit in the front of the case, so I decided to use the included fan and one additional fan for the Corsair H105 AIO Liquid Cooler. There is about 1.5in of space between the fan and the 3.5in drive cage. This particular radiator is 1.5in thick, causing some spacing issues, I was able to get it to fit, by forcing the radiator. If you happen to have a slim radiator this might not affect you. Also, if you are not installing a 360mm radiator, there is a simple solution. Of course if you are not using any 3.5in hard drives, you could remove the 3.5in drive cage and then space won’t be an issue.
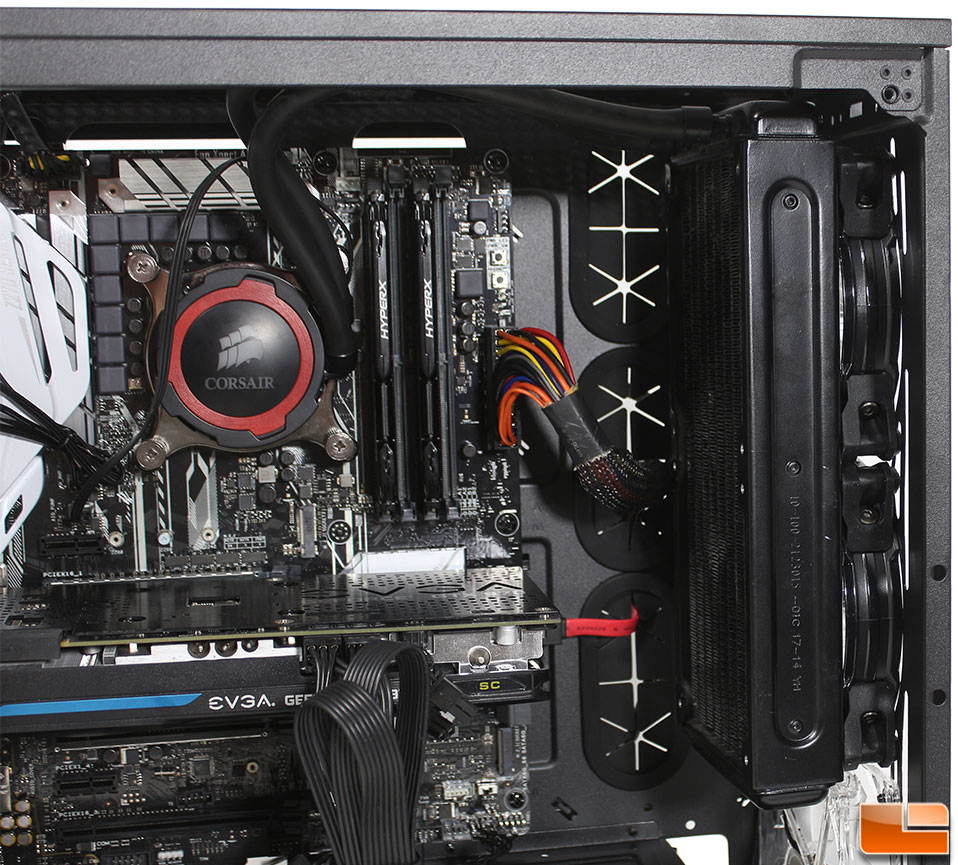
In my opinion, if you are going to install a 240mm liquid cooler radiator, I would put it at the top of the front panel anyways. There are no spacing concerns here, and if you wanted you could put fans into a push/pull configuration. Even with the radiator installed here, all of the cable management holes are easily accessible.
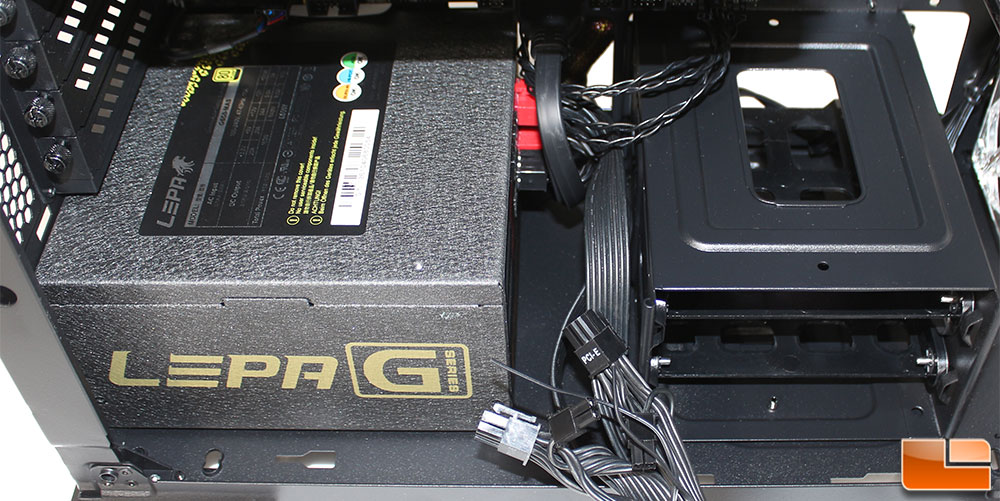
Installing the power supply can be a little tricky with the larger cables and non-modular power supplies. There is just under 2inches of space between the power supply the 3.5 inch drive cage. If you need to install cables after everything is installed and running, it might a little difficult, of course you can remove the 3.5 inch drive cage for some additional space. Also, if you are using a non-modular power supply, there is very little room to store extra cables.

To be honest, I’m not the best at doing cable management, especially on the back side where nobody but me would ever see it. I much prefer to spend my time making sure the cables on the front side are as neat as possible. When building a system, the cables usually tend to fall into the right place to be tied down. The space on the back of the Spec-Omega is around 1/2 inch and with the back panel being flat there isn’t a lot of extra room. For the most part, the biggest obstacle with cable management is the SATA power cable and the large 24-pin ATX power cable. Extension cables would be helpful to get them to go into the right spot to get tied down and better organized. With the cables quickly organized as they are, I was able to get the back panel to go into place without any difficulty.

One thing that has always bugged me about cable management holes, is that they don’t take into account some of the common cable locations. For example, the front audio cable, so many times you have to run it in front of your motherboard. Corsair has done a great job at trying to accommodate most motherboards with varying cable locations by including a number of holes. I was particularly pleased to find one at the back of the case that lets the HD Audio cable for the front panel fit through perfectly and happens to be near the most common location of the header.
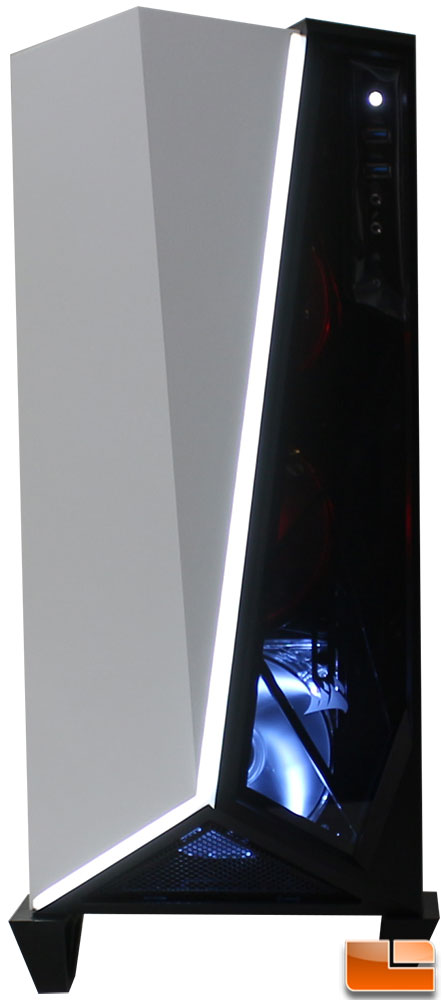
For the LED’s on the internal fans, the bottom white one is the one that comes with the case and looks really nice through the front panel. The two I added for the Corsair H105 AIO Liquid Cooler, I used a couple Red LED fans as those were the only LED fans I had on hand, sadly they’re not as bright as the fan from Corsair; you can still see a little bit of them through the front panel.
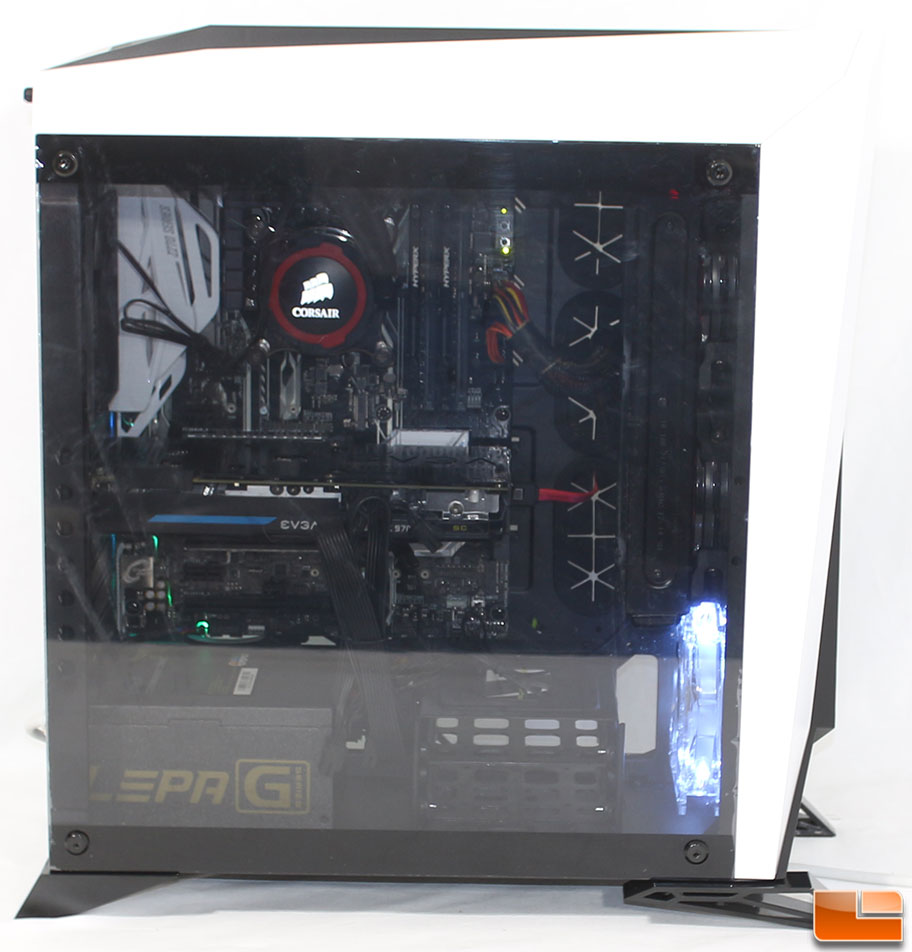
Even with the Tempered Glass having a light tint to it, with the room lights turned up, you can see through the side panel pretty well. When the lights are off, how well you can see the inside components will depend on any LED’s you have on the inside. With the lights in the test room turned down to a normal level, the Corsair logo on the H105 pump looks great, as do the white LED’s on the front intake fan.