Corsair Carbide 600C Inverse ATX PC Case Review
Corsair Carbide 600C System Build
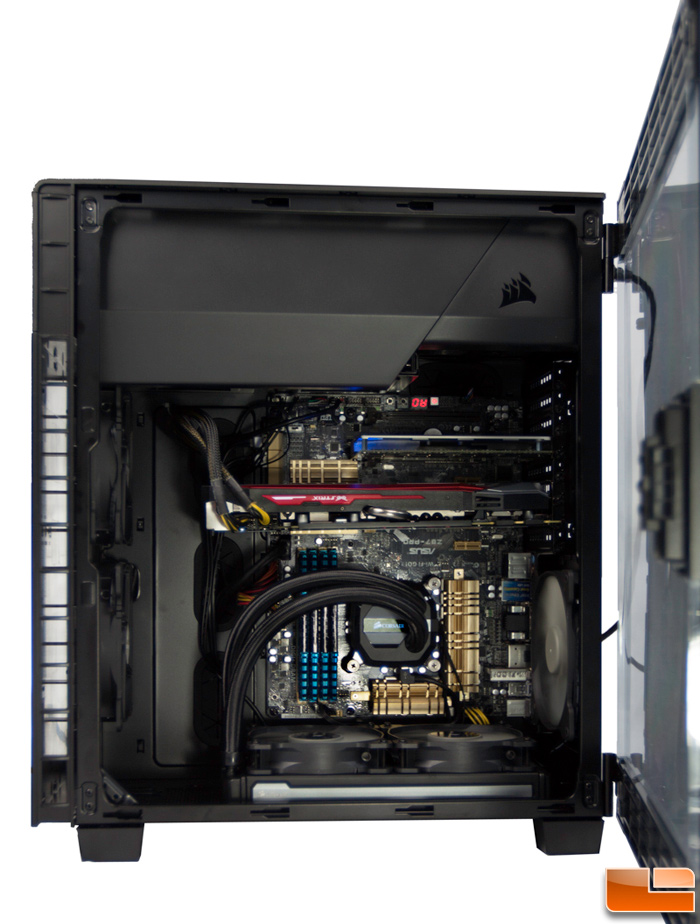
The build out was pretty easy with a few quirks that I’ll cover. I elected to install Corsair’s H100i GTX 240mm closed loop water cooling at the bottom of the case with the air blowing from the inside out. Obviously, this could be reversed but this was my preference. There’s plenty of room for this or even a larger 360mm radiator. It could also be mounted in the front (or a larger 280mm radiator) and in the rear a 140mm radiator can be mounted. If using an air cooler, a generous 200mm clearance is available and 980GTX GPU has plenty of room with 370mm of clearance. I’m not the best at making a super clean build but you can see it’s relatively easy with the numerous cable routing options. The backside is a bit messier for me.
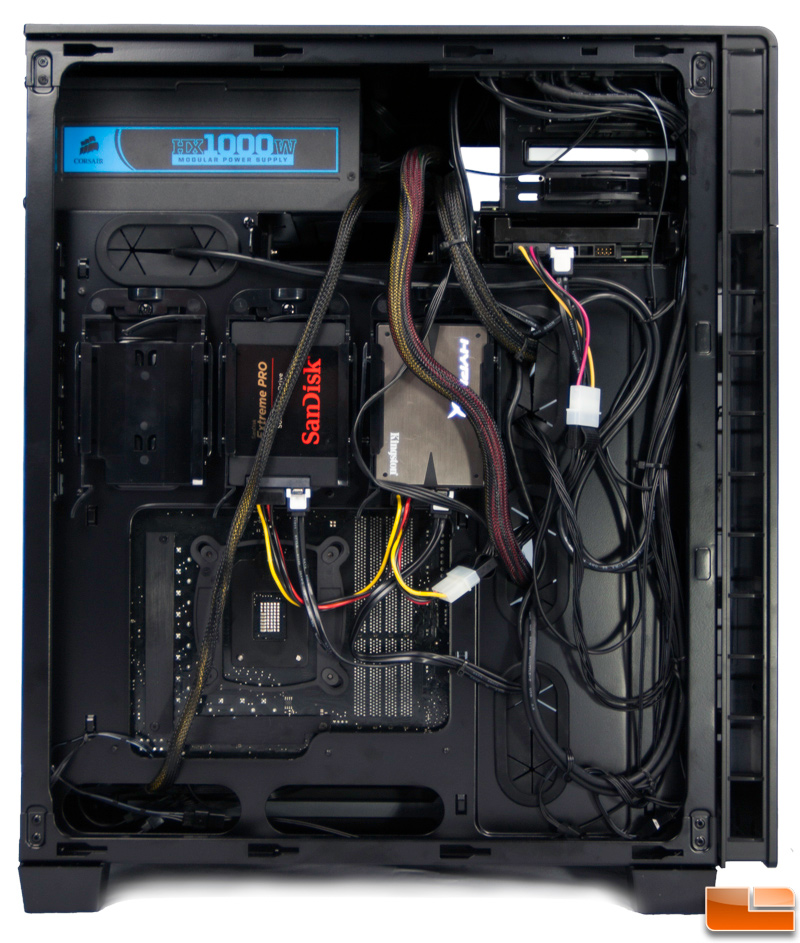
Even Corsair’s large 1000-HX modular PSU fit with no problem though anything longer would really make it tight up against the 5.25″ bay drives. I didn’t go above and beyond to make the cabling behind the motherboard tray super clean since it’s out of view but everything fit comfortably and the side panel fits on without obstruction. However, I did run into some minor issues with cabling. First, the 12V cable from the PSU (running from the back of the PSU to the bottom left in the photo) barely reached its destination. Even if routed over the front of the board, it would’ve been tough as it would’ve had to loop over the GPU. Secondly, the way the 2.5″ drives are mounted, I couldn’t use the right angle SATA data cables I had ready which had me digging into my parts drawer for straight connectors. Most motherboards now ship with right angle connectors so it’s probably the predominant cable on hand for most people. The 3.5″ drives can use the right angle connectors so they can be put to good use there. The SATA power connectors are really tough to use on the 2.5″ drives if they are the daisy-chain variety since those are designed for stacked drive configurations which this is obviously not. I ended up using a 2-connector extension cable connected to a Molex plug. Neither of these issues were show-stoppers obviously but not everyone is going to have these parts laying around and may require a trip to the store to be able to complete the build. It also adds to the cable clutter but there’s enough room behind the motherboard tray so not too many concerns there.
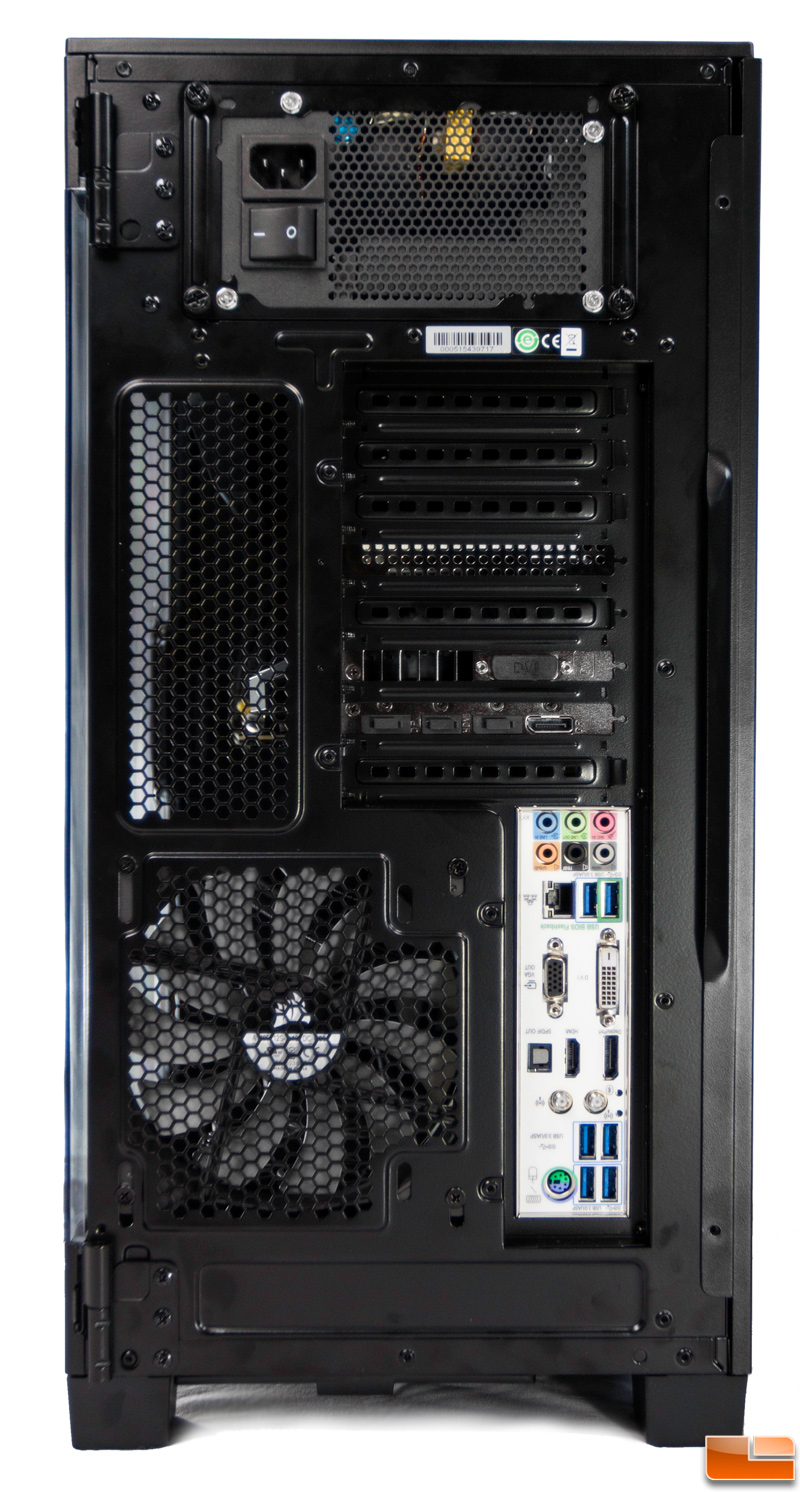
As with many cases, the PSU is held in check by a metal frame that uses four hand screws to secure it. Just be sure to orient the fan end of the PSU down through the vent in the case. Corsair could’ve opted to vent this up and out of the case but it would increase the exterior noise.
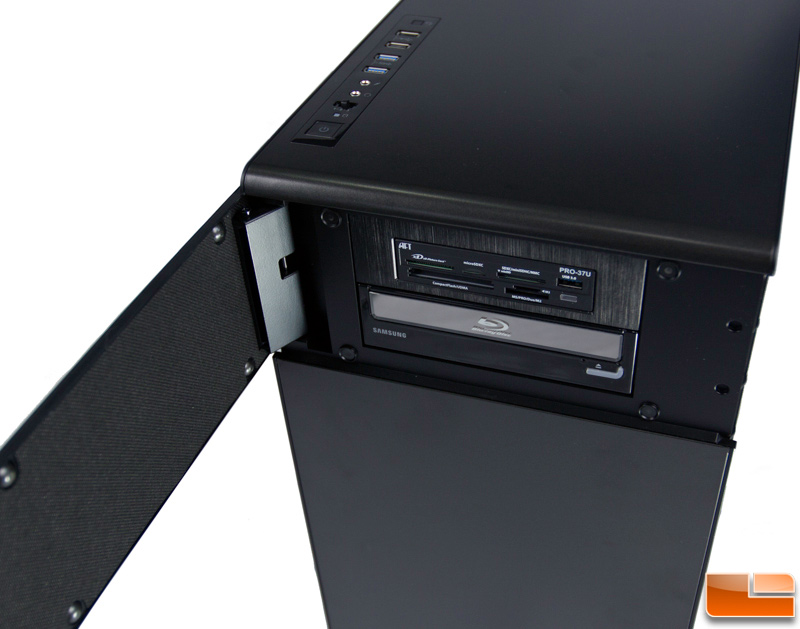
There are only two drive bays in the front which should be ample for most people as optical drives are falling out of favor and multi-function panels with fan controllers and card readers can easily occupy the second slot. Enthusiast with blingy LED displays, etc in the front bays will probably be out of luck unless they ditch the aforementioned drive/panel.