Corsair Carbide 600C Inverse ATX PC Case Review
Corsair Carbide 600C External Impressions
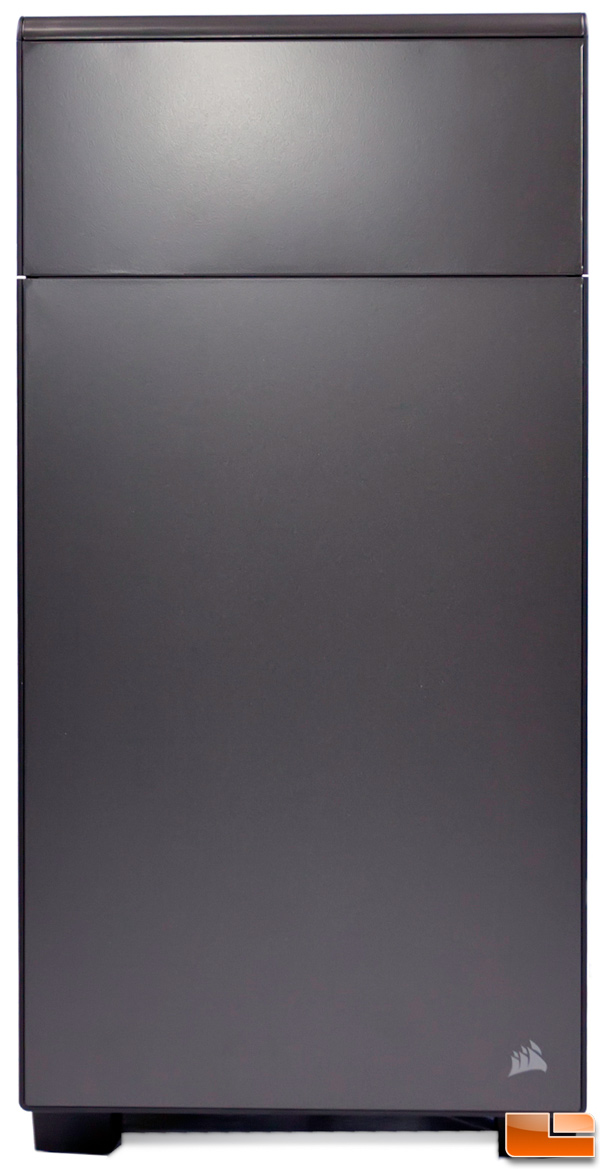
The exterior of the case is less frills and more business. The front has no prominent features save for the door that occupies the top portion of the case and the Corsair logo found in the bottom right corner. The painted front and top feel as though there’s a slight texture and I found pretty quickly that it scratches rather easily though I’m not quite sure how I managed to do it – possibly by my metal watch band as I moved the case around during the build.
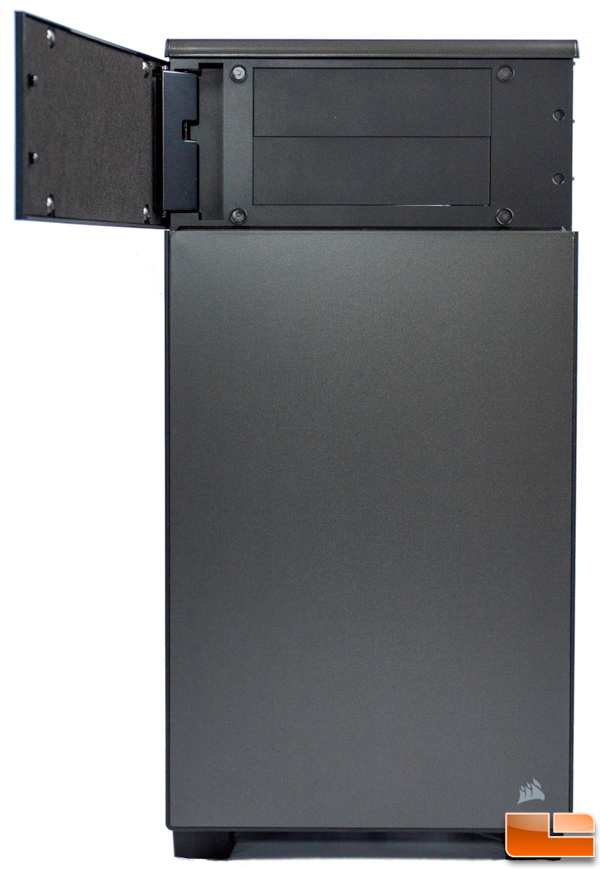
Opening the door, we find the blank faceplates covering the dual 5.25″ drive bays. The back of the door is covered with a sound dampening material which is nice because we all know how loud optical drives can be. Note that the door is double-hinged and only opens from right to left. Those using the case on their right hand side will have to reach over or around the door. I’m personally not a big fan of doors covering the drive bays in the front for this reason plus it adds one more step to accessing those components. However, I do like the clean look it gives so there’s a trade-off.

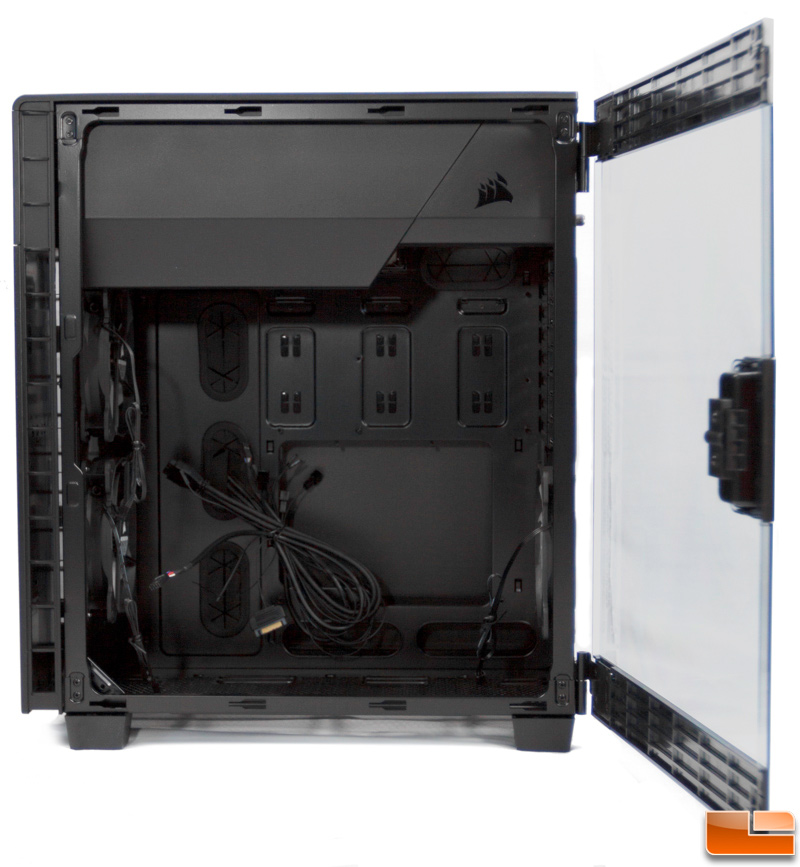
Around the left side of the case, we find a featureless steel panel. This would normally be the side you’d open to get at the guts of the system but since they swapped the side where the motherboard is mounted, opening this would only reveal the rear of the motherboard tray. The vents that run vertically along the front allow the fan in the front to pull in fresh, cool air without the need for venting directly in the front of the case.
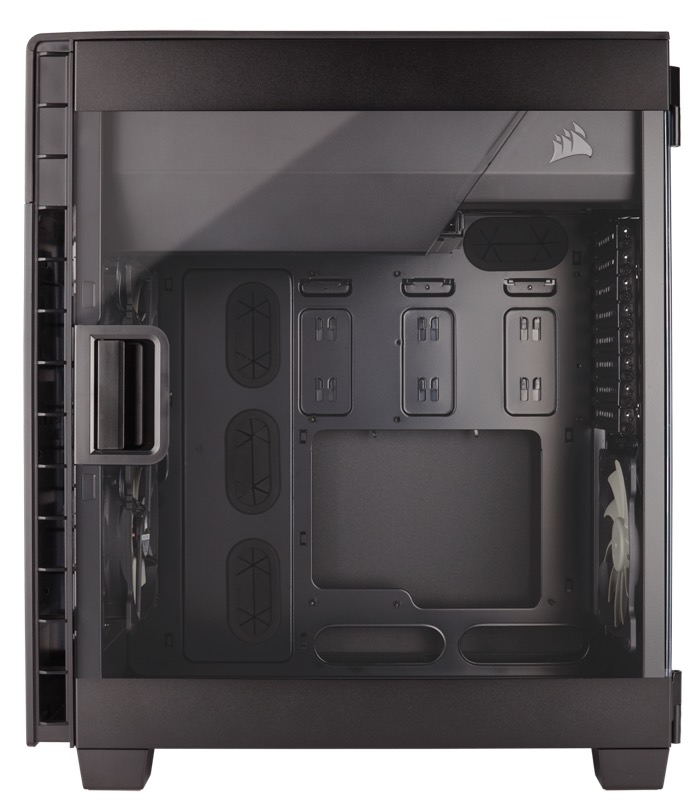 Flipping around to the right side of the case, we find the window which is comprises the majority of the panel. It’s very reflective and difficult to photograph effectively so the above is a product photo from Corsair. The acrylic panel comprises the majority of the panel with plastic pieces along the top and bottom and the handle for the latch on the front center. This gives a very expansive view of the interior components. Also on this side along the front is the other side of the intake ventilation.
 The side panel opens up on a hinge and come off by sliding the panel up off the rods in the hinges. Easy on and easy off.
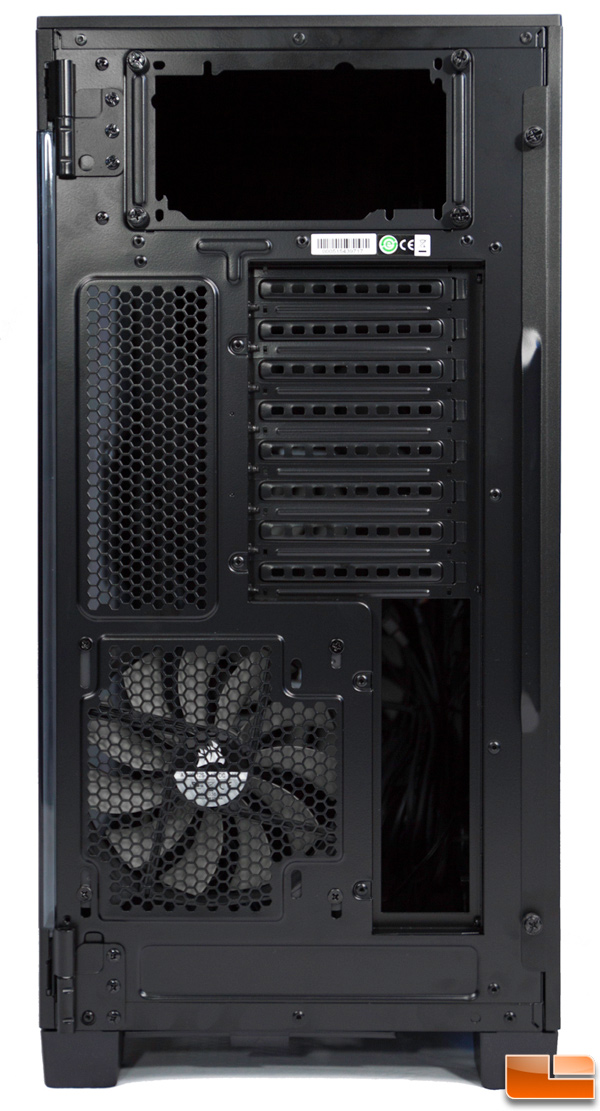
Around the rear, it’s clear that the motherboard is mounted in a non-traditional fashion with the expansion slots toward the top of the case and the I/O panel near the bottom. The cavity at the top is where the PSU will reside and above the 120mm fan at the bottom is a vented panel.
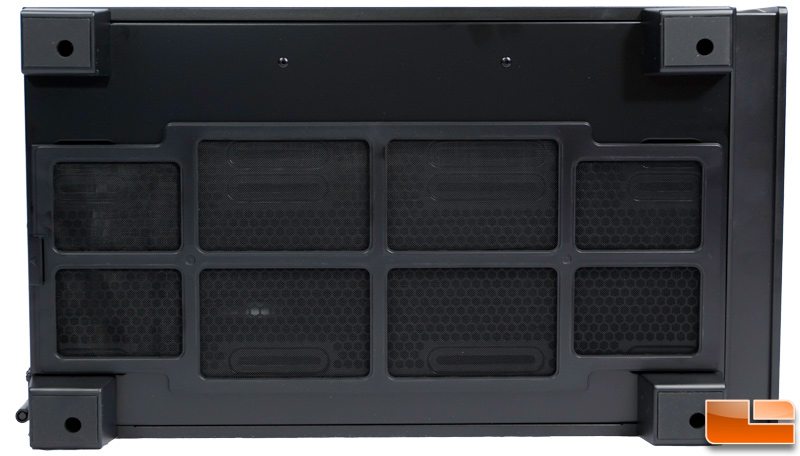
On the bottom are four rectangular rubber feet and the bottom dust filter.
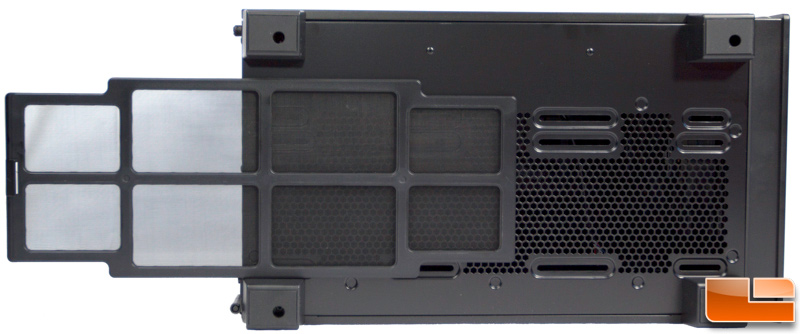
Unlike many dust filters, the one at the bottom of the Carbide 600C is magnetic and does not rely on tracks or brackets to hold it in place. You can see the concave round indentations where the screen settles into place. This makes removal a cinch but to get it perfectly into place, you really need to tilt the case to the side rather than spending a few minutes trying to slide it underneath by feel alone. Depending how you configure your build, the dust filter at the bottom may not really be needed if your fans are blowing out rather than pulling air in.
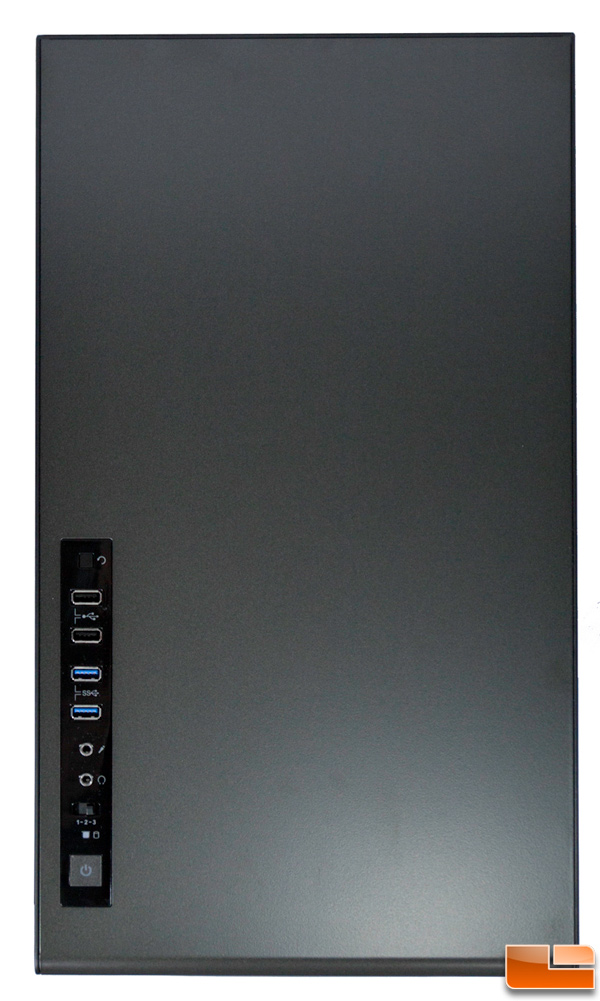
On the top we find only the control panel strip in the front left corner.
 The panel is comprised of the usual features. The power button which glows white when powered, the HDD activity light, three-seed fan switch, headphone and mic jacks, dual USB 3.0 and 2.0 ports, and the reset button.