CoolIT Systems Pure CPU Cooler – Water Cooling For Under $100
Looking Closer
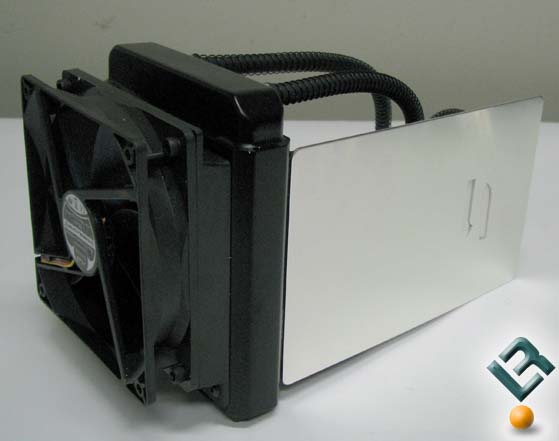
With the cooler out of the packing we can start looking it over. The 120mm fan is attached to the radiator already for you with an offset shroud/adapter plate. This will allow you to adjust the position of the cooler in relation to the fan mount in the case in the off chance you need room to clear something.
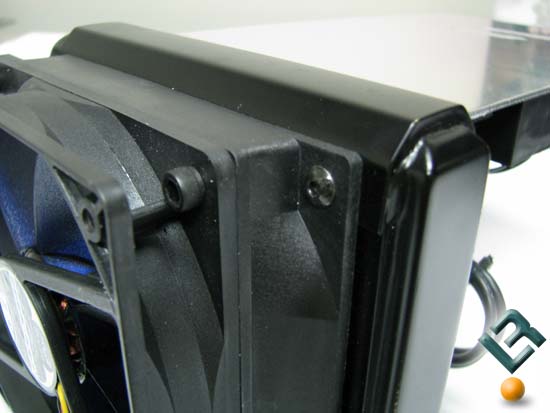
The trick will be getting the fan off as the fan is held on by Allen head screws. That’s not a big deal if you own a set of Allen wrenches, but for those who dont it could be an inconvenience.
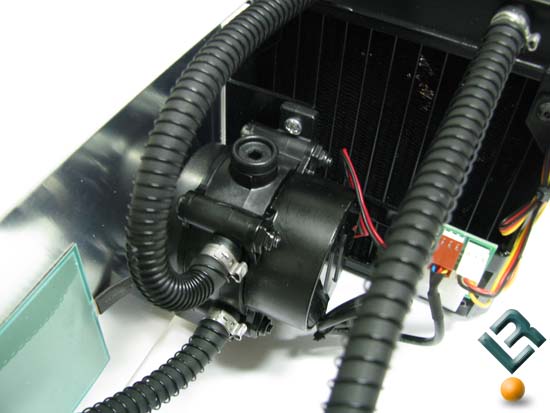
Around the other side of the beauty plate we can see the pump, hoses, and the power connector PCB. The hoses are neoprene and are wrapped with wire to prevent the tubing from kinking. Now the pump for the PURE flows 3.5L/min (thats 210L/hr). To me that seems a little low but this may be due to the small tubing that reduces back-pressure on the pump. We will soon find out how this will affect performance.

Next to the pump is the power distribution PCB. The PCB takes the power from the 4 pin molex and diverts the power to the fan, pump, and the back light for the logo on the beauty plate. Its positioning on the unit may make it interesting to get to when installed, as well as how to route the cabling in a neat way.
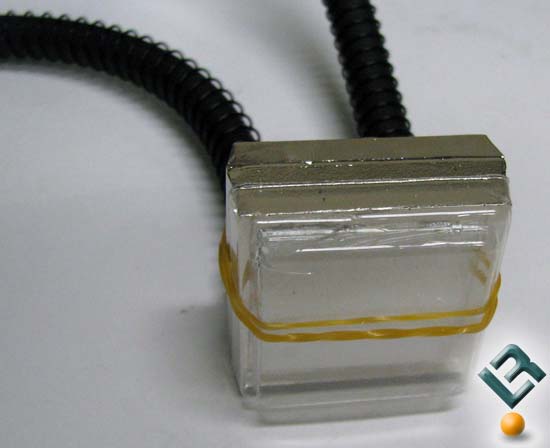
The water block, or heat exchanger as CoolIT calls it, comes with a plastic shell that protects the pre-applied thermal paste.
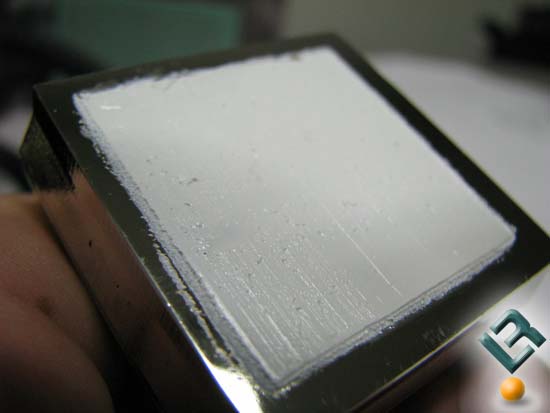
With the shield off we can get a look at the nice thick layer of thermal paste. When I see pre-applied paste like this I cant help but wonder what is hiding under it.

So I took it off and was pleasantly surprised. The surface was nice and flat and had a very nice finish. With my curiosity calmed we can move on to installation.
Comments are closed.