Cooler Master MasterBox 5 Review
MasterBox 5 Build
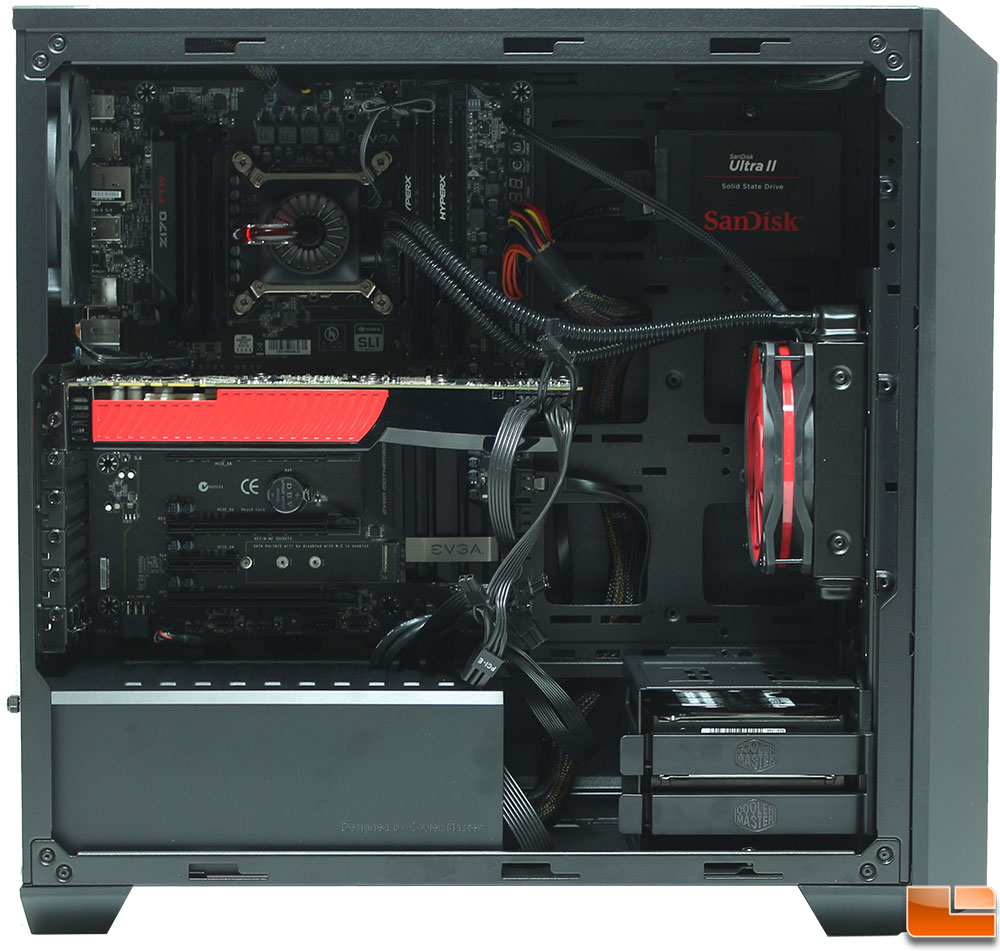
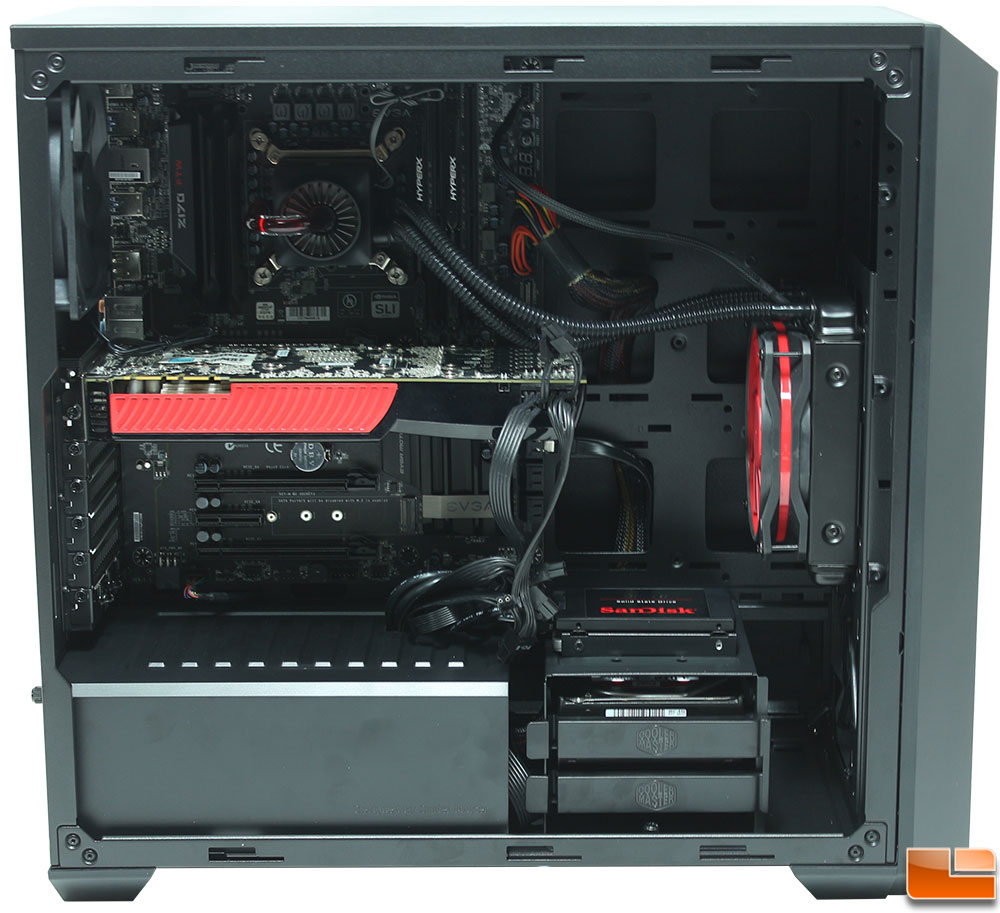
With everything installed, I have to admit that the openness of the interior made installing the components fast and easy. There were no real surprises, all the cables routed through the various holes with ease, everything fit perfectly. The two pre-installed guide stand-offs makes aligning the motherboard simple, and Cooler Master has nicely labeled all the other standoff locations for the various motherboard sizes. Let’s take a look at how things were installed.
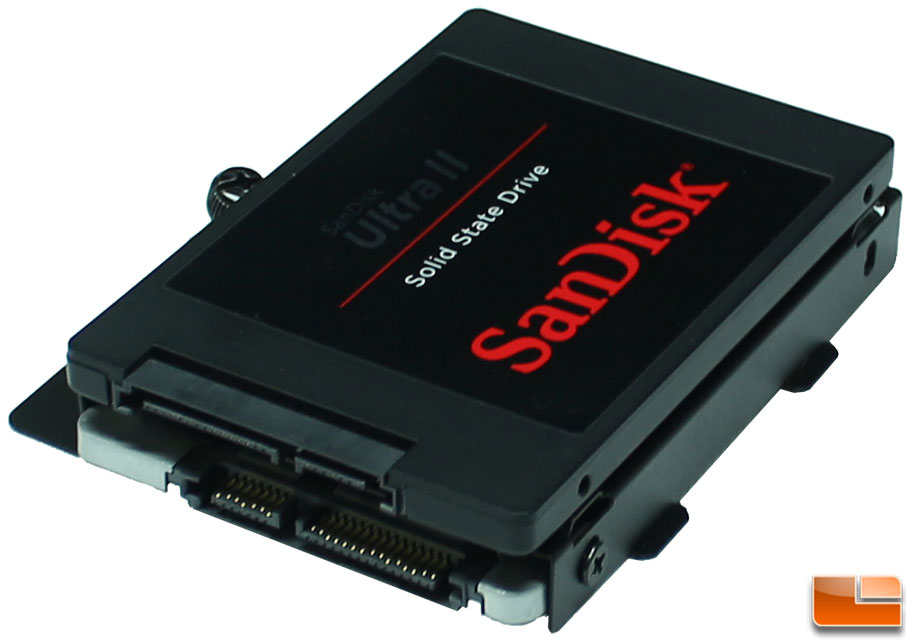
Installing SSD’s on the SSD tray requires using four screws. Two SSD’s can be installed on the tray, one uses the screw holes on the bottom, while the other uses the side screw holes. This makes an extra step to change out the top SSD, but it’s pretty easy. The hardest part is connecting the cables to the connectors as they are pretty close together. When I connected the SSD’s, I put them both facing out, however the bottom drive could be switched around and the power/data connectors would be lined up.
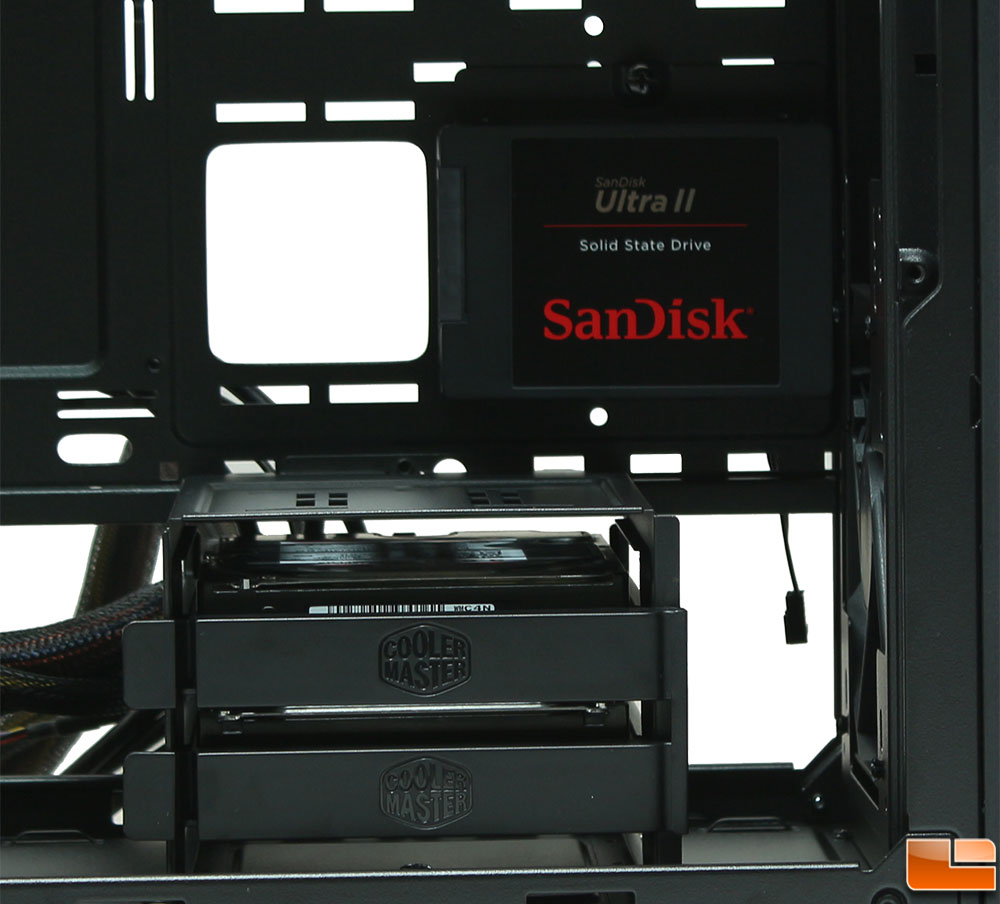
The MasterBox’s tagline is “You Decide the Inside”, as we have mentioned, the 3.5″ drive cage can be moved a little, this allows for a radiator to be placed at the front of the case. In addition, the 2.5″ SSD cage can also be placed in two other locations below the default position. There is also a place to mount the SSD cage behind the motherboard tray, and on top of the 3.5″ drive cage.
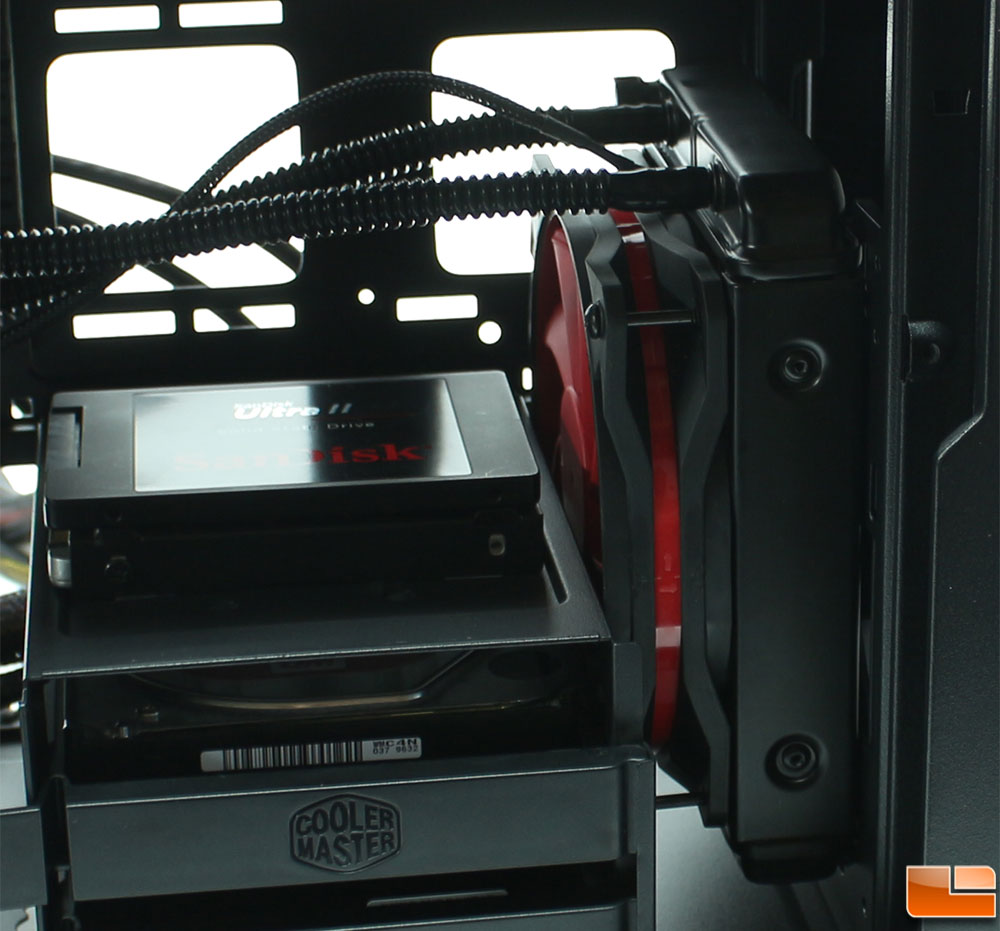
While this isn’t the final location I would install a single 120mm AIO liquid cooler, I wanted to show that with the 3.5″ drive cage moved to it’s furthest location, you can put a radiator with fans in a Push/Pull orientation with some limitations. The cooler here is the DeepCool Captain 120, which is a 27mm radiator, and standard 25mm fan which shows that you have up to 52mm to install your radiator and fan (plus the fan on the outside of the fan cage).

When installing the GPU, I went to remove the expansion brackets and then I found that Cooler Master removed the metal braces in the expansion slots. This can leave some space between expansion cards, but also has allows for full access for the GPU bracket. Whether this would have any effect on dust build-up or airflow remains to be seen.
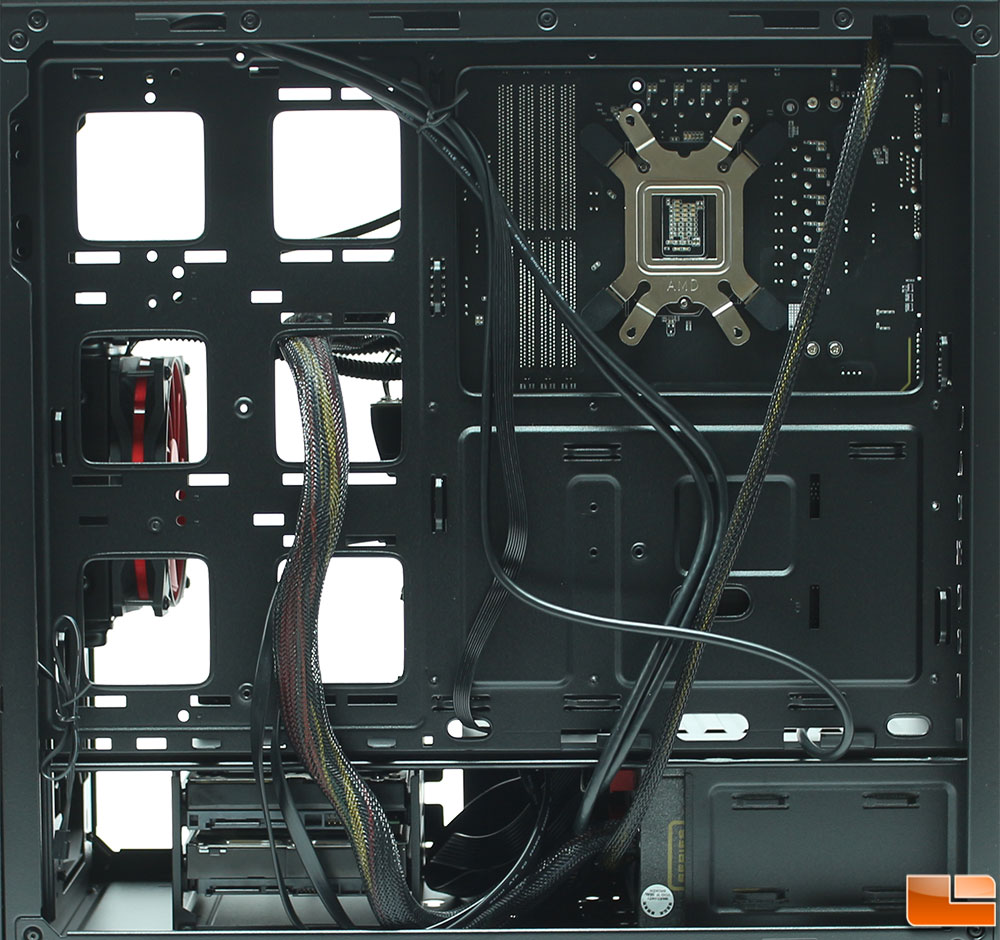
Without securing any cables, the cables actually fell into a good position. Securing the cables is easy with the large number of tie-down locations. The extra large CPU bracket cut-out makes it easy to install after market CPU coolers on pretty much any motherboard. The 8-pin ATX Aux power cable is a little tighter than I would personally like, there isn’t any way to move it out of the way. However, it reaches the power connector on the motherboard and isn’t really in the way. Even with the main 24-pin power cable not being routed, the back panel slides on without any issues.
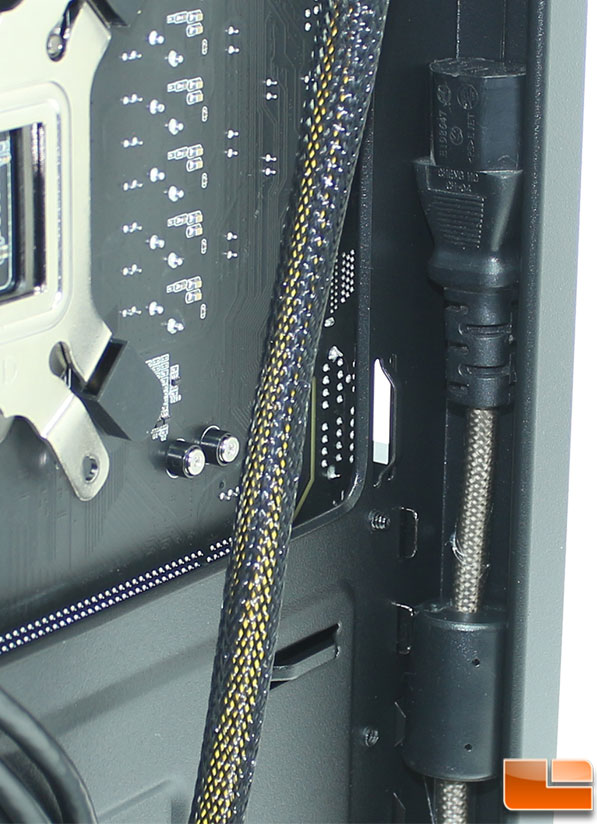
The back panel slides on without any issues due to the large amount of space between the side panel and the motherboard tray. For the majority of the case, there is 25mm of space! Which is the width of a standard case fan and a power cable. In the lower portion of the case, the cable management space increases to 35mm! The large amount of cable space, plus the multitude of tie-down locations, and cable management holes means there should be no reason to have messy cables.
Before we finish up, I wanted to move the 3.5″ drive cage and install the 2.5″ SSD cage on top of the 3.5″ drive cage. I actually like this location better for the 3.5″ cage as it helps keep cables tucked away under the power supply shroud; of course they could always be tied down. The 2.5″ SSD cage installs without any issues, and connecting the cables is easy, routing them through the top of the power supply shroud.