Cooler Master MasterBox 5 Review
MasterBox 5 Interior
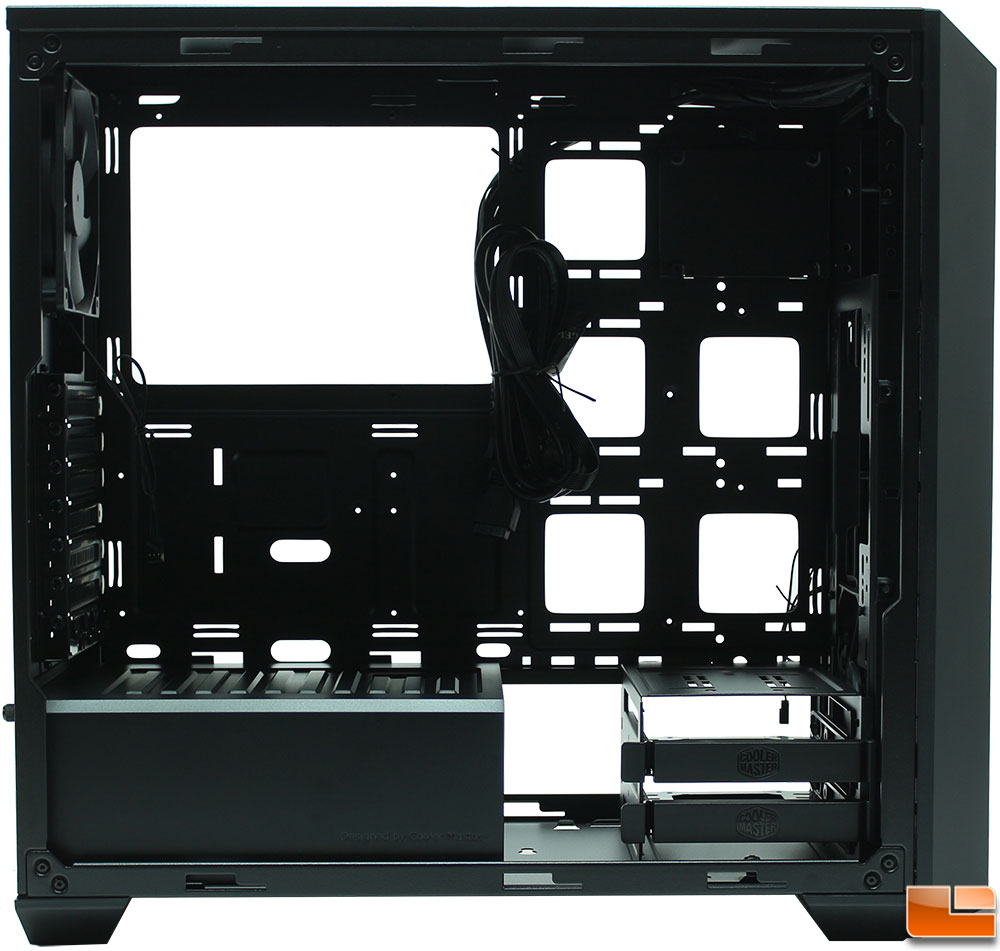
Cooler Master has continued the exterior black paint to the interior of the case. For the motherboard tray, there is an oversize hole to allow for installing CPU coolers after installing the motherboard, the large size helps to ensure it’ll accomodate nearly any motherboard. For mounting the motherboard, Cooler Master has pre-installed two standoffs which have guides to help line up the motherboard. The PSU cover is made of plastic, while it looks great, it is still a bit of a disappointment. On the top of the power supply cover is a small cable management hole, it would be nice if the SSD cage could have been installed here. To the right of the motherboard there are a large number of cable management holes available, which also perform double duty for installing 2.5″ SSD trays; Cooler Master has provided one with the case. In the lower right corner, is a simple 3.5″ drive cage which uses trays for the drives.
The PSU cover is easily removed with one thumbscrew on the back of the case, then lifting out the cover. Nothing difficult at all.
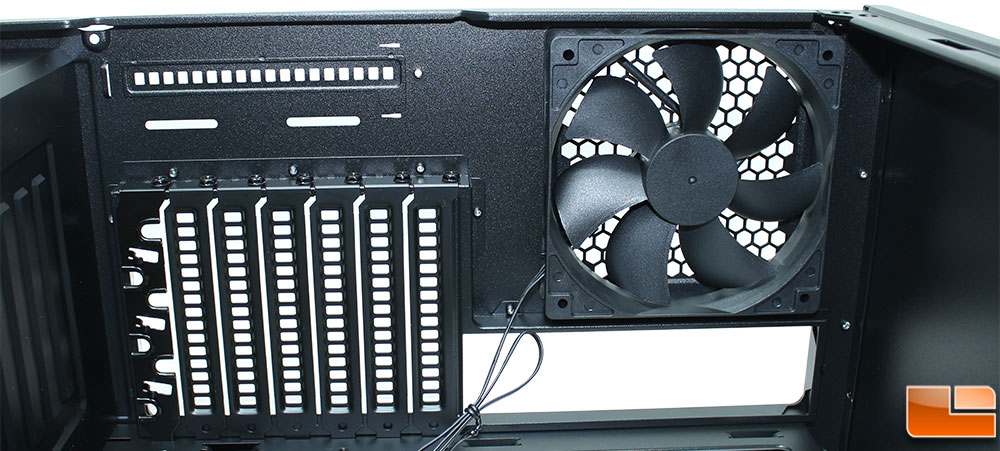
The interior of the back panel doesn’t provide any further revelations. The rear 120mm exhaust fan is a standard black case fan, while the expansion slot covers are held in place with screws (not thumbscrews). Above the seven expansion slots is a single slot that you could probably use for a small add-in card, but to be honest there isn’t any real good way to attach the card so I’m a little baffled what the real purpose of this slot is.

In the upper right corner is a single 2.5″ SSD tray, which can be moved to several different locations. It can be installed on top of the 3.5″ drive cage, behind the motherboard tray or it can be moved down from it’s default position to to different locations.
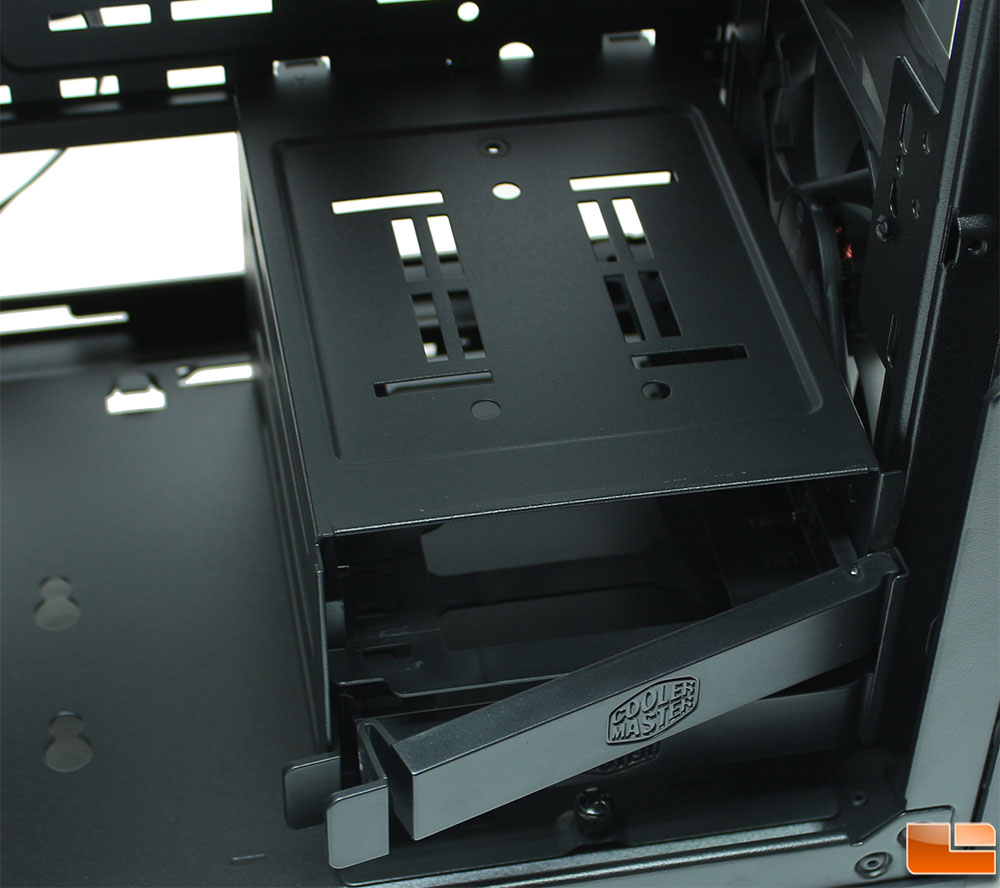
The 3.5″ cage can also be moved slightly, not as drastic as options as the 2.5″ SSD. It can only be moved a few inches towards the back of the case, allowing for a radiator to be installed in the front panel. The 3.5″ drive cage uses standard trays to hold the 3.5″ drives, but can also connect 2.5″ drives with screws. These trays snap into place by locking the tray door hinge behind a metal bar while the tray door snaps into place. On the top of the 3.5″ drive cage is a place to connect the SSD tray.
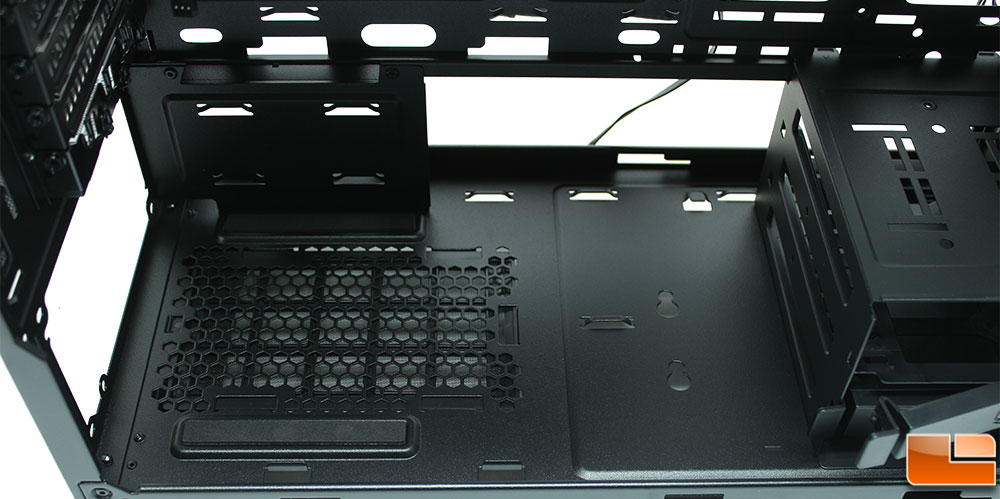
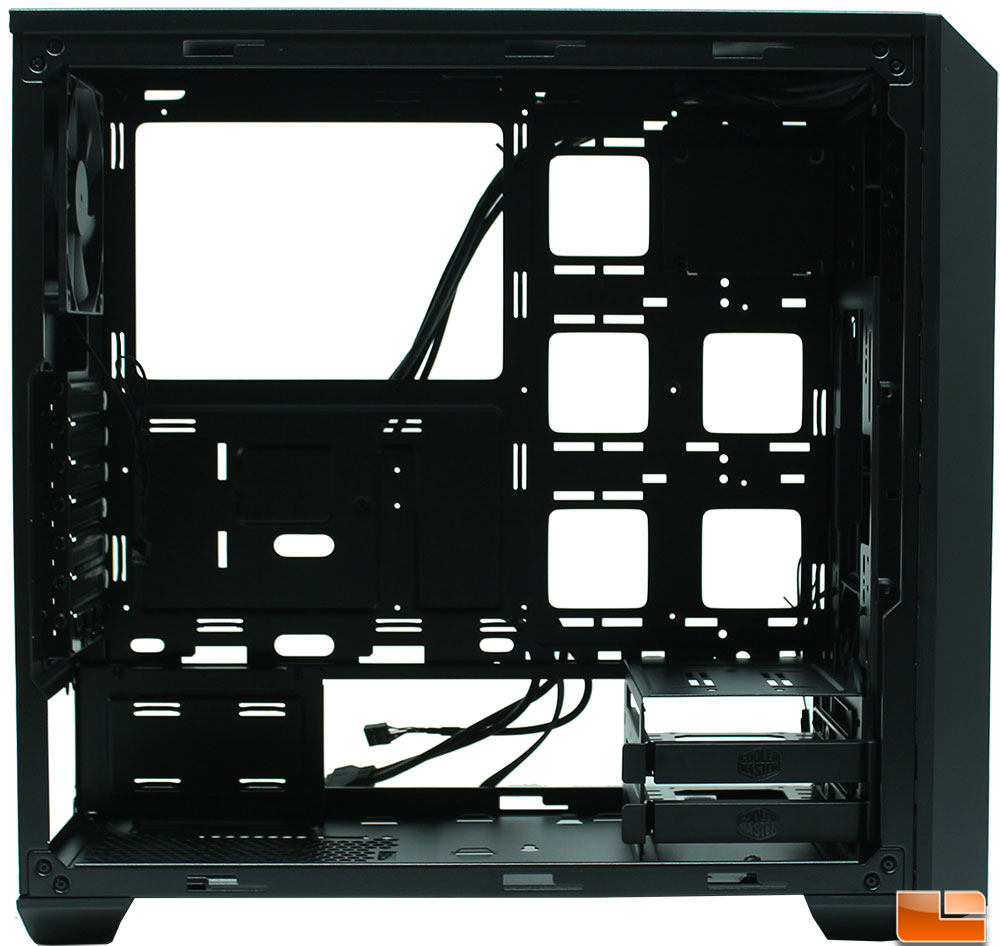
With the cover removed, we don’t find anything unusual about the PSU area. There are two large supports with rubber on them to reduce vibration. Cooler Master has also placed several tie down locations between the power supply and the 3.5″ drive cages, and along the back edge. This is a great place to do it to help keep those cables as tidy as possible. Granted, using the power supply cover will hide them, but still a good idea to secure them.
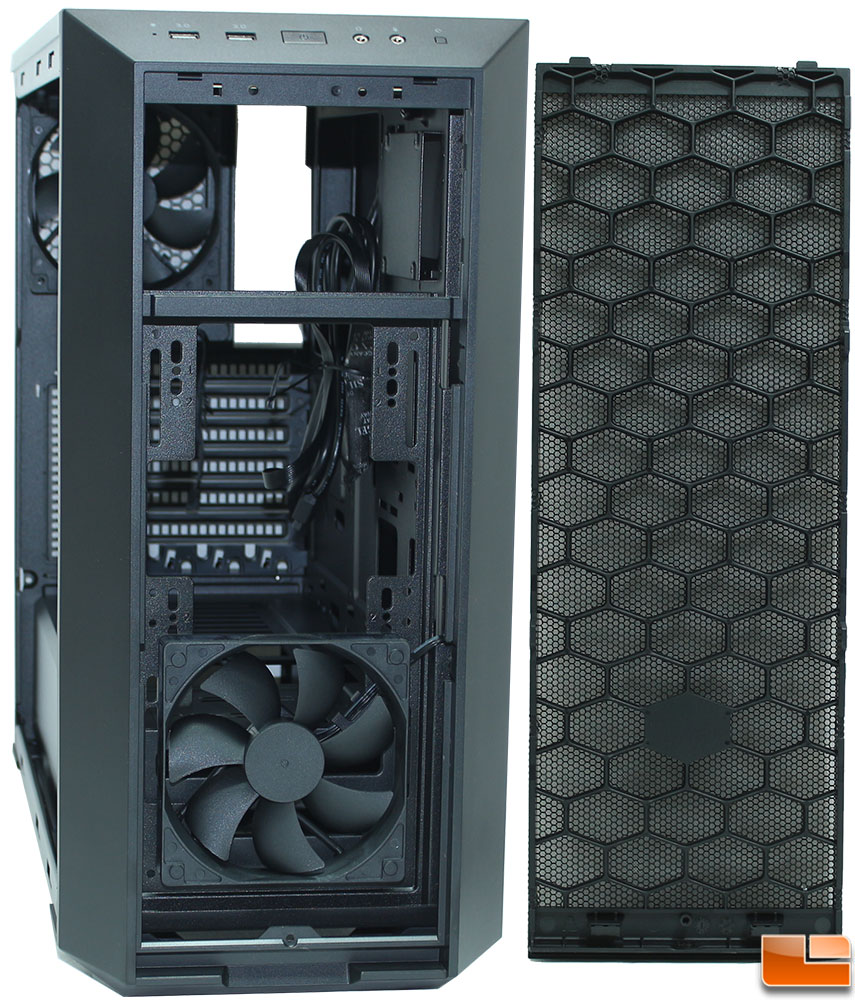
The front bezel is fully removable, however there is no need to remove the entire bezel to install fans or 5.25″ devices. Without any additional brackets, you can install an addditional 120mm or 140mm fan in the front of the case, with an optional bracket, a third fan can be installed. The front intake cover pulls off from the bottom of the case, and goes back in top first. The front cover uses a honeycomb structure for strength, then a fine mesh to keep debris out of the case.
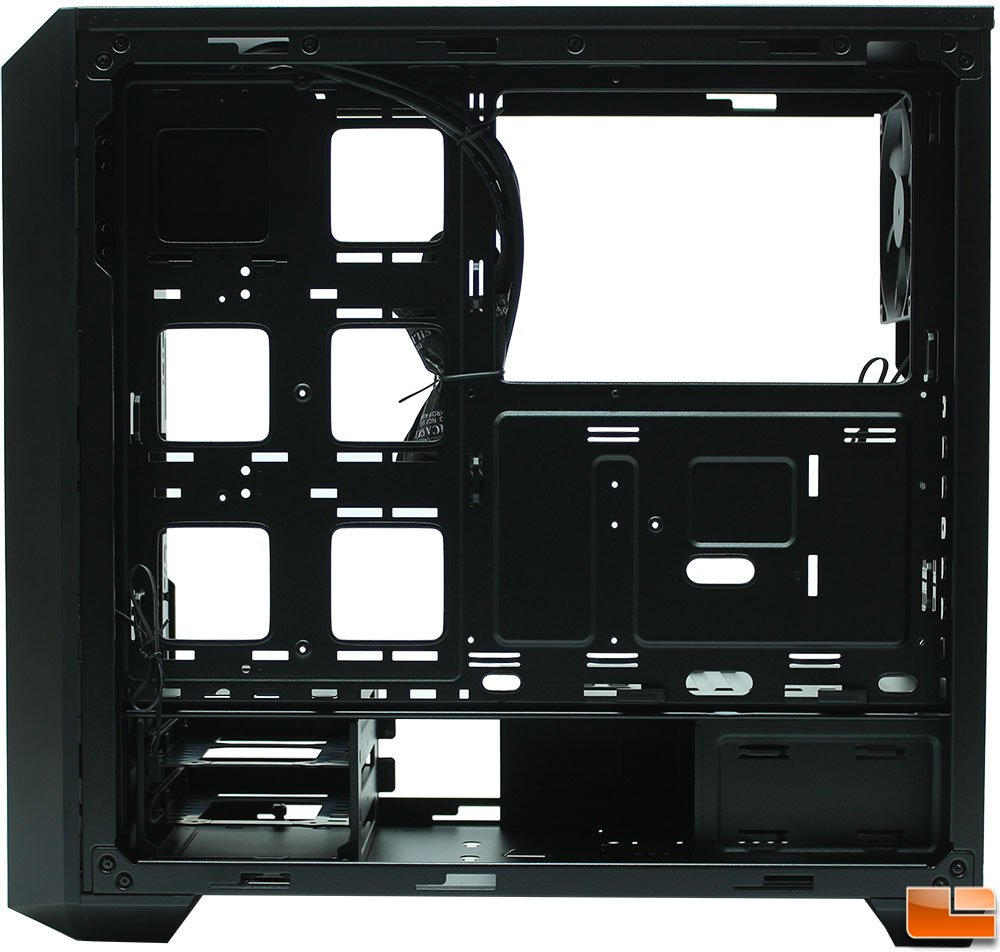
On the back of the motherboard tray, there were a couple of surprises. Right below the extra large CPU cooler cutout is another place to install the 2.5″ tray. Cooler Master wanted to make sure there was no excuse for a poor cable management solution, there are around 18 cable tie locations back here, not to mention the ones on the bottom panel. Then when you go to route the motherboard power cable, there are two oversize holes at the top to route the motherboard AUX power cable through; which isn’t necessarily new, what Cooler Master did was make it larger than usual and place a cutout at the top right case edge to make it easier to route the cable.