Cooler Master Cosmos II Ultra Tower Case Review
By
Behind door #1 inside the Cosmos II Ultra Tower
The outside of the Cooler Master Cosmos II is all new but keeps enough in common with the original that you know where this case started. The inside of this case, however, is all together different.
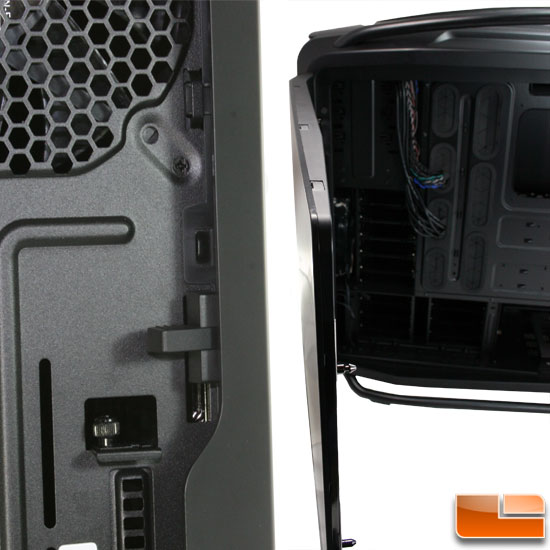
First, to get into the Cooler Master Cosmos II you have to reach around back and push down on the bar that corresponds to the side you want to open (pictured on the left). That releases the door (pictured on the right) for that side which swings smoothly open and hinged toward the front of the case instead of pivoting at the bottom a la Cosmos. This door is surprisingly thick at a bit over 1″ in the middle. We could not tell if there was any sound dampening, like used on the original Cosmos, inside the doors but it should make for very good sound insulation regardless.
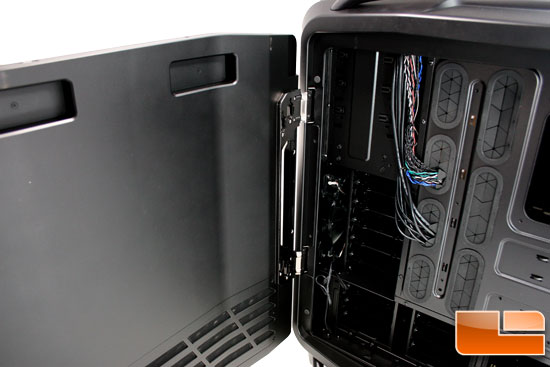
The two side doors are attached to the steel frame with heavy hinges as the doors feel like they have a bit of heft to them.
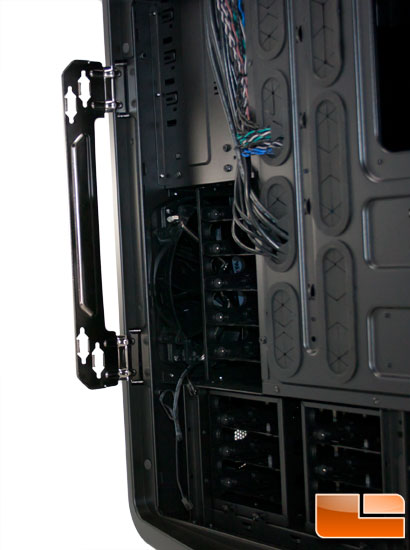
The doors simply lift up and off these hinges leaving this metal bracket but makes it much easier to access the internals of the Cosmos II.

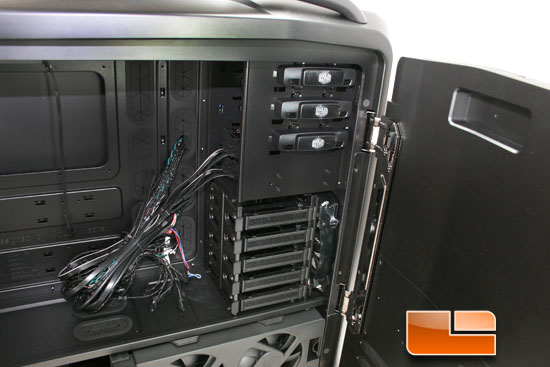
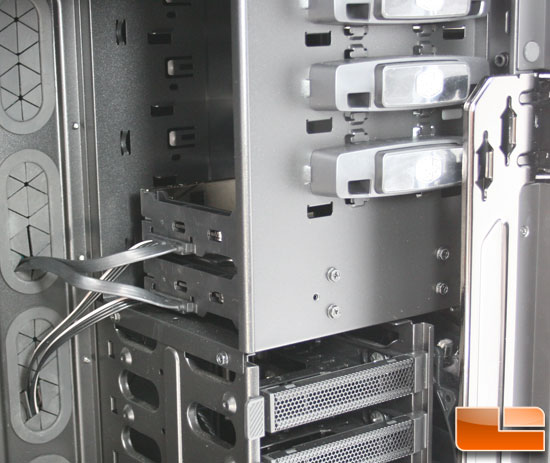
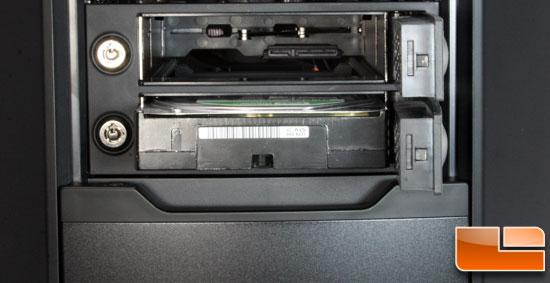
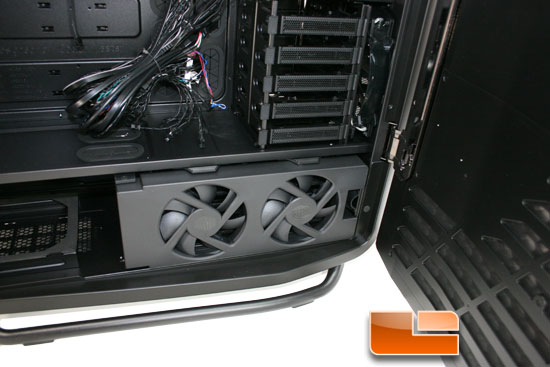
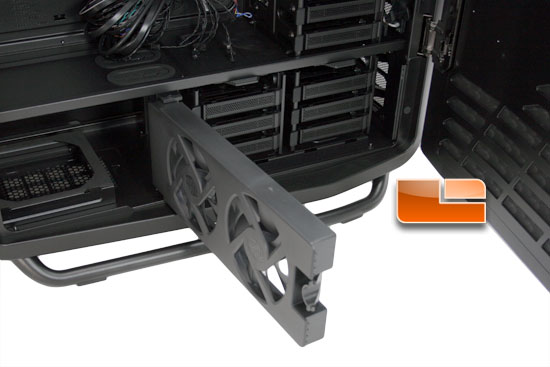
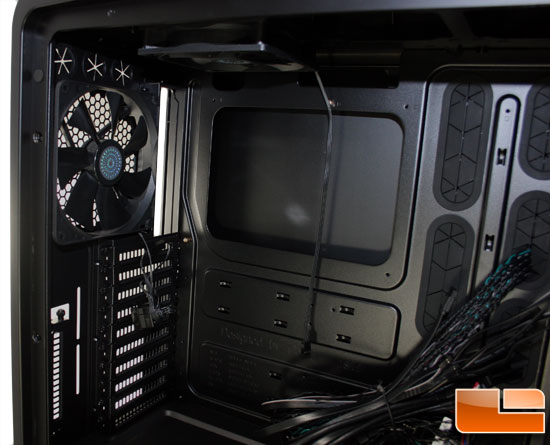
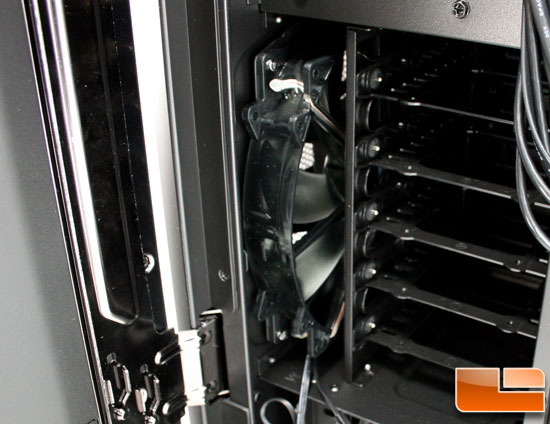

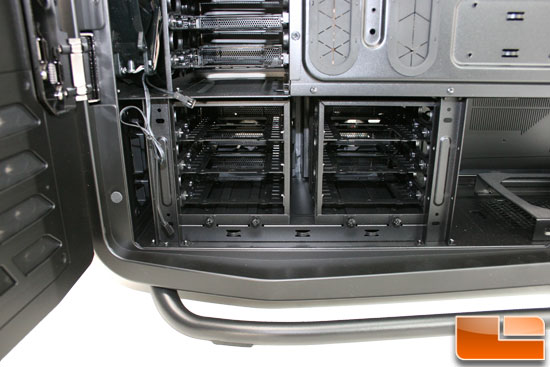
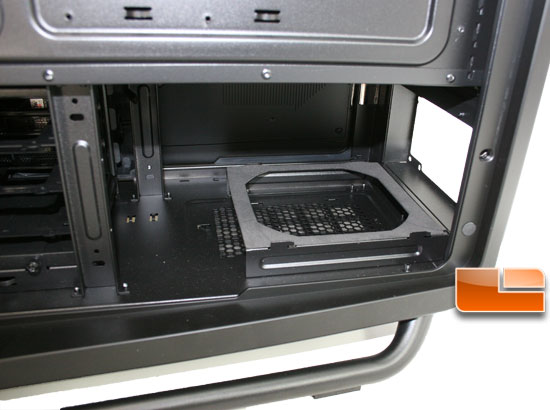

Now that we have shown you how to access this case lets look inside. On the motherboard side there is plenty of space similar to a Corsair 800D, with double grommets along the side of where the motherboard will reside. Next to the tray area are the three 5.25 bays and two 3.5″ hot swap HDD bays below that. Under that area is the first of three hard drive cages with 5 trays. In the bottom zone is the PSU area and dual fans blowing over the other hard drive cages.

Another angle of the 5.25″ bays and the top hard drive cage which is riveted in place but the Cosmos II Ultra Tower can still hold GPU’s up to 15.1 inches long.

Back of the Cosmos II X-Docks showing the SATA and power connections. Note these use standard 4-pin molex power not SATA power connectors.

Looking at the Cosmos II X-Dock from the front you can see we slid a drive in the bottom and it is locked in place with the front door. When you open the door it ejects the drive so make sure you are using AHCI and hot swap or you might crash your drive if it isn’t powered off. You can see the combo SATA power and data ports in the back of the top bay.


The bottom dual fan cooler covers the bottom six hard drive trays and with a simple pull on the front edge tab swings out to expose the trays.

The Cosmos II comes with a 140mm rear exhaust fan and top mounted 120mm fan installed at the factory. You can add two more 120mm fans in the top as we showed you on the external photos. You could also mount a all-in-one water cooling solution on this 140mm mount or even something like the H100 in the roof.

Here is an internal shot of that front mounted 200mm fan blowing across the top hard drive bays.

Going to the other side we can see behind this door gives you access to those dual bottom hard drive cages and the very large tray cut out for CPU cooling mount access.

This is the rear of those bottom dive cages and if notice the four thumb screws which can be removed to take these cages out. This allows you to edge mount a 240mm radiator using the included brackets with those dual fans blowing air right through and out the back case vent giving you the coolest air possible. If you used the top 360mm, the rear 120/140mm port and this bottom 240mm space you should have enough cooling for even the most extreme builds all kept internal for a clean look.

Next to these cages is the PSU area that is covered with a thin gasket to minimize vibration.

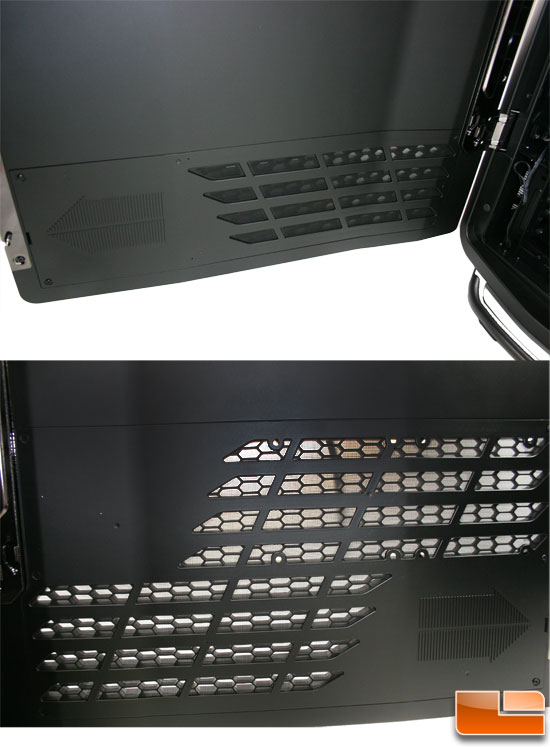
We also thought it was nice how Cooler Master included filters on the side ports that you access from the inside panels of the doors by removing a few screws.

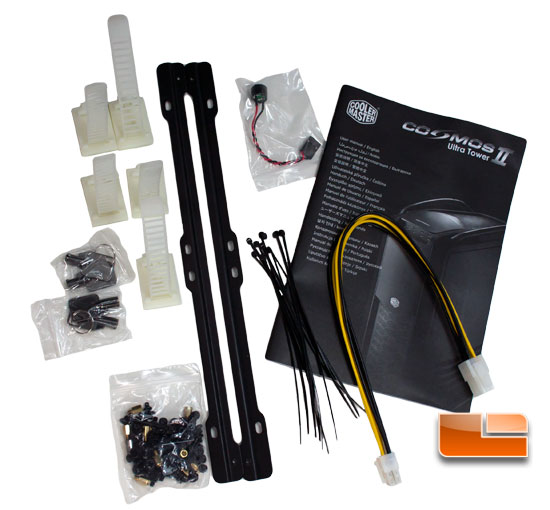
Finally the box inside the case contains the following parts. You get two sets of keys for those front 3.5″ bays, 5x adhesive cable straps, bunch of small black zip ties, motherboard standoff’s and assorted screws, a speaker, ATX power extension, manual, and radiator mounting brackets for the bottom HDD area.

Comments are closed.