ASUS O!Play HD2 HD Media Player Preview
Inside the O!Play HD2 Box
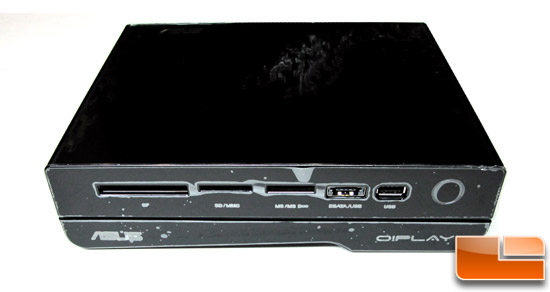
The front of the ASUS HD2 has three different media card readers for CF, SD/MMC, and MS/MS-Duo media. There is also an eSATA/USB 2.0 combo port, a second front USB 2.0 port and a large LED indicator. ASUS has equipped the HD2 with a huge variety of card slots providing excellent compatibility for the photographers or media card-based videographers to easily share and upload their data. Shown above, the HD2 still has it’s protective skin on.
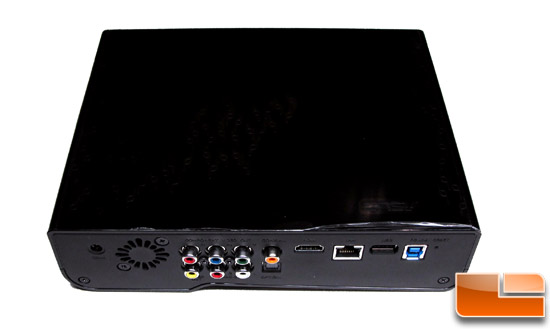
On the back of the O!Play HD2 you will find DC Power, Component output, SPDIF audio, COAXIAL audio, an HDMI port, LAN port, a third USB 2.0 port, a USB 3.0 PC link, and composite video and audio out. Again, ASUS provides their users with more than enough outputs and connections to satisfy most any home theater connection whether you are ready for an all HDMI hook up or have a television or receiver that only has component connections.
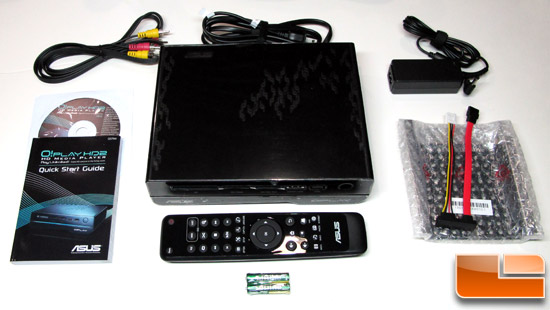
The remote that comes with the ASUS O!Play HD2 is a full-sized 33-button remote control that has quick shortcut keys to the most common functions and a large 5-way D-pad. It sits in your hands quite well and has the look and feel of a real remote control. There are no controls on the actual body of the HD2 player so make sure you keep a track of where the remote is at time. Later, we will talk about how you can have limited control of the O!Play without the remote. ASUS even includes two AAA batteries so to get you up and running only minutes after opening the box.
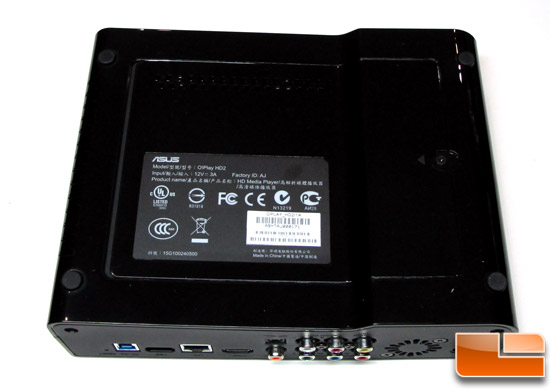
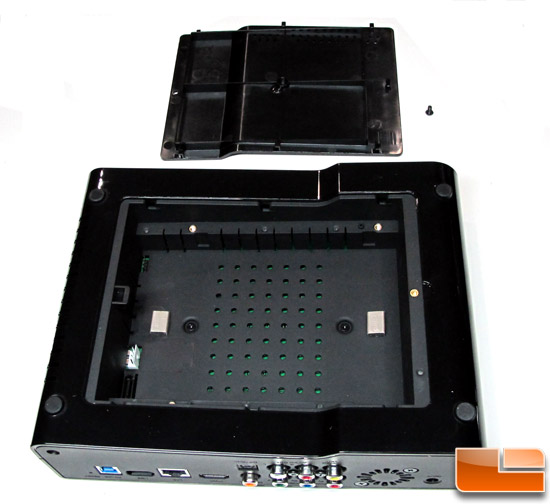
Of course, what sets the ASUS O!Play HD2 apart from others is the ability for the user to install their own 3.5 hard disk drive. ASUS includes a power and signal cable, and bracket (with screws) to make installing an HDD quite easy. ASUS includes a list of compatible hard drives that are designed to work with the O!Play HD2. The largest drive that we could install was a 1TB so thats what we went for.
After installing the hard drive and connecting the O!Play to our
receiver via HDMI, and our network via the Ethernet port, we were ready
to go. At boot up, the HD2 noticed that we had installed an HDD drive
and asked us if we wanted to format it right then. After formatting was
complete, we were returned to the main screen.
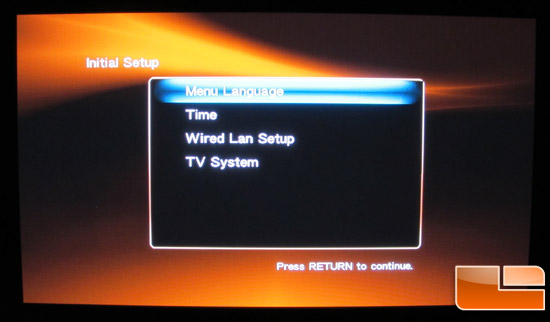
With the hard drive in place we are able to copy media directly to the
local storage or even make the O!Play HD2s files accessible on your
network. Yes, the HD2 can become a NAS with ease. The HD2 server
functionality can be configured to work with iTunes, SAMBA, FTP or
BitTorrent peer-to-peer sharing.
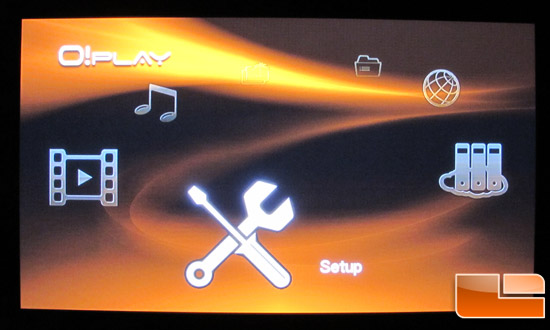
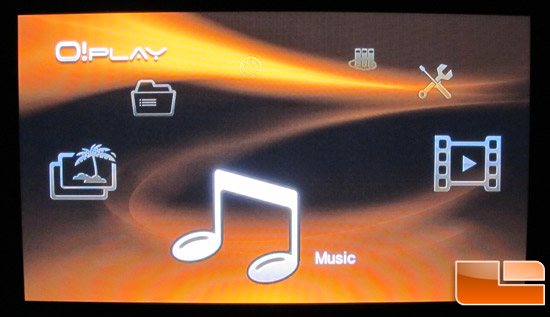
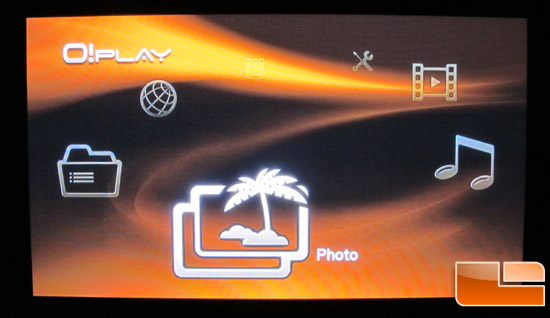
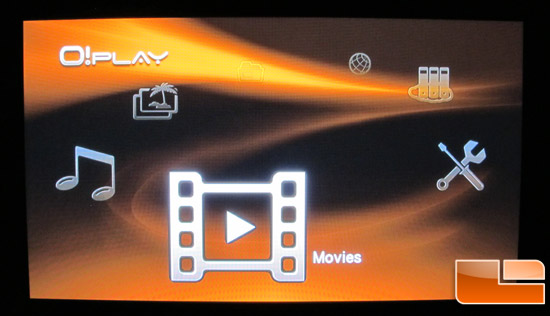
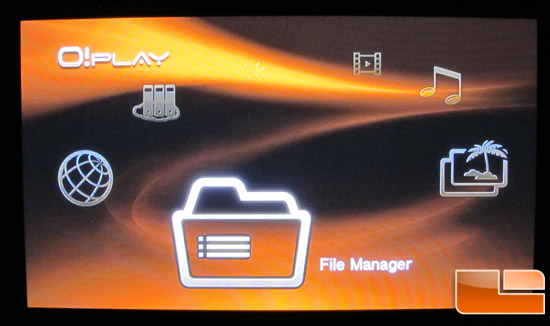
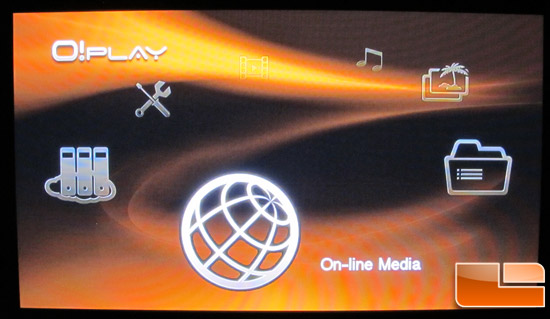
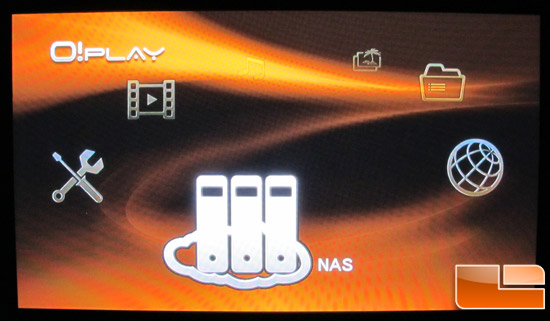
Even though the GUI is updated compared to O!Play Air, you can still
tell this player was build around a Realtek chipset. While the GUI
isnt overly slick it is more than functional. ASUS gives the O!Play
HD2 users a choice 7 basic menu features: Movies, Music; Photo; File
Manager; On-Line Media, NAS, and Setup. The first three menus obviously
help you play your multimedia files, while On-Line Media allows you to
listen to Internet radio check on local weather, stock prices, and view
your on-line photos
Setting up the ASUS HD2 to display our favorite media was a breeze. As
mentioned, we connected the O!Play HD2 to our Receiver via an HDMI cable
and connected to our local network via an Ethernet cable. Unlike the
ASUS AirPlay or Apple TV, the ASUS O!Play HD2 doesnt have built in
wireless but this chipset does support a multitude of wireless dongles
so for around $20, you can add wireless functionality.
After plugging in the network cable the HD2 configured the network
settings quickly in fact, there really was very little we had to do
from taking the hardware out of the box and getting on the network to
stream our first video.

Comments are closed.