Upgrading The Dell e1705 Notebook Graphics Card
The Process – Taking Apart the Laptop
Now, before you just jump right into your laptop, you need to know that you could void any warranty that you have doing this. Also, it is important that you keep all of your screws together so that you have the exact screws for each part as you go to put things back together. I personally just keep the screws with each part I removed, or I just kept them in a pile together and made a note as to where they went. Dell has made service documents available online to aid with removing certain parts of your laptop. I did not find it for the e1705 that we have here, but I did find the documents for the 9300, which is essentially the same chasis. you can find those documents here, with a step by step guide of removing each part. The first step is to unplug the laptop from the wall AND take out the battery! Ok, now, let’s crack open the case!
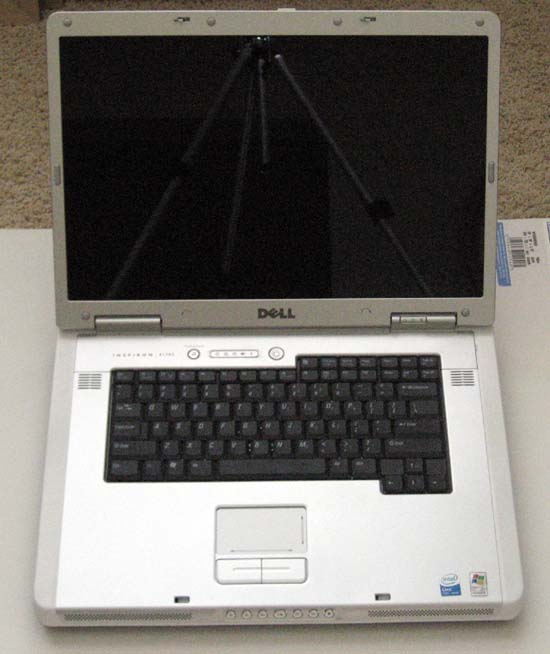
Looking at the screen, you may want to consider putting something over it to cover it to avoid any accidents and scratching it. Ok, so, it is ready to go, so let’s open it up.
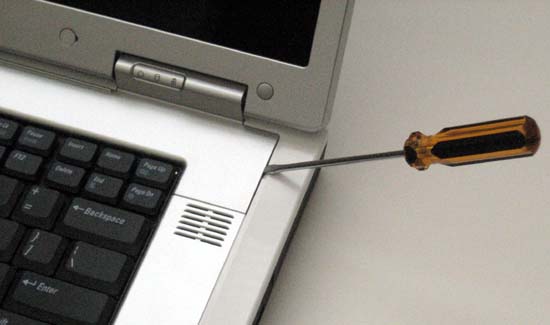
First thing is to take off the keyboard, and to do that you have to take off the hinges cover to get to the screws that hold the keyboard on. Take care as you do this, you do not want to snap the hinge cover in half. One word of comfort though, if you do damage anything while working on your laptop, everything can be replaced by Dell for some extra money.
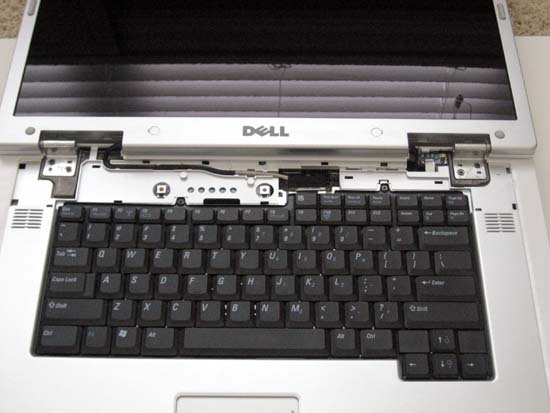
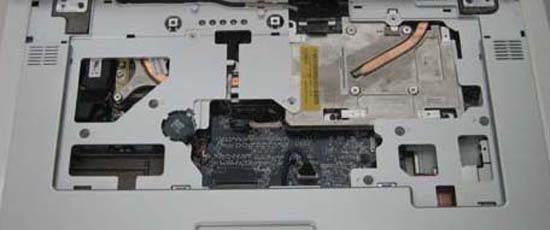
Ok, so now we have the hinge cover off and can see where the screws are for the keyboard. Remove these screws and put them aside with the keyboard, so you can keep them together. The ribbon cable for the keyboard also has to be removed. This is done by lifting the retention bracket and sliding the ribbon out. Once we get the keyboard off, we have a view of the graphics card that we are replacing. Take a look…
The next step is to remove the LCD panel. This is not near as hard as it may sound, as it is held on by four screws at the hinges. Something else to note here is that the antenna for the WiFi is located in the screen. So you have to disconnect the antennae from the WiFi card that is located on the underneath of the laptop as well. This is also not very difficult, and the WiFi card is labeled as to where each connection should go once you put it back together. It would probably be a lot easier if you disconnected the antennae before you took the LCD off. Make sure and put the LCD panel is a safe place, as it does no good to have a shiny new graphics card with no screen to show its power!
Ok, so this is what she looks like with the LCD removed.
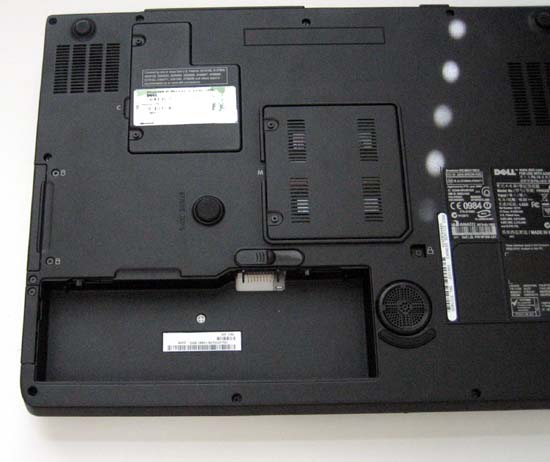
There are a few more little things to disconnect underneath where the keyboard was. These are pretty obvious, and they were quite easy to remove with a small pair of pliers. You also have to remove the screw that is on the battery socket.
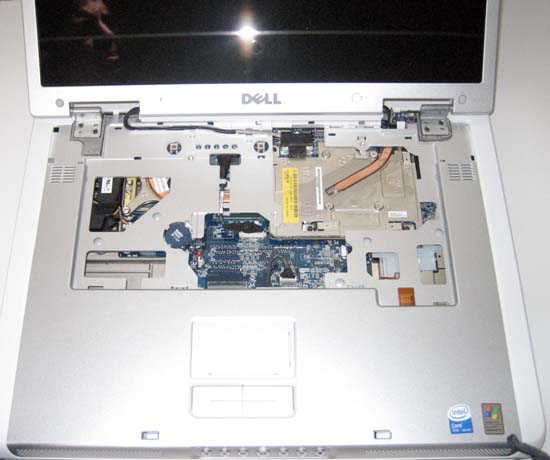
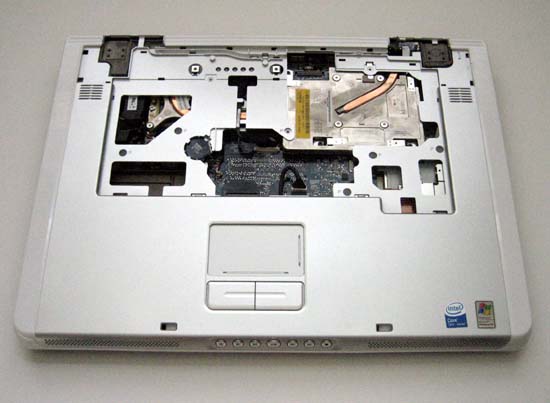
Now that the keyboard and LCD is off, the next thing you want to do is to remove the palm rest plastic, which is connected all the way around the keyboard area. This is fairly simple as well, but requires you to close the lid and turn it over.
To remove the palm rest, you have to turn the laptop over and take out 11 screws around the edge of the laptop. This will let the palm rest and connected trim to come off. Flip the laptop over, and there you go! A system that is totally ready to take out the old and put in the new!
Comments are closed.