Thermaltake Core V71 Full-Tower Case Review
Core V71 Hardware Installation
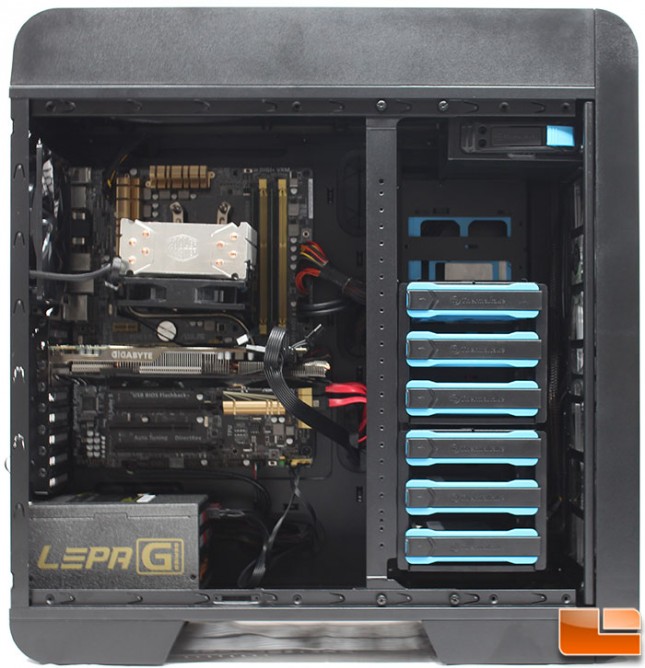
If you have built a computer before, then nothing in the Thermaltake Core V71 will surprise you. All the motherboard standoffs are ready for a standard ATX motherboard making the motherboard installation go quickly and easily. Being a full tower, there is plenty of space to work in and get things exactly as you like. CPU coolers shouldn’t have an issue with 185mm (7.3 in) of clearance for the CPU cooler. Cable management is easily accomplished with plenty of holes to route the cables through.
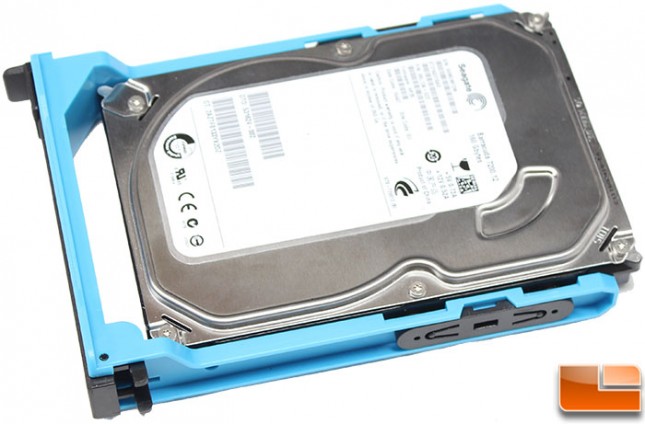
3.5″ hard drives are installed in the trays tool-lessly, the the little black clips removed, the drives snap into the tray using little spikes on the tray to ensure proper alignment. Replace the black clip, and the drive tray is now ready to be inserted into the drive cage (or hung on the backside). 2.5″ drives will need to utilize the include screws to secure those drives to the tray.
The specifications on the Core V71 show that it will support E-ATX motherboards, we only had a standard ATX motherboard to install in the case. With a standard ATX board installed, there is approximately 3.5in of space between the motherboard and the 3.5″ drive cages. Which indicates that a video card that is less than 13in will fit while still allowing use of all three drive cages. If there is a longer video card, the drive cages can be removed which then provides 15.75in of space.
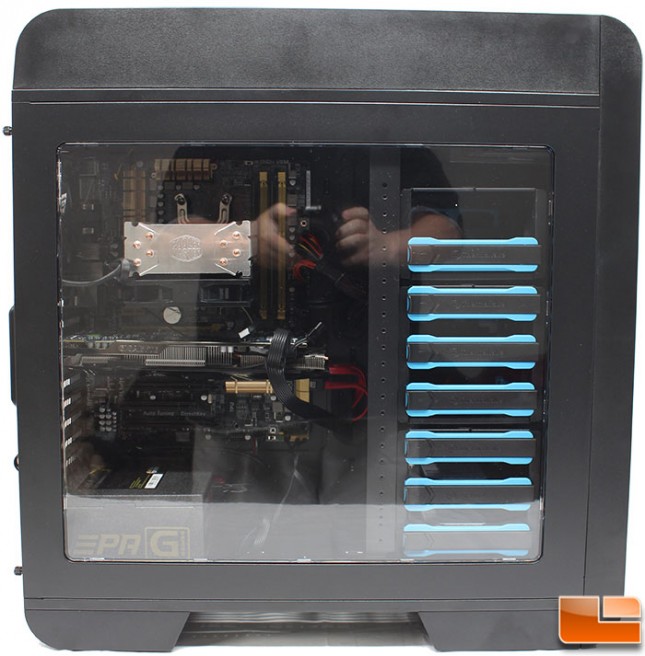
Once everything is built, replace the side panel, connect the cables and you’re good to go. Through the side window, you get an unobstructed view of the components and the drive trays.
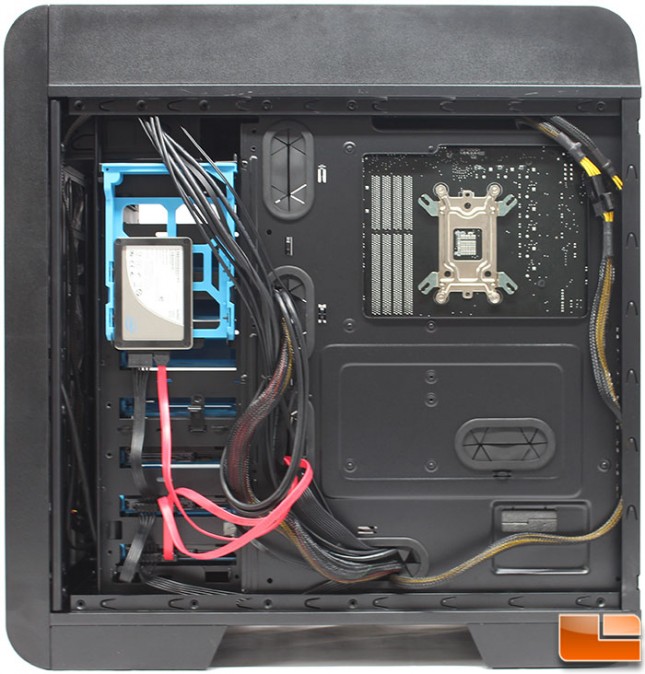
Taking a quick look at the cable management options on the back of the case, its obvious I didn’t spend a lot of time routing cables. They were left how they went naturally without any additional ties. The cables that come with the Core V71 were already secured, so that was left. Even with the nest of cables that includes the main motherboard power cable, the back panel goes on easily without needing to be forced. There is a large amount of unused space on the back of the tray, and it would be nice to put it to use, perhaps a third hidden drive could be mounted here.
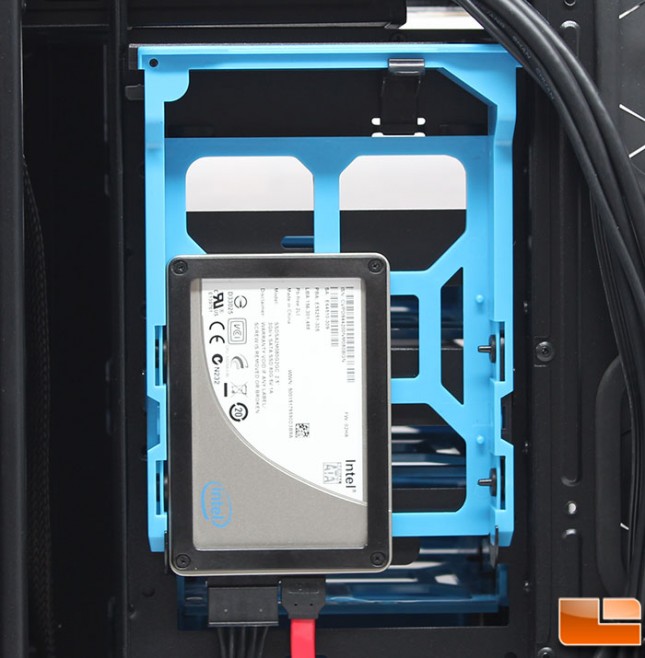
As we previously mentioned, on the Core V71, you can use two of the trays to hide hard drives on the back of the drive cages. Here an Intel SSD has been attached to the tray and hung on the support brackets. The support brackets at the bottom, and the top clip does a great job at keeping the tray secure, even if a 3.5″ drive is attached. One downside though, you lose one of the drive cages as the thumbscrews cause issues with the tray.
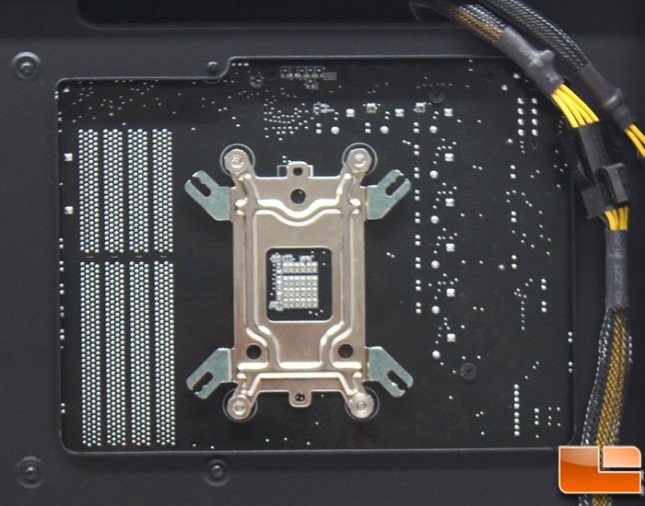
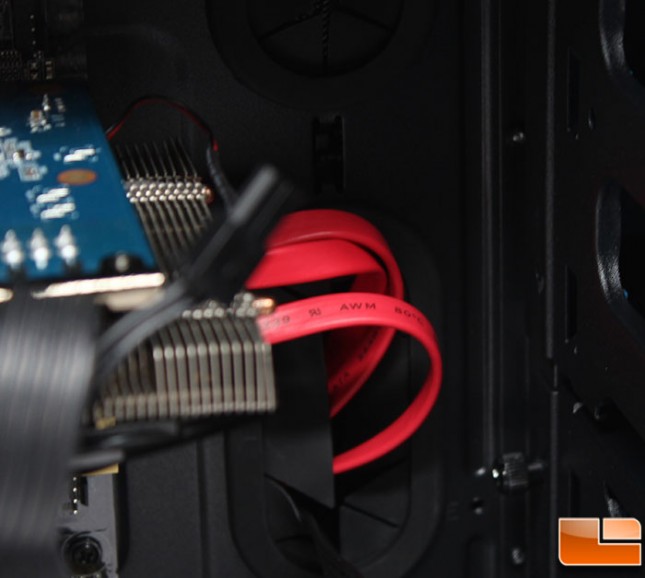
Thermaltake does a great job at making sure the size of the CPU cooler support bracket hole is very large, it shouldn’t have any problem with the ATX size motherboards. As the Core V71 supports E-ATX boards, that’s where it might get a little tight, its hard to say without having an E-ATX board to try out. Above the CPU cooler hole is a long hole that allows for cables to be routed through, which the Auxiliary cable has been routed through to keep the cables tidy. There aren’t many places to secure this cable to the back of the motherboard tray, so it would be nice if Thermaltake would provide a few extra cable tie locations on the edge of the tray.