Rosewill Legacy MX2-B Mid-Tower Case Review
Legacy MX2-B Interior Impressions
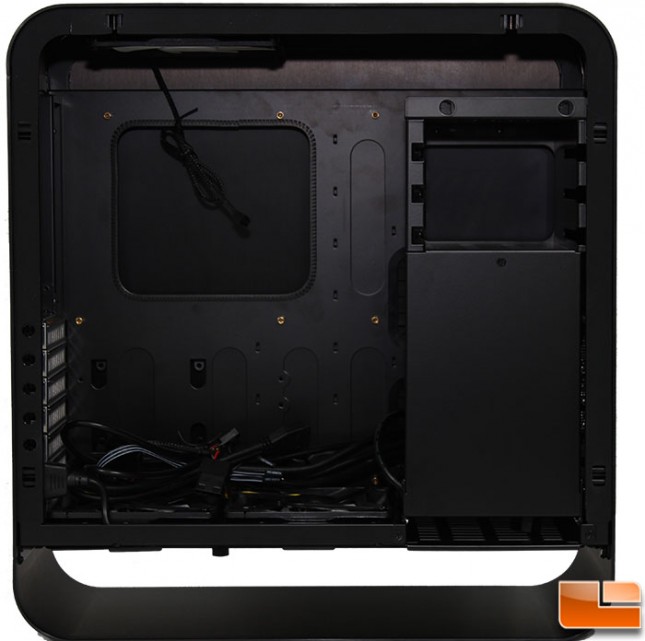
With the side panel removed, we can take a quick look at the interior, which matches the exterior’s color. Removing the side panel is tool-less as it pulls away from the case, rather than being secured by screws. In the lower right corner is a large area that is covered, which is where the power supply will eventually be installed.
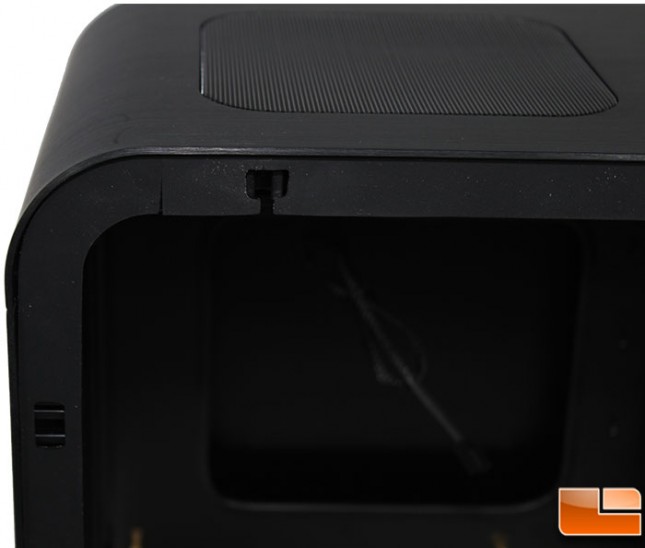
With the side panel removed, we noticed a rubber gasket has been installed all the way around the case where the side panel touches the case. The rubber gasket will help reduce noise from the side panel vibrating against the metal. There are two pressure pin slots in the two top corners, and one in each of the bottom corners.
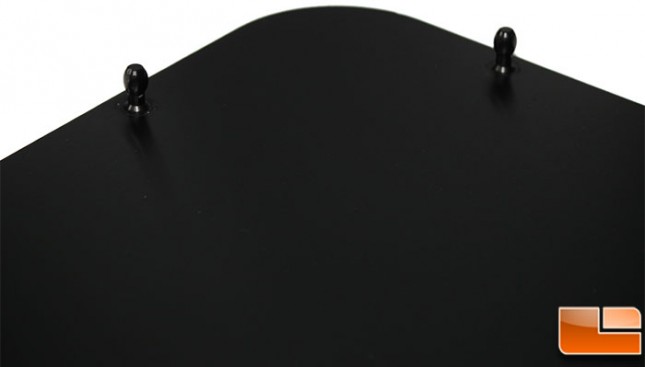
The side panel is held in place by plastic pins that squeeze into the pressure pin slots on the case, these feel fairly heavy duty, and don’t appear to be easy broken.
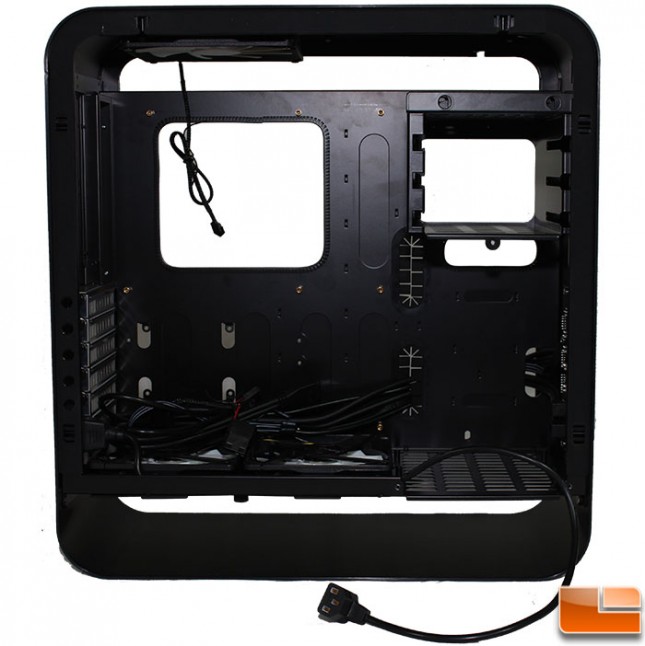
The power supply bracket is secured by four screws and once those are removed, the bracket slides out of the case. The rear power connector has a long cable that connects to the power supply, this is a rather long cable and might be a little too long; cables that are un-necessarily long require additional cable routing to keep it clean.
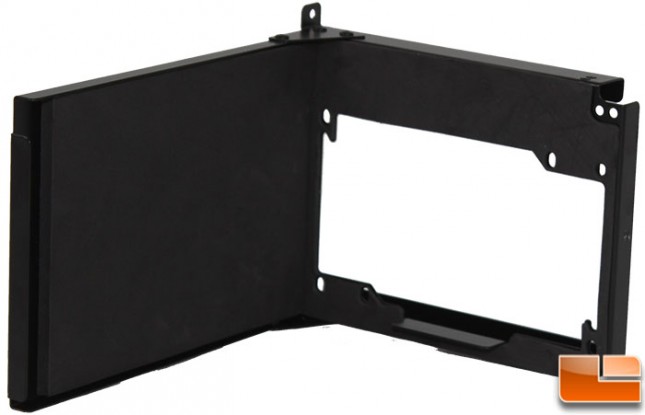
The power supply bracket is simply a large L bracket to attach the power supply to. It has a large foam pad on one side, and a foam gasket around the power supply exhaust port. The way this is placed in the case, the exhaust will face down, pointing it out of the bottom.
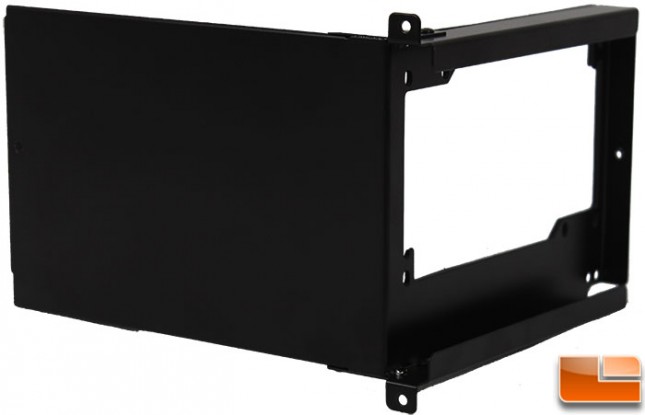
On the other side of the power supply bracket, is a couple of large cable channels to give plenty of room for the power cable to connect to the power supply.
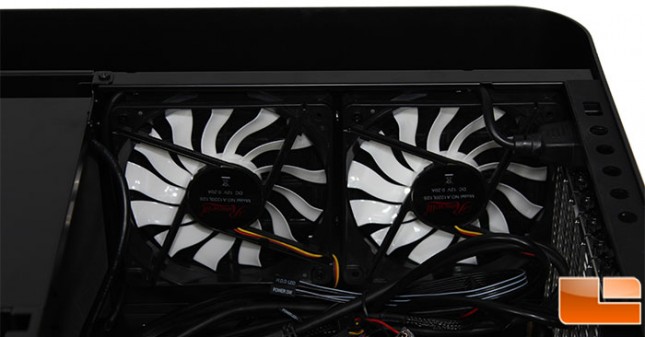
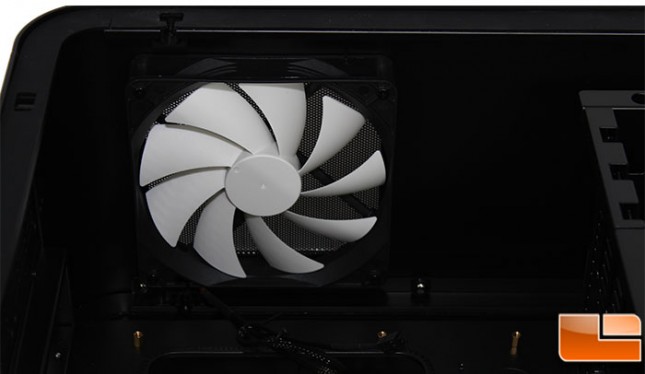
As mentioned in the specifications, the bottom of the Legacy MX2-B includes two 120mm intake fans. The thirteen blades of the fans have a s-wave design to them allowing for high airflow while reducing the noise from the fans.

The bottom fans are labeled as model A1220L12S, unfortunately no additional information could be found on Rosewill’s site for these fans. Using SpeedFan, the fan speed was set at 1050RPM, and I was unable to adjust it. They are powered by a three pin fan connector, or an attached four pin Molex connector. I like the option, however if connecting with the fan connector, the extra cable and Molex connector can be a nuisance. I would much rather it be an add-on type connector rather than being hardwired.
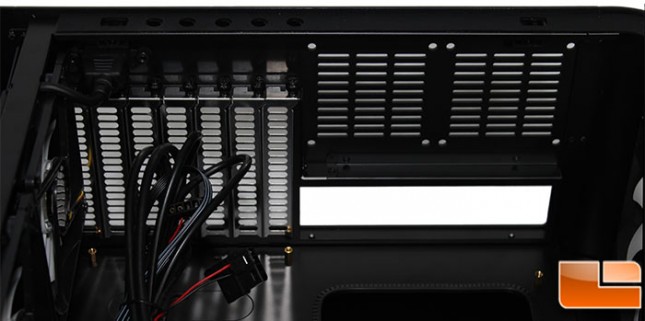
The back panel is nothing surprising, the seven PCI expansion slots are held in place by thumbscrews. As there is an edge all the way around the edge to provide support for the side panel, there are holes to allow a screw driver access to the thumbscrews. The expansion slot covers are silver, which provides a nice contrast against the black of the case.
The top 140mm exhaust fan looks like a standard nine bladed fan. It has model number A1425L 12SU shown on the other side.
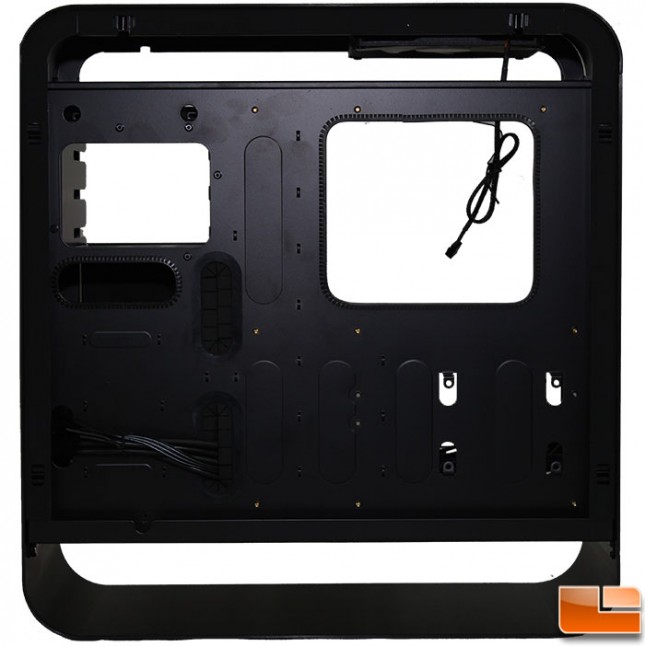
Taking a look at the back of the motherboard tray, we can see that Rosewill has installed plastic wire guard around the CPU cooler bracket hole and the main power supply cable hole. However for the other two cable management holes, they have put rubber grommets which should help keep cables tidy and keep things clean. There are twenty-one cable tie locations on the back panel, this should allow a user to keep the cables secured in virtually any location.
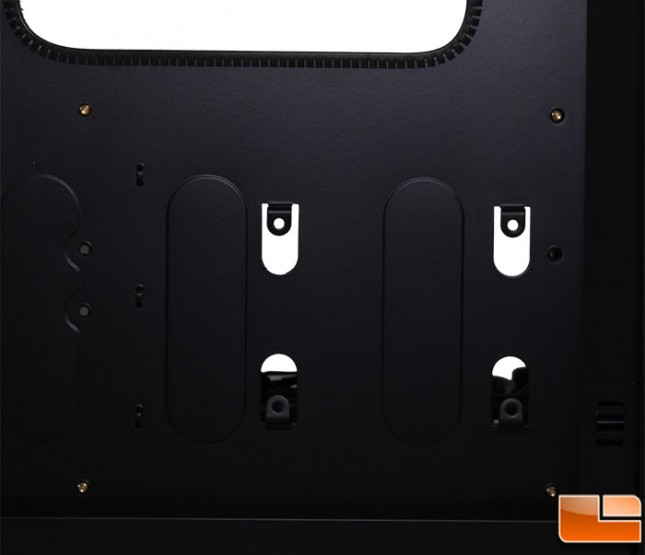
Rosewill has one internal 2.5″ drive mount that is placed on the back of the motherboard tray. The hard drive or Solid-State Drive is kept secured with four screws and as it is installed “upside down” there shouldn’t be any issues with connecting the cables.