Rosewill Galaxy-03 ATX Mid Tower Case Review
Hardware Installation Inside The Galaxy-03
Part of me dreads working with mid tower cases just due to their cramped nature. I usually end up looking for a full tower or larger for my builds, but I was a bit deceived by how tight the Cooler Master Cosmos SE was in my recent review, and thats a full tower chassis.
From a clean slate, this case looks like it should be good. The mounting holes look fine, as do the wire pass-thru holes.
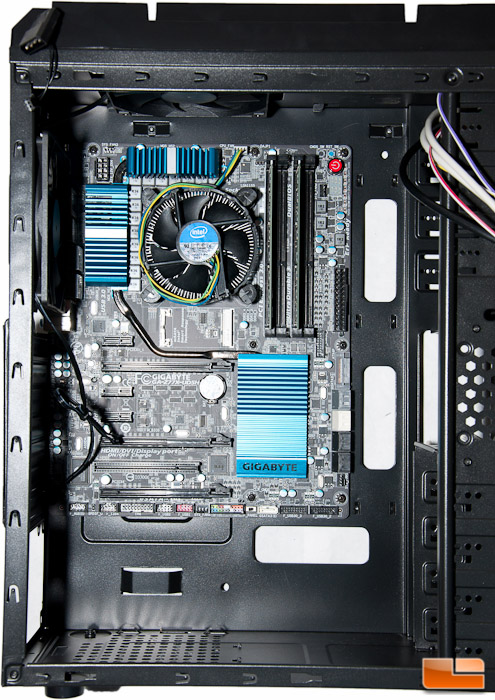
Installing the remaining standoffs and dropping in the motherboard in went along easy as always. There was plenty of room to get those I/O edge screws in place.
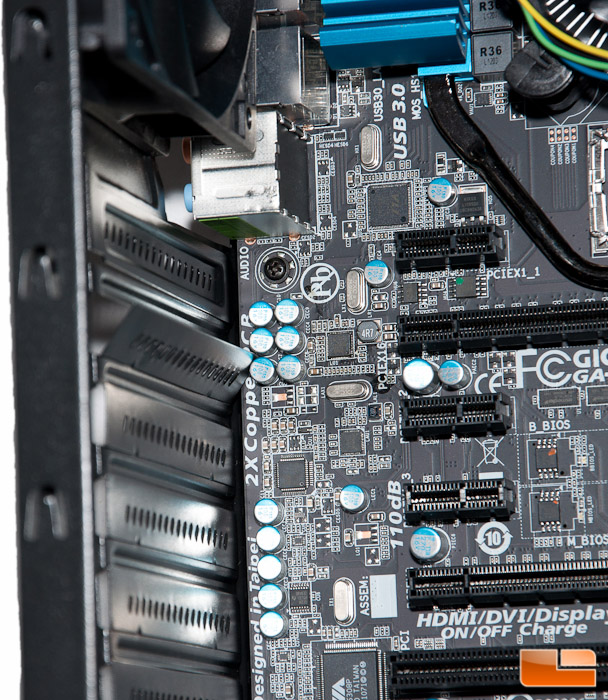
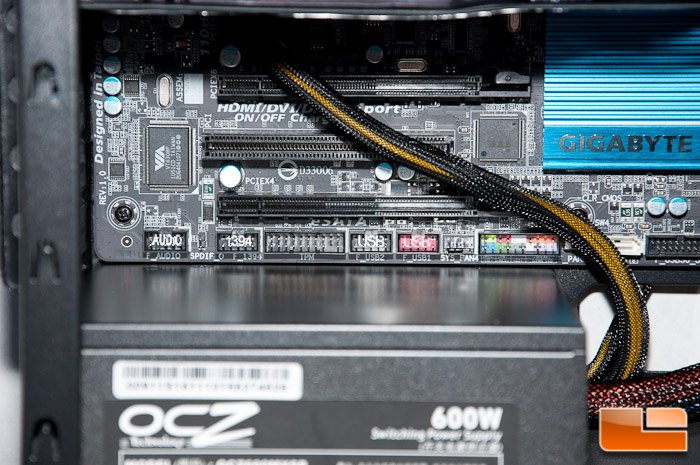
I went to remove the expansion slot fillers and forgot that there was only one that was able to be removed and replaced – the others need to be knocked out. I didn’t feel like removing my motherboard, but fortunately I was still able to get the knockouts removed for my video card. The capacitors on my motherboard got in the way and made it more difficult than it should have been.
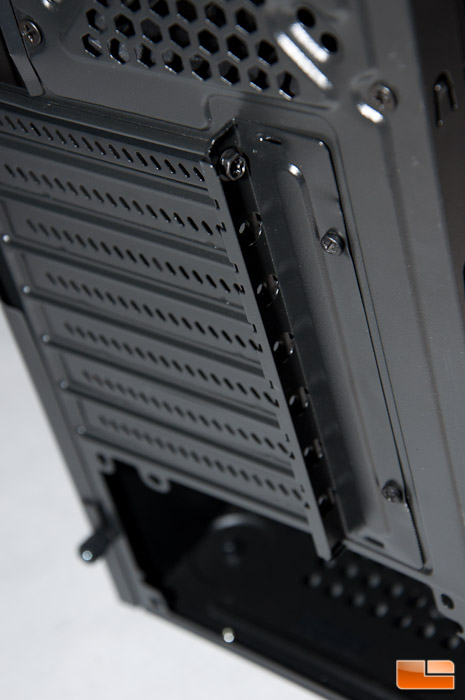
Installing my 10.83 inch (275mm) video card proved to have more than enough room to work with. To screw them in place, you need to go to the back side of the case and remove two screws from this plate, then put it back in place:
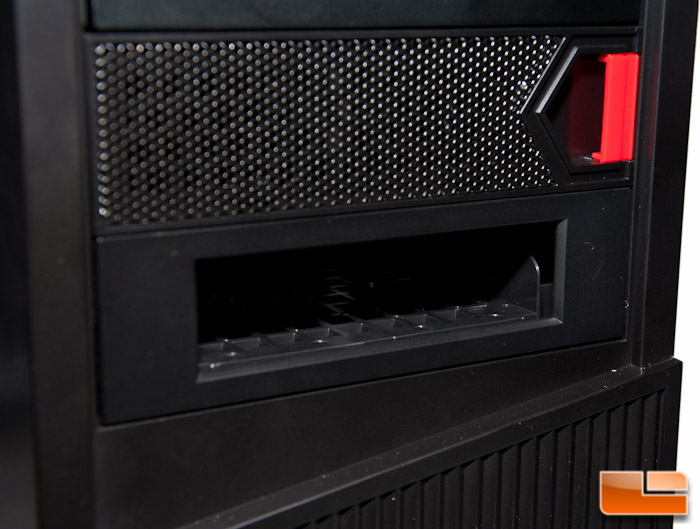
There isnt much to say about installing my ODD and HDD, since theyre installing via the old school screw method. The hard drive does poke out a bit more than I am used to and you will see that in the final picture.
Dropping the power supply in was plenty easy, but you will want to take note of how little room I had left between it and the motherboard. Lets just say, it wasnt much!
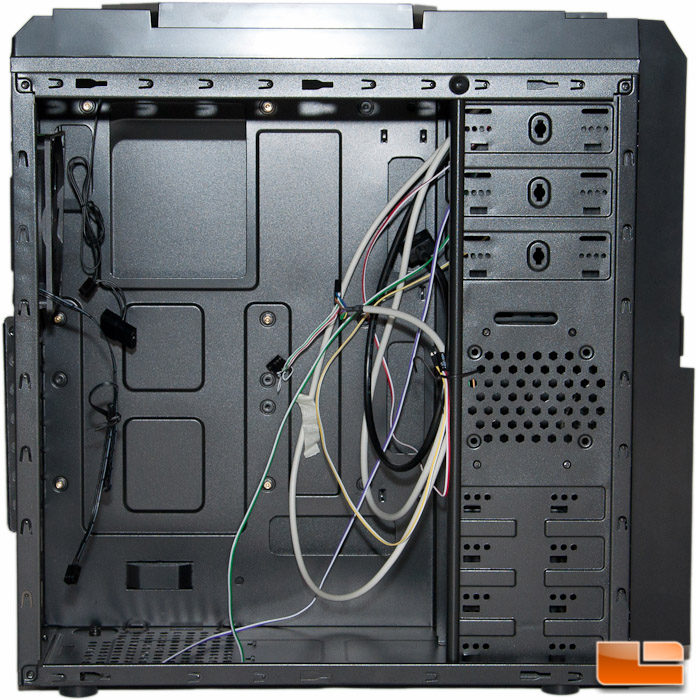
Routing all of my wires behind the motherboard tray and utilizing the bump out on the side panel went well. The wire pass-thru holes were actually placed plenty far enough from the motherboard and allowed me to actually use them, not to mention they were placed in decent positions. I felt like I could have used a tiny bit more room behind the motherboard tray, but I got everything to work after fiddling with the wires a bit before putting the side panel on.
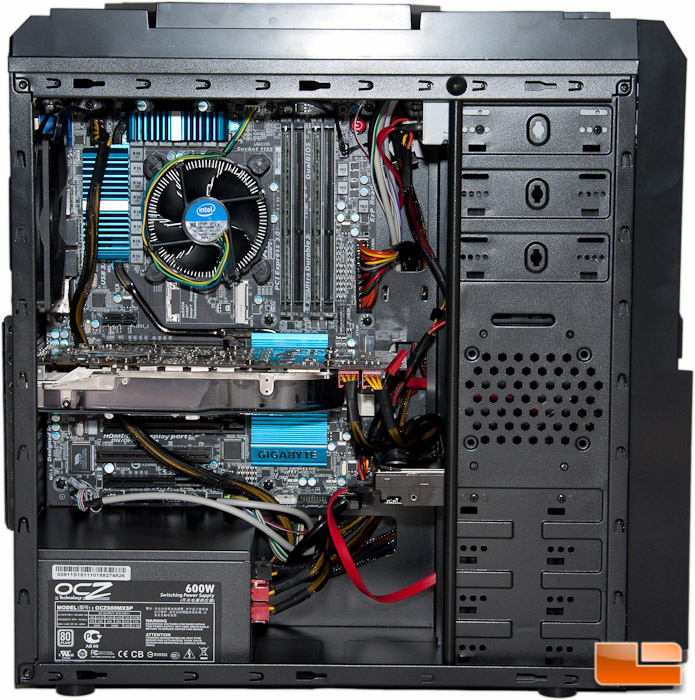
This is what everything looked like installed. You can see that the hard drive pokes out a bit and was challenging keeping the wires hidden or neat. I didnt really expect to be totally neat in this type of case.
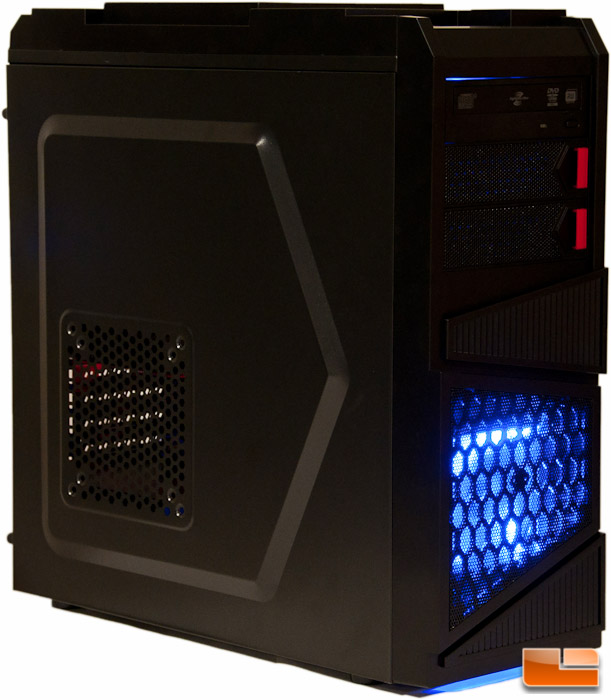
Once I fired it up, the fans were plenty quiet. The front fan has a blue LED that could be distracting to some, as you can see in the picture below. The activity lights were also blue in color, which you can see poking through the gap between my ODD and the case.
Overall hardware installation was pretty simple with this case. The hard drive poking out a bit far was the only real big annoyance that I had. I do wish that there was a smidge more room between the PSU and motherboard, too, but there was just enough to get it installed with ease.
One other side note regarding SSD (2.5 inch) installation: The bracket that converts the ODD bay to a 3.5 inch bay can be installed hidden behind the 5.25 inch cover. You just simply push it back a bit farther and put the screws into place. Snap the cover back in and youre done. There is plenty of room inside the case to get this installed without causing other headaches.
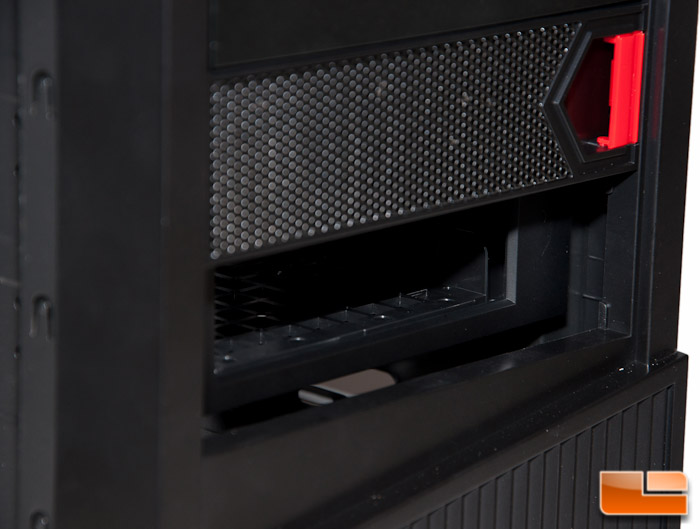
Of course you can always mount it flush for whatever you may want to put here
This sums up the installation portion. Next up we will get into the final thoughts and conclusion.