MACS Monsoon II Lite Intel Active TEC CPU Cooling System
Installing The Monsoon II Lite on an LGA775 system
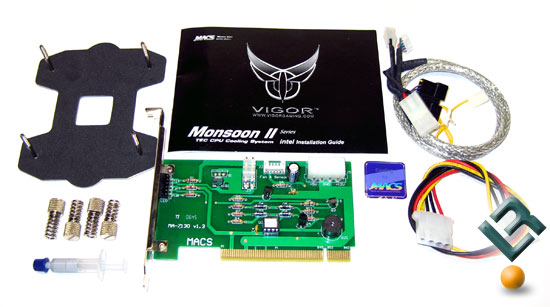
The first thing anyone should do with the Monsoon II Lite is to read the instructions as TEC cooling is a bit different than the heat sink that comes with retail Intel processors. The Monsoon II Lite includes the cooler, a detailed installation guide, thumb screws, the Intel LGA775 back-plate, power cables, PCI card, thermal paste and MACS case badge. The included instructions show the installation in just a few black and white drawings, so I took the time to take step by step pictures to better aide in installation of the Monsoon II Lite as I’m a picture person.
Before we move on it should be noted that the Monsoon II is available in both Intel and AMD versions. This means that the Monsoon II is not interchangeable between the two brands as the mounting legs of the heat sink are different. It should be also noted that due to the use of a back-plate, no matter what system you are running the motherboard will have to be removed for the heat sink to be installed.
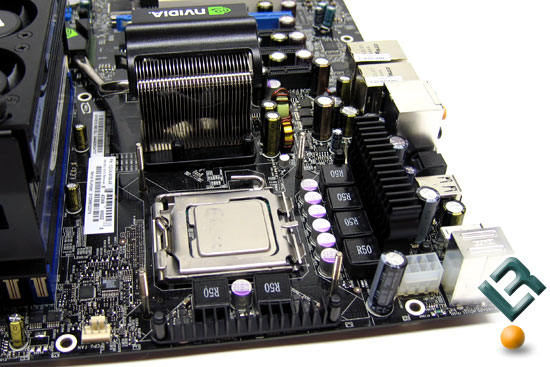
After we removed the eVGA 680i SLI motherboard from the test bench we simply inserted the included back-plate through the mounting holes in the motherboard.
With the motherboard ready for the heat sink we applied Arctic Silver Lumiere to the processor and set off to install the cooling system. Carefully sit the MACS Monsoon II Lite down on the stand-offs that are provided by the back-plate and grab the four thumb screws.
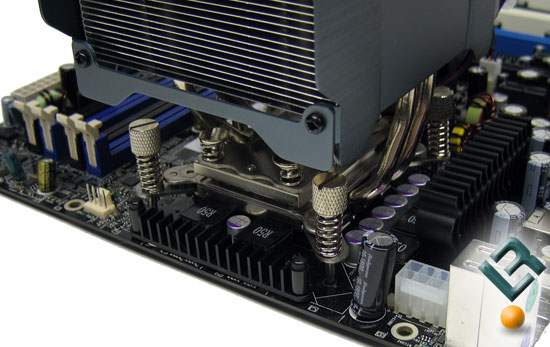
Securely tighten the four thumb screws like you would for a car wheel in a cross pattern to avoid damaging anything. On the 680i motherboard it was tough getting to a couple of the thumb screws because of the large heat sink on the chipset, so if you have fat finger take your time. Once the thumb screws are all tightened it’s time to wire it!
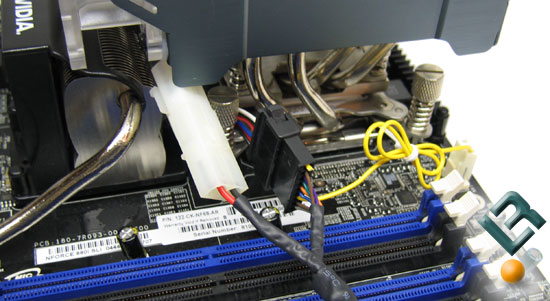
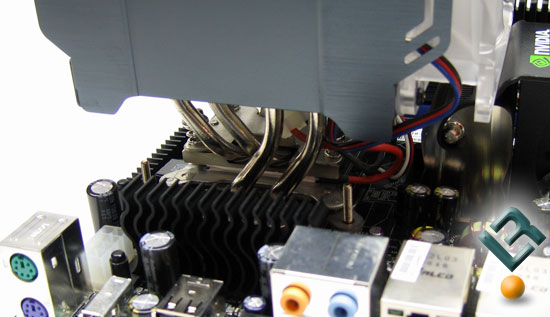
Using the supplied power cable attach the plugs together and plug in the 3-pin fan header to the CPU fan header on the motherboard. It should be noted that the MACS monsoon II Lite does come in contact with the cooling fan on the ECS/eVGA/XFX based 680i SLI motherboard, but the CPU will still make full contact with the heat sink.
The fan can be rotated any direction you want and ideally it should be placed to where the hot exhaust is blown out of back of the case. Since we were using Corsair Dominator PC2-8888 memory modules with the AIRFLOW cooling fan, the cooler could not mounted like this. Luckily we are testing it on a test bench soit really doesn’t matter.
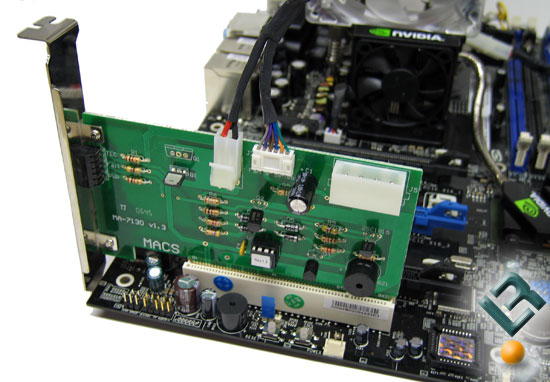
After deciding what PCI slot to use, oh wait there is only one on the 680i SLI, we plugged the other cables from the heat sink into it. All that is now left to do is plug in the 4-pin molex power connector to the PCI card from the system power supply and the installation is complete! Let’s take a look at the big picture!
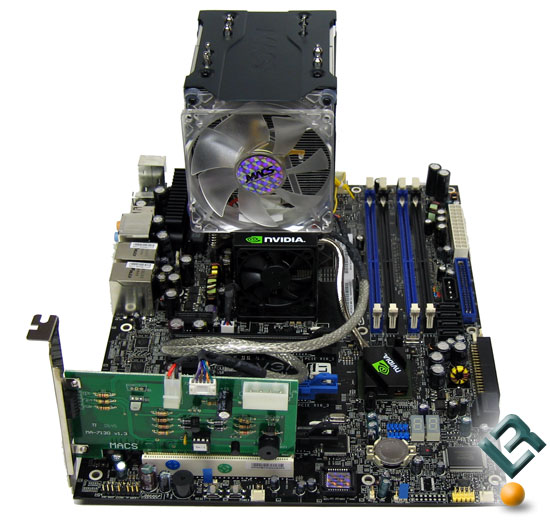
Once you get the MACS Monsoon II installed it should look something like this! Installation was very simple and was just about as straight forward as one could get. For those that are curious about installation time, it should take roughly fifteen minutes once the motherboard has been removed from the case.
Comments are closed.