Deepcool Steam Castle BK Micro ATX Case Review
Hardware Installation Inside The Steam Castle
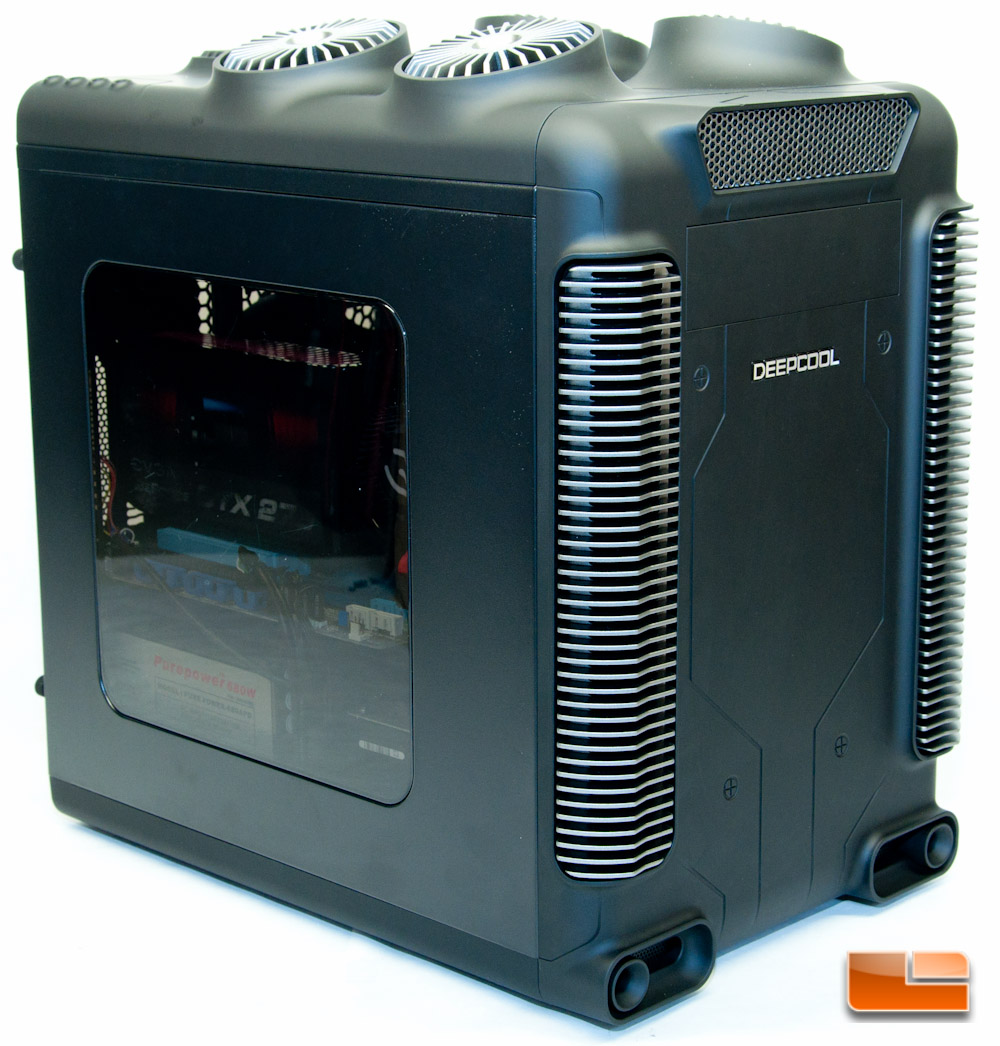
The hardware layout inside the Steam Castle is a little more unique, in that everything is flipped 90 degrees and mounted horizontally. It may be a slight hassle trying to get a few screws in, but overall I don’t expect the experience to be bad.
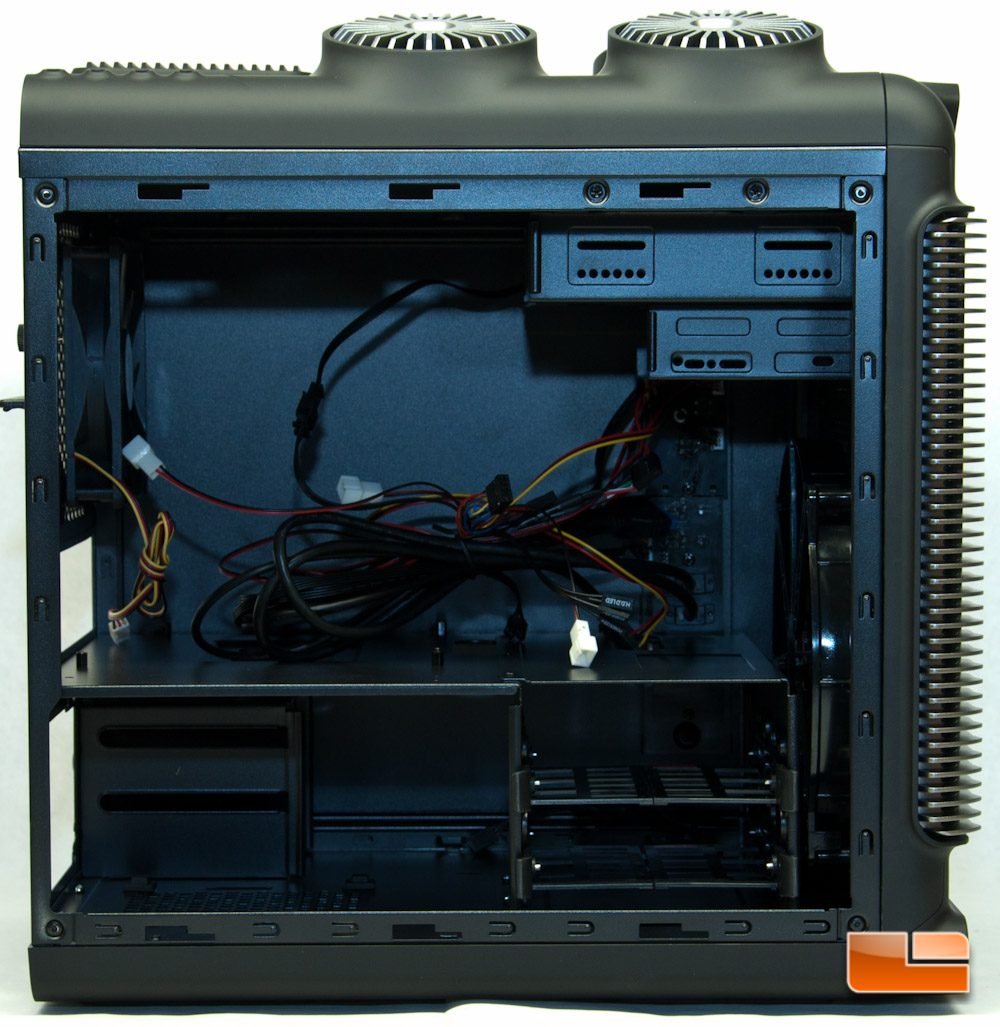
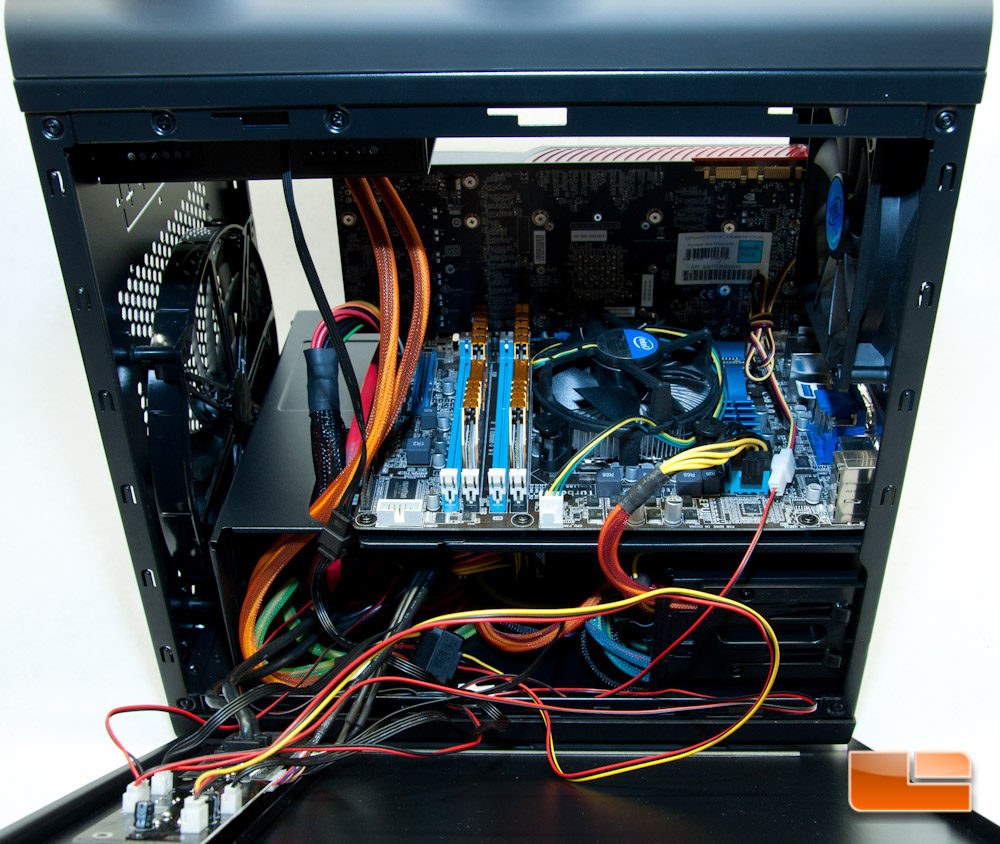
We’re going to start off with mounting the motherboard. Just make sure that you install any extra standoffs if you’re running a Micro ATX board, as it’s defaulted to a Mini ITX board. This task was relatively simple, thankfully, especially thanks to two standoffs acting as guide pins. There is plenty of room to get a screw driver in place, though you have to choose wisely on the length for obvious reasons. I also went ahead and mounted my CPU and RAM while outside of the case to make life that much easier.
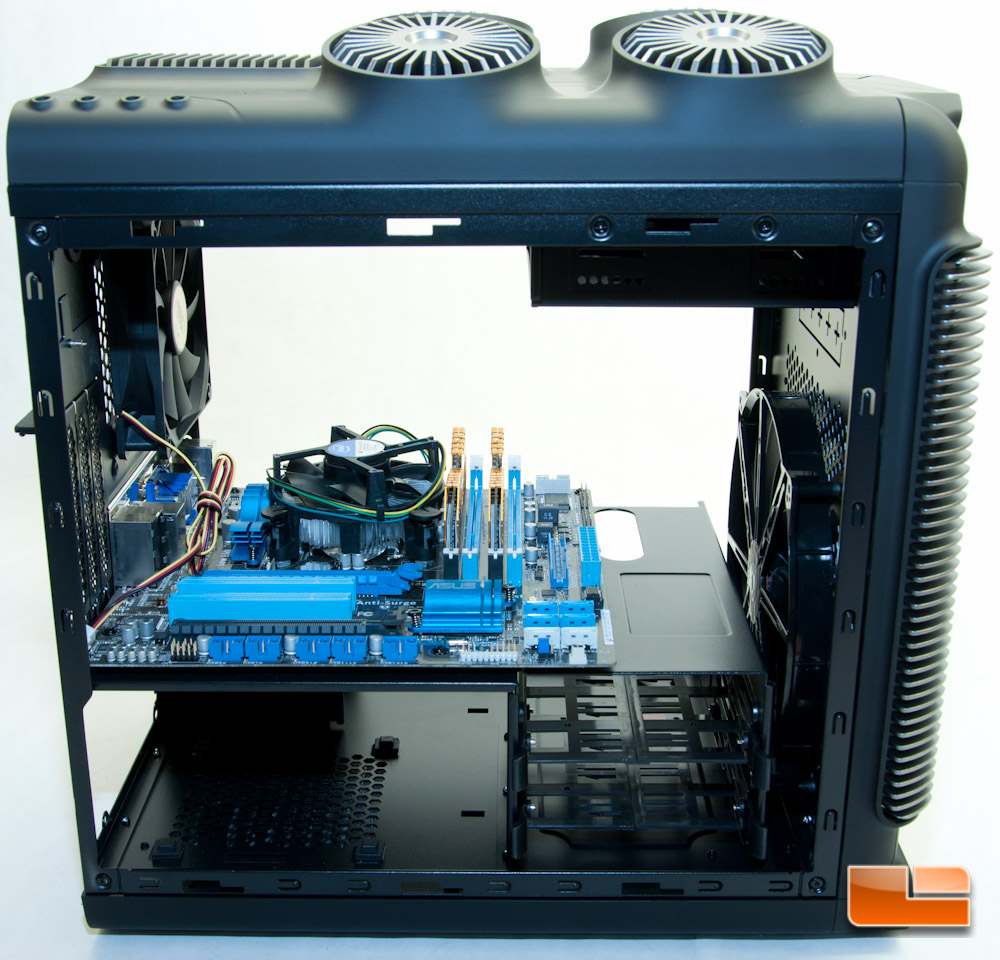
Take note that I did not install a larger air cooler at this time, so I left my stock Intel cooler in place, which measures 46mm high. You are safe to install a cooler up to 200mm tall, so there should be little issue in choosing a giant air cooler if you want.
Should you choose to install a top-mount radiator, you will absolutely want to remove the 5.25-inch bay to remove obstructions from your fans and give you more clearance.
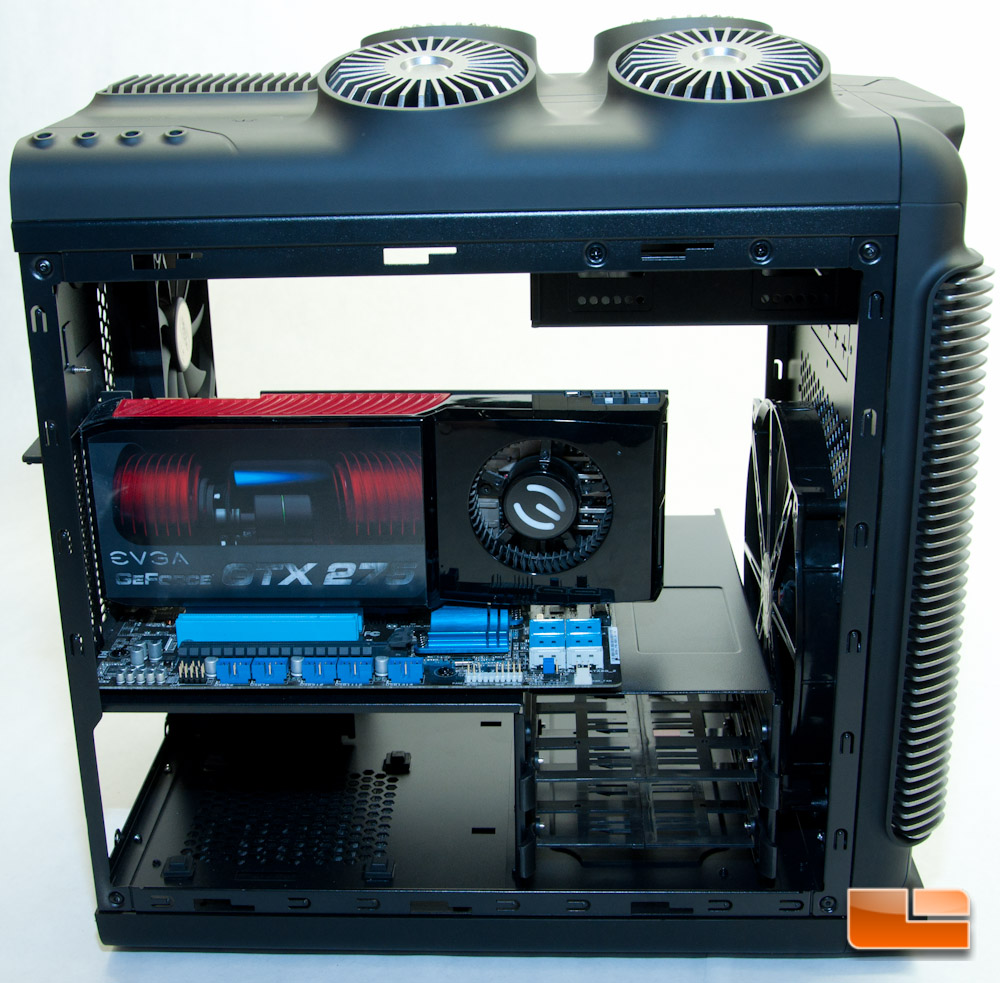
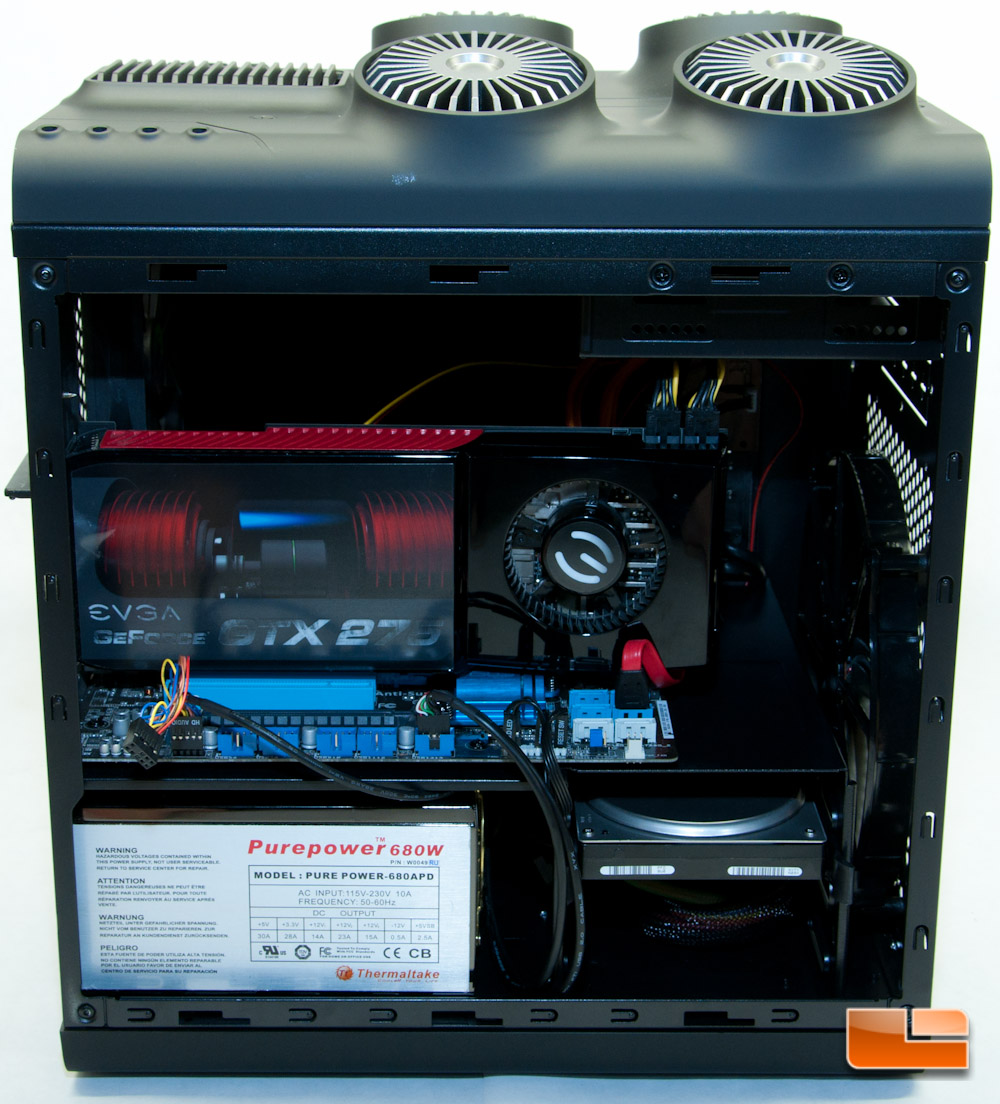
Next I installed my video card, which was made extremely easy thanks to the tool-free design, which also felt very secure in holding my card. I haven’t experienced such a simple video card install in quite some time, so this is very refreshing and a nice design. My video card measures 266.7mm in length, so I was forced to remove the 3.5-inch bay for more room when installing my power cables. My card honestly wouldn’t even fit with this bay in place, as it was ever so slightly too wide.
Mounting your drives is as simple as pulling out the caddy, gently pulling it so it separates, dropping your drive between the pins, and closing the caddy up around it.
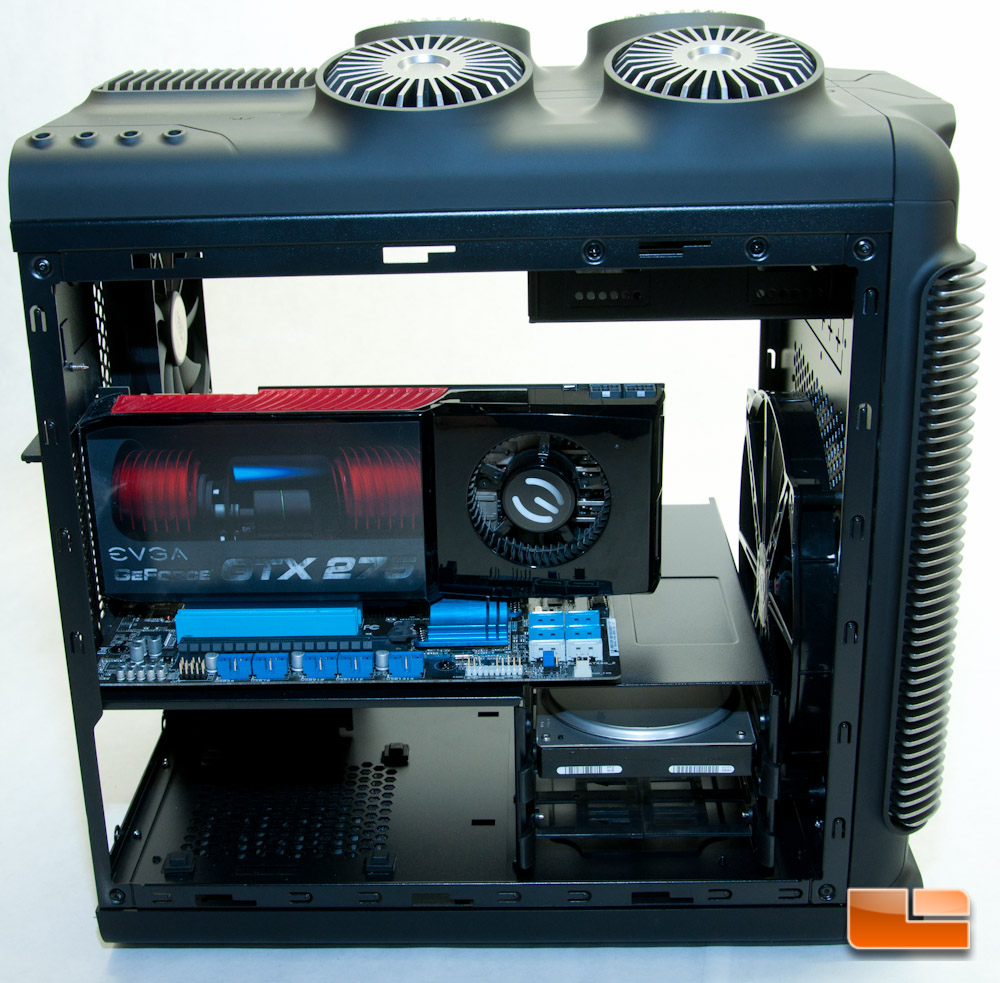
Next up I installed my PSU. This is not a modular PSU and the wires are quite long and this PSU is huge. Thankfully this chassis has a ton of spare room at the bottom, making for very convenient storage of these excess wires. I did not find any issues routing my wires through the provided holes, though it would have been a little nicer seeing some of them with a rubber grommet to clean everything up that much more, but at the same time you have to remember that these holes will likely be hidden by a video card.
Hooking up the remaining wires and side panel proved to be a little tricky and required a little creative thinking to keep things neat throughout. I ended up routing the USB, power, and reset connectors in the space in front of the PSU and everything else through the grommet hole. Part of me wishes these wires were a smidge longer, as when the side panel is resting flat on the ground next to the case, it will begin tugging, which is very bad!
I’ve opted to not install an ODD, since optical drives are quickly becoming obsolete (especially to me), but should you want to, you can easily knock out the metal plate and remove the 5.25-inch filler on the front panel.
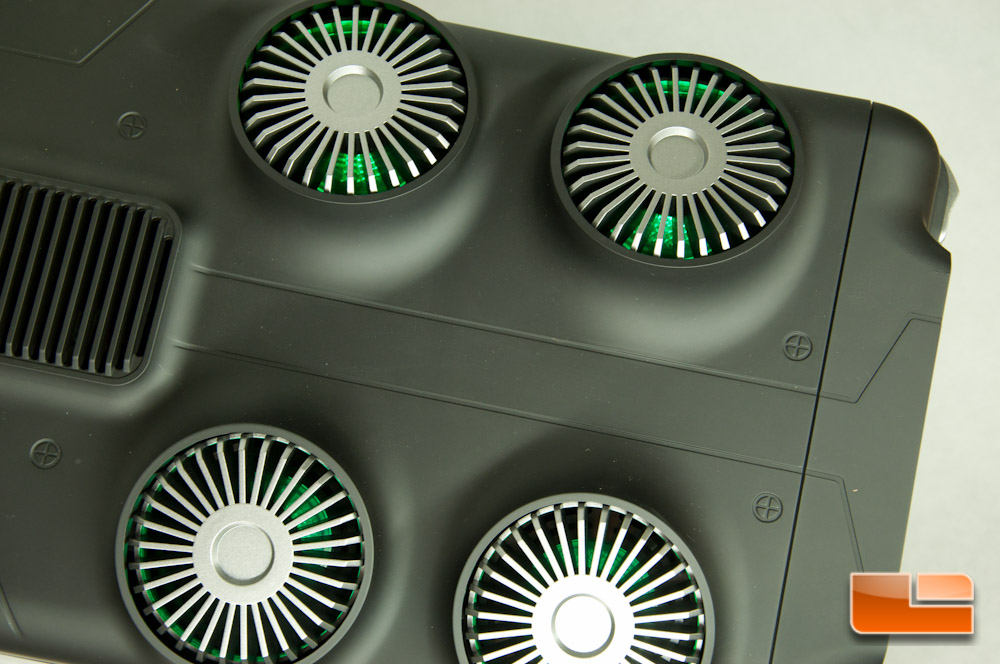
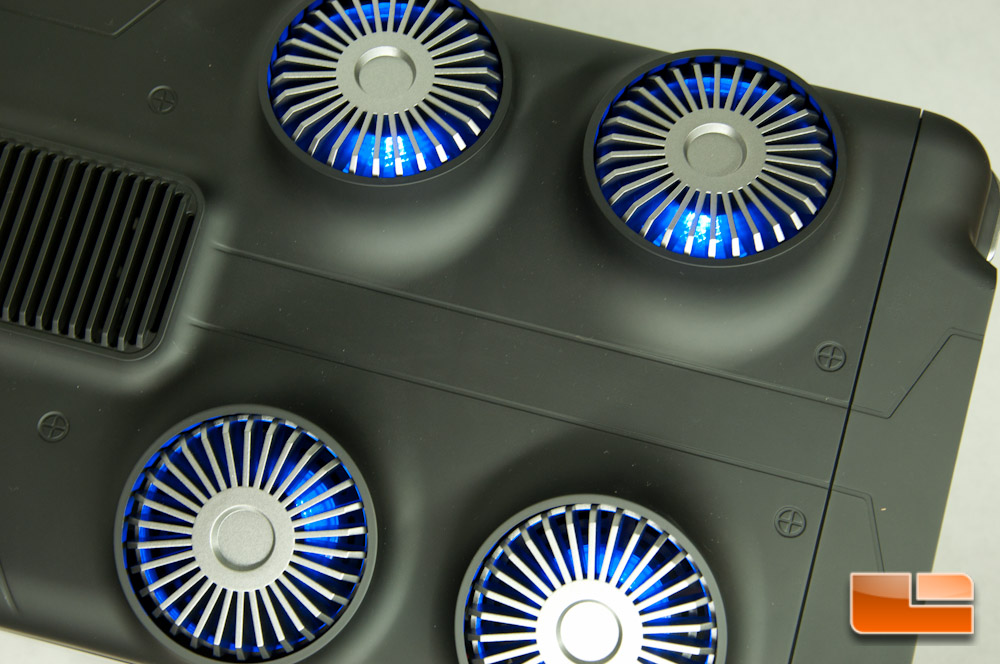
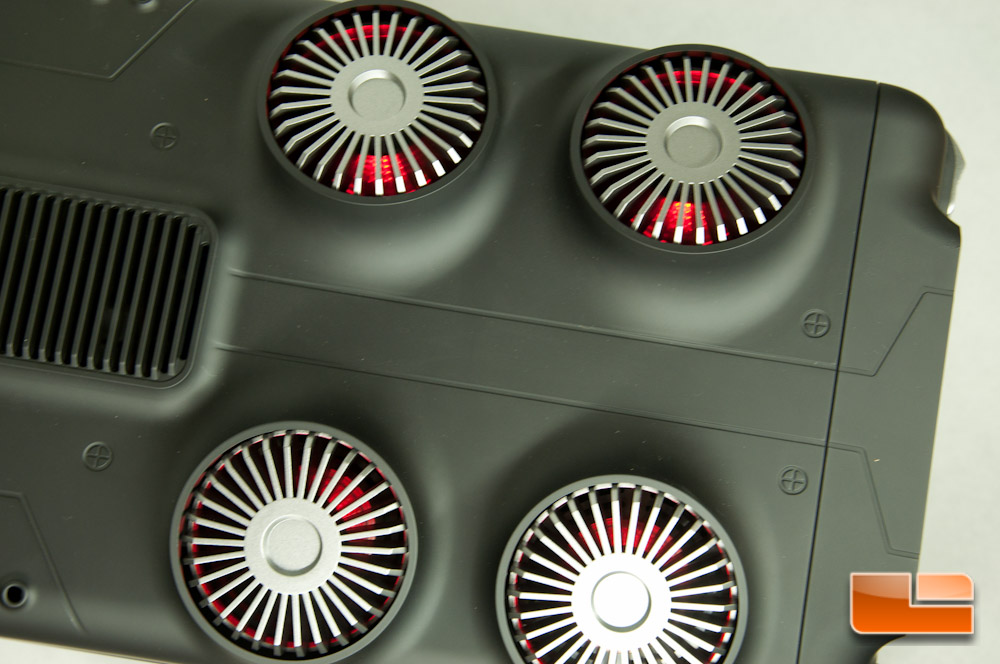
Finally I slid the side panels back in place and fired up the system for the first time. I cranked the fans up to full speed and could barely hear them.
I also played with the LED colors, and this is what you will get.
Overall the Steam Punk chassis does a pretty darn good job of keeping your wires tidy. The video card hides any mess that you may have inside, so you can be a little sloppy, but don’t forget about that precious airflow.
Let’s get some final words in and wrap this Steam Castle review up.