Deepcool Steam Castle BK Micro ATX Case Review
Deepcool Steam Castle Interior Impressions
The exterior of the Steam Castle was mighty interesting (aesthetically), so we half expect a bit of craziness to happen inside. Indeed when pulling off the left side panel, we see a not-so-normal looking interior. You probably could have guessed that the interior was a little different from its wide stance. The motherboard is going to mount to a horizontal panel instead of the traditional vertical back panel. This should allow for excellent cooling potential and hopefully easier wire management. Inside the case you also have a 200mm intake and 120mm exhaust fan pre-installed.
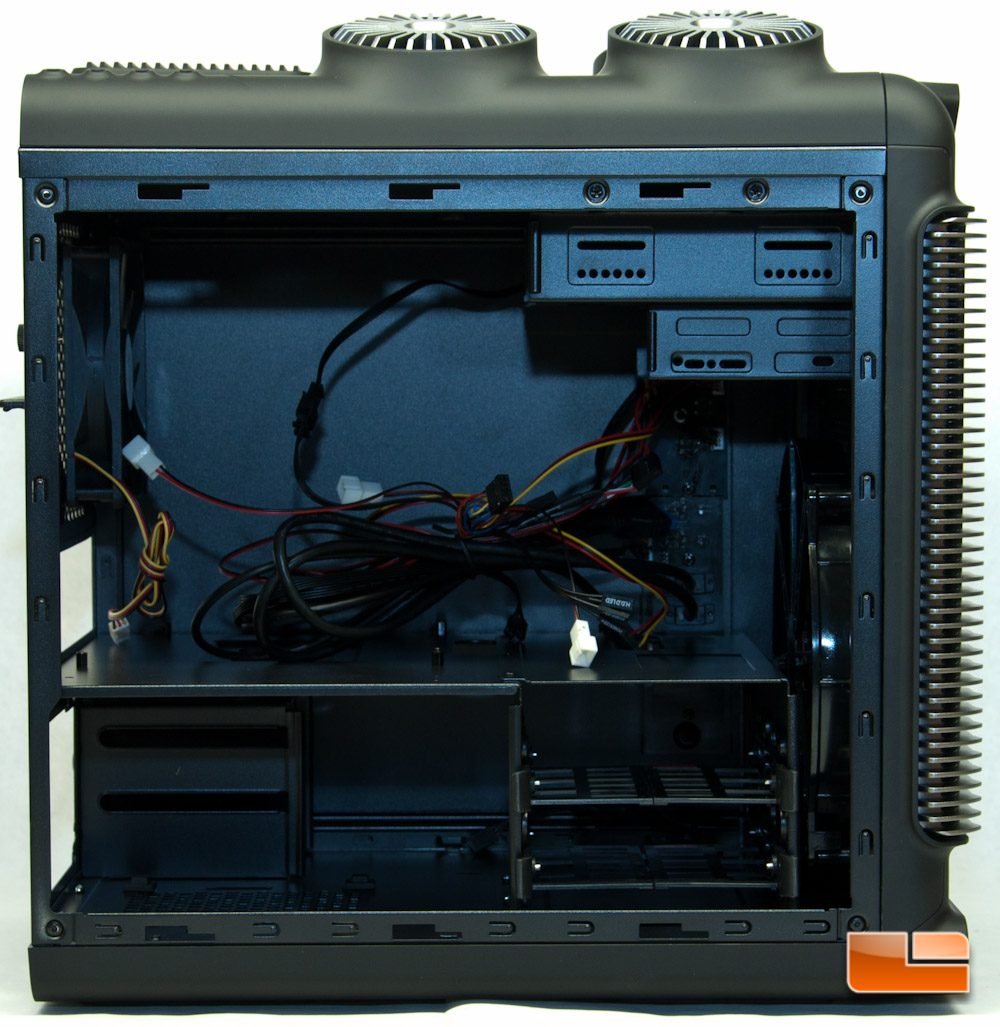
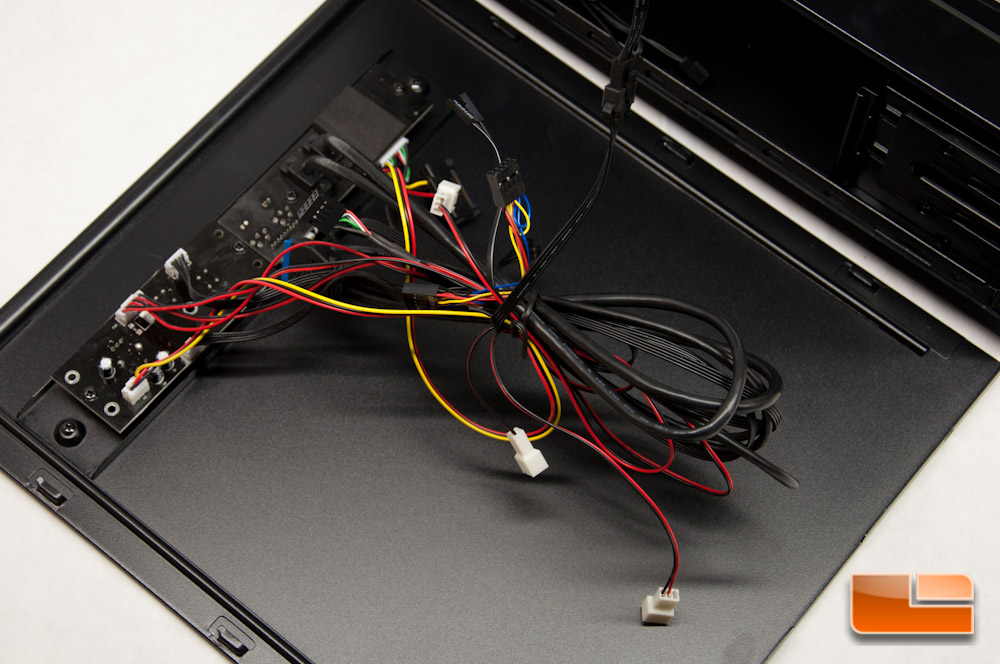
The big mess of wires that you see is all for the side panel buttons. We’ll see that again shortly. Also, removing the side panels was fairly easy by removing the rear screw and sliding the panel. There are no real grip points on the side panels, so it’s all friction against your hand, but it’s quite minimal.
The top right are your 5.25-inch and 3.5-inch drive bays, held in place with screws, both of which you can remove if you have any clearance issues. Again, whatever you mount to the 3.5-inch bay is stuck inside the case, while the 5.25-inch has a slot out front. Neither bay is a tool-free design.
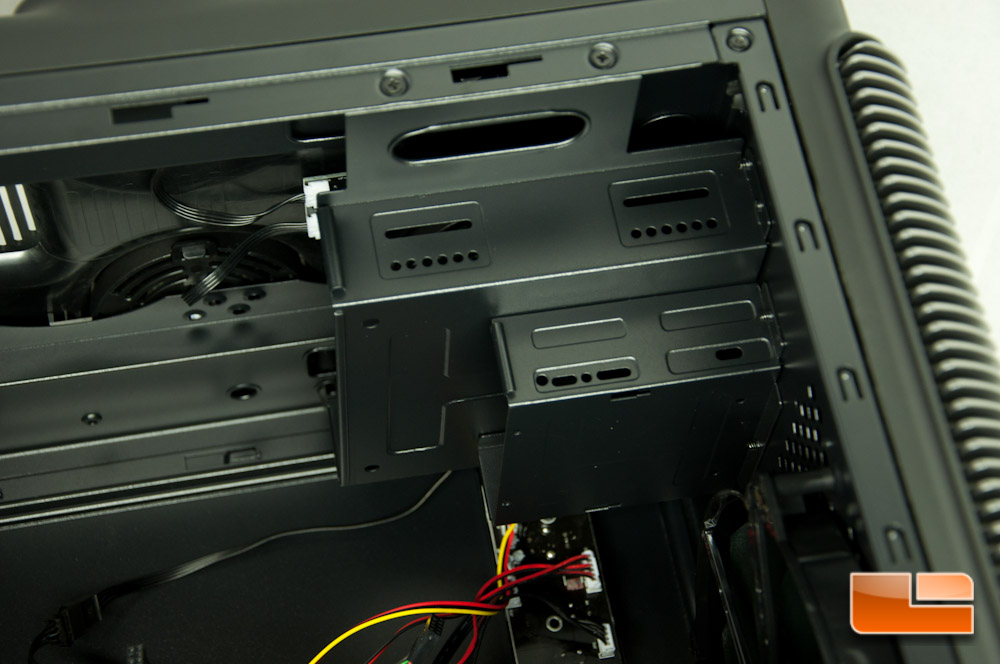
On the very top, again, you have room for either dual 120/140mm fans, or a 240/280mm radiator. In order to actually utilize the radiator to its fullest potential, you’ll have to undoubtedly remove the 5.25 and 3.5-inch bays.

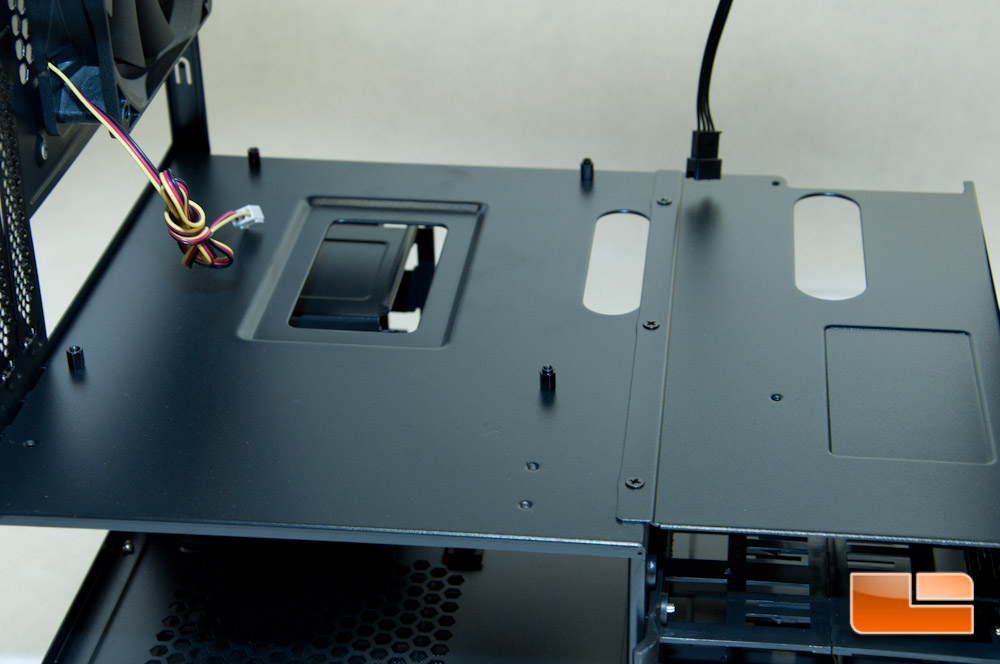
The motherboard tray has four standoffs pre-installed for mini ITX, saving you a little time so you can play with your new investment that much sooner! You just have to install the extra ones required for your mATX build, should that be your board size.
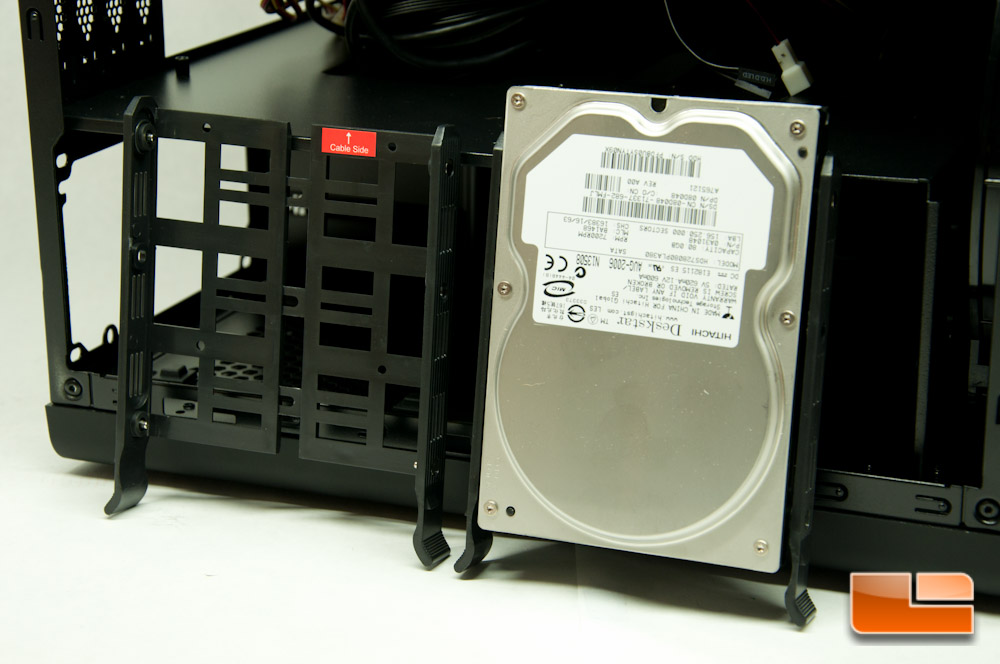
On the lower right section we have a drive cage for 3.5-inch drives, and these are completely tool-free in design.
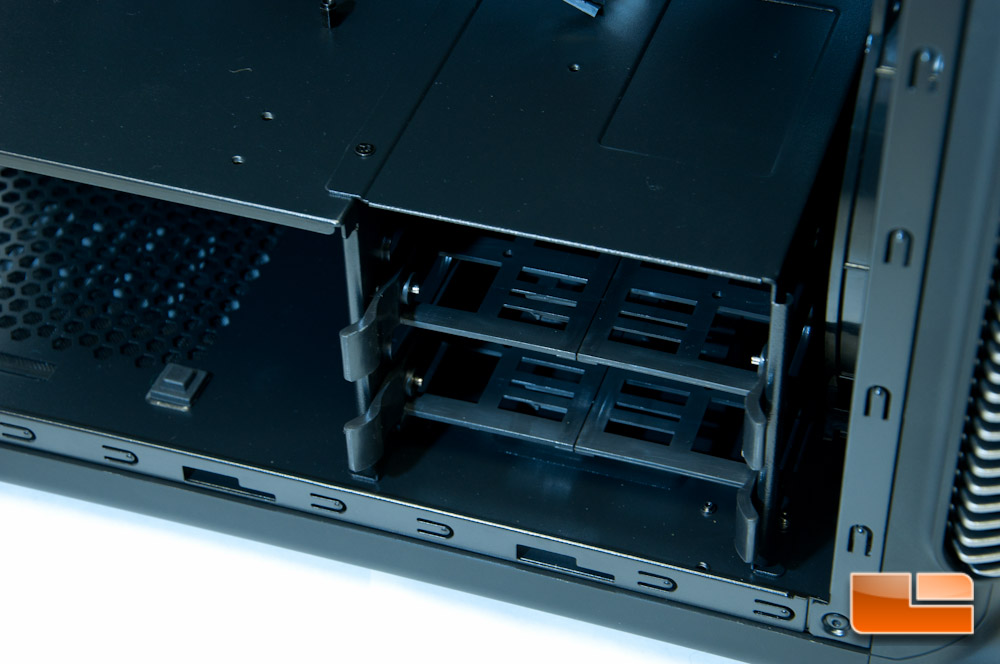
There is no flexing the caddy to clip it around your drive, but rather it slides open to fit your drive inside, then it closes snugly against your drive with metal pins to hold it in place – which is a nice little touch.
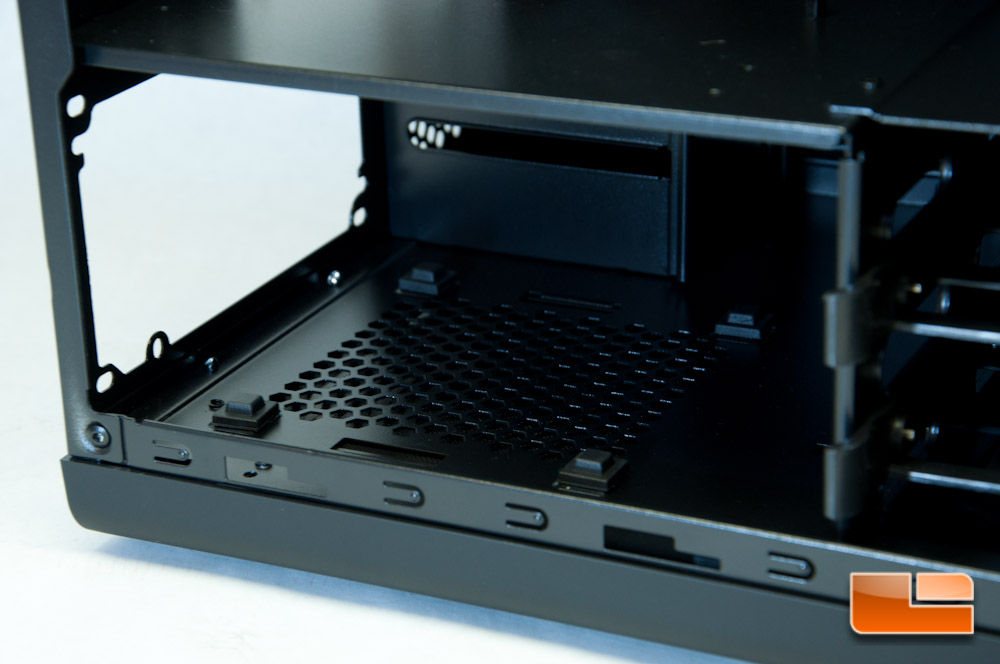
Sliding over to the bottom left is where your PSU will be mounted. It will be slid from the inside, as opposed to from the rear, and does have rubber bumpers to reduce vibration.
Turning around to what is normally the back side of an ATX chassis, we are greeted with a ton of wires from the I/O panel. These are permanently attached to the panel and may cause you some grief with installation or should you need to access your system from this side.
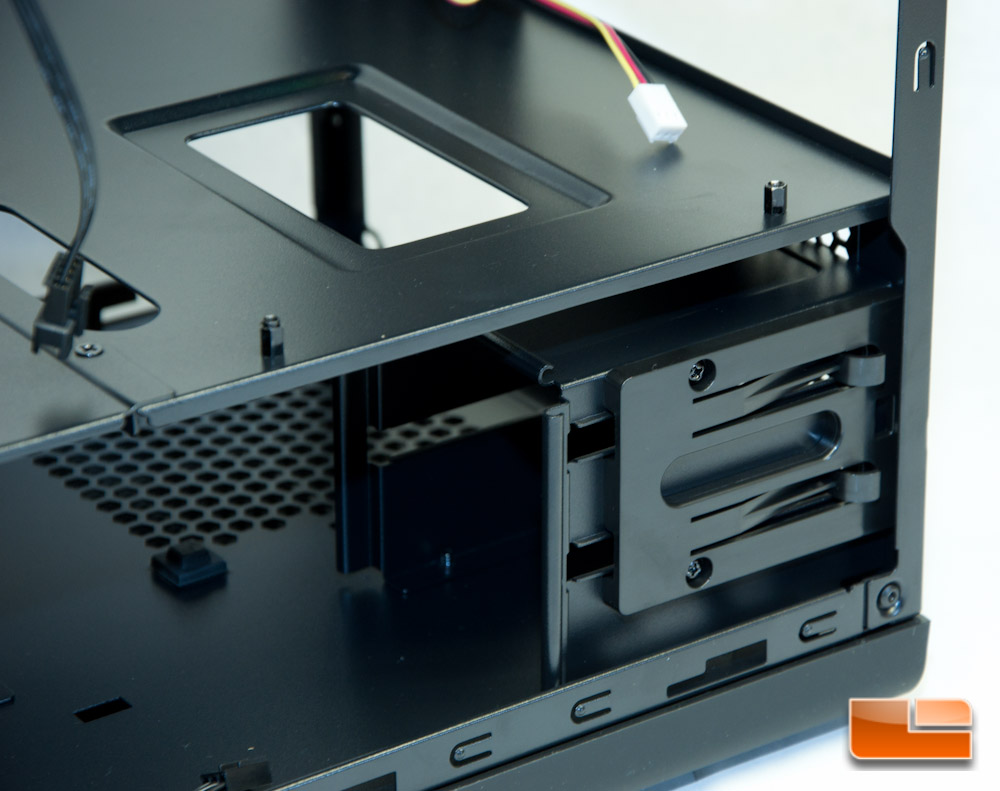
The other note worthy item from this view is on the bottom right. There is another drive cage for two 2.5-inch drives, also tool-free in nature. This cage acts differently from the 3.5-inch drives, in that you have to actually screw some rubber bumpers onto your drive and then slide the drive into its respective slot. Should you not want this drive bay or need the room for something else, you can also remove it, but it is no easy task. You have to remove the bottom panel, which entails removing the rubber strips to get to the screws.
This wraps up the interior features and impressions. Next up well take a look and see how easy or difficult installing a basic setup is.