Deepcool Steam Castle BK Micro ATX Case Review
Deepcool Steam Castle Exterior Impressions
At first glance, you may be overwhelmed by the number of design elements throughout this case, which is exactly why on the first page I said this case is not for everyone. Some of you it may grow on, however. You likely have noticed that many manufacturers have gone the simplistic route, making cases look modern and clean, but Deepcool has designed the Steam Castle with a Steampunk inspiration, giving it a little extra kick and flare.
The very front of the case features two slotted grilles on either side for ventilation, a mesh vent up top, a series of imitation screws (which you’ll find in a few areas of the case), and various other design features. None of these vents are filtered, which is a bit disappointing. This front panel does allow for a single 5.25-inch drive to be mounted and is made entirely of plastic.
The front panel pulls off quite easily, as you probably expected, by gently tugging from the bottom. Behind it we reveal that there is actually a slot for a 3.5-inch drive, but it would be entirely hidden by the front panel. Also behind the steel frame is a giant 200mm intake fan that comes pre-installed. Should you want or need to swap this fan out, it is also designed to take a 120 or 140mm fan instead.
Here is the back side of the front panel. Note again the lack of filtration.
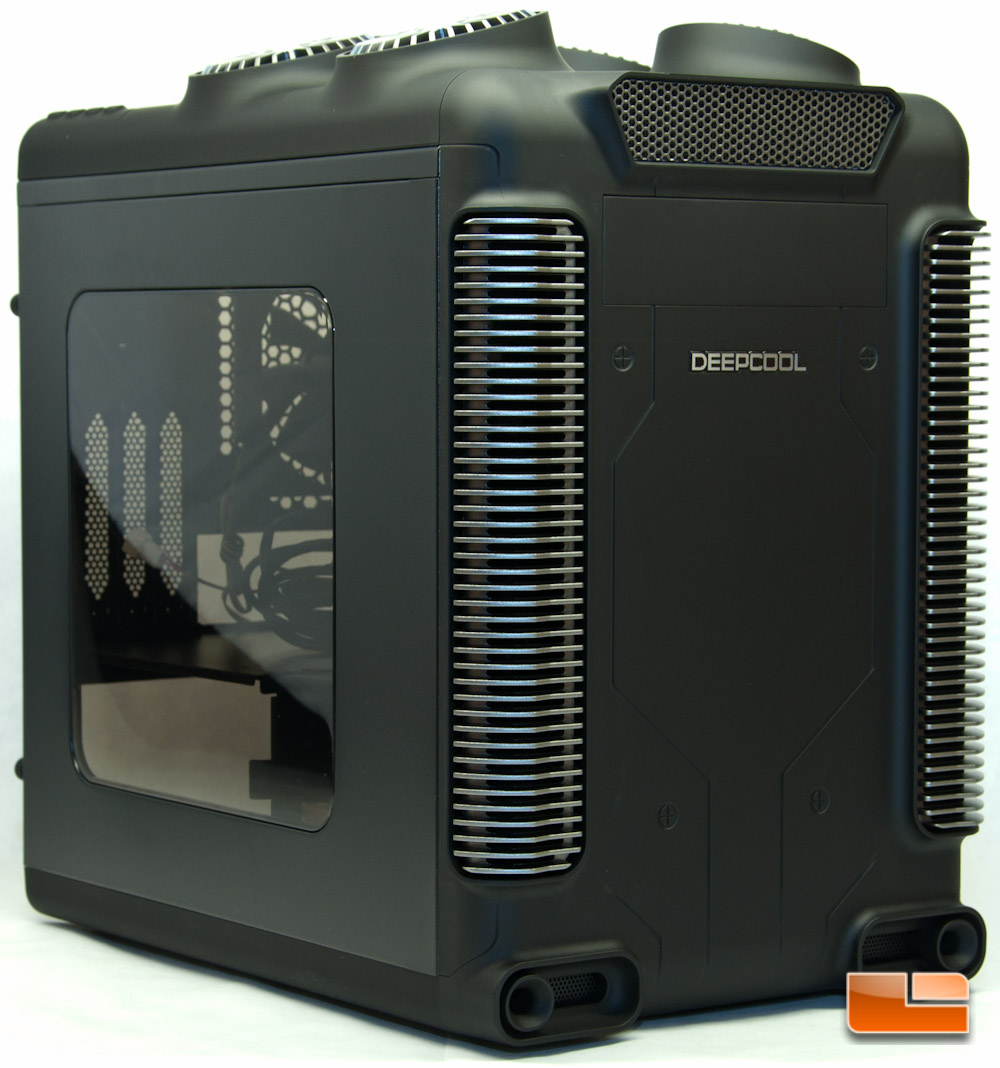
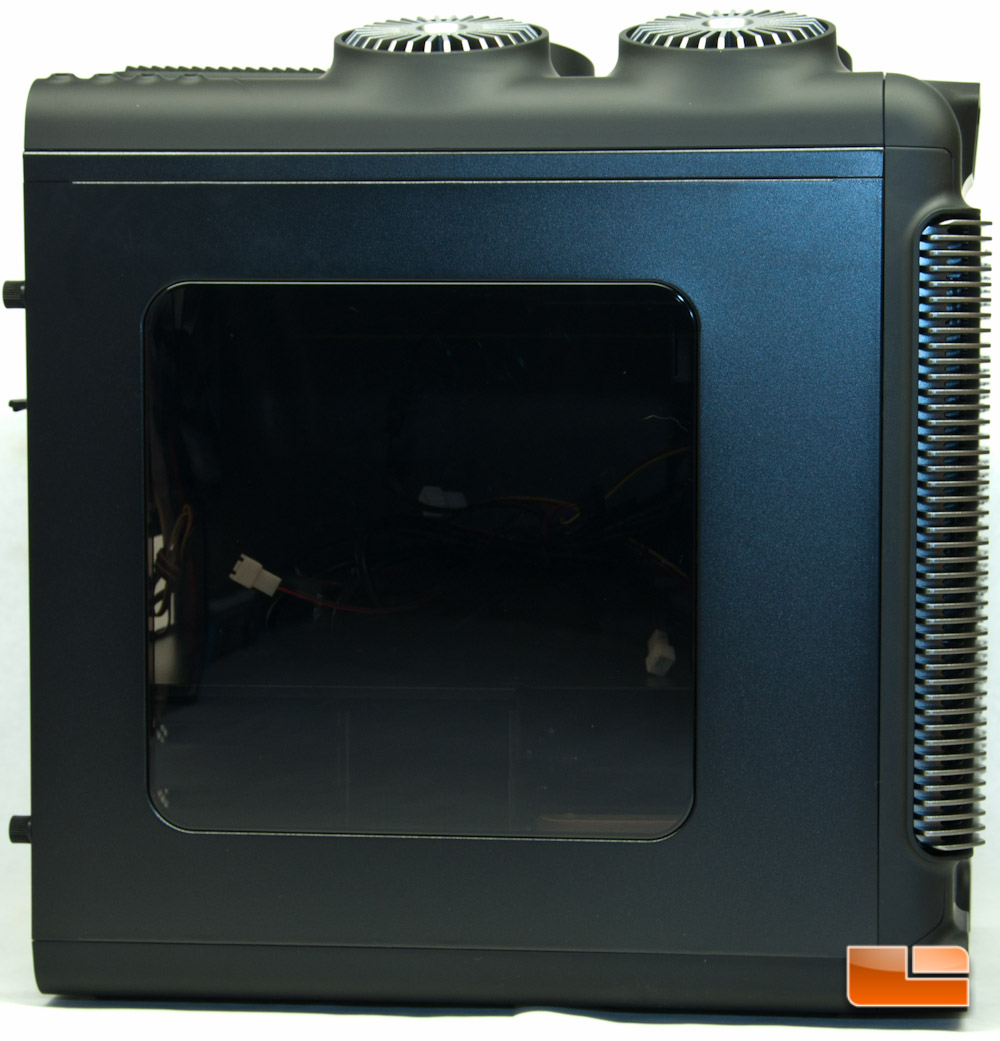
Flipping over to the left side you can’t help but notice the nicely placed and large tinted window. These side panels are a nice thick steel and don’t feel cheap by any means.
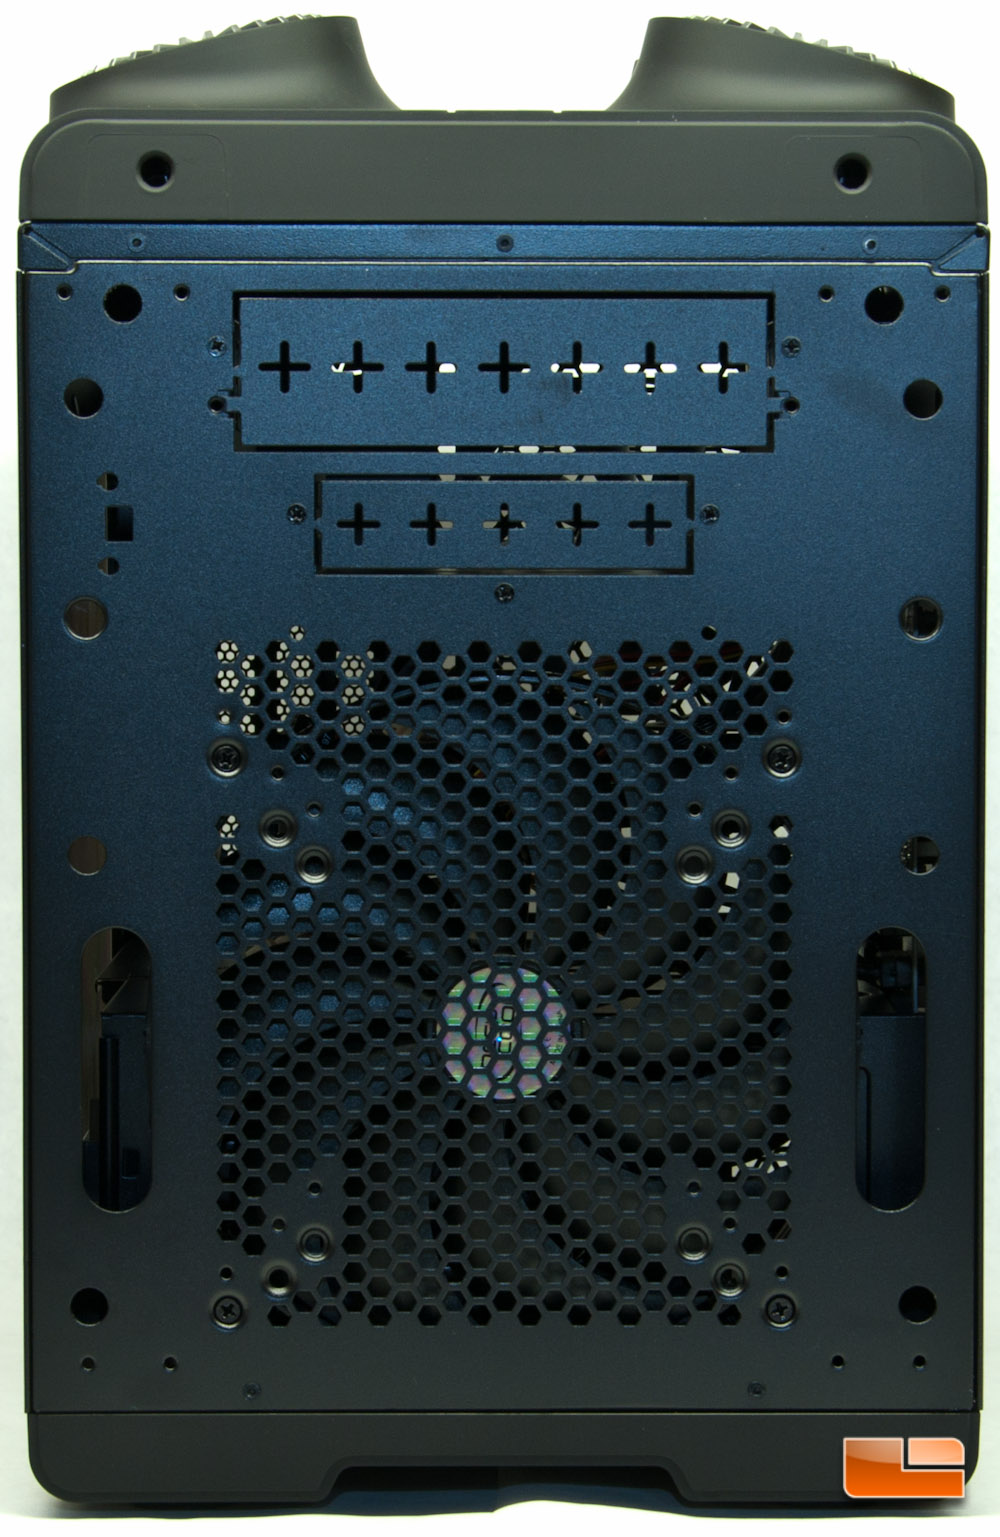
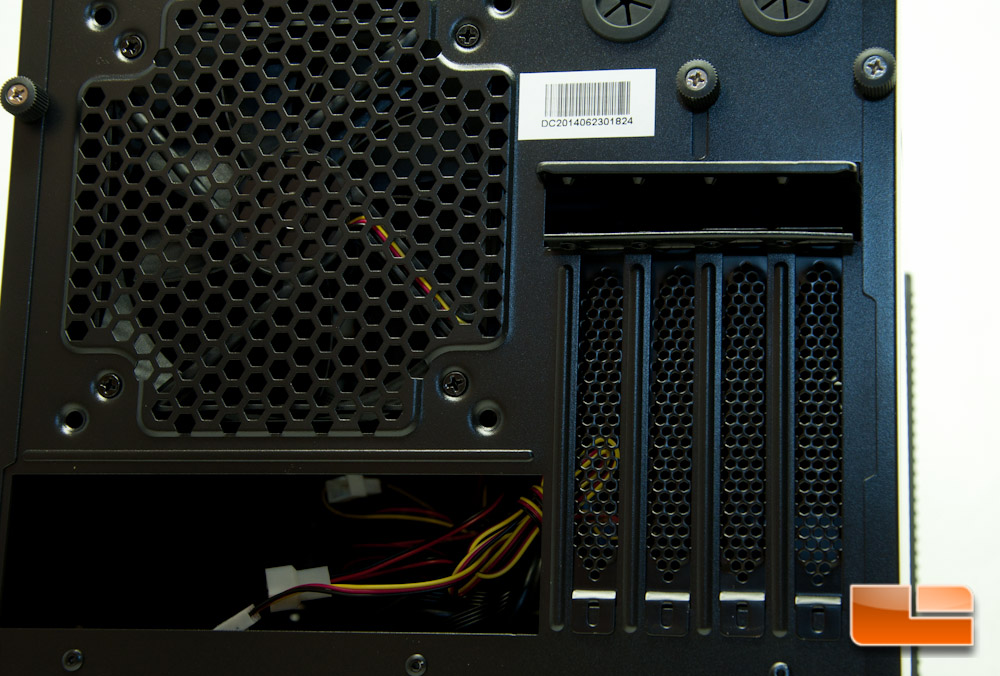
Looking at the rear, we have a single pre-installed 120mm exhaust fan – which can be swapped for a 140mm if you’d like, grommets for external water cooling, a total of four expansion card slots, a bottom mounted PSU, and more ventilation to the left of the PSU, which conveniently has the 2.5-inch drive enclosure behind it. At the very bottom, below the PSU, is a removable filter. This is the only filter that you will find on this case, but one is better than none. Note that the side panels are secured in place by thumb screws.
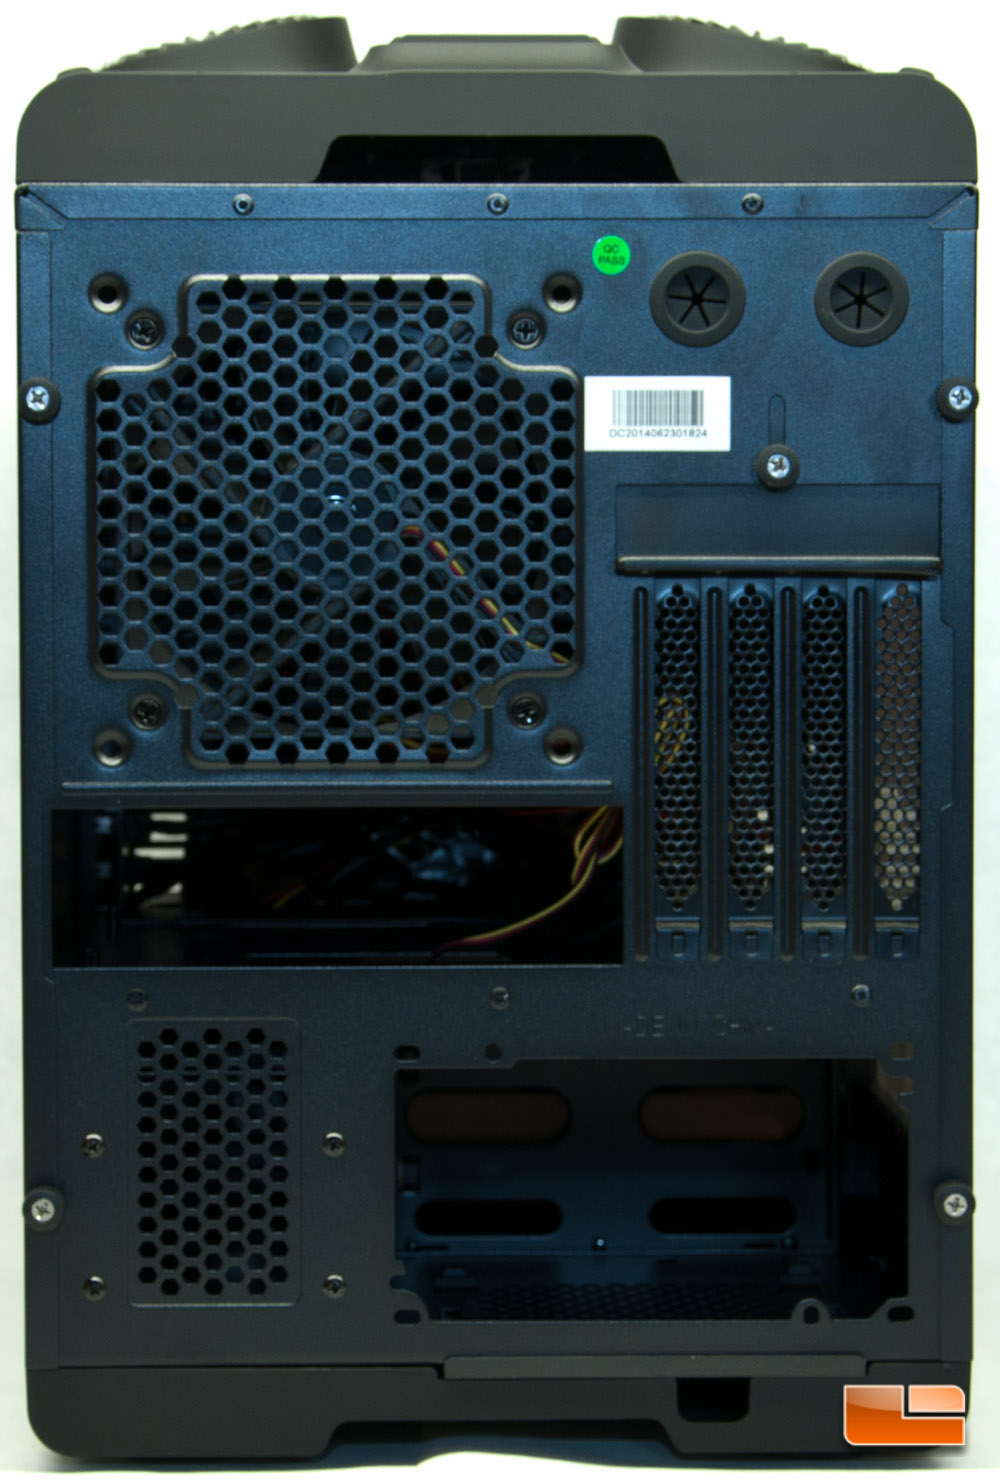
The expansion card slot uses a rather unique way of securing your card(s) into place, by having you undo a screw, lift the bracket up, drop your card in, and drop the bracket back down. It’s a nice and convenient tool-free way, as it will hold your cards in with pins and this single thumb screw.
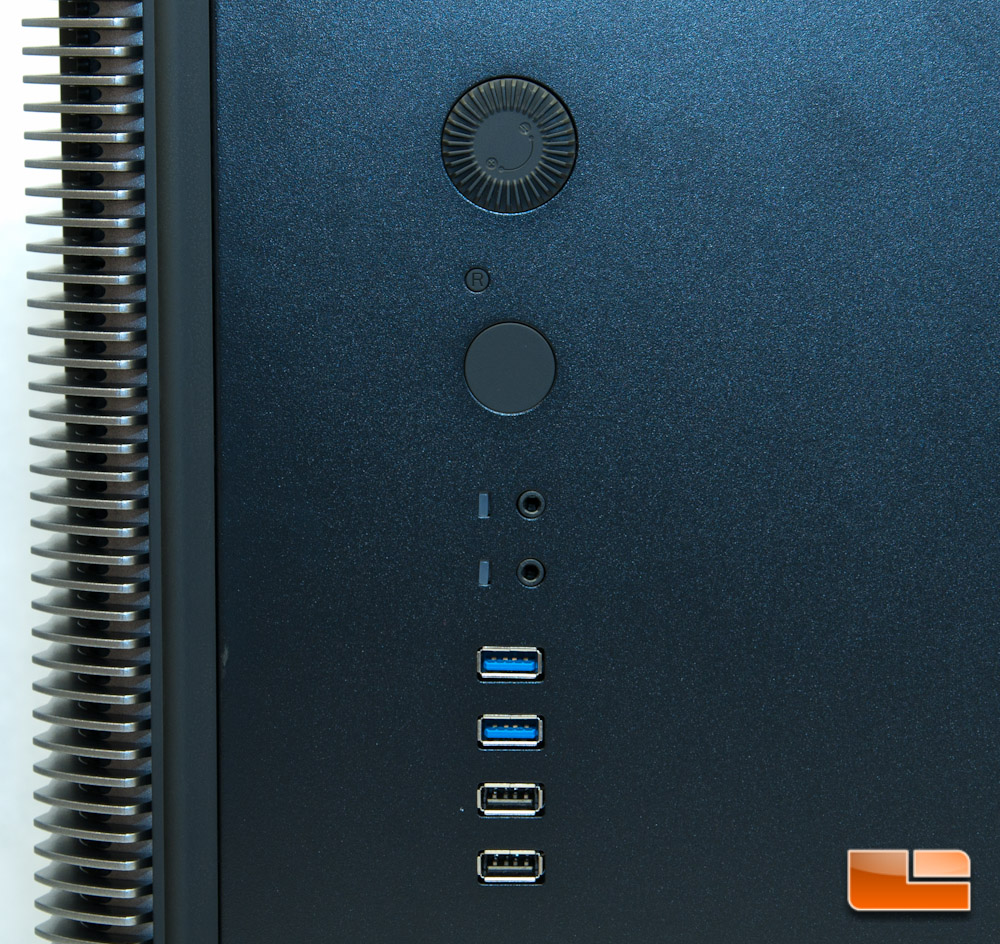
Sliding over to the right side of the case is where we find a little bit of interesting. The side panel has all of the I/O ports integrated into it, as well as a knob to manually control the fan speed of up to three fans.
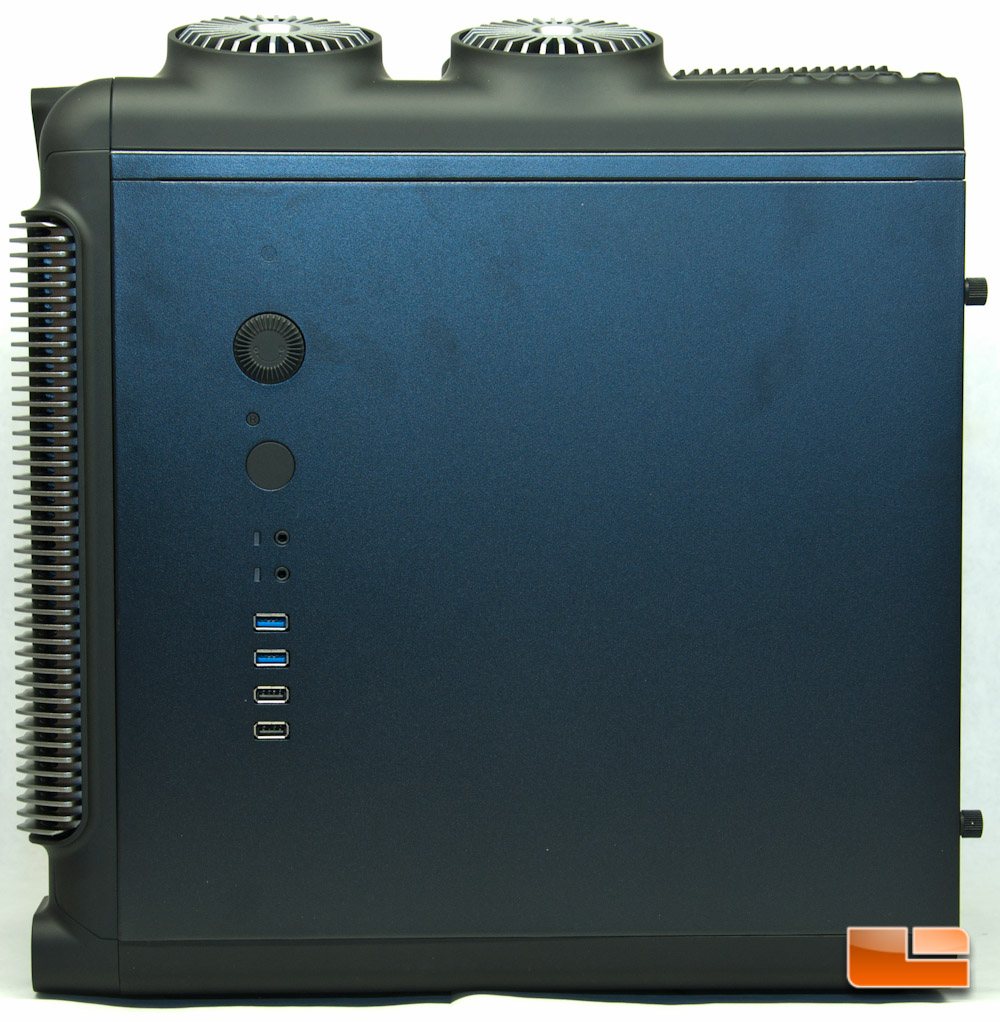
Starting from the top and working our way down, we have the fan speed control knob (plus LED brightness and color control), reset and power buttons, line in and mic out, dual USB 3.0 and dual USB 2.0 ports. Should you want to cycle the LED modes or colors, you just simply push in the wheel, it gives a distinct click, and you’re on your way. As you rotate the wheel, you will then control the speed of fan and change the intensity of the LED.
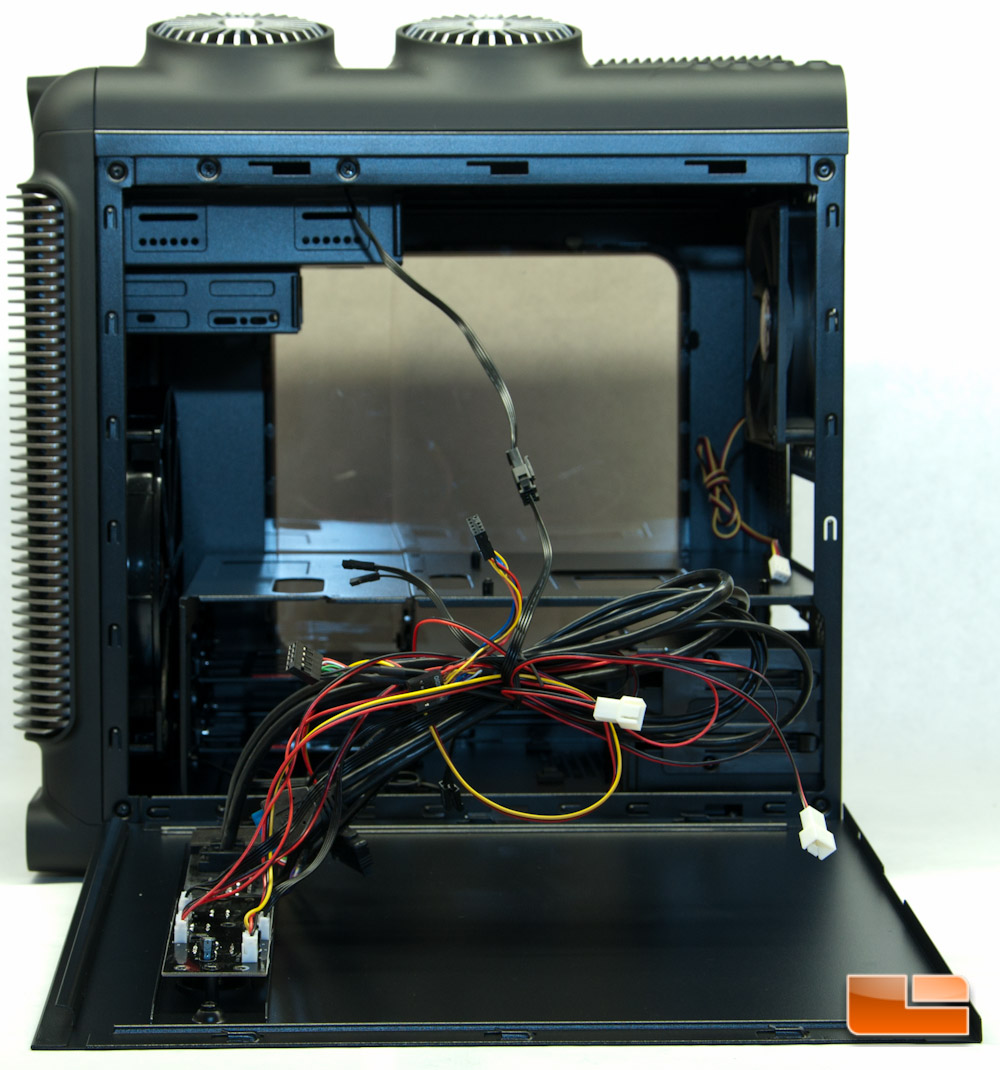
One thing that I think will irritate more than a few people, is the fact that these connectors are actually connected to the side panel itself. This in turn leaves you with a giant mess of wires and makes it a little harder to access this side, especially when the system is all together. These should have ideally been integrated into the chassis itself, and the panel was just a cutout, or relocated for better function. We’ll see this more on the interior impressions page.
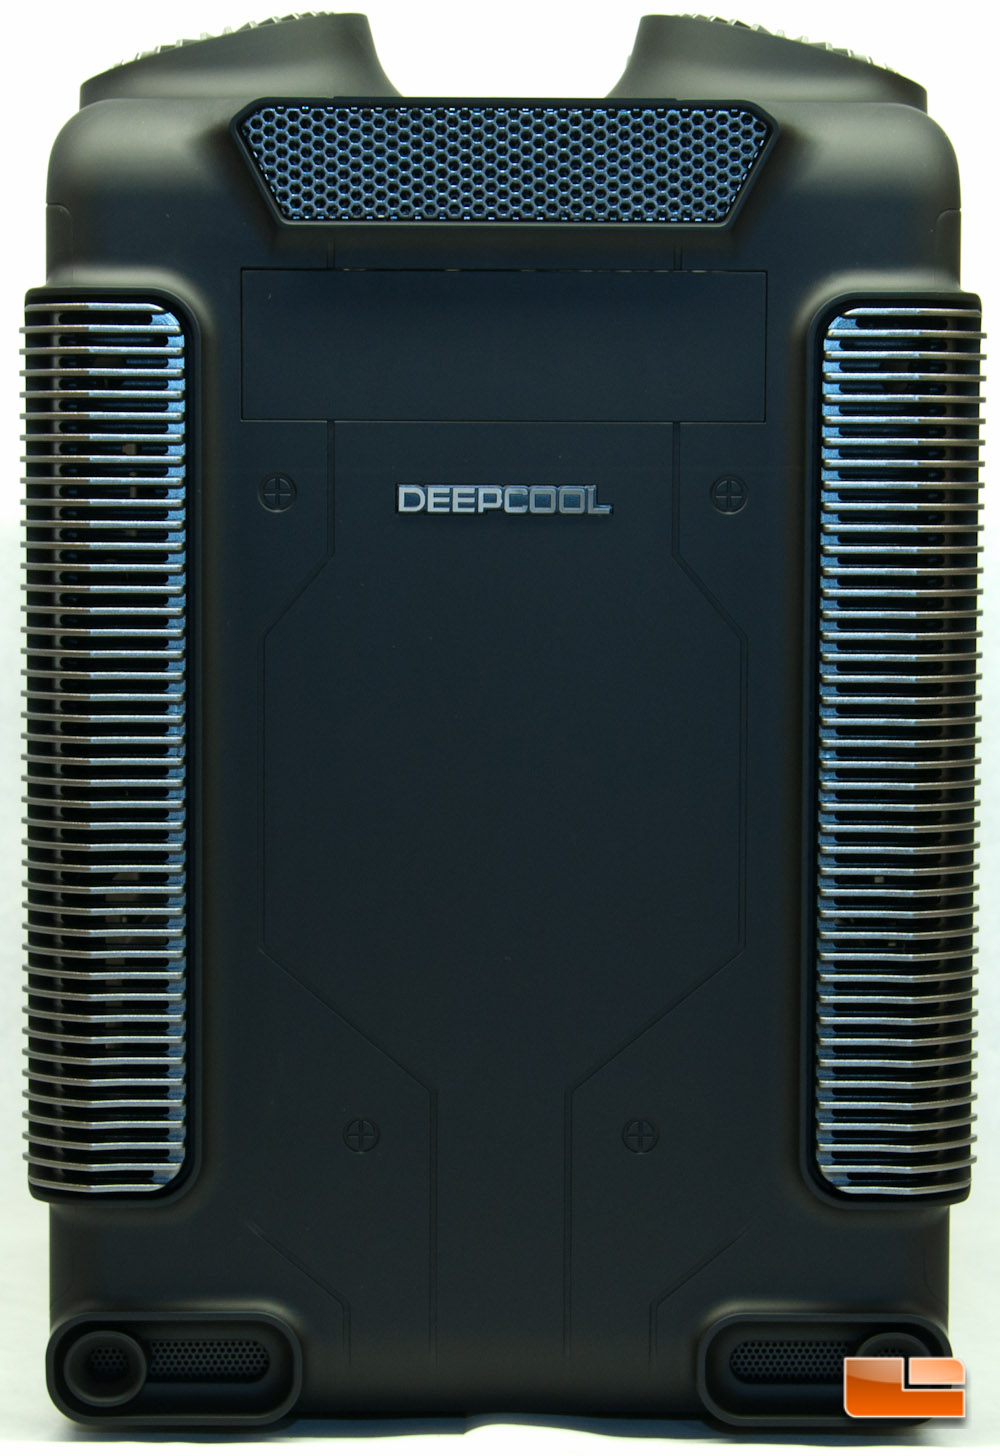
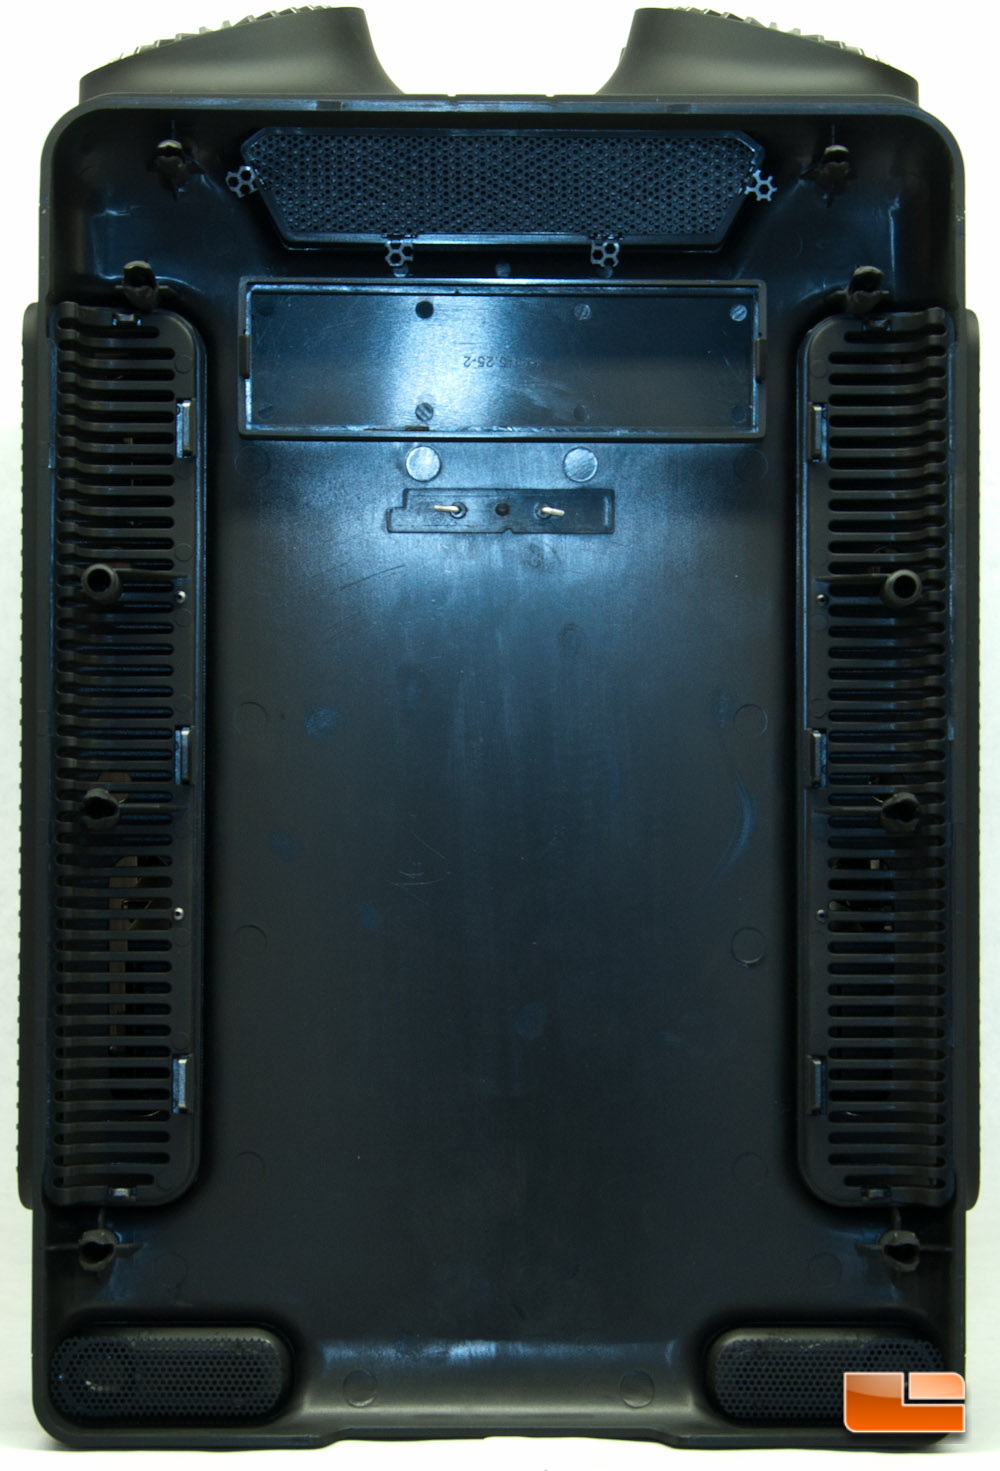
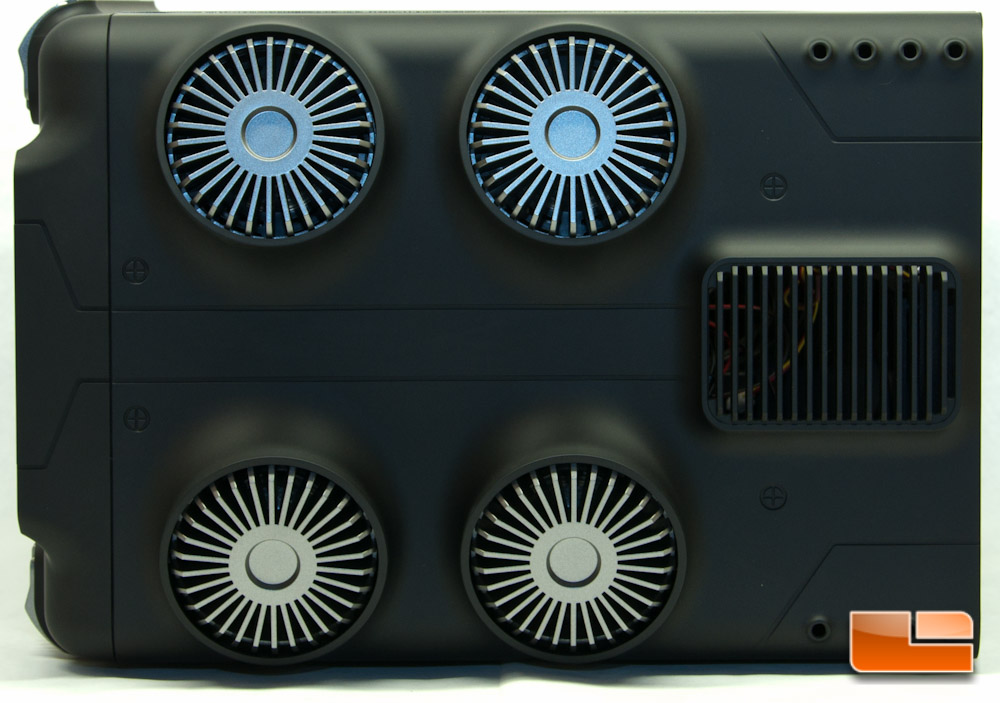
Hopping up to the top of the case you will find four cylinder objects, called punks. These are quite deceptive, as you may initially believe that they are for fans. Quite contrary, they are actually there for aesthetics and house LEDs that can change from blue, red, or green. They do allow air to pass through them, however they are somewhat blocked from below. There is also another somewhat large unfiltered vent towards the rear (right in the below picture).
The top panel does remove just as easily as the front, as you just have to give it a gentle tug from the rear and it will pop off. Unfortunately there are wires connected again, so you will either have to deal with it or disconnect them.
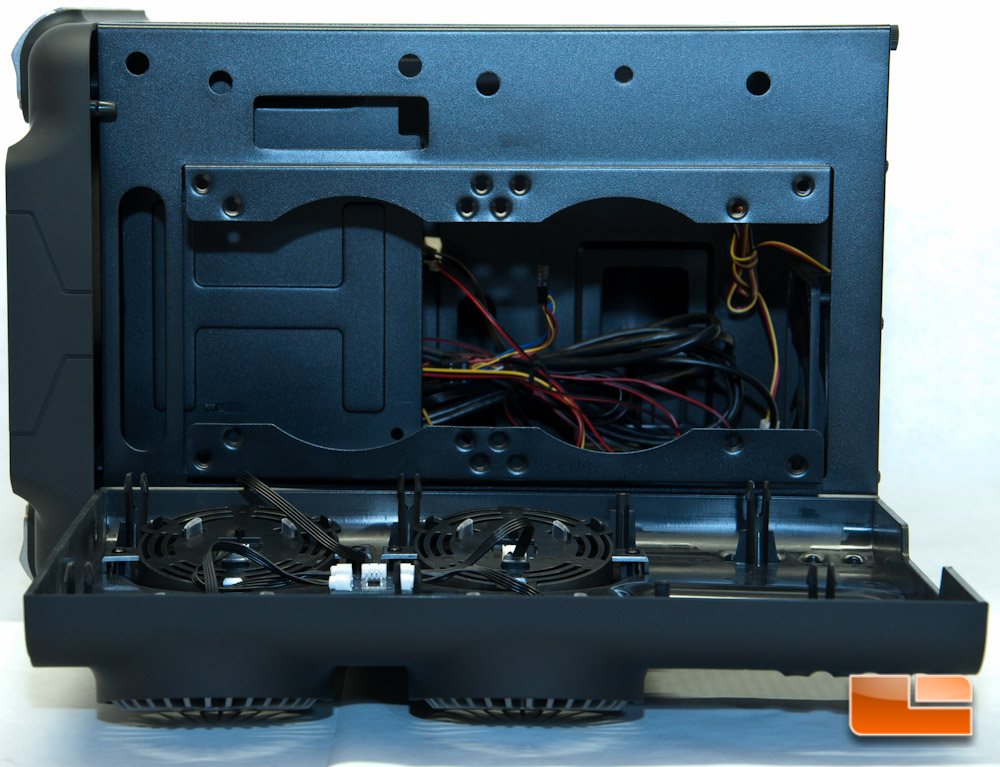
What you also find when taking the top panel off, is the fact that you can mount either dual 120/140mm fans or install up to a 280mm radiator. Everything has to be internally mounted, as there is no room for top mount fans.
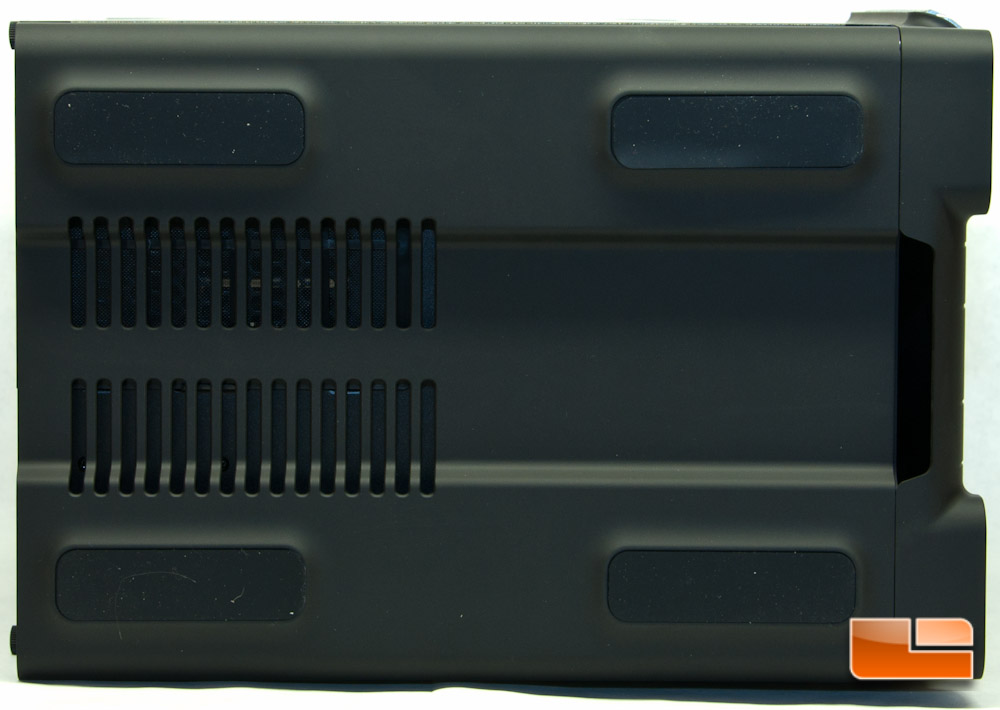
Finally dropping to the bottom of the case, you will notice the ventilation for the PSU and four feet with rubber pads attached to them.
That sums up the exterior of the case. Lets move on and see what the interior has to offer.