Cryorig A80 Hybrid Liquid CPU Cooler Review
Cryorig A80 AIO CPU Cooler – Installation
| Intel LGA1150 Test Platform | |||||
|---|---|---|---|---|---|
| Component | Brand/Model | Live Pricing | |||
|
Processor |
Core I7-4790K | ||||
|
Motherboard |
MSI Z97 Gaming 5 | ||||
|
Memory |
Corsair Vengeance LP DDR3 1600MHz 16GB (2x8GB) | ||||
|
OS Drive |
Samsung EVO 850 250GB | ||||
|
Power Supply |
Corsair RM750 | ||||
|
Operating System |
Windows 10 64-Bit | ||||
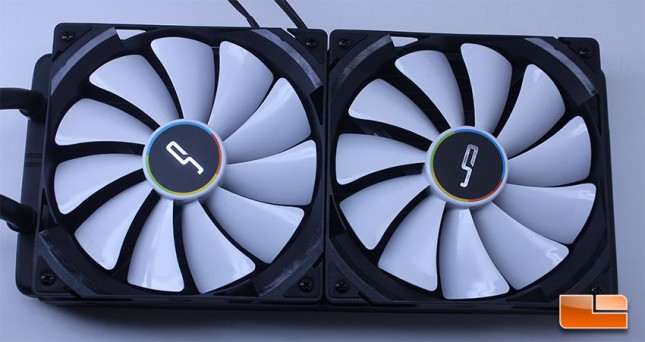
Since we are running outside of a case, no radiator mounting was necessary. Cryorig includes a set of short screws for mounting the radiator to your case, though many users will end up using the fans in a push or pull pattern that omits these screws from the installation. First, we attached the fans to the radiator in a push fashion using the included screws. The braided cables on the QF140 fans are a nice touch that helps a lot with improving looks and assisting with cable management, as well. Once the fans are mounted, the unit looks really good, with the white and black contrasting well. Installing the fans took just a couple of minutes and the radiator screw holes were all machined properly. Once the fans were secured to the radiator, we turned our attention to securing the pump to the motherboard.
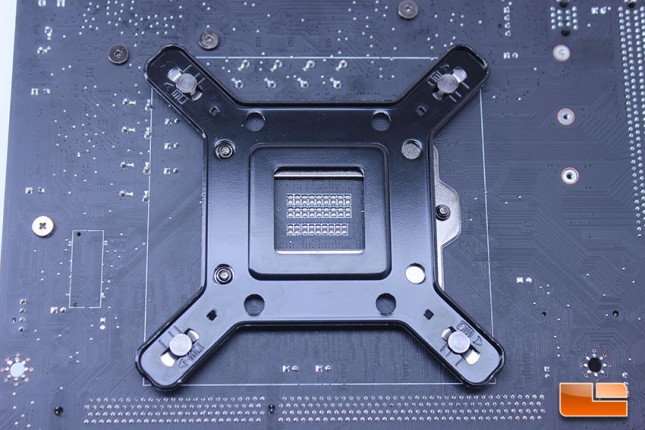
The posts were already slid into the proper position for the LGA 115x socket from the factory, though one had slightly come out of place and needed to be pushed back just a bit. Once we verified the posts were in the 115x position, the MultiSeg backplate slid onto the back of our MSI Z97 Gaming 5 motherboard without issue, offering a perfect fit.
Once you’ve slid the MultiSeg into the motherboard, you secure it by hand-turning the securing screws onto the posts of the backplate. The whole process is very simple and easy to do, taking just minutes. The MultiSeg backplate is really well-made and and is very stiff, not offering any flex. We’ve seen competing units use plastic for their backplates and while these plastic backplates are adequate, they do flex and won’t offer the longevity or support capability that the MultiSeg hardware does. Also of note, you can install the MultiSeg mount prior to a CPU being installed as it doesn’t interfere with the CPU securing mechanism. Thanks to this design, CPU swaps can be done with the bracket in place and only removing the pump head, making things to be much easier should you decide to do a CPU upgrade down the road.
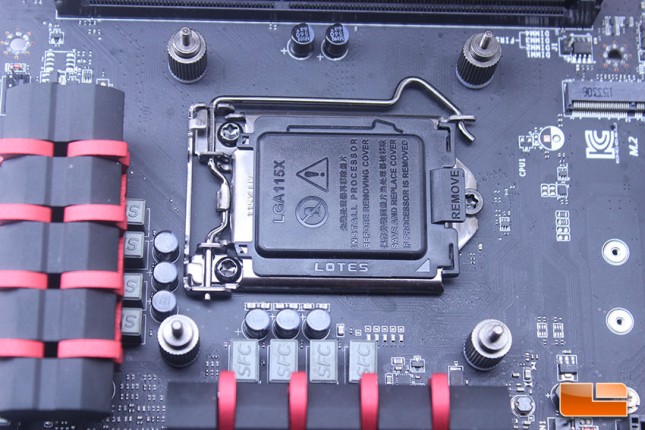
Once the MultiSeg backplate is installed and you’ve installed the CPU to the socket if it wasn’t already in place, the next step is to attach the pump/block, creating a secure mount to the CPU. This step is very simple, as the ring mounting bracket for Intel processors is already installed onto the pump/block, allowing the block to be screwed onto the four posts of the backplate. AMD users will need to swap the mounting hardware on the pump and use the different backplate that Cryorig includes for AMD users, which is also a very high quality piece of hardware. I’m definitely impressed with Cryorig and their mounting system, it’s one of the best I’ve ever used.
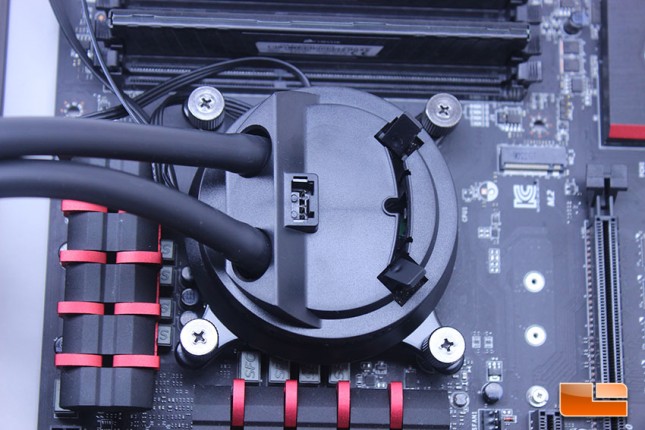
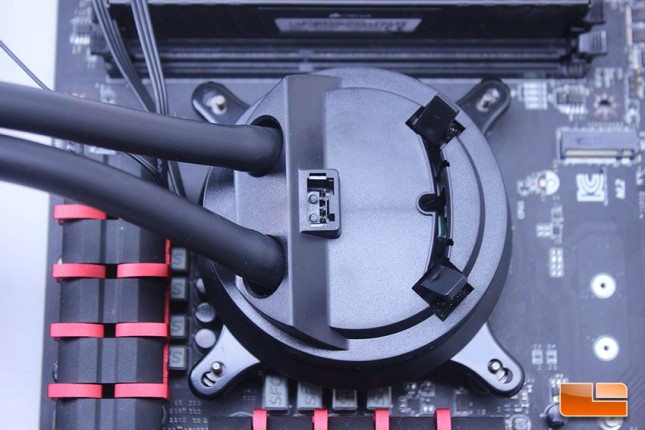
Once the pump is placed, we simply secure it by screwing the hold down screws evenly, so as to not put too much force on one particular corner. Also, just tighten the screws to the point where they stop and don’t torque too much, or you will risk snapping the posts. I also plugged in the PWM fan connector to the CPU_FAN1 header at this point, since it was right there.
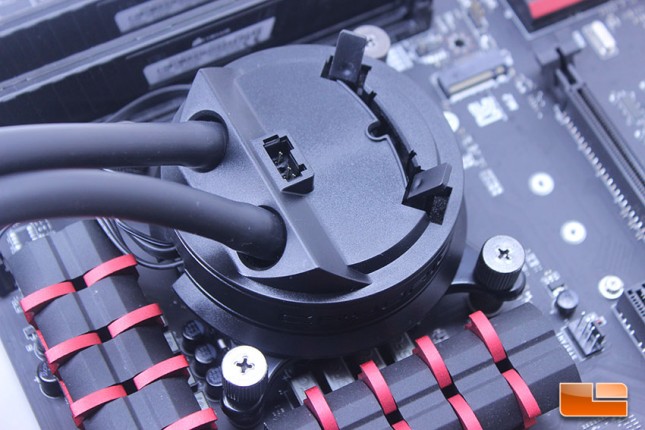
The MSI board I use to test doesn’t have a ton of clearance, but the Cryorig A80 installed just fine, giving plenty of clearance for the VRM heatsinks and surrounding components.
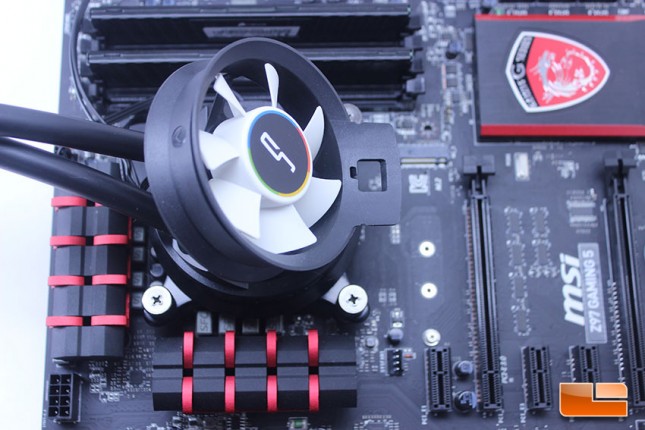
The Cryorig airflow fan is a beauty, I must say. Once mounted onto the block, it gives the cooler a very unique look that might surprise those who haven’t seen the A80 in action before. The fan can go in either a push or pull fashion, but we’ve opted for push for our testing. Once the pump/block has been mounted, it must be powered. The Cryorig A80 is relying on a SATA connection to power everything connected to the A80, including the pump and accessory fans. Thankfully, the cables coming from the pump/block are flat and can be cleanly routed. We connected the PWM cable directly to the motherboards CPU fan connector so that the fans could be controlled by the MSI Z97 Gaming 5 UEFI. As mentioned, the SATA connection provides all power to the A80 and attached fans, so the PWM cable only serves for fan monitoring and adjustment purposes.

Overall, the installation process for the A80 is a very straightforward affair, especially for those who have previous experience with installing AIO coolers. The MultiSeg mounting mechanism once again proved to be easy to use and well-manufactured and the included hardware was all machined properly and matched properly with the kit.
Let’s get down to some stress testing now and see just what the A80 is capable of when facing some stiff competition.