Corsair Graphite 780T Full Tower Case Review
Graphite 780T Hardware Installation
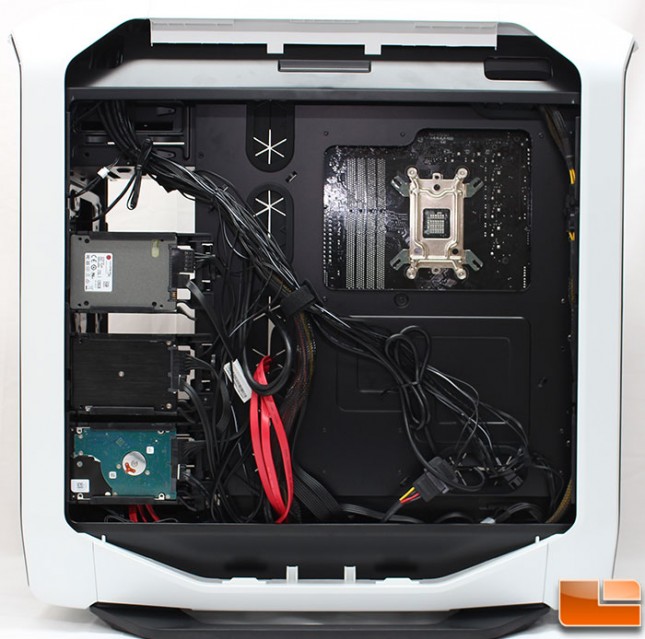
Even though the Graphite 780T is designed to fit almost all sizes of motherboards, installing a standard ATX board looks small inside this case. You have access to all six cable management holes with room to spare. Above the motherboard there is approximately 3.5″ of space to install liquid cooling radiators and fans. If you estimate 2″ of that for fans in a push/pull configuration, that still leaves room for 1.5″ thick radiator. As for the video card, I doubt any video card wouldn’t fit, even with the 3.5″ drive cages in place as there is 4.5″ of space between the edge of the motherboard and the drive cages.
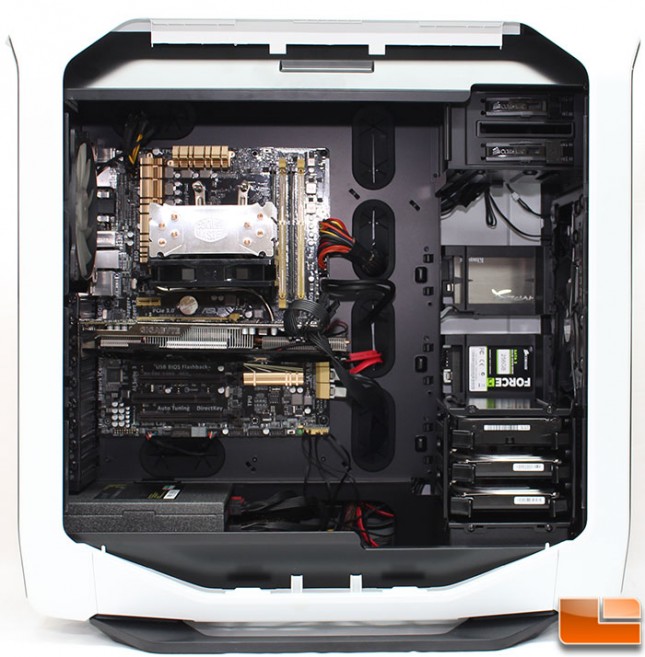
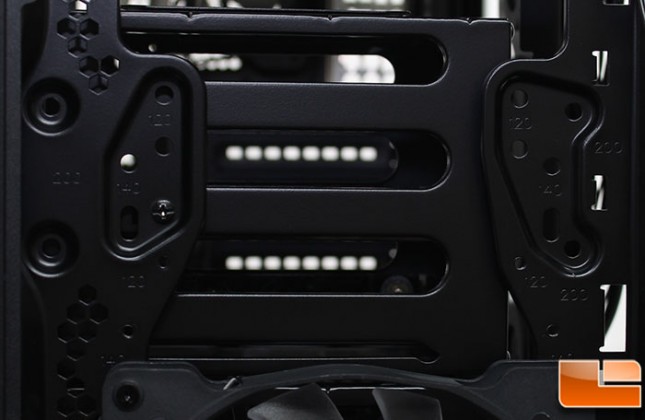
During the build phase, I thought it would be good to remove one of the drive cages, in the process I learned that not only is it secured by two screws inside the case to the other drive cage, but Corsair has also secured it to the frame with another screw. This isn’t a bad thing, however it is annoying to have to remove the fan to remove the screw. Simple to do, just a couple additional steps to do and one that might confuse people if they weren’t aware of the screw.
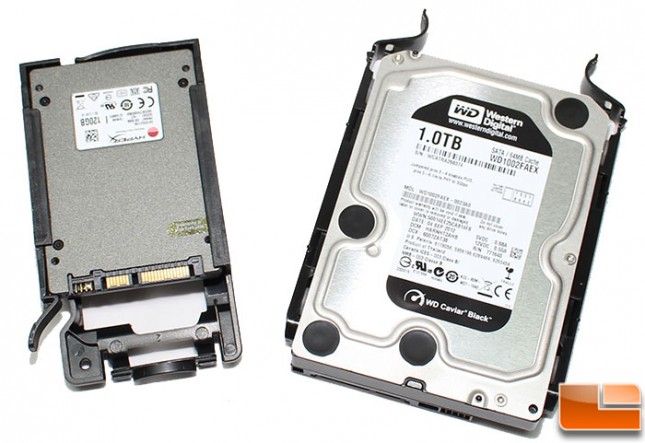
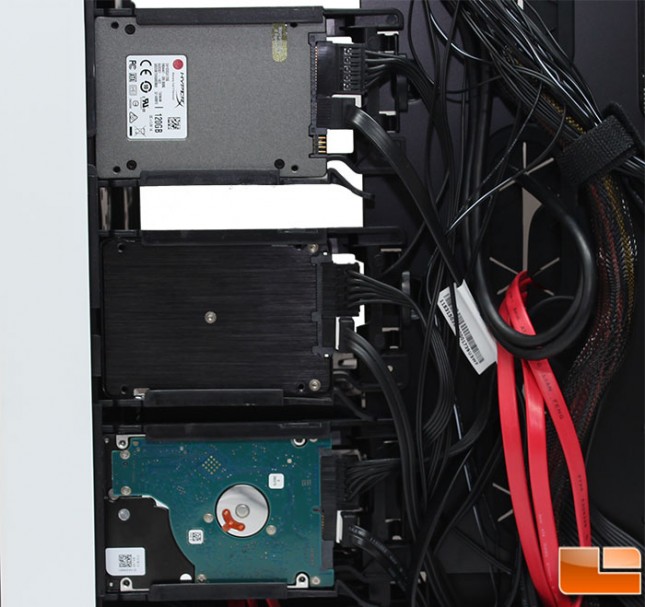
The tool-less trays used by Corsair are easy to install the drives. For the 3.5″ hard drives slightly bend the tray to allow the 3.5″ drive to pop into place. For the 2.5″ drive tray, a little pressure on the secure clip will allow the drive to slide into place. The downside to the 2.5″ tray, is that it is designed for 9mm height drives, if you have a drive that is less, there will be some movement. While this isn’t a problem for SSD’s, if you install a thin mechanical drive it might vibrate a little.
On the back panel, there are plenty of places to use cable ties to secure the cables out of the way. While this isn’t the best that could be done, all the cables are secured and out of the way. Even with the clump in the middle using a velcro tie the back panel swings into place without any issues. If you decide to install a CPU cooler after the motherboard is in place, that shouldn’t be an issue as there is plenty of room to access the CPU cooler holes.
For the hidden 2.5″ drives, we installed two SSD’s and a mechanical drive. For SSD’s the install is flawless, as there is no moving parts it doesn’t matter that there is some extra room if the drive is slim (7mm). However if you decide to install a 2.5″ mechanical drive you can run into some movement issues, the drive that we happened to install is a slim Seagate drive and it moves around a little in the 2.5″ tray. Understandably, most people won’t be installing mechanical drive in a system like this, just felt it should be noted.
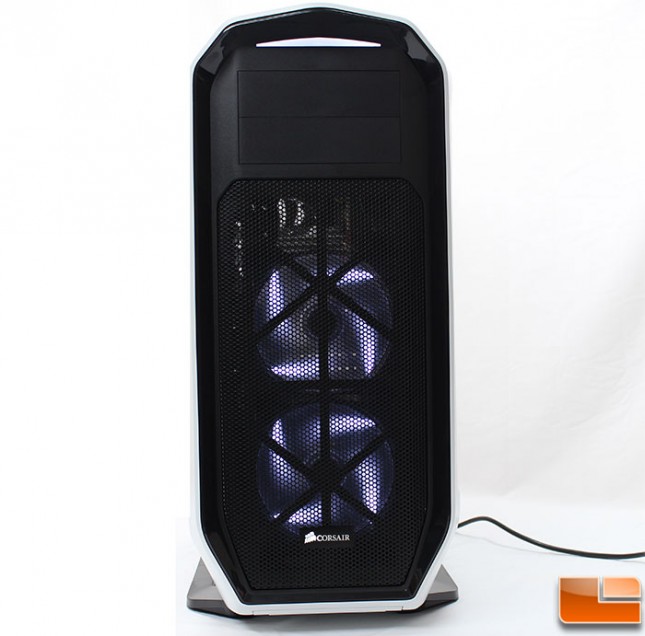
The front panel has some lights that we did not mention before as it was difficult to point out. With the system completely built, we can turn it on and see the lights. At the very top, above the 5.25″ drive bays there is a little LED lit area. In addition, the two front fans have white LED’s, which looks sharp against the black front panel.