BitFenix Ronin Mid-Tower Case Review
Ronin Hardware Installation
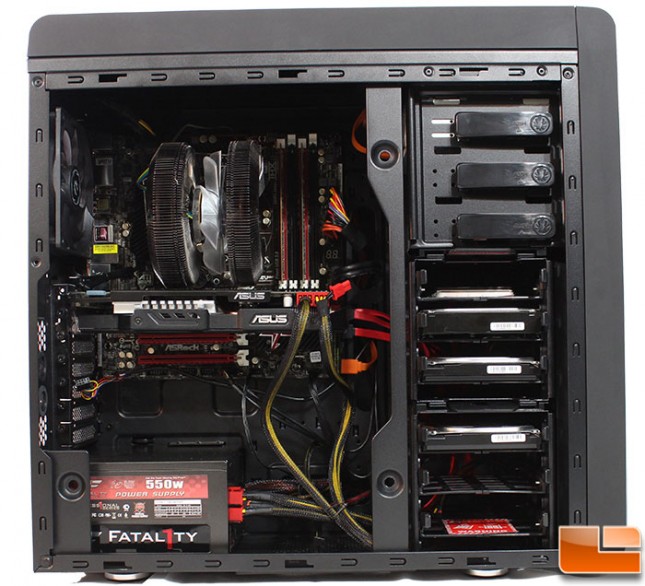
With everything installed, we can step back and take a look at how a completed build in the Bitfenix Ronin looks. With Mid-Tower cases, there typically isn’t a lot spare space, and the Ronin is no different. Having the SATA cables on the edge of the motherboard, with the Stealth Cover bar there it would be rather difficult to connect the SATA cables, however removing the 3.5″ drive chassis made it fairly simple.
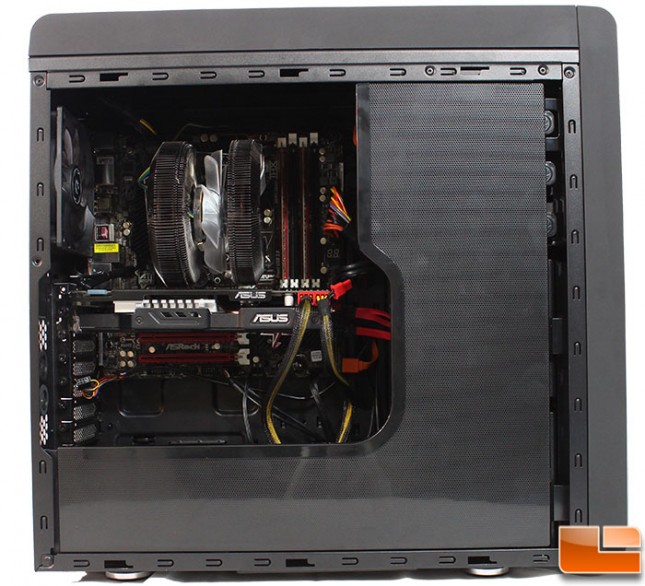
To give you an idea what a completed build looks like without the Stealth Cover, we can see a portion of the power supply, the 5.25″ bays, and 3.5″ drive bays.
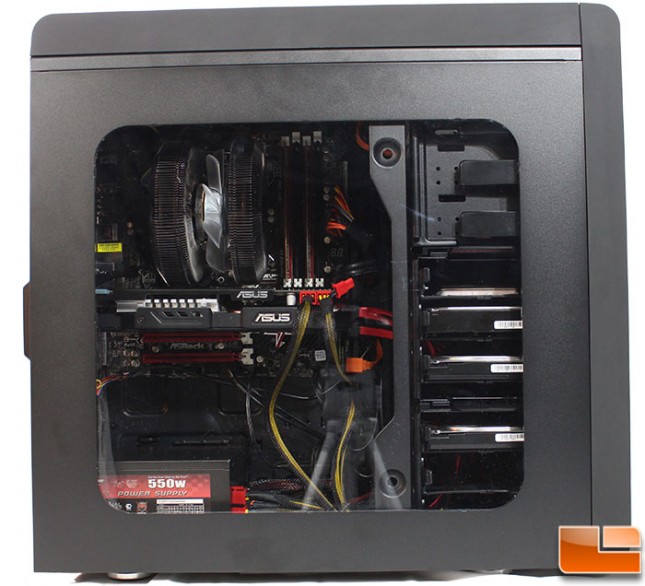
With the Stealth Cover in place, the view is drastically different, we can no longer the power supply, or any of the drive bays. What we can still see is typically the most important part of a system. The motherboard, CPU cooler, and the video card.
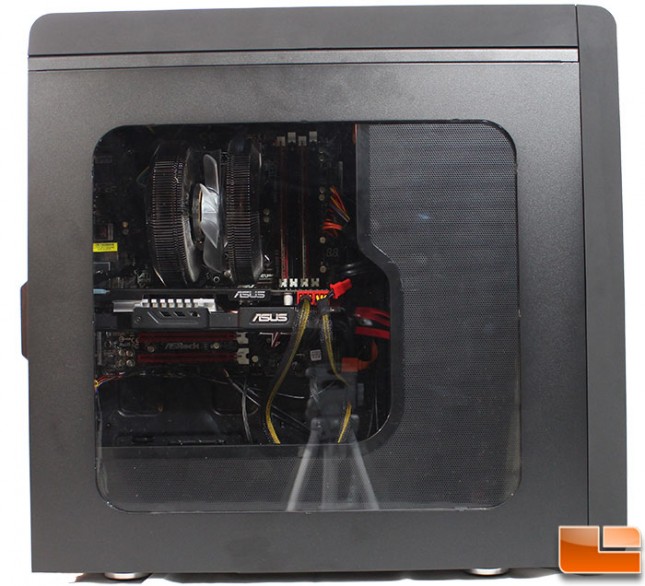
With the side panel in place, the Stealth Cover gives it a unique look. Not a spectacular view, the highly reflective window will show fingerprints pretty easily.
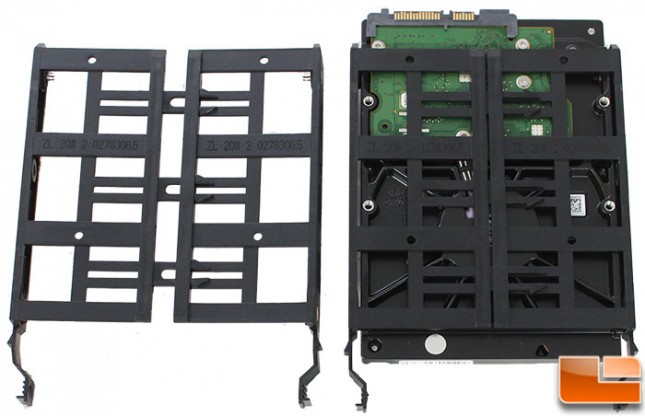
Installing the hard drives in these trays was probably the best feature on the Ronin. Usually trays are a little difficult to get drives in place, since these slide apart installing a hard drive was a breeze. Pull the tray apart, put the drive on the tray and line up the screw holes. Finally, squeeze the tray back in place. Nothing to it!
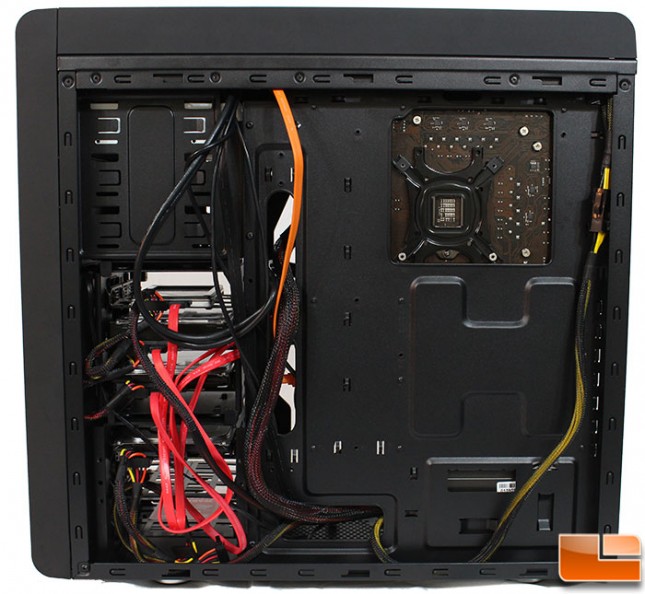
With the motherboard in place, we can see the back of the tray at the cable routing options. Not much was done to clean up all the cables, this is just how it came out once the install was completed. With all the wires, the back panel slides into place without any issues from the cables.
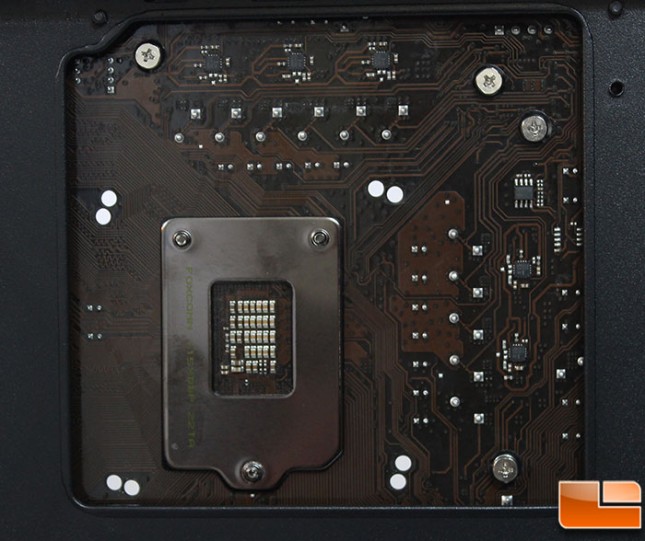
The bottom holes for the CPU cooler mounting is near the edge of the hole in the motherboard tray.
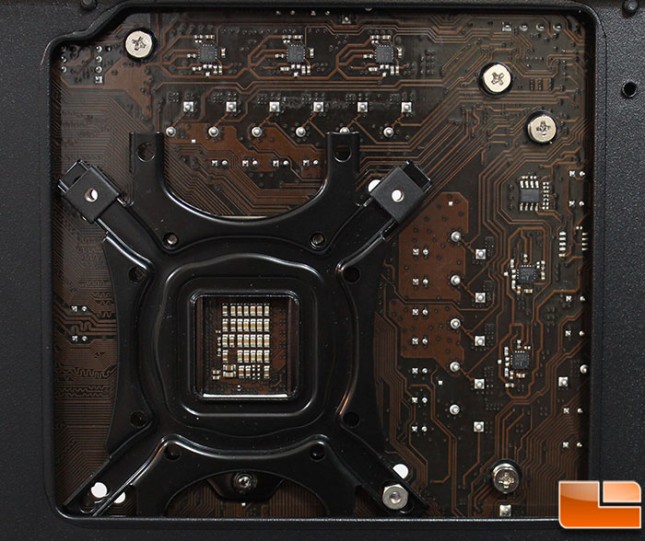
Installing an aftermarket backplate can be difficult in the Ronin. Installing a Zalman CNPS9900, the backplate would not go into place as it should once the motherboard is in place. I would have to uninstall the motherboard to get the plate on correctly. Removing the bottom mounting bolts, placing the bracket in place, then replacing the bolts allows the bracket to go in place. However, the bolt covers to keep it in place can not be installed now. The hole needs to be a little bigger to accommodate more motherboard brackets.