BitFenix Ronin Mid-Tower Case Review
Ronin Exterior Impressions
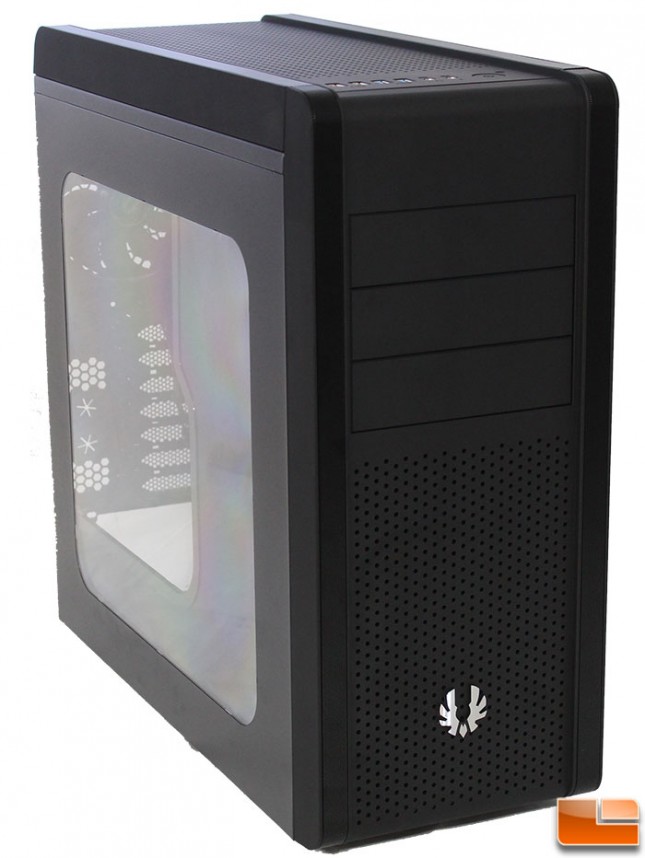
The BitFenix Ronin is only available in black, with the BitFenix logo being the only non-black item on the case. The top edge of the case is rounded and gives it a nice transition from the front bezel to the top. The entire front and top bezel are coated in their SofTouch material, giving it a smooth rubberized feel. Along the right and left side of the front and top bezel is a wire mesh to allow some additional airflow.
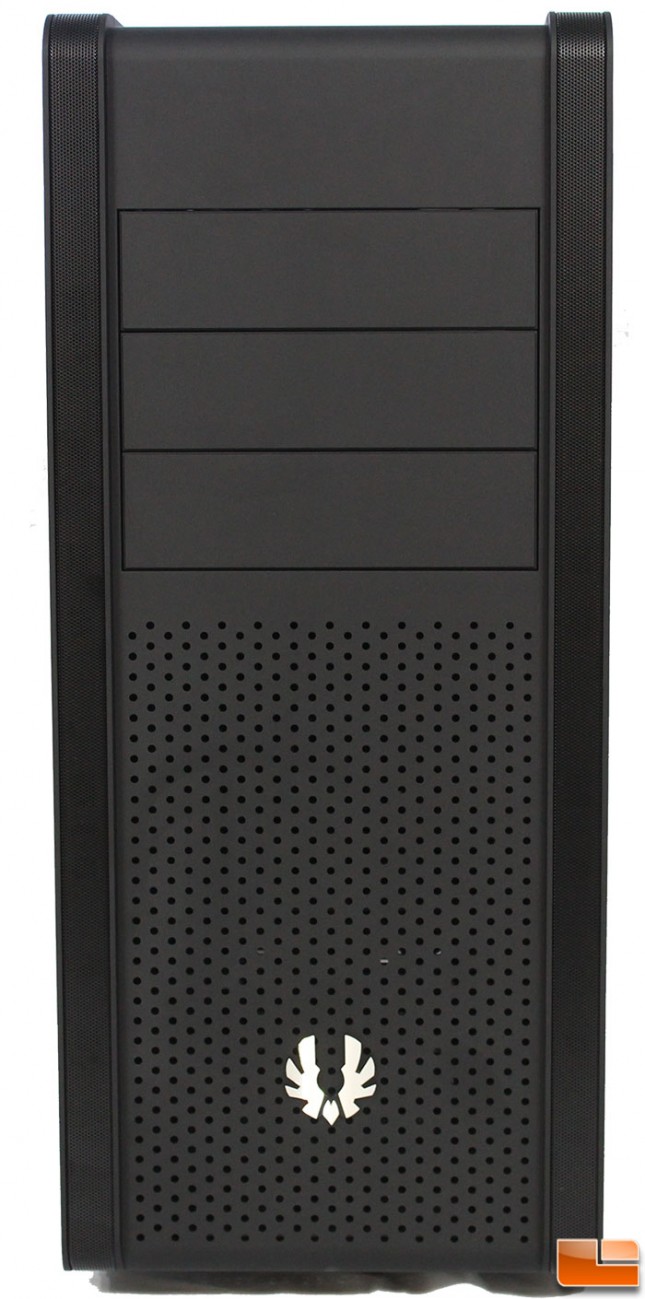
The front bezel is very clean with a minimalistic design. At the top, the 5.25″ drive bay covers are smooth and are designed to look like a part of the case. Below the 5.25″ bays is an area which has been ventilated with many holes. Down near the bottom, Bitfenix has placed their logo with a nice chrome like finish. One of the features of the Ronin, is swappable wire mesh edging, this runs down the right and left side of the front bezel. The wire mesh ends abruptly at the bottom, while at the top it is rounded which gives a nice smooth transition to the top panel.
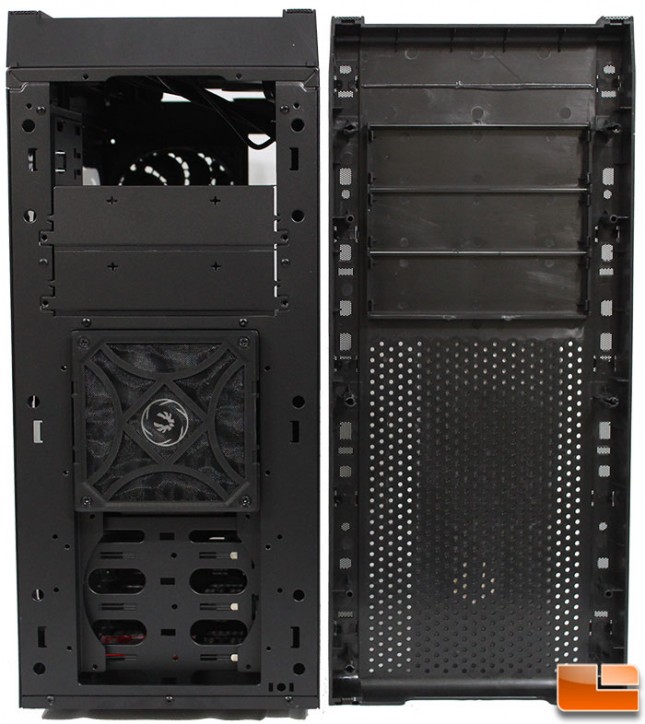
Removing the front bezel requires a pull from the bottom of the panel, it was on really tight; more effort was needed to remove the bezel than I’m used to. With the panel removed, the 5.25″ drive bays can be seen, the first one is ready for use, while the other two have a guard in place that needs to be removed. Below the 5.25″ bays are the two 120mm intake fan mounts, one 120mm fan is included. If you look closely at the filter on the 120mm, you might notice that it is screwed to the fan. This will make it secure, but will also be a pain to remove to clean it.
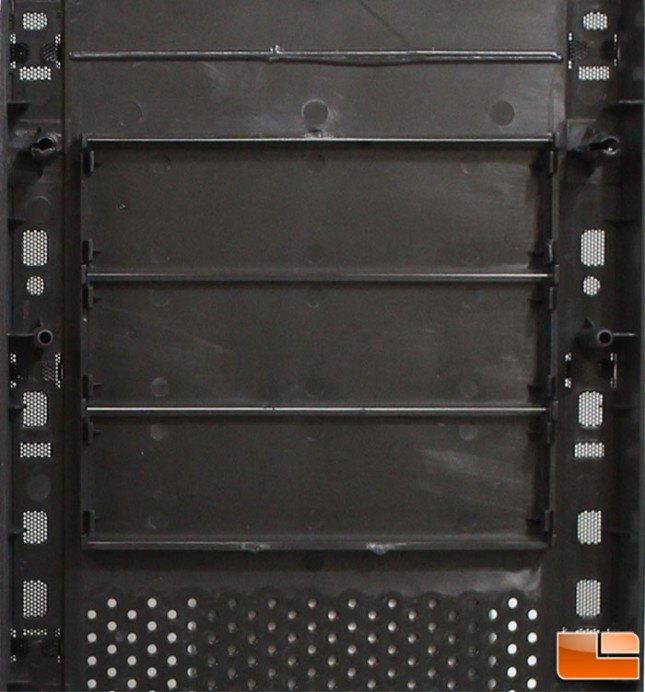
Taking a closer look at the inside of the front bezel, we can see the 5.25″ bay covers snap into place. The bezel will need to be removed in order to remove the covers. The edge of the bezel, we can see the wire mesh strips, there are little tabs of the mesh that would need to be un bent in order for the mesh to be swapped; it’s really easy to do.
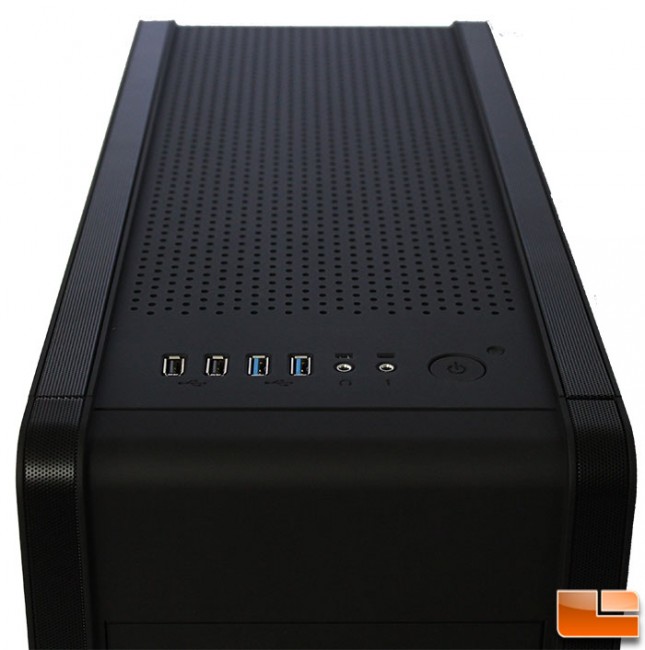
The top of the case the mesh strips continue from the front panel, giving it a smooth continuous look. Like the front, Bitfenix has made these easy to remove. The rest of the top panel is vented to allow airflow if necessary.
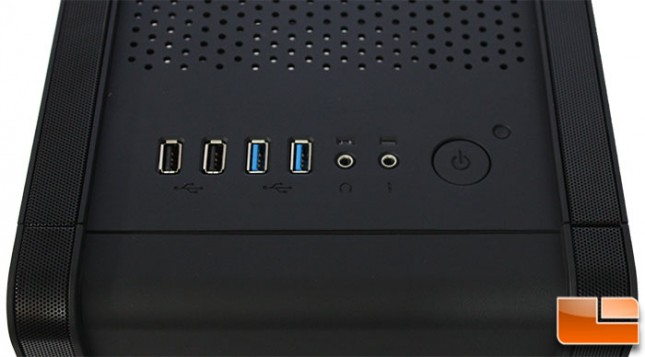
The front I/O cluster includes the common features, two USB 2.0, two USB 3.0, Headphone, Microphone, power button and reset button. I would have preferred to have four USB 3.0 ports rather than this split. Granted it might raise the price of the case a little, but it would be worth it for many. Including a USB 3.0 internal header to USB 2.0 internal header would’ve given users the option for their case.
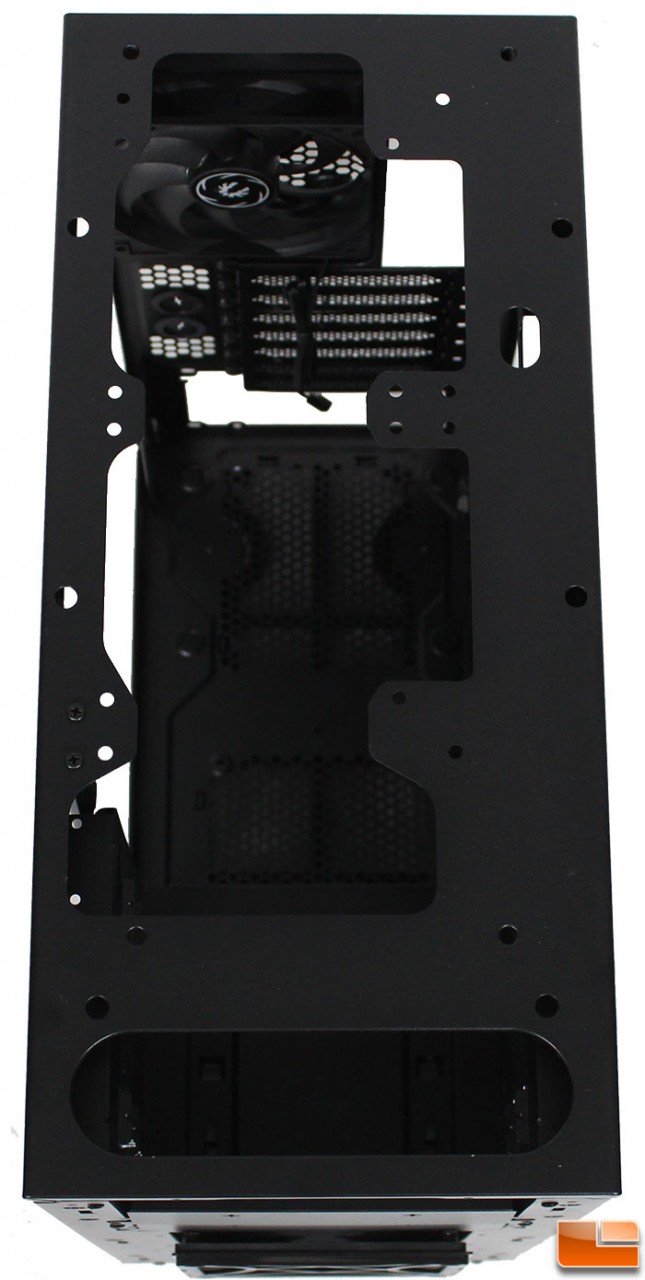
The top panel is easily removed by pulling from the back of the case. Once it is removed, we find a large hole at the top of the case. Here up to a 240mm water cooling radiator can be installed, or if you prefer to stay with air cooling, either two 120mm or two 140mm fans can be installed. Additional space is provided for cable management both at the front of the case and at the back.
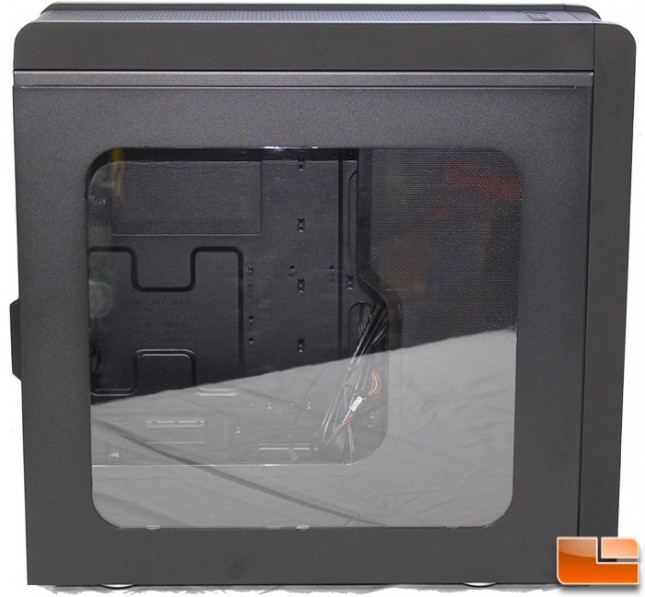
The right side panel has a large window to allow seeing the internal components. The window is extremely reflective, which I don’t care for, however that is a personal taste. Bitfenix has installed a Stealth Cover, which hides the power supply, 5.25″ and 3.5″ drive bays. This is a nice idea, and making it easily removable for those that don’t care for the look makes this a nice value-add feature. In addition to it hiding some components, it also provides a unique layered view through the window.
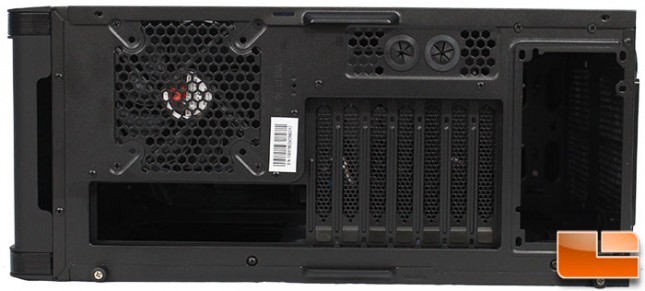
The back panel shows what we can expect from the inside. A 120mm rear exhaust fan, two liquid cooling ports, 7 expansion slots, and a bottom mounted power supply. At the top (or left side in this picture) there is some room to grasp to remove the top panel.
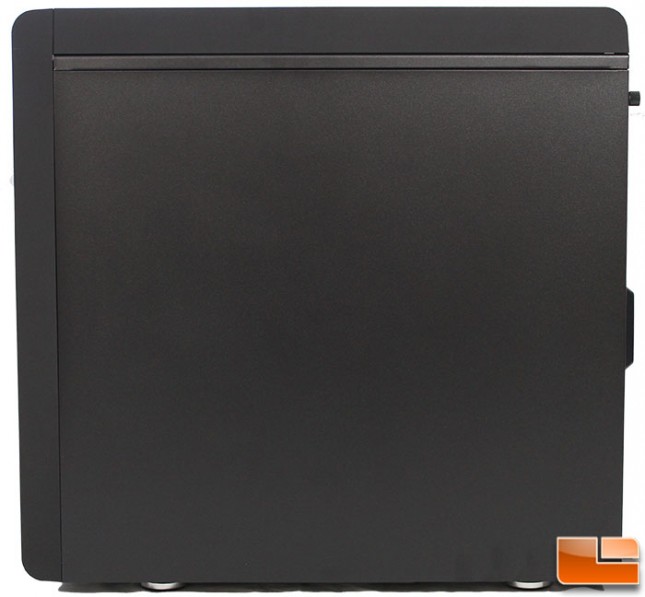
The right side panel is plain, nothing to see here. Held in place by two more thumbscrews, and a little handle at the back to help removal.

The bottom of the case is another area that is usually pretty boring. Four feet are pre-installed to provide space for airflow to the power supply, and the optional 120mm bottom fan. There is a large filter that covers both the power supply and optional bottom fan. What is a little different here is the bottom fan filter is held in place by four magnets. While this is an interesting method of keeping it in place, looking at the design of the filter, the case will need to be tipped (or picked up) in order to remove the filter for cleaning.