Antec P380 Full-Tower Chassis Review
P380 Packaging, Product Tour, and Impressions
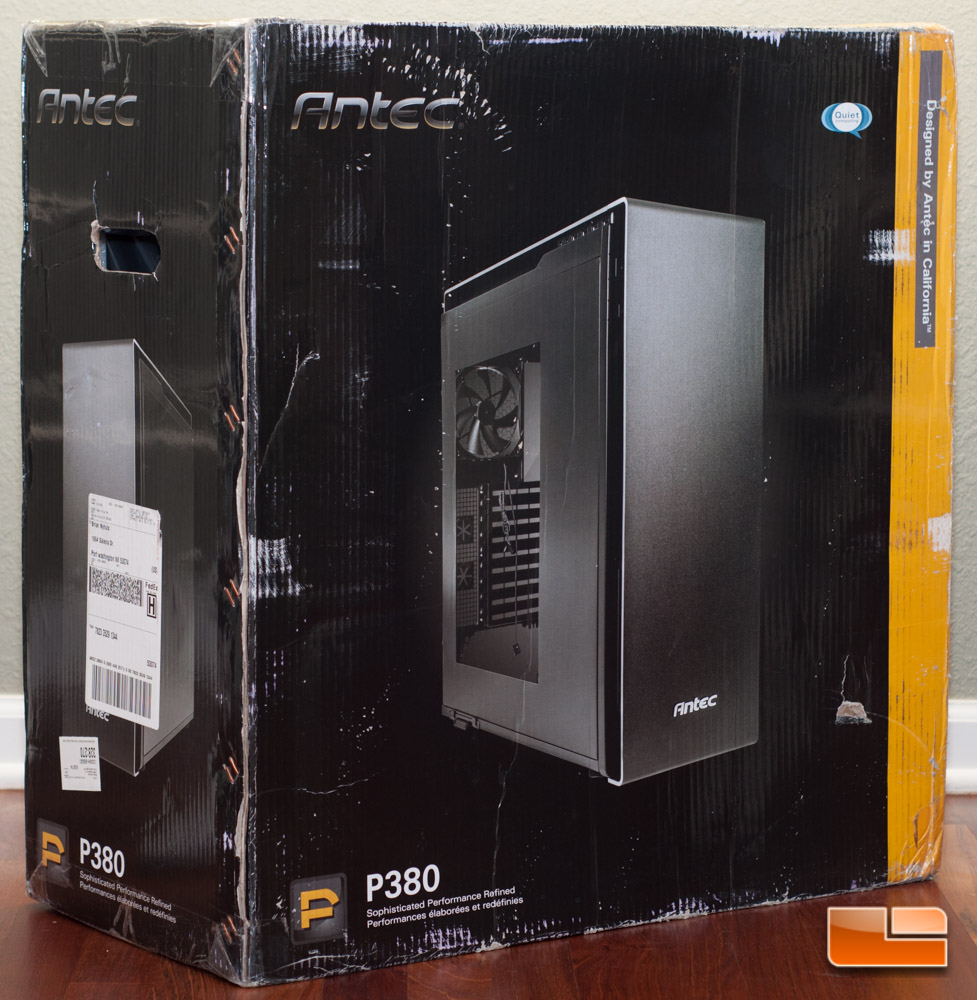
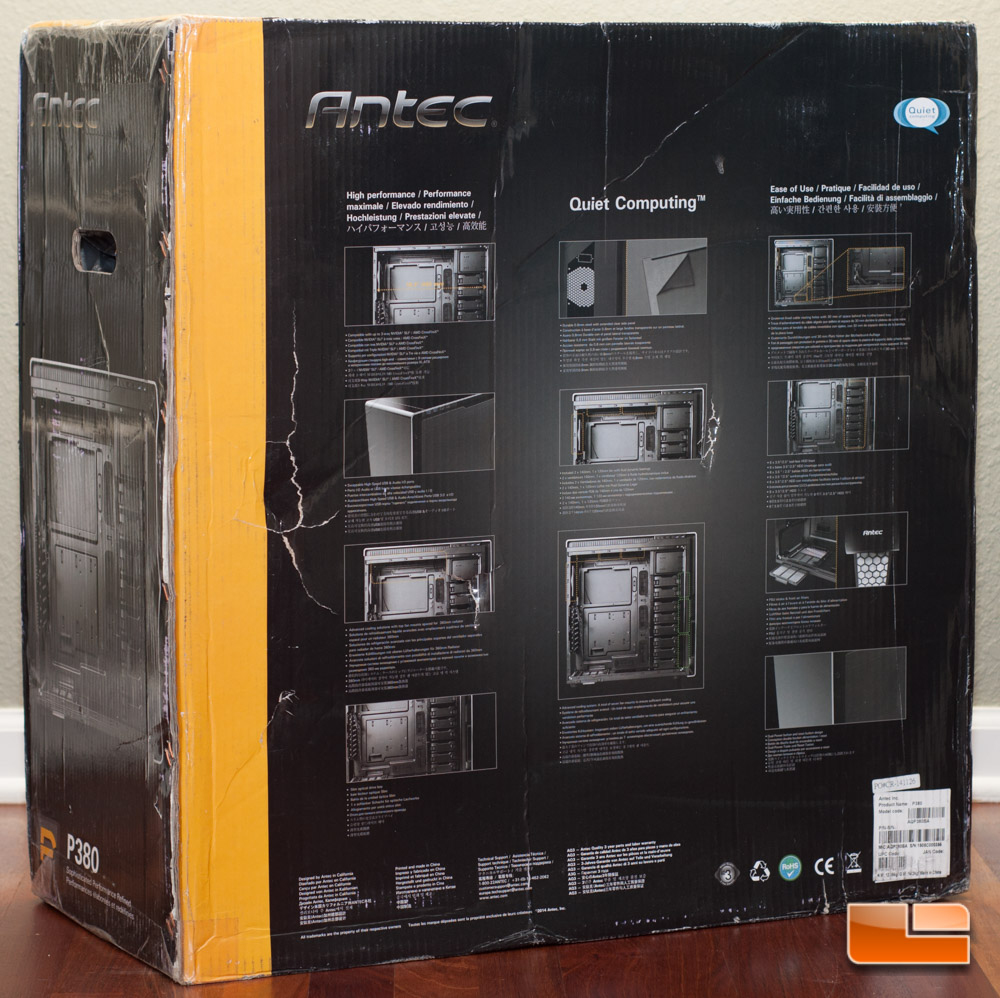
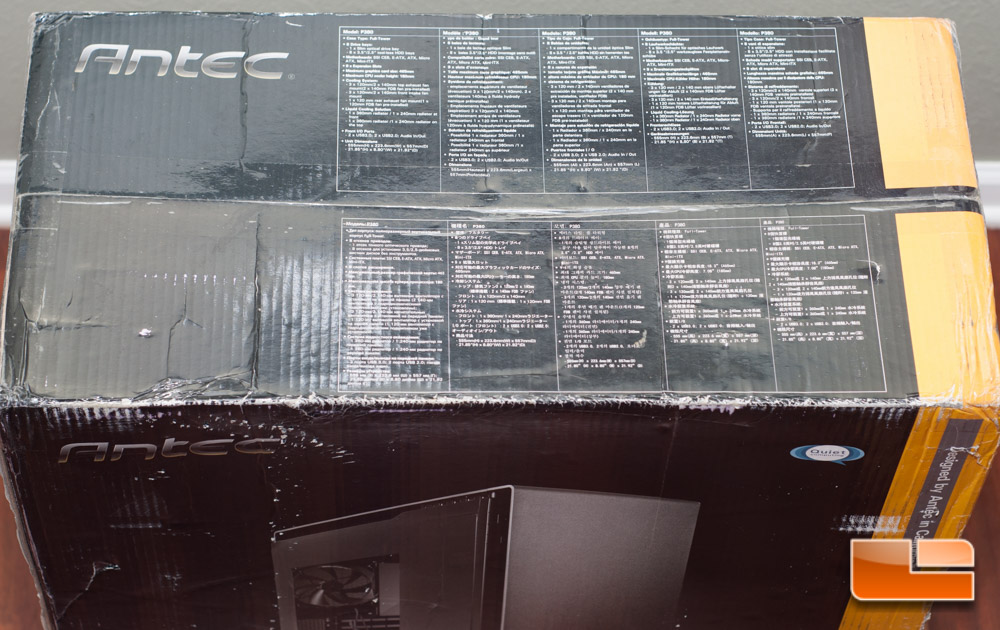
The P380s packaging is fairly basic but also plenty informative at the same time. The front of the package shows us a picture of a bare P380, while the rear shows us a bunch of key selling points. The sides of the box also show us pictures of the case from different angles. The top of the box provides us with all of the technical data.
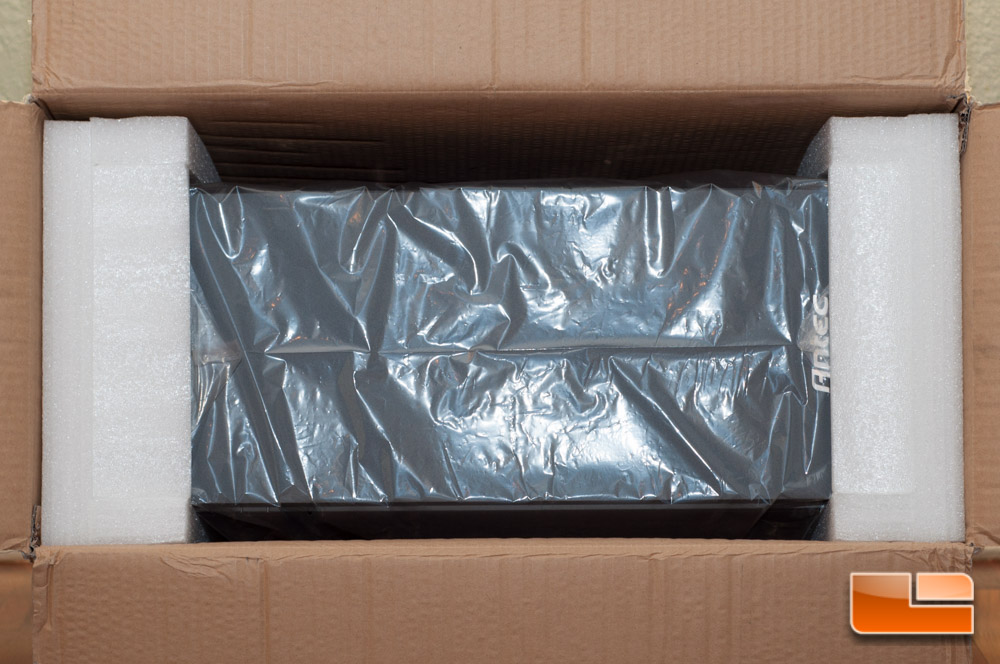
Opening up the box reveals the foam blocks and bag housing the P380 for transport. This has been a fairly proven method of getting you your product safely and Im happy to say this arrived undamaged.
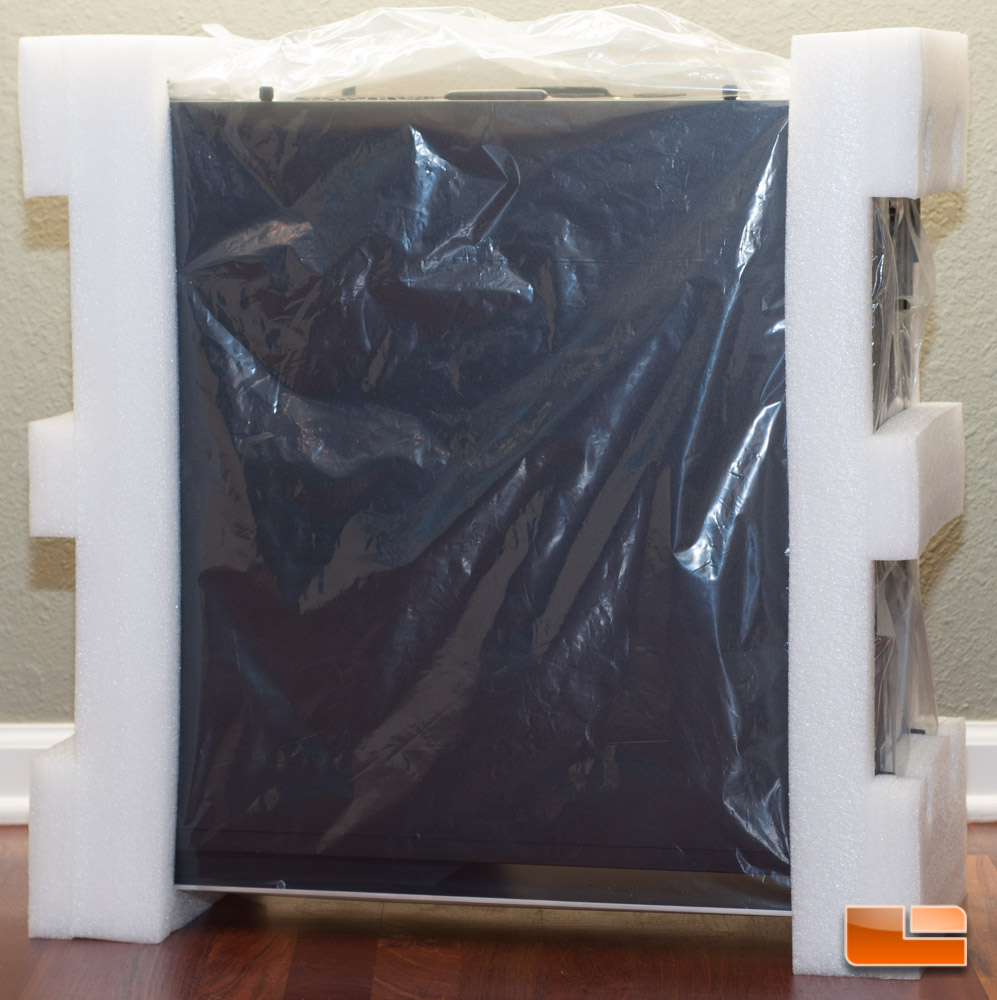
After pulling the packaging materials off, you will see that the acrylic side window is also protected inside and out.
Removing that plastic lets you see the beauty behind the P380.
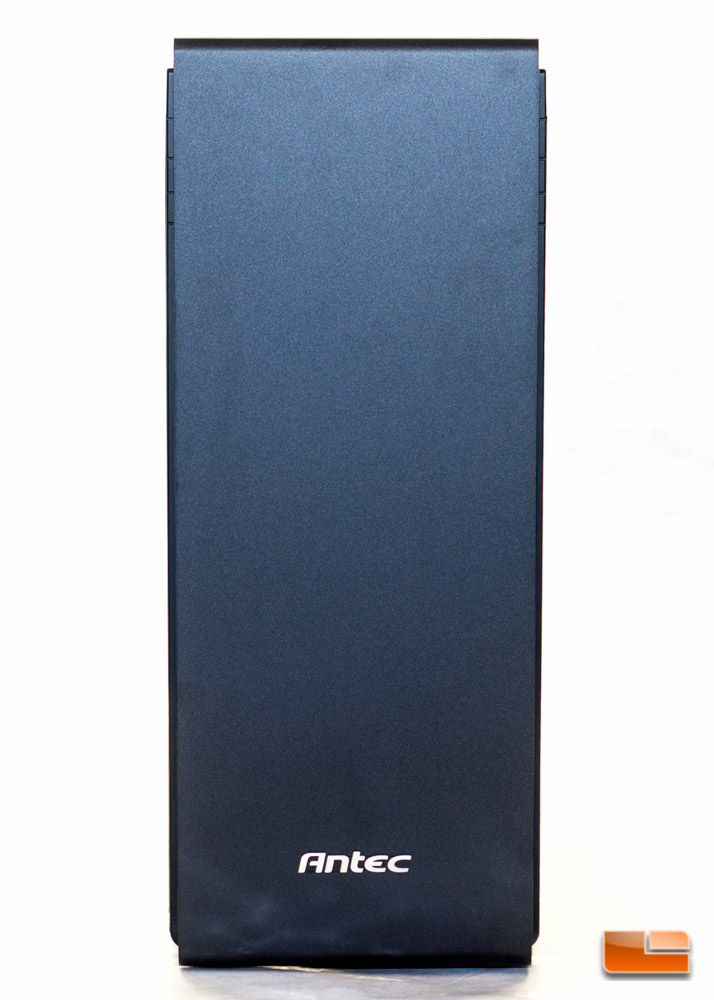
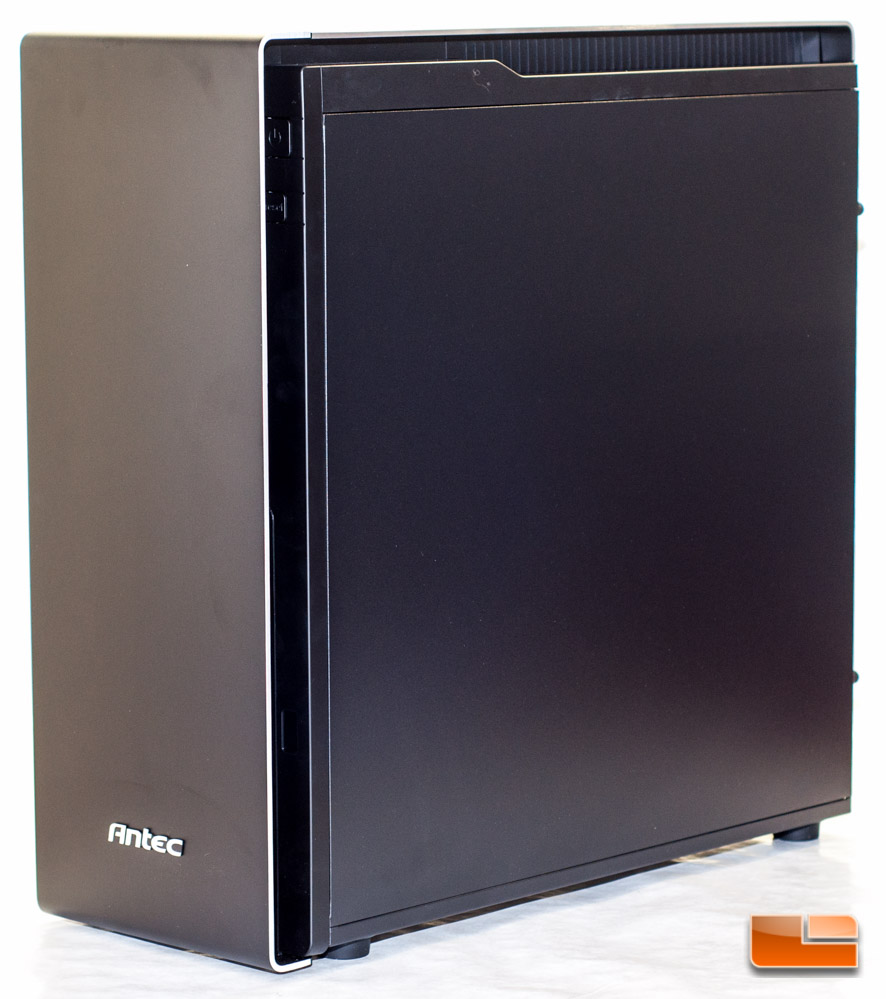
Starting with the front of the case, you will find nothing but a straight aluminum panel; there are no 5.25-inch bays to be seen here. Antec has removed them from this case as the industry slowly turns away from optical media, thus the bays are absent. Fear not, Antec actually did think that some people may need to use optical media, so they have included a bracket to allow a slim-line drive to be installed.
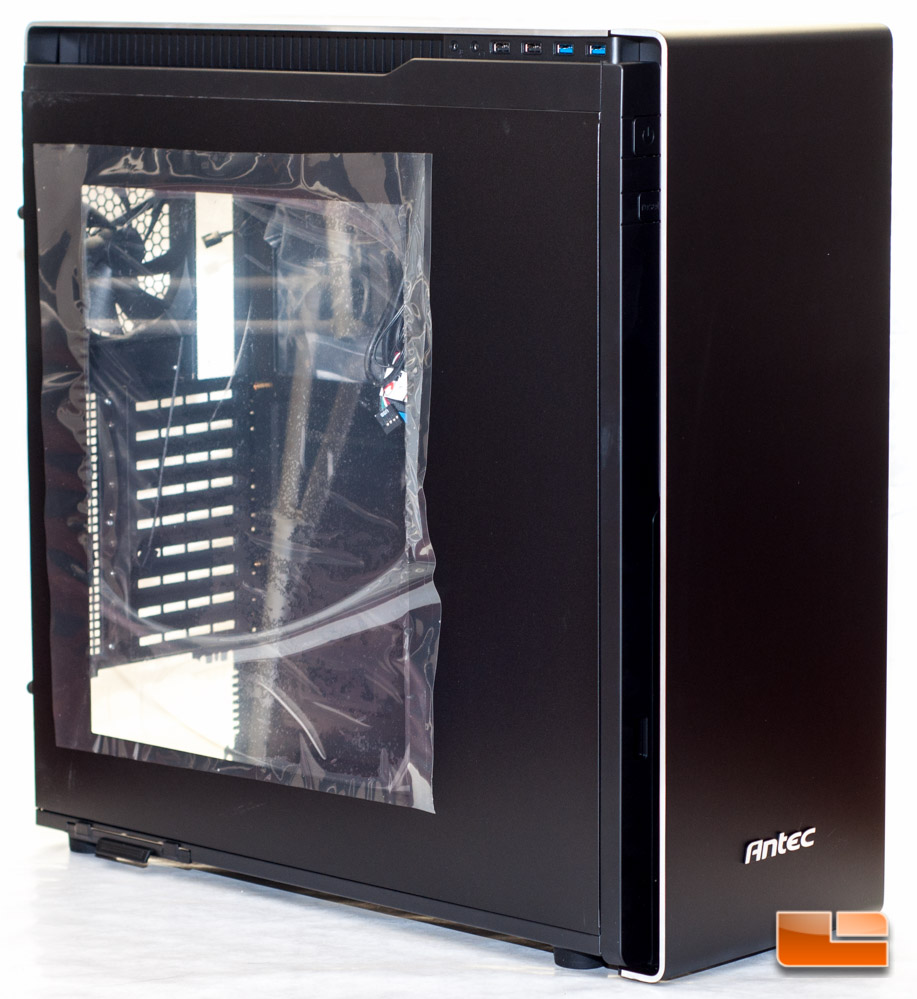
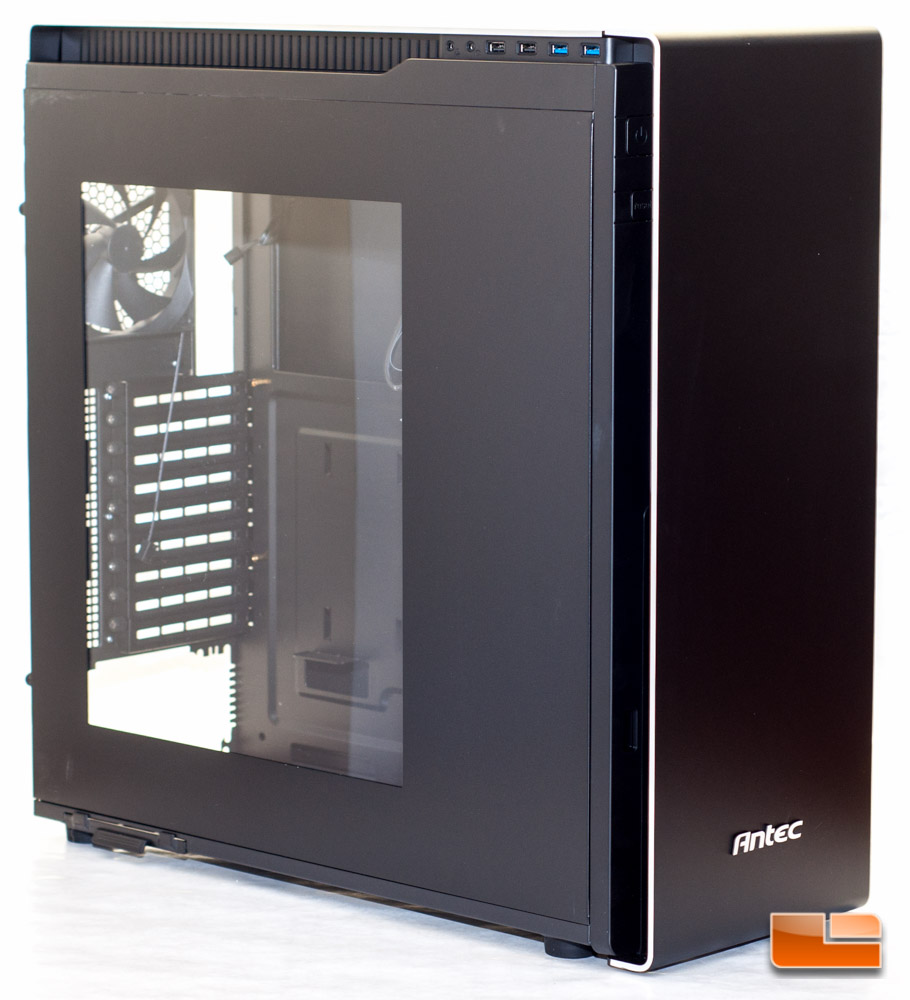
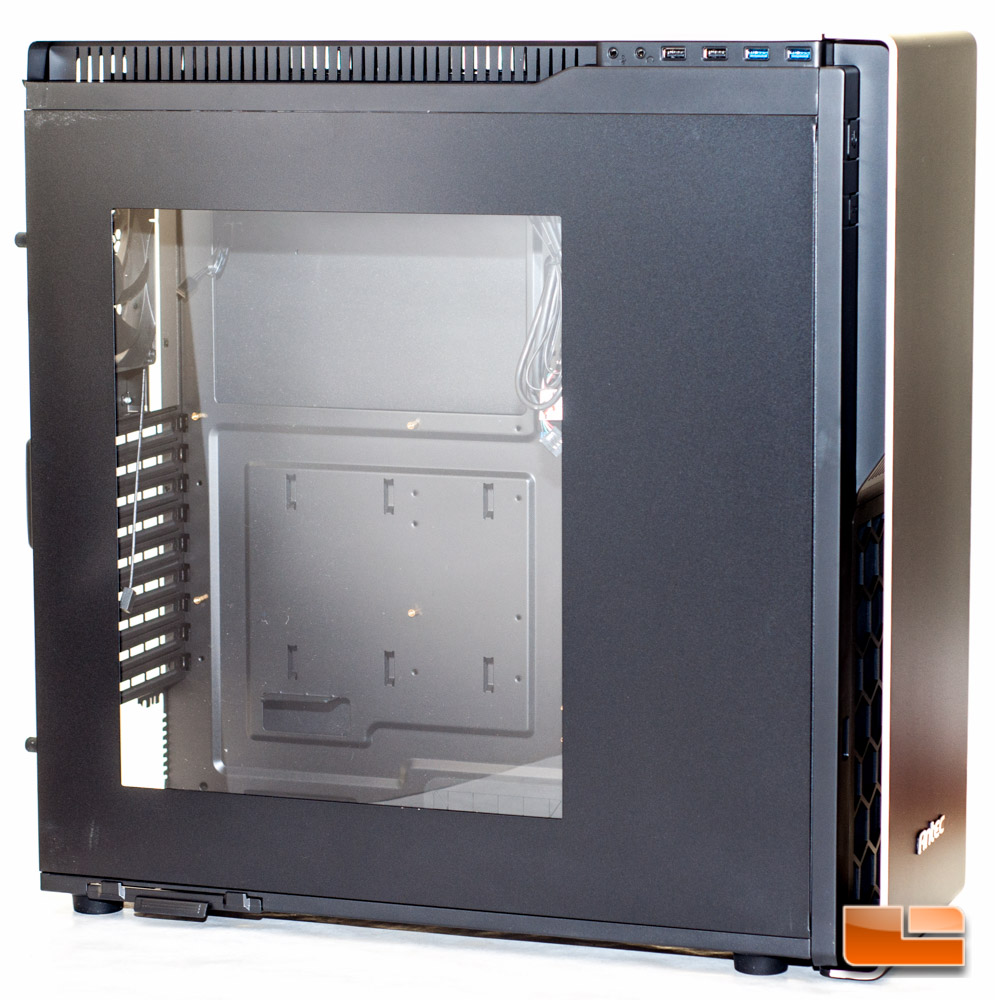
Looking at the left side we see the large acrylic window sticking out at you. Another feature that we can see on this side is the I/O panel on the top right. As previously mentioned, you can actually flip this around to its on the right hand side of the case instead. Looking at the bottom right hand side is where the slim-line ODD bracket will be installed. The only unfortunate part about doing the install, is removing the front is no easy feat. You have to remove several screws inside the case just to pull the front off. Most other cases out in the wild will just allow you to yank the front panel off, but not the P380.
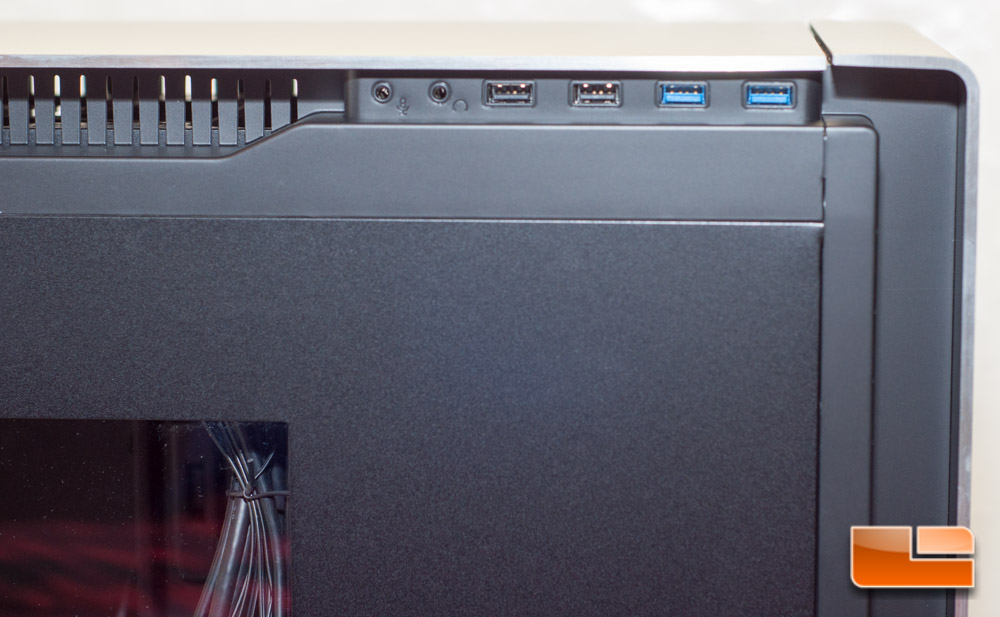
Heres a closer view of the I/O panel that includes (left to right) a mic in, headphones out, 2x USB 2.0, and 2x USB 3.0 ports.
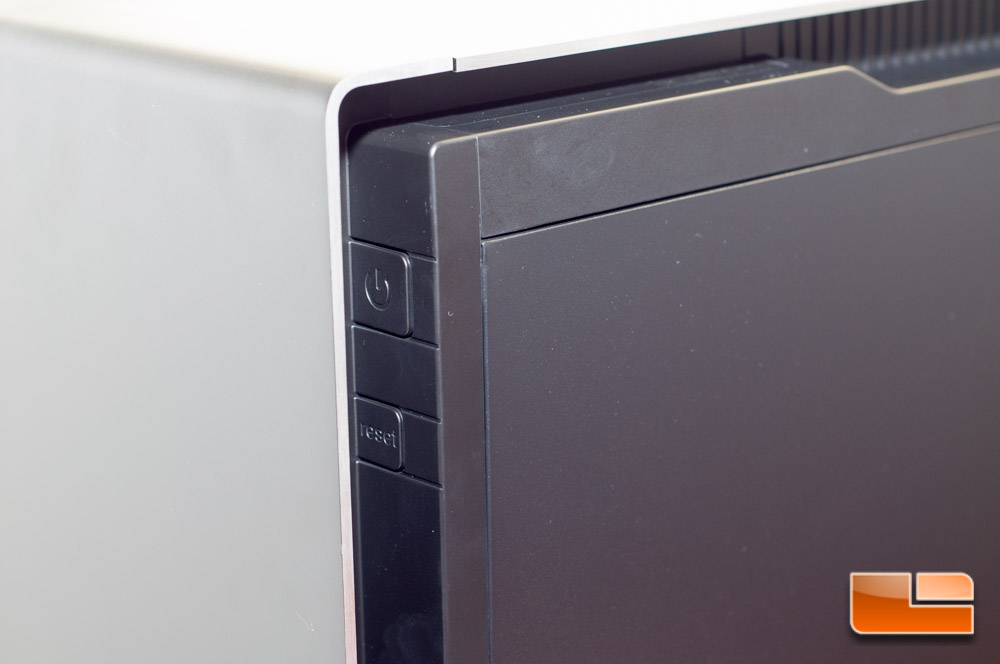
Tucked away, you will find the power and reset buttons hiding behind the front panel.
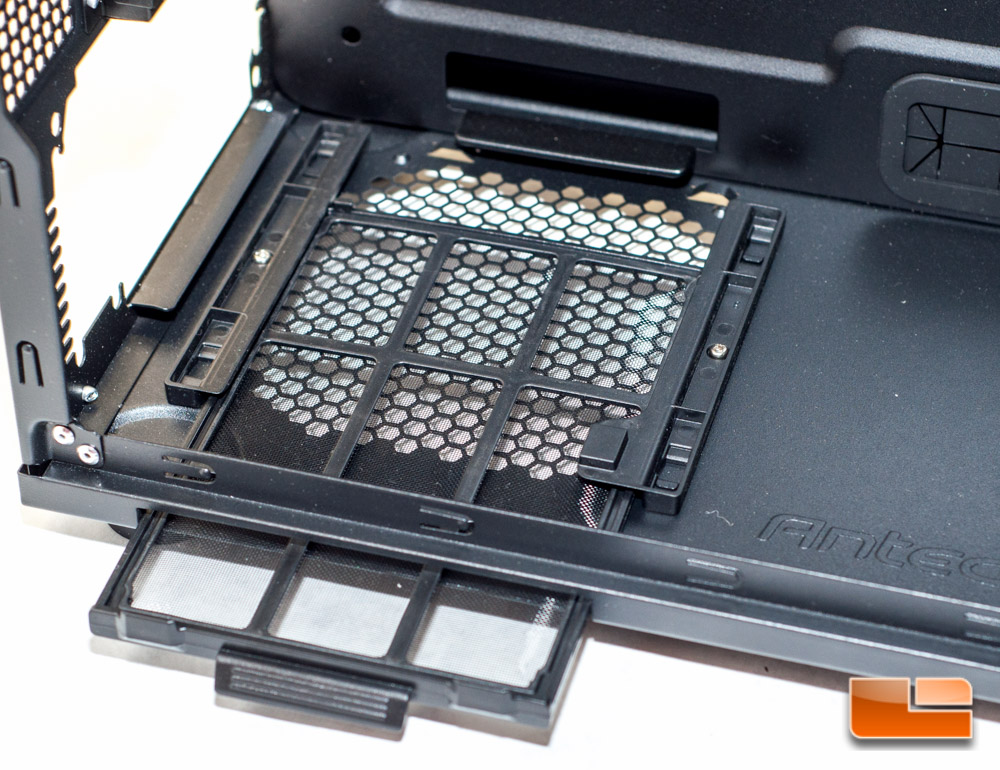
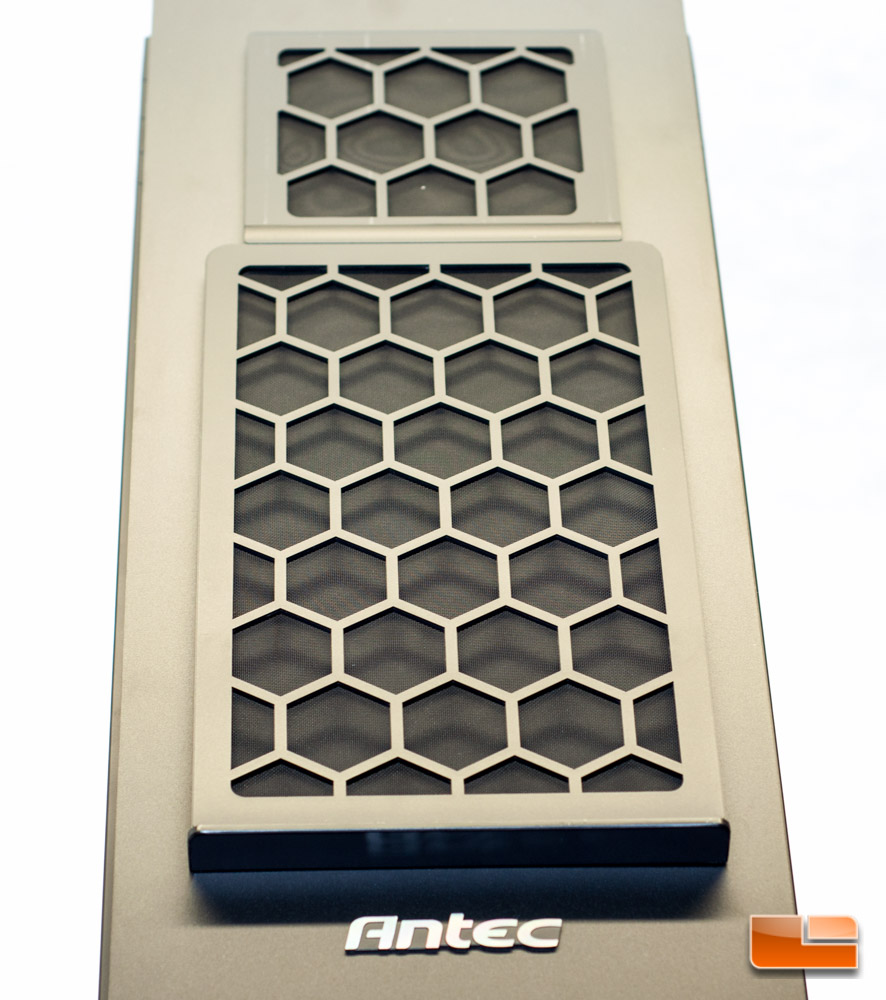
The next feature that we see on the left side is one of the fan filters. This was actually well thought out in that you can access it from the side, however for those who tend to put their cases in a desk, this still isnt a great solution for them.
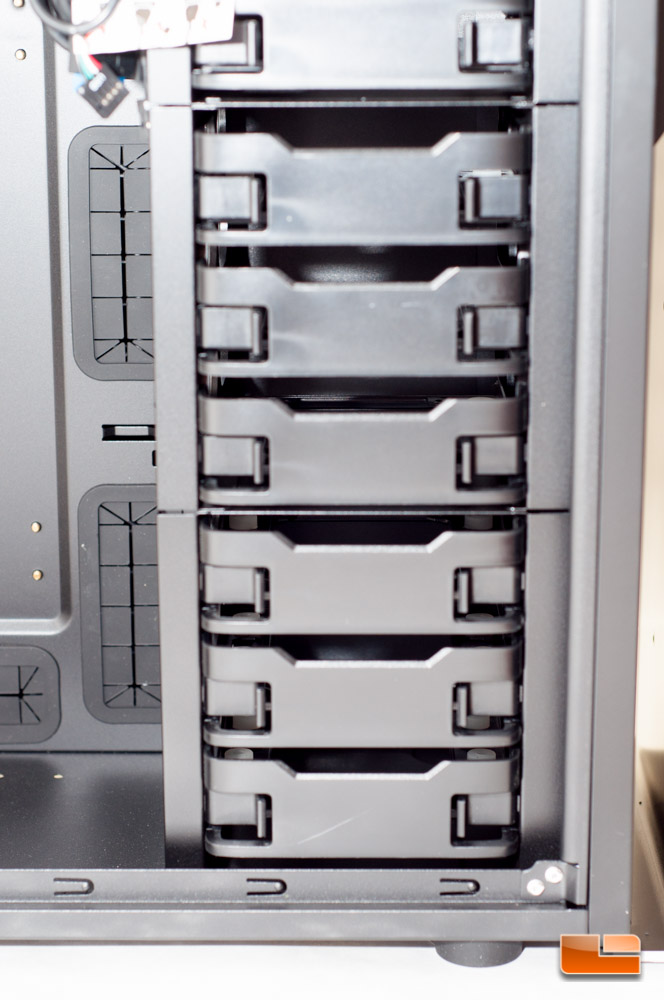
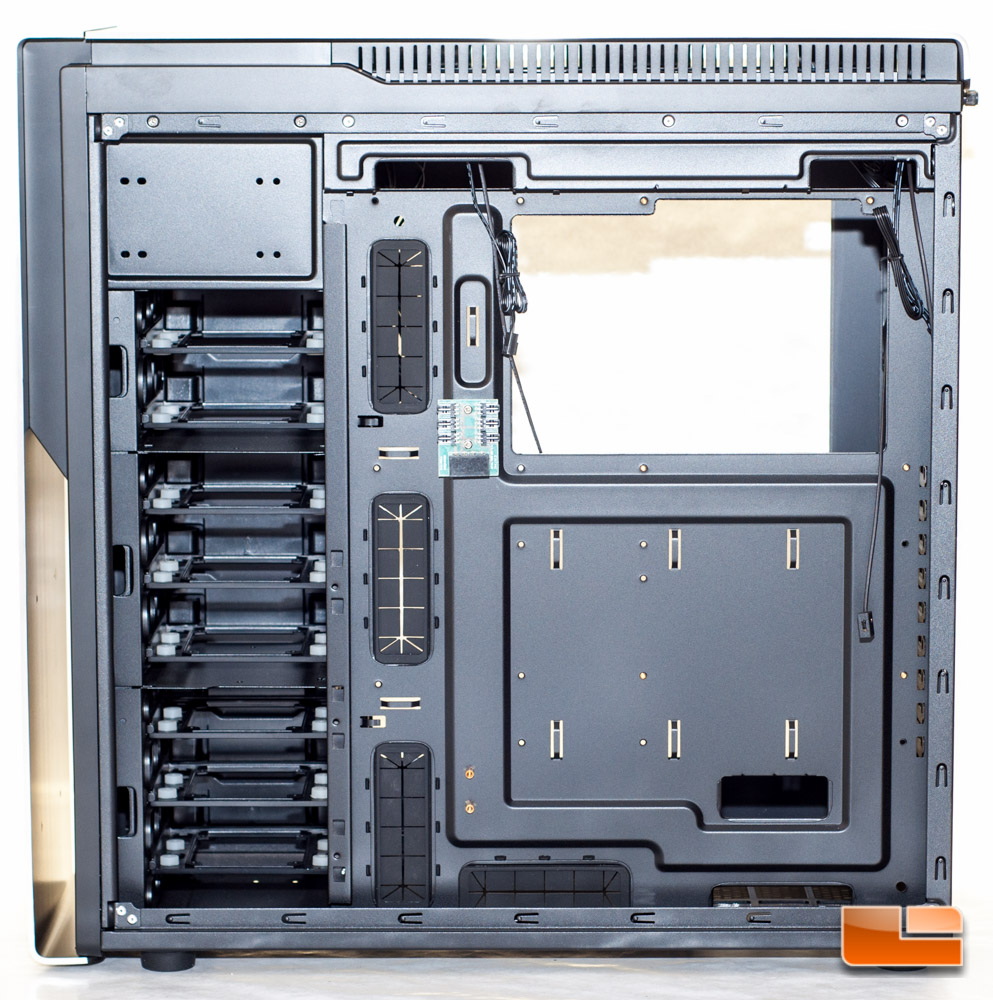
Taking the side panel off we can expose a whole lot more and see whats going on inside. There is an absolutely massive cutout on the motherboard tray, which I really like. You will find most standoffs preinstalled, large grommets for passing wires to the rear, and eight 3.5 / 2.5-inch drive bays.

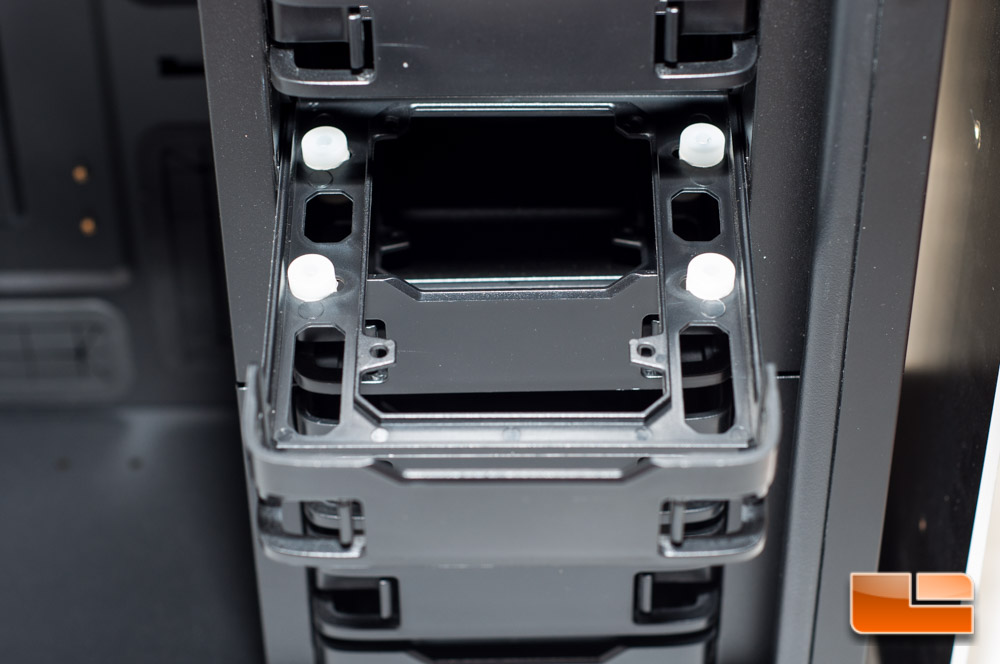
The drive caddy removes with a simple pinch and pull. Antec mentions that these are tool-free drive bays, perhaps in that they slide right out, but they will absolutely require screws for your drives. Their website states you Eight total 3.5/2.5 tool-less HDD bays lets you install new drives with ease, just pop them in tray and slide them back to the drive bays., however the instruction manual clearly tells you to use screws; there would be nothing holding the drives except friction, otherwise.
Looking to remove a few drives so you can install front-mount water cooling? Antec has you covered, as the drive cage is split into three pieces and removable. Unfortunately to remove these drive cages is nothing but a nightmare, as there are far too many screws and too much messing around to get these things out. See the instruction manual on Page 15 with how ridiculous it is to remove one cage.
Antec left the shell for the 5.25-inch bay in place, but this small area will end up being utilized for a 360mm radiator; thats about all that its there for.
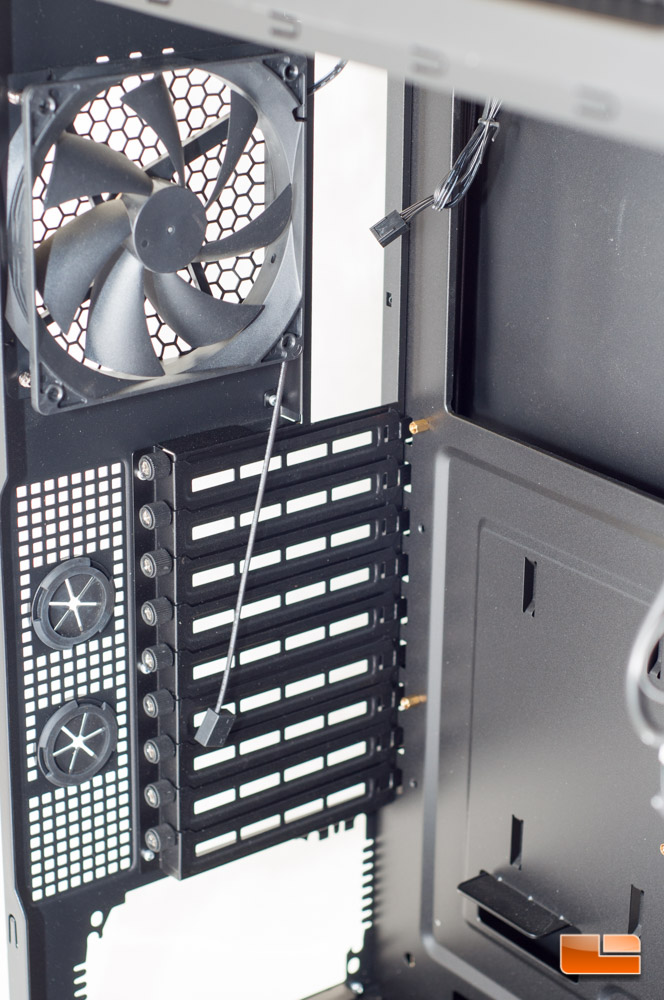
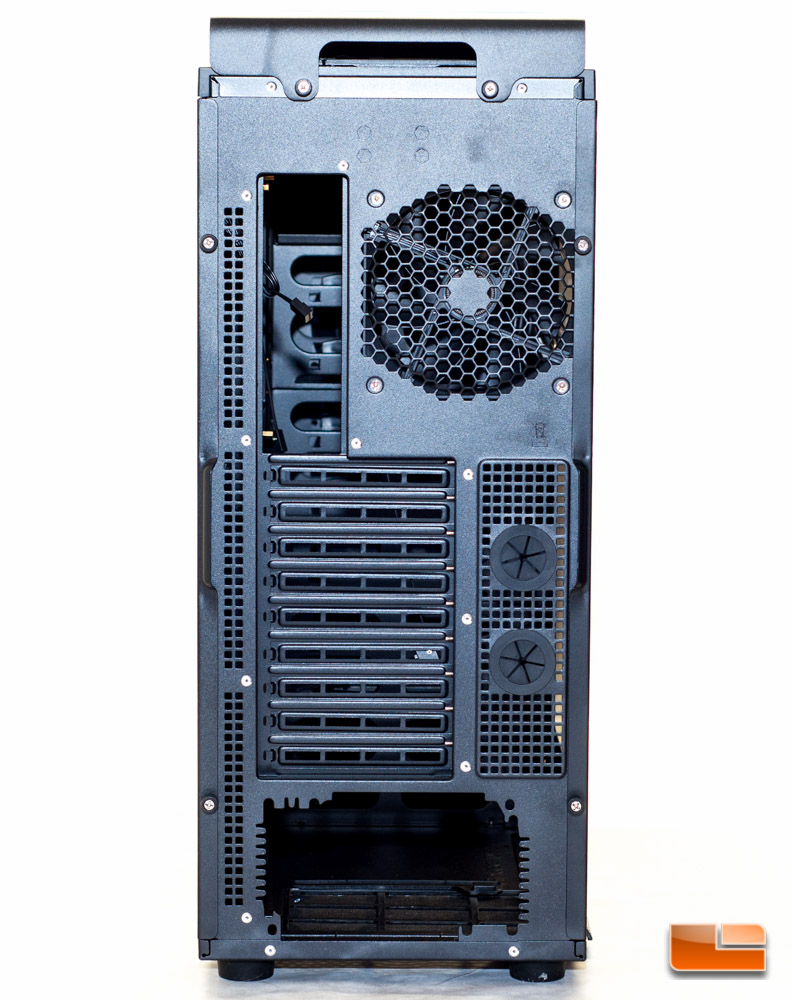
The rear of the case has nine expansion slots lined with thumb screws. There are two pass-thru holes with grommets and a pre-installed 120mm exhaust fan. I could not find the specifications on this fan, other than it is an FDB fan (fluid dynamic bearing).
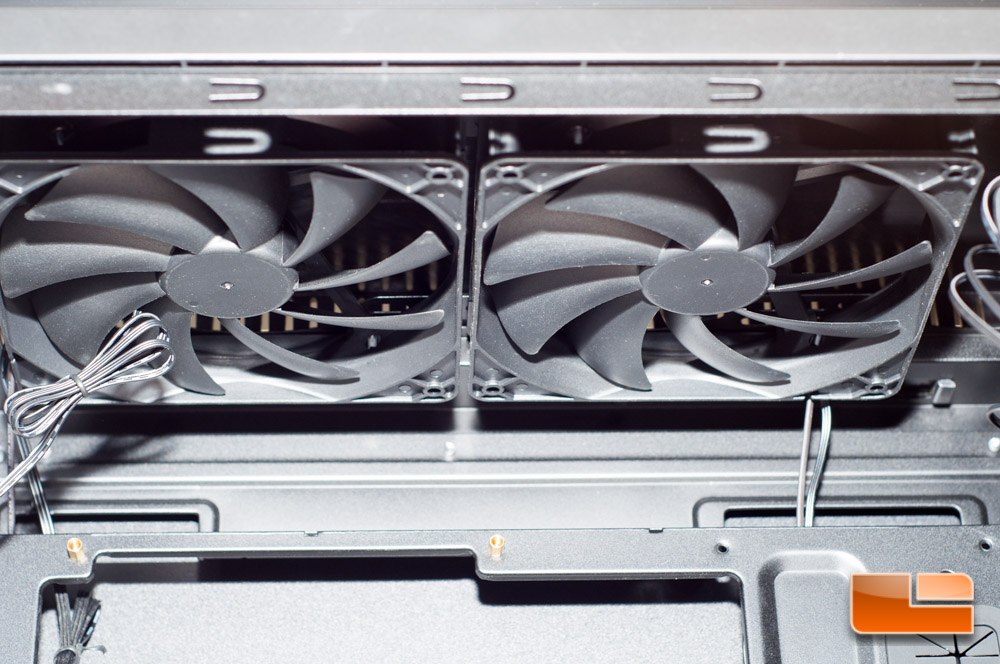
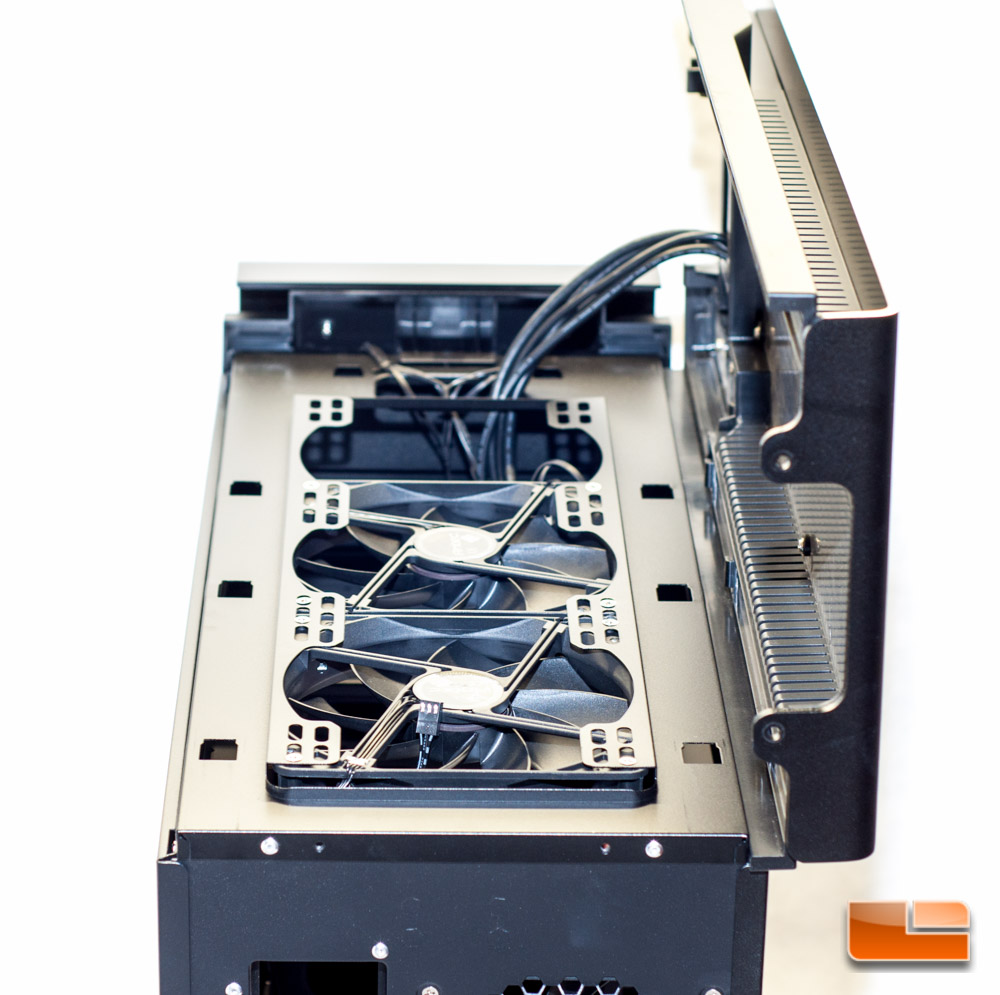
The top has two 140mm FDB fans pre-installed, which again I could not find specifications for. You will be able to swap these fans out for up to a 360mm radiator or three 120mm fans if you choose.
Moving to the rear of the case you can again see how everything is laid out. You can remove the top panel by removing the two thumb screws at the very top, then pulling it towards you at the rear, then lifting up.
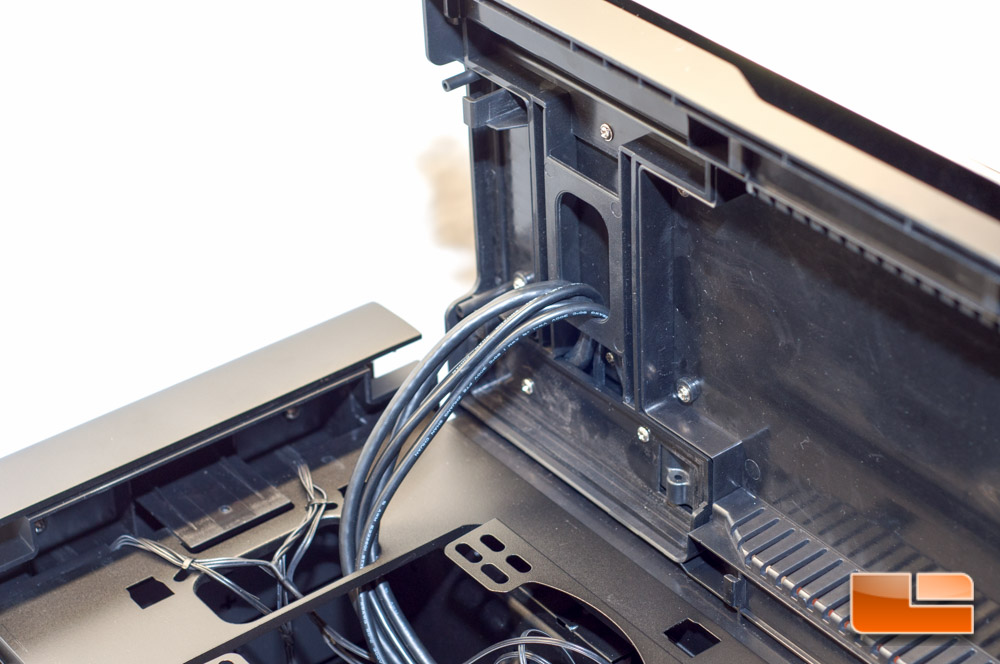
With the top panel removed, we expose the top mounted fans and see that the I/O panels wires basically disallow you from quickly and fully removing the top.
To flip the I/O panel around so its on the other side, you will just have to remove a few screws and turn it.
The right hand side is just very clean looking and thats about it.
Also hidden on the top right is another pair of power and reset buttons for those who dont want to reach to the other side of the case.
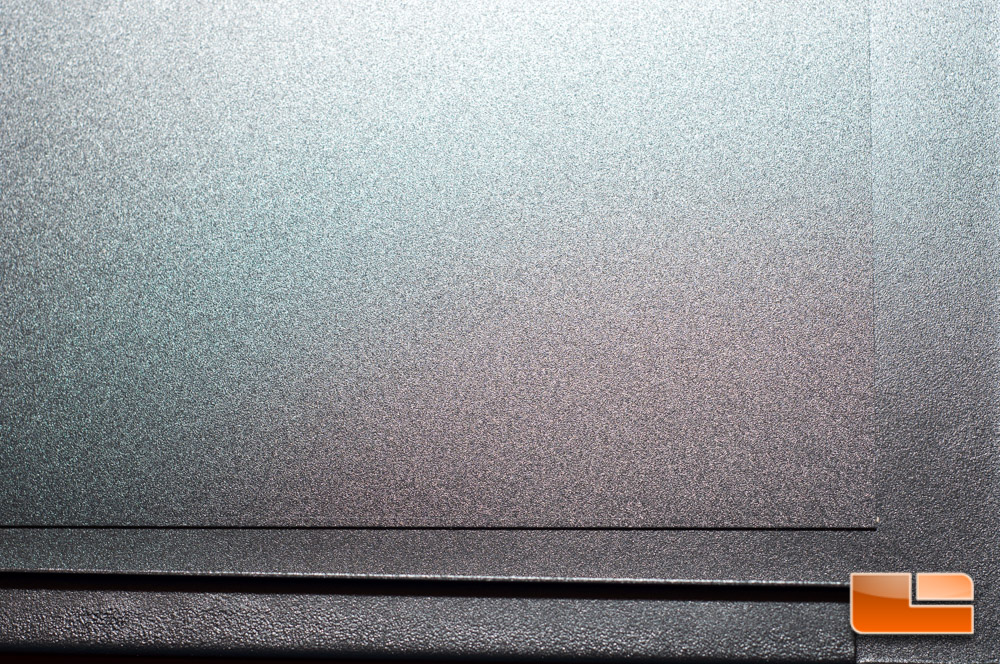
Pulling the door off, I cant forget to mention the sound dampening material attached to the doors. This is a very nice touch and gives the panels a much more rigid feel as an added bonus.
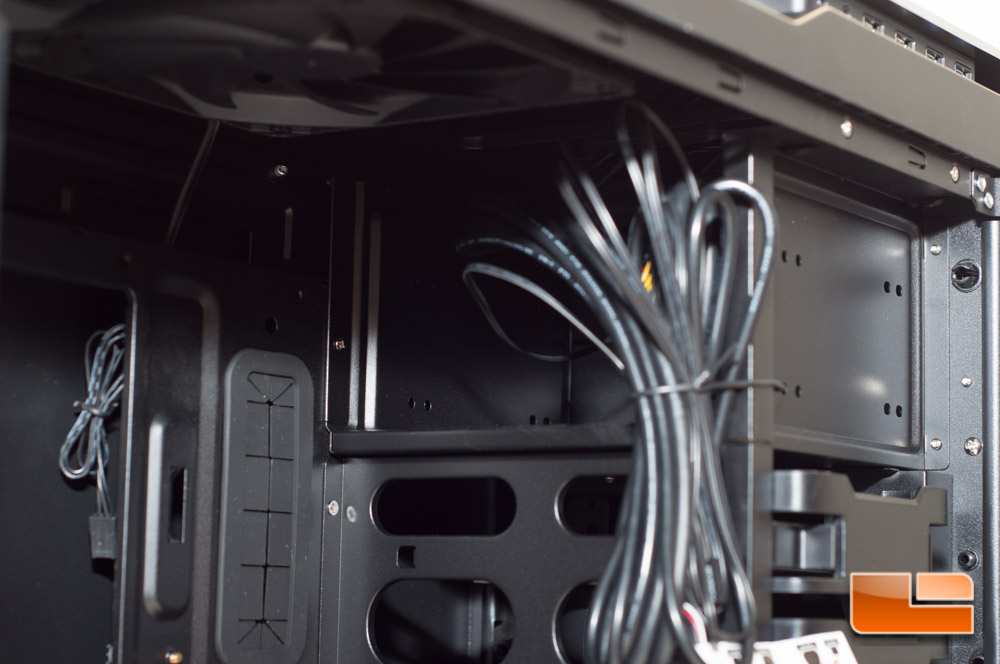
From the rear you will find plenty of cable tie-off points, but I also need to point out another interesting item…
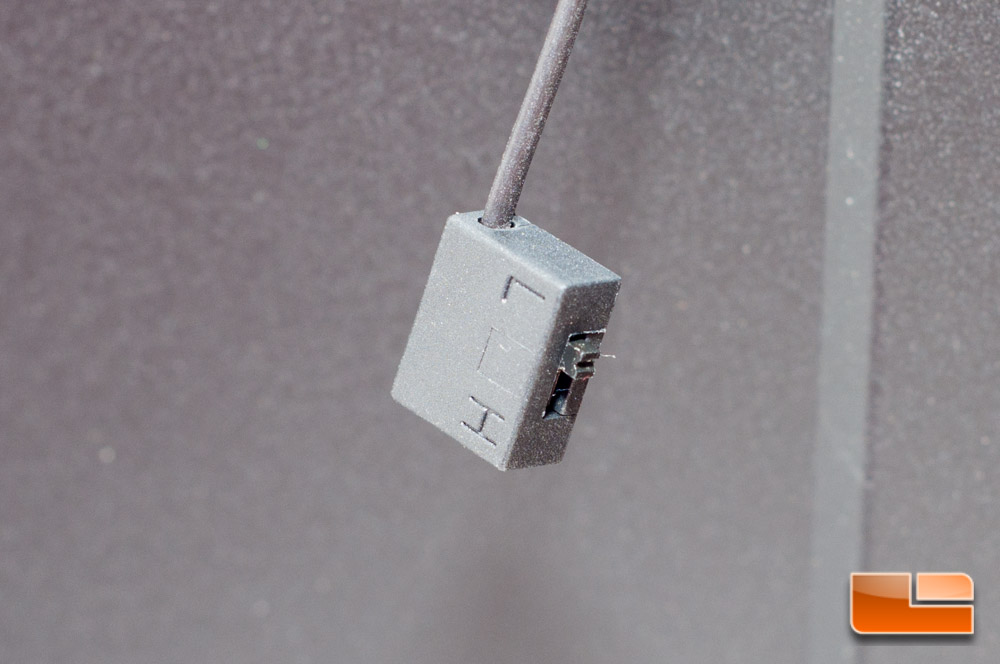
… All three fans include a built-in speed controller for Low and High settings. While I find this intriguing, its also kind of annoying to have to flip a switch for each fan when you want to adjust speeds.
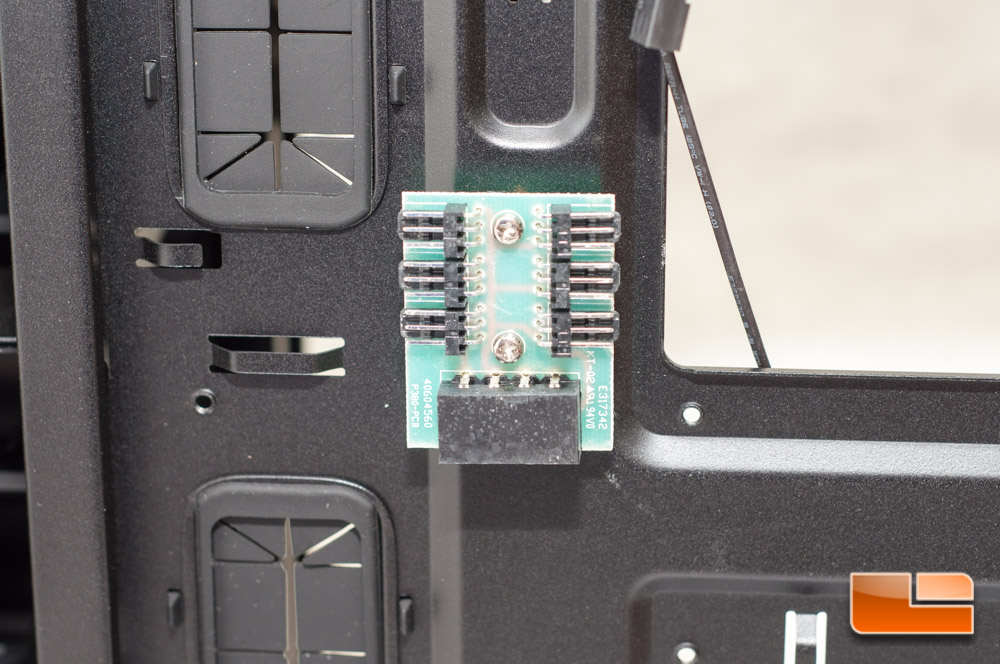
Regardless, there is a built-in fan hub for up to six fans, powered by a single 4-pin Molex power connector.
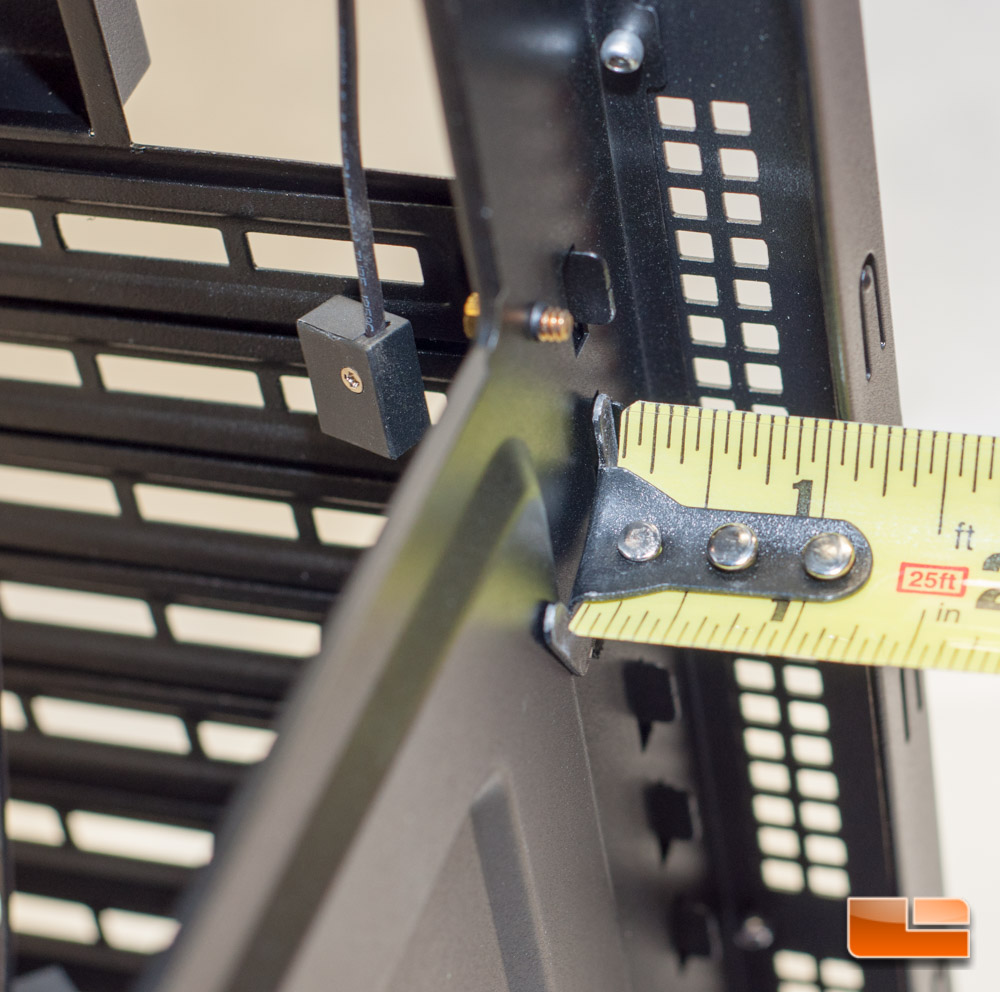
The rear of the case has approximately one inch of room to work with, and you will have very little trouble stuffing your wires back here.
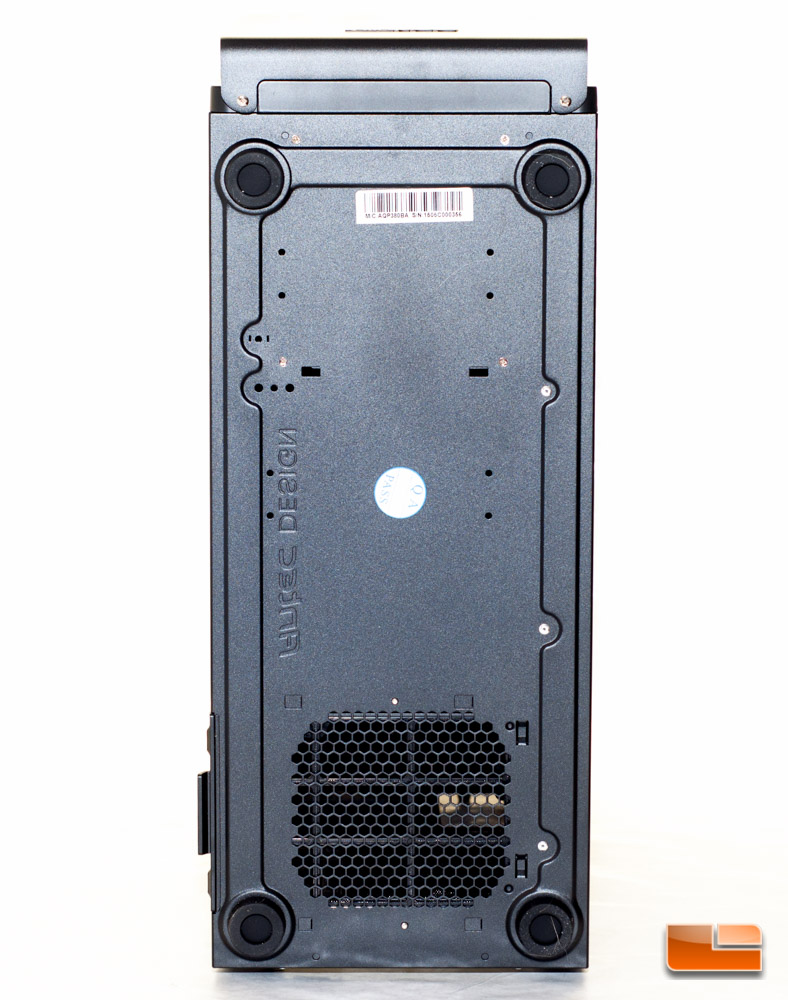
Lastly, the Bottom we find four rubber feet to elevate it off the ground.
Also accessible from the bottom is the front panel filter. You will pull this filter down, which is very bizarre. In order to do this, you will have to rock your case backwards. This is a giant engineering mistake on Antecs part, thats for sure.
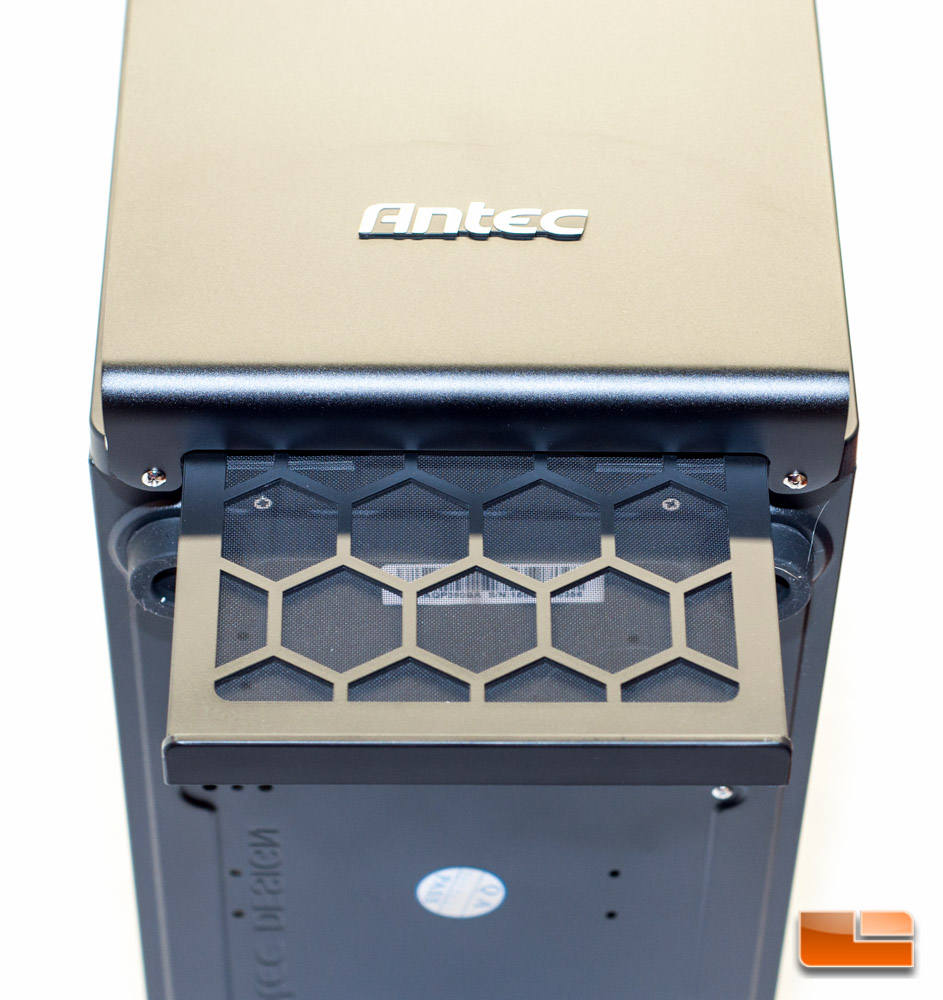
Once you see the sheer size of this filter, you begin to understand why I say its a very annoying feature.
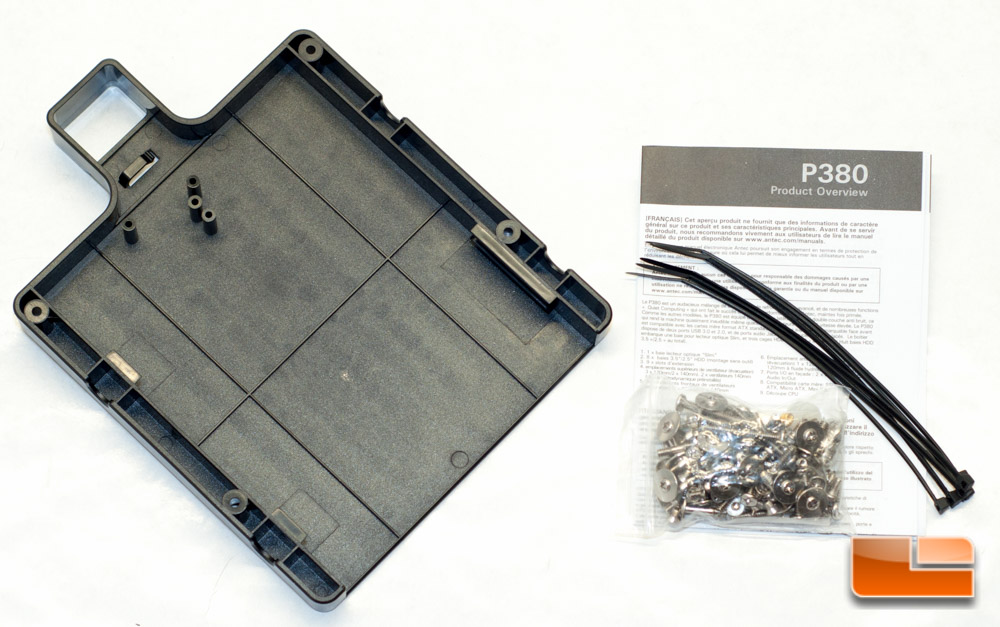
The included accessories are a product overview guide, zip ties, all of the screws you need to get your machine up and running, and a slim-line ODD bracket. The instruction manual can be found on Antec’s website.
This wraps up the product tour, so lets take a look and see how easy it is to install hardware inside the P380.