Thermaltake Water2.0 Pro CPU Cooler Review
Installing the Water2.0 Pro
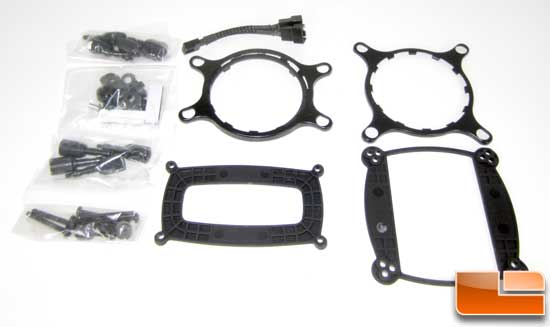
Included with the cooling unit is all the accessories needed to mount up to all the current Intel LGA sockets as well as AMD AM2, AM3, and FM1 sockets. Along with screws for mounting the radiator, and a Y power cable adapter for powering the fans from one motherboard header.
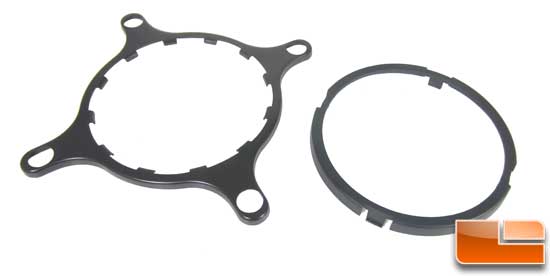
Unlike the Asetek made Intel water cooler the Water2.0 Pro come with a locking ring for the top half of the mounting system. This ring holds the upper mounting ring to the pump housing. Making the install much easier than in the past. First time I seen Asetek use this was with the AMD branded unit.
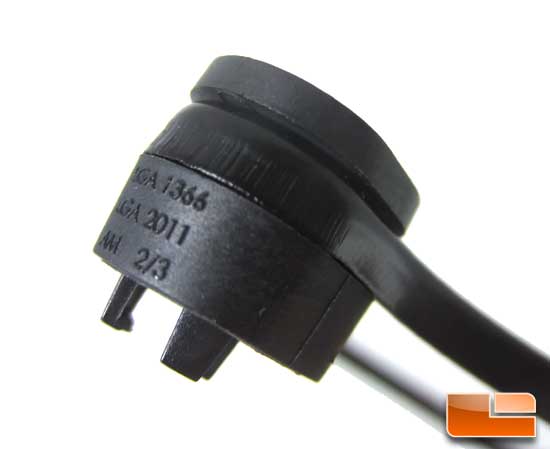
To prepare the upper half of the mounting system you have to install the hold down screw retainers. They are labeled for which end of the retainer should face out to fit a particular socket.
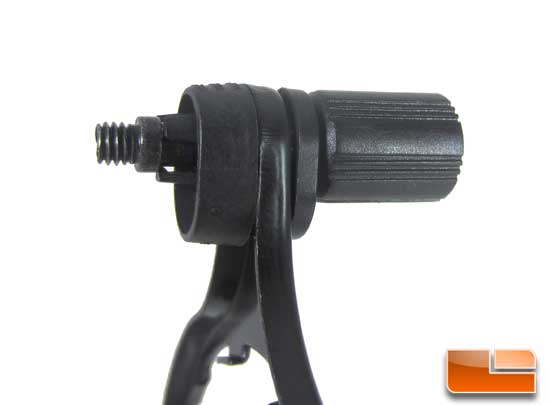
Once those are in then you can install the hold down screws. There are two sets, one for LGA2011 and one for all the rest. If for some reason you get one of the retainers in the wrong orientation or the wrong hold down screw installed this can be taken apart. Just take care in the process not to break one of the plastic tabs on the retainers, there are no extras.
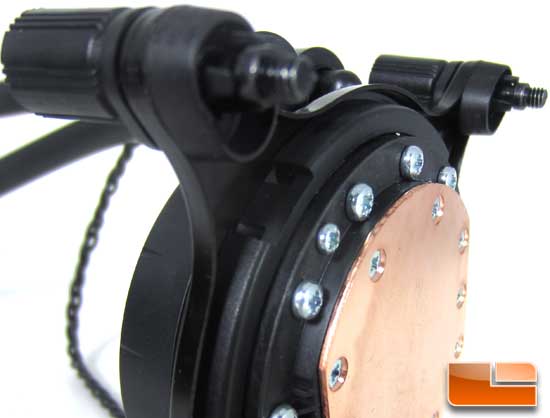
With the upper ring assembled for your socket you then assemble that to the pump housing. It is held in place with the retaining ring. Again if you are a little off with the alignment this can be taken back apart and adjusted.
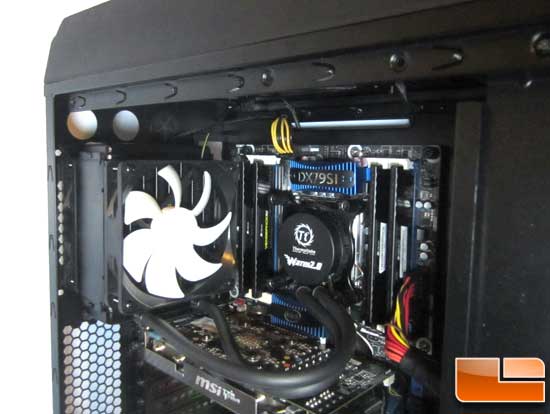
With all the prep work done, all that is left is to put it in the system. I find it easiest to mount the radiator first, then the pump/water block unit. Now let’s get to the testing!

Comments are closed.