Thermaltake Water 2.0 Performer CPU Water Cooler Review
Installing the Water 2.0 Performer
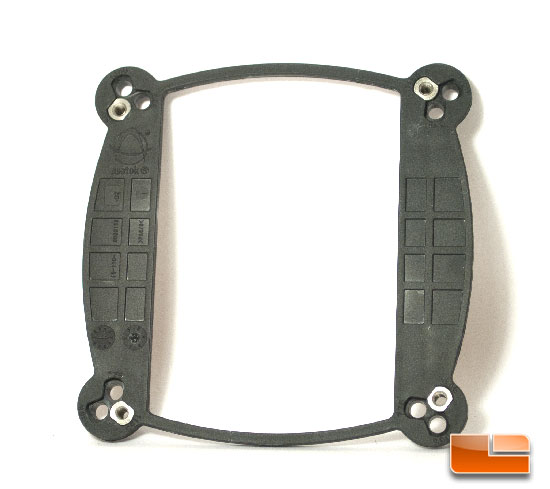
The first step when it comes to mounting the Water 2.0
Performer is to get the appropriate backplate. Since Im using an Intel LGA
1155 setup, Ill be using the LGA 775/1366/1156 backplate since LGA 1155 and
LGA 1156 share the same mounting systems.
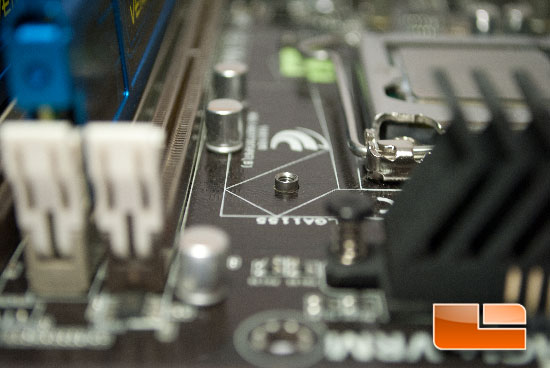
The backplate comes with double sided foam tape so that you
can stick the backplate on and then reinstall your motherboard to simplify the
installation process.
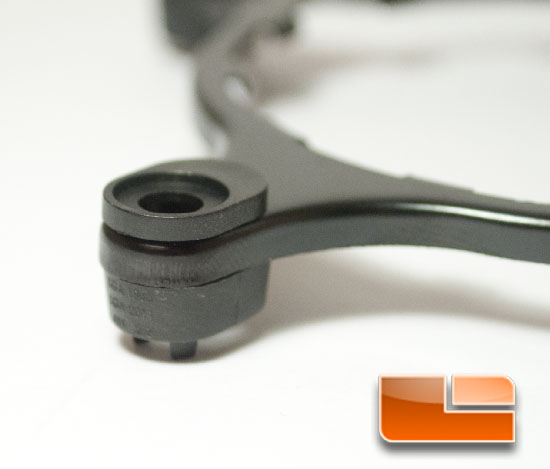
The second step is to take the Intel mounting ring and snap
the screw guides on so that youre only able to insert the screws one way.
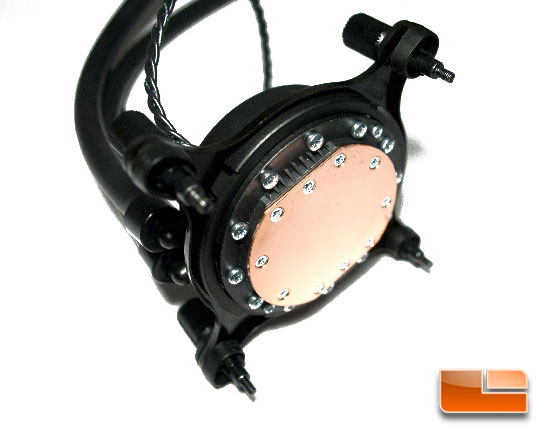
Next we will take the Intel mounting ring and place it over
the pump, then snap the pump retention ring around the pump so that the pump
cant move around once we get it installed.
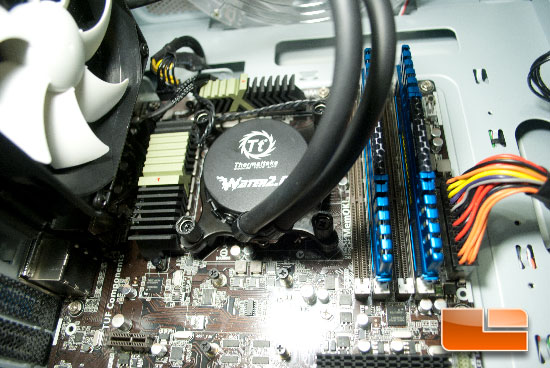
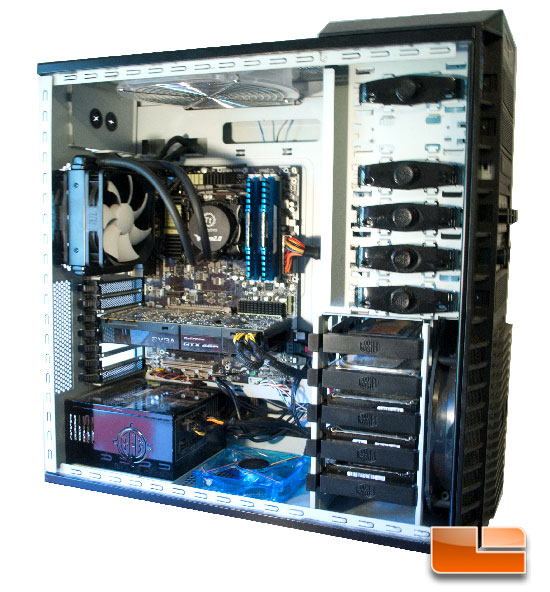
The last step for installing the pump/water block combo is
to take your screws and screw the pump down onto the CPU. From here its as simple
as screwing on the fans!

Comments are closed.