Thermaltake eSports Challenger Gaming Keyboard Review
Unboxing the Keyboard

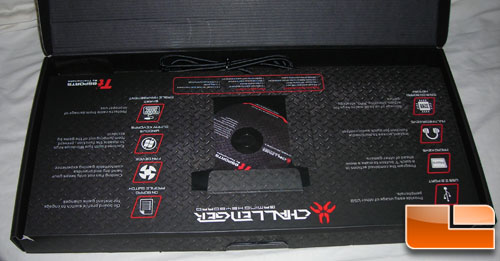
Opening the box I almost thought I was confronted with a Razer product by the way the packaging was setup. A driver CD & documentation locked in place with cardboard flaps is definitely a good way of doing it in my opinion. A little known fact about this, is that it’s more environmentally friendly than the plastic bags.
On the other hand, if you notice, the lid of the keyboard is at the top of this photo. So when you open up the box to see the keyboard; everything is upside-down and backwards. That’s an oversight on Thermaltake’s part that I can’t imagine how it made it to production like that. It’s not an issue though, as you really only read this stuff while installing the driver.

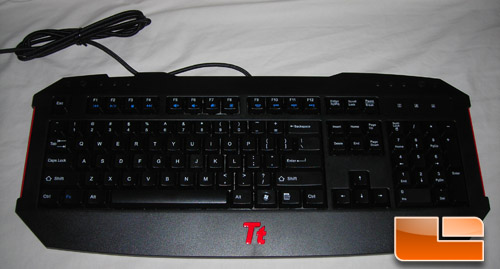
Fresh out of the box, we’ve go the the Thermaltake Challenger in hand. It’s a rather standard looking US-ANSI layout with extra Media Keys and Profile Swap keys.
Other than that, nothing is really changed besides the addition of an FN key on the bottom left hand side where a Windows key would be. The windows key is still present on the right hand side though; but this keyboard does give you the option of locking out the Windows key or putting a dummy key in place, so no one should have a problem with popping out of game at random.

Here’s the accessories package of the Challenger in full. A product manual, eSPORTS product guided, keycap puller, windows replacement keycaps, replacement fan dock covers, 30mm DC fan, & velcro bag to hold the odds & ends.
This bundle is rather complete compared to just about any keyboard. Though, considering less expensive keyboards offer keycaps for the WASD section, I’d like to see those included with this board as well.

Comments are closed.