The Vapochill Micro Review
Installing the Vapochill Micro
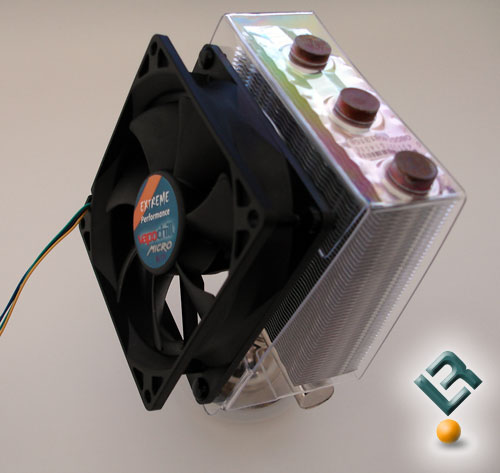
Assembly and installation of the Vapochill Micro is about as easy as they come.
Starting with assembling the cooler itself, I mounted the Extreme fan on the shroud using the included push pins. It took a few minutes to get every put together correctly. the flimsy fan shroud was a bit of a pain to work with, but after sticking my hand between the cooler and shroud itself to give the shroud support, the pins pushed right in and secured the fan nicely to the cooler.
Next came the wiring. The 3 pin connector on the fan itself is connected to another 3 pin adapter which is wired into the fan cotroller (to control the fan speed) and the motherboard (for monitoring fan speed).
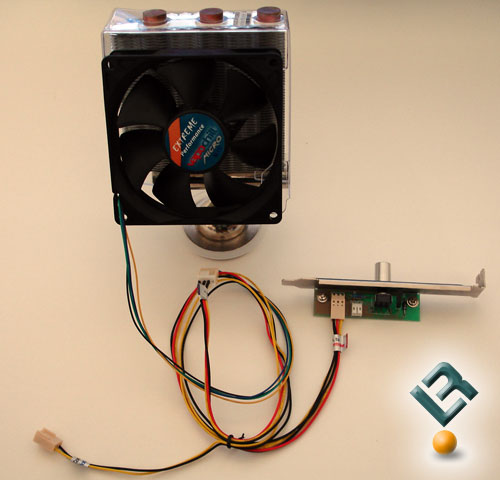
A seperate 2 pin connector on the fan controller, which itself is connected to a 4 pin molex provides the fan with its power. The wiring included with the Micro is flexible and small enough to simply zip tie and stow out of the way.
One major draw of the Micro is the ability to install the cooler without having to remove your motherboard from the case. Most aftermarket cooling solutions require the removal of the motherboard to allow for their own mounting hardware, but the Micro only requires you to remove the top heatsink bracket to allow the Micro’s mounting hardware to be installed using the boards included screws.
Note: Some DFI board owners have had issues with the cooler not sitting flush while using the top retention bracket. Asetek has released a statement on this, recommending that users who experience this problem simply remove the motherboaeds top retention bracket. I suggest doing this with the utmost care, as too much pressure can result in a ruined CPU. My best advice is to monitor your temperatures immediately after load to see if your board has this issue. I did not experience this issue on my system, but those who have report temperatures between 10-12C higher than normal for this cooler.
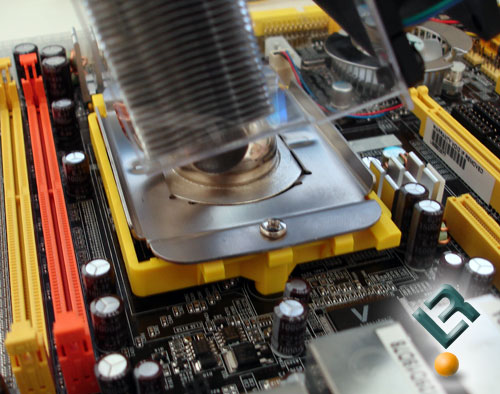
Here you can see a better example of the cooler’s mounting on my DFI NF4 SLI-DR motherboard. The cooler itself sits flush on the CPU, while its mounting bracket fits over the top of the CPU retention bracket, yet under the bracket’s mounting screws. The installation itslef is incredibly straight forward and took under a minute to complete.

As far as compatibility, I had no issues at all mounting the Micro in my system. The cooler itself is very slender at the base, and the design left my board extremely clean and uncluttered, which should help with the overall cooling of the system.
A couple fo points I want to make are that the cooler is canted at such an angle that it provides additional cooling to the surrounding components on the board, such as the memory and mosfets, two areas of the DFI NF4 SLI-DR board that tend to get pretty warm.

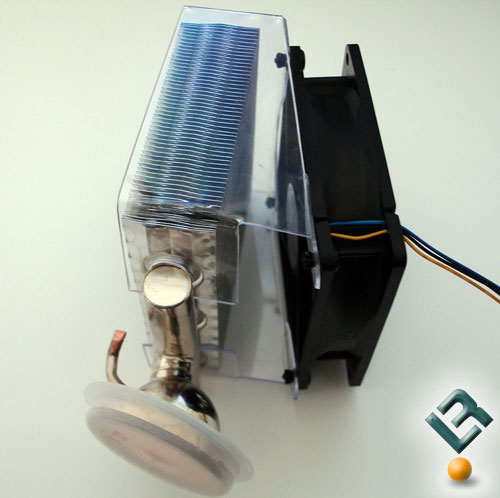
The second issue is that while the Micro can be rotated to face the fan any direction you choose, in a vertically mounted setup (all tower cases) you need to have the top of the heatpipes facing up. This is because the Micro’s cooling technology is based on gravity. The vapor within the heat pipes evaporates, rising to the top of the pipes, before condensing and falling to the bottom again……so common sense should tell you, that if the heat pipes are not facing upward, the cooler is not going to work to its full ability.
Comments are closed.