The Gigabyte P35-DS3R Motherboard Review
Bundle And BIOS

The bundle that comes with the Gigabyte P35-DS3R is not one with an abundance of extras, but it does include most everyting a typical user would need for setup of the board. You have your media, which includes your user’s manual, a quick start guide, and a driver and applications CD. You also have four SATA cables, and IDE and floppy cable, as well as SATA power adaptors. There is also a USB/Firewire header, a backplate and the all-important Gigabyte sticker!
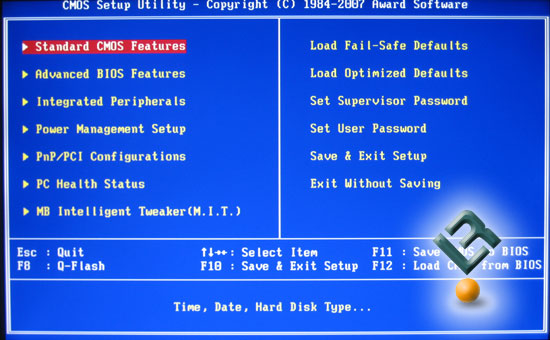
Gigabyte went with the ever-popular AWARD bios for this P35 board. It should be noted that Gigabyte still requires users to press a combination of keys (control-f1) on the keyboard to allow the memory settings to be accessed. I am not sure why they still do this, but it is only a small annoyance. We will not go into great detail on every page, but we will highlight the interesting points on a pae as they warrant it.
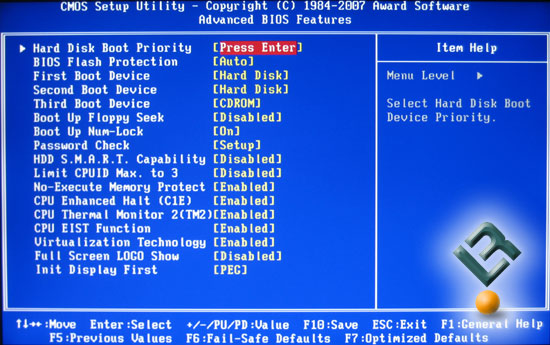
Advanced BIOS page is where you will set the boot order and a few other things that tell the board what to do when you first start it up, like full-screen logo display.
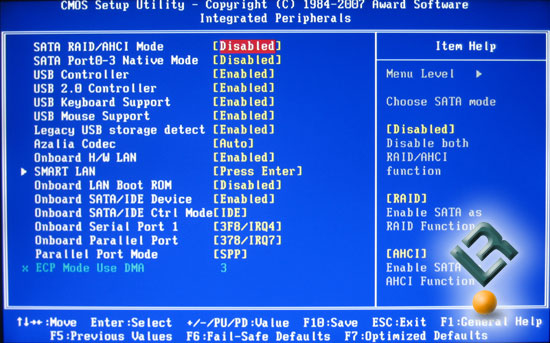
The integrated peripherals page is where you will set your drive configurations.
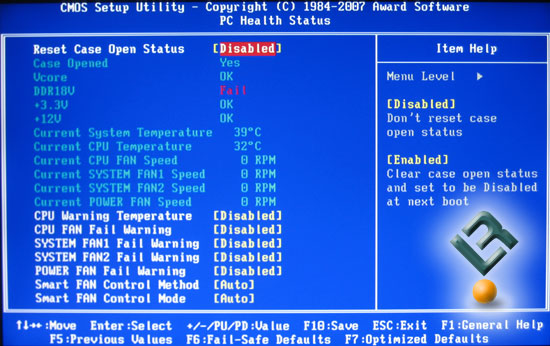
The PC Health page for the P35-DS3R is rather weak in its information. It would be ice to have a littel more detail, such as vdimm, vcore and others.
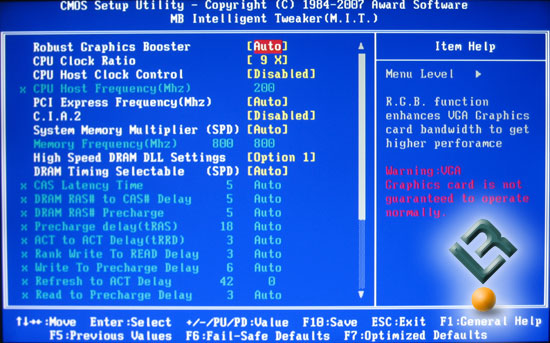
The M.I.T page is where the bulk of time will be spent tweaking out the board for maximum performance. You will find everything from fsb settings to voltages here, so pay close attention!
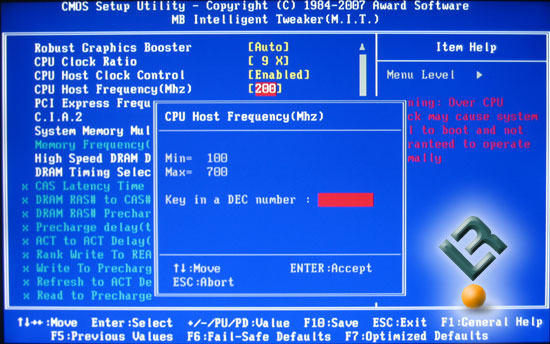
Once you enable the Host Clock Control, you have the option to set your fsb speeds all the way up to 700, which is more than enough at this time in processor history!
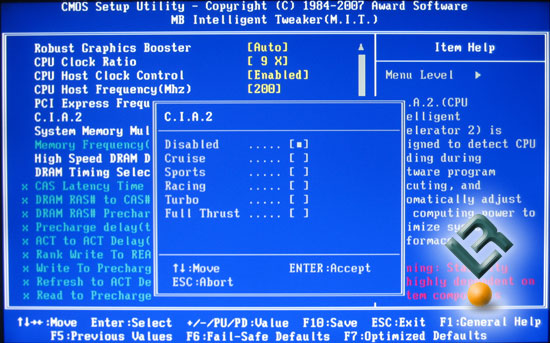
This bios does give you the option to allow overclocking to be automatically set, depending on which race-car theme you usein the CIA2 menu. Personally, I never use these auto-overclockers, but I am sure that there are some that are more comfortable with this option.
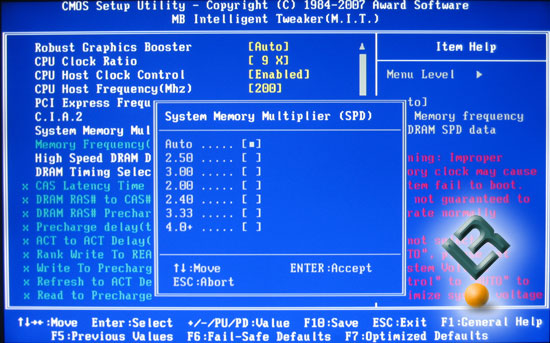
Normally we would see numbers like 400, 533, 667 and 800 for our memory dividers. But Gigabyte uses the actual multiplier number itself, so you have to either no the numbers or do the math. Or, you could simply read my review every time you need to change the multipliers. Here is what they are:
2 = 400
2.5 = 500
3 = 600
2.66 = 533
3.33 = 667
4 = 800
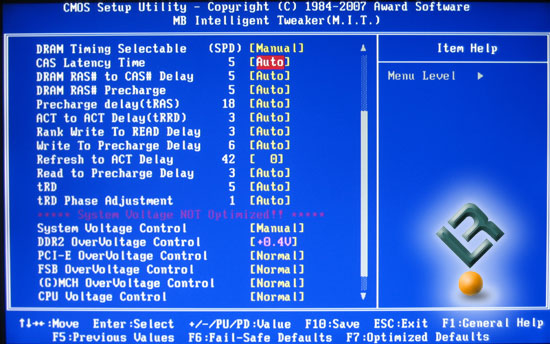
As we said already, in order to get to the DRAM timings, you have to push control and F1 on the home screen. please stop doing this Gigabyte! As you can see, this page is where you find the basic ram timings that can be set in tweaking. You also have voltage controls here.
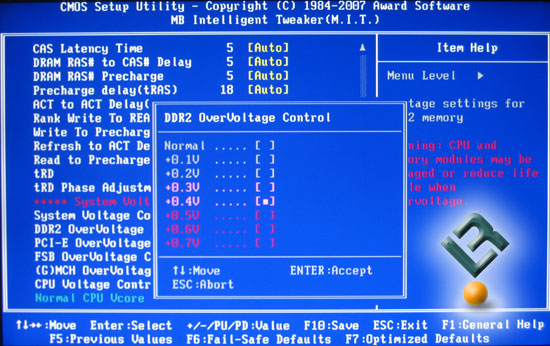
Vdimm can go all the way to 2.5v, which is very nice.
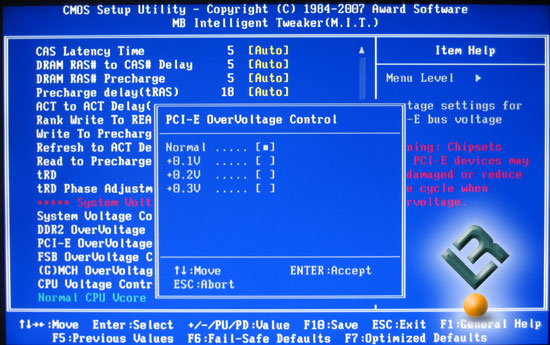
PCI-e voltage has the ability to be raised by up to .3v.
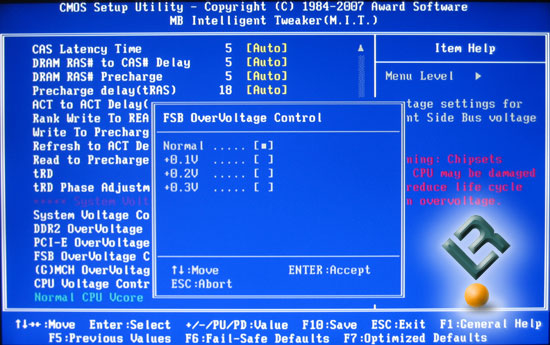
We see the same .3v available to us for the fsb.
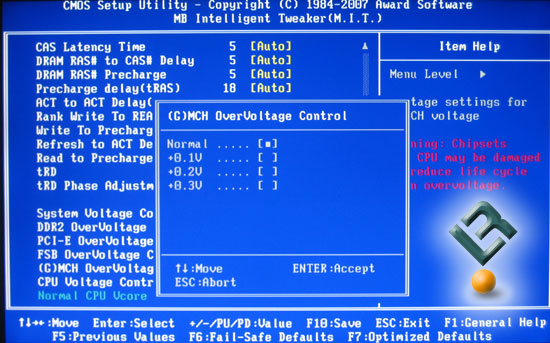
The chipset also can be raised by as much as .3v.
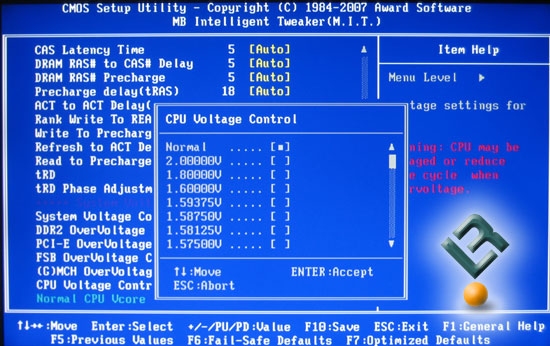
Vcore goes all the way to 2.0v! This is just a dream for the enthusiast living on the edge with extremem cooling like dry ice and the such.
That is really all the intersting things in this bios. Let’s move on and see how the thing performs!
Comments are closed.