The Asus M2N32-SLI Deluxe Motherboard Review
The Bios
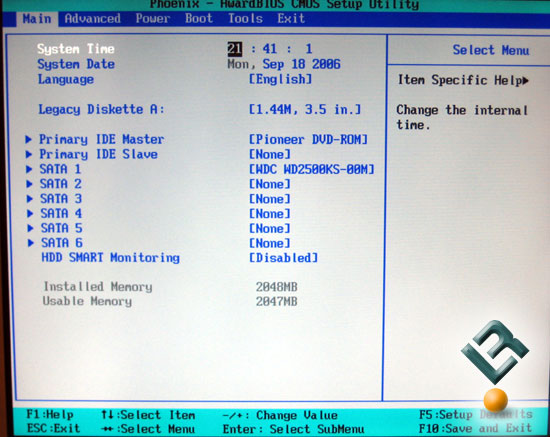
Asus uses the Phoenix Awardbios. I have never really liked this bios personally. In my opinion, it is difficult to navigate and the layout sometimes just does not make sense. I know that is personal preference, but I have heard others say the same. Anyways, let’s take a look at some of the options that are available in this bios.
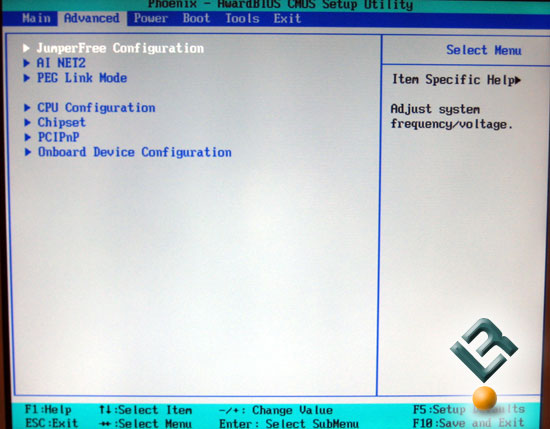
The advanced page is where we find most of the things that we will use, especially in the area of overclocking.
The jumperfree page allows you to manually set things so you can tweak every ounce of performance out of your system. We will take a closer look at these areas.
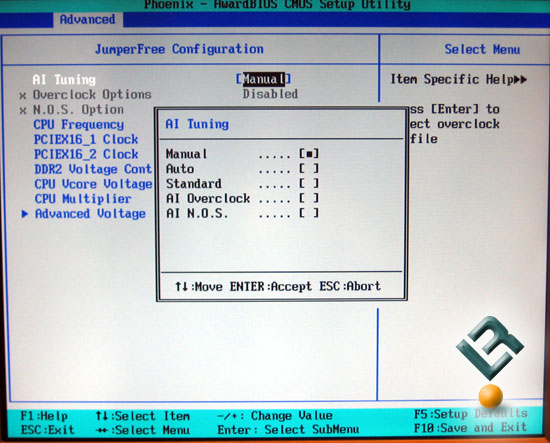
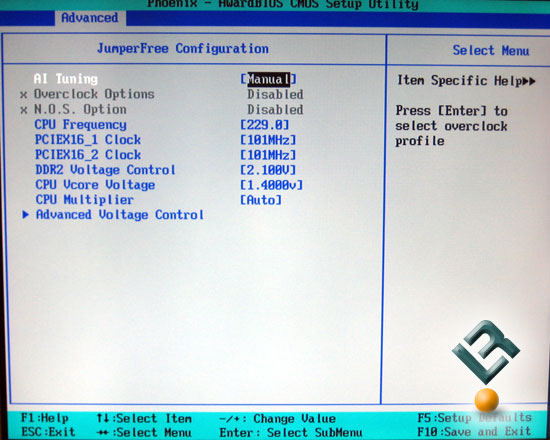
AI Tuning will automatically set your board to overclocked settings. This is great for those who have no clue what to do, or who are just to lazy to do it on their own.
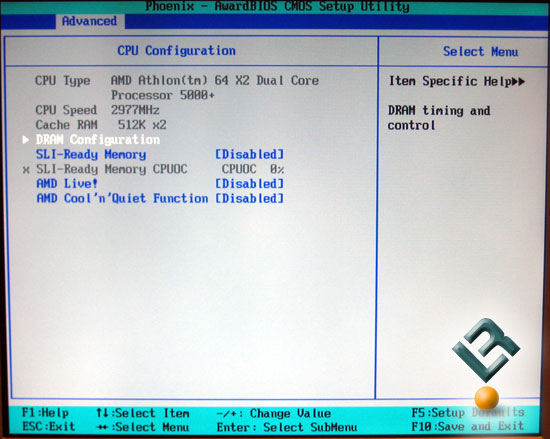
Under the CPU config part of the Advanced page, we have information about the CPU, but we also have the DRAM config page, the AMD Live! and Cool ‘n’ Quiet Function switch. Not sure where the CPU configuration is here, but anyways… Let’s take a look at the DRAM configuration.
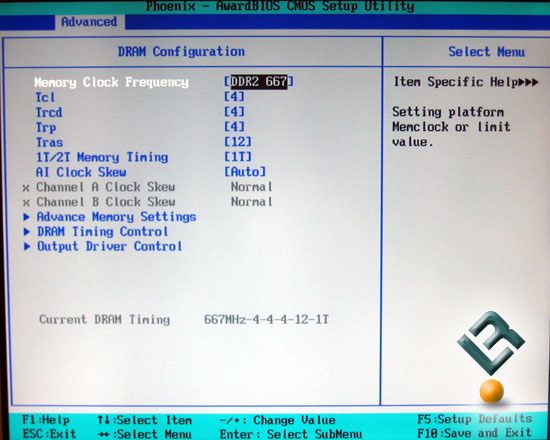
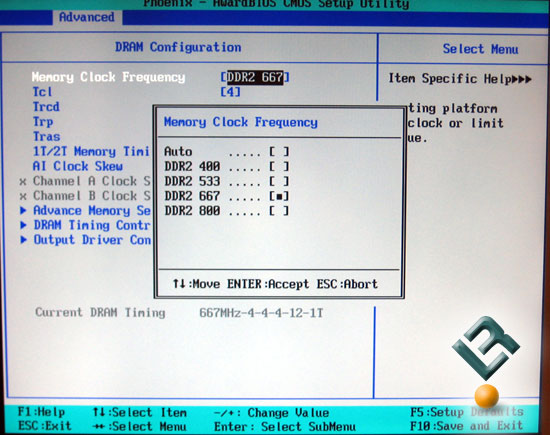
On this page you have settings for your typical primary memory timings, as well as some advanced areas for further tweaking.
These are typical dividers that we have seen on AM2 boards, so nothing new here.
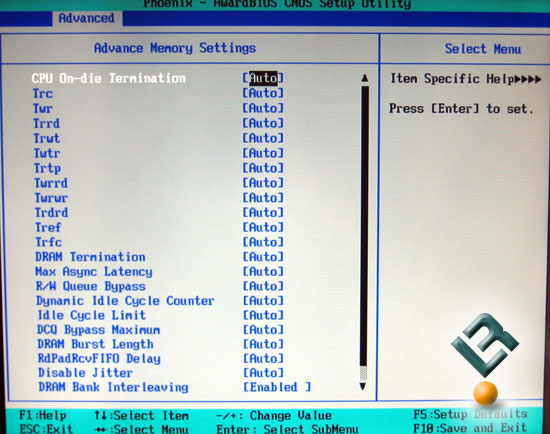
There is a huge range of secondary timings and settings that can be adjusted on this board. This part of the bios will be a memory tweakers heaven, as you could certainly and literally spend hours adjusting these timings to get the best performance available.
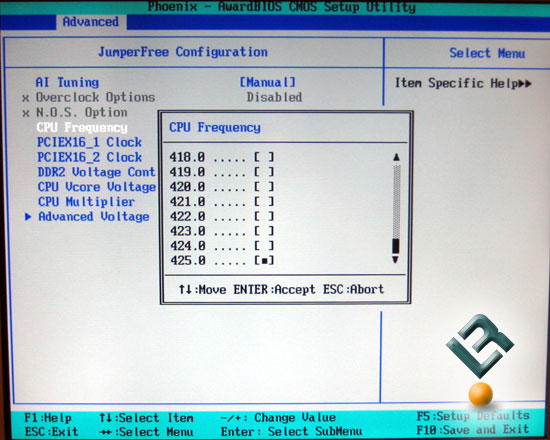
Back to the Jumperfree main page, we see that the CPU frequency goes all the way to 425, which should be more than enough for successful overclocking on this board.
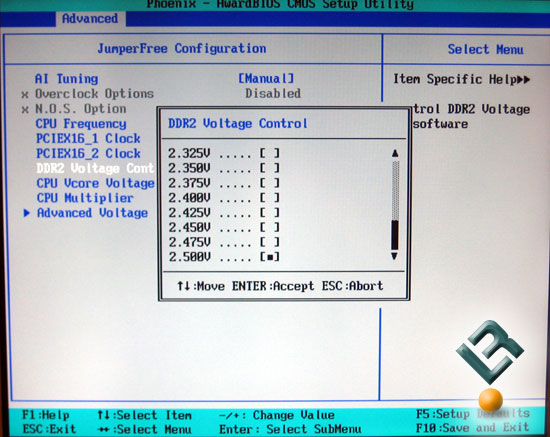
Vdimm goes up to 2.5v, which is also a terrific option here in this bios. If you remember, DDR 1 voltage sometimes started at 2.5v. With DDR2 starting at 1.8v, this is a great amount of voltage available.
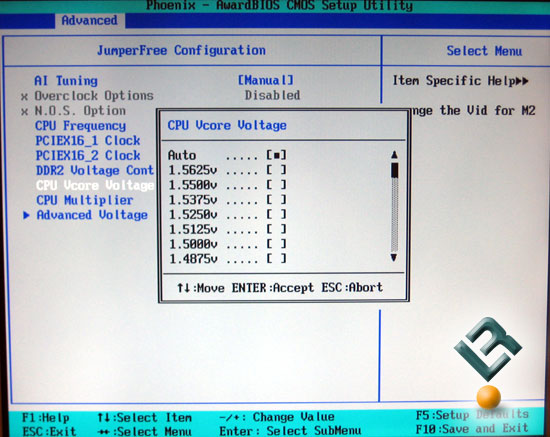
Vcore goes up to 1.5625v with our 5000+, which is a tad low for the extreme cooling enthusiasts who will pump as many volts into a chip as they can. It should be sufficient for most everyone else though.
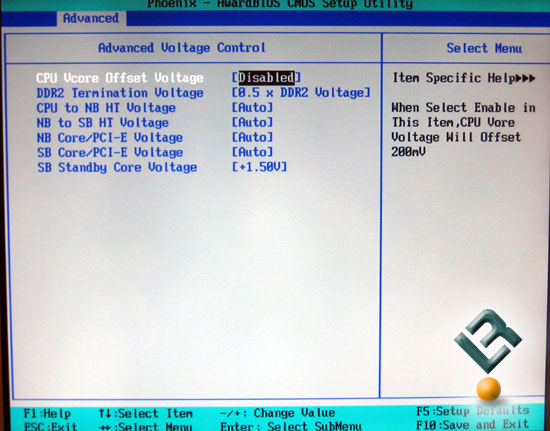
The advanced voltage control page has a few things that can help when tweaking and overclocking. Especially the chipset voltages, as seen here. The CPU to NB voltage and NB to SB voltage goes up to 1.5v, the NB to PICe gets up to 1.4, while the SB to PCIe gets up to 1.75. All of these are more than enough for what you need to do on this board.
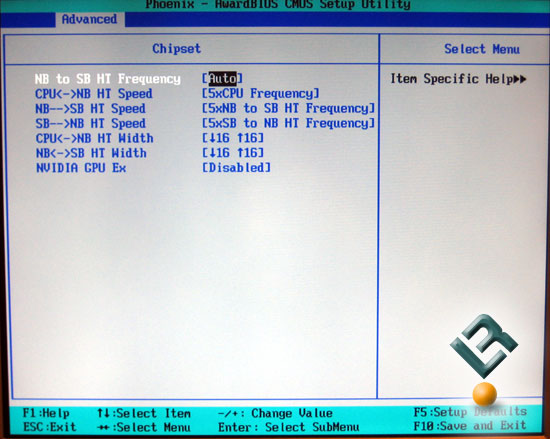
The Chipset page is where you will set you HTT speeds. Asus gets a little more detailed than most here, as they privide the option to change the HTT between the NB to SB and back, as well as the HTT speed between the CPU and the NB.
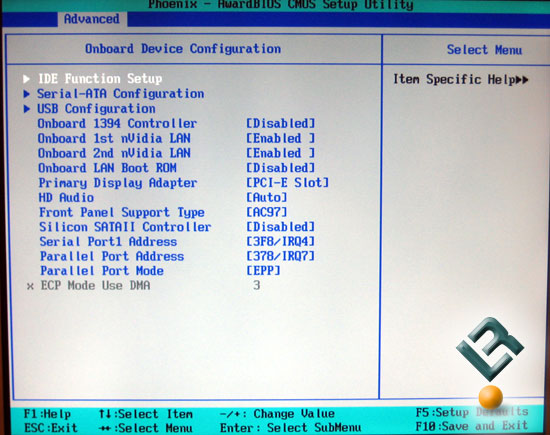
Onboard devices page is just that. It lets you set up all of your drives, as well as your USB, LAN, audio and some of your input ports.
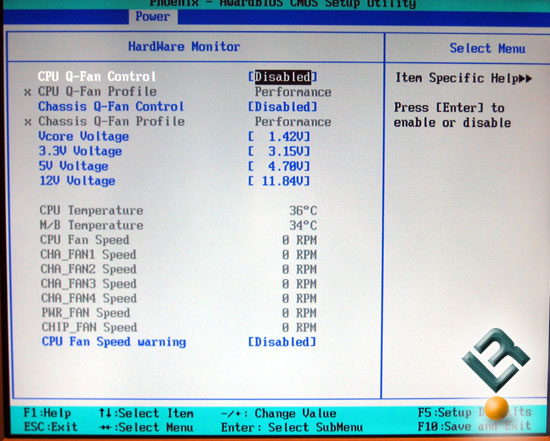
The last page we want to look at is the health page. Asus did a fair job with this page, but it would be nice to see the voltages for DRAM and the chipset. So much for the bios, let’s take a look at the setup of the board for our testing.
Comments are closed.