Rosewill Thor XL-ATX Full Tower Gaming Case Review
Building in the Rosewill Thor
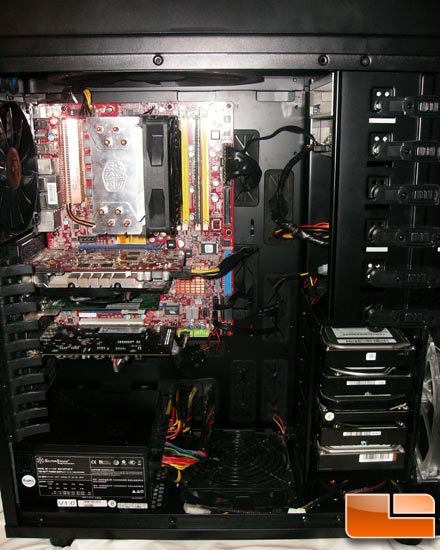
Here’s our final build in the Rosewill Thor. Cables were easy to route and it’s got a hole to run just about anything anywhere.
I will note for buyers out there that this case is large, and you may want to look at getting an ATX 24 pin & EPS 12v 8pin extension. My Silverstone Strider Plus was fine in terms of cable length, but even that was getting a bit close.
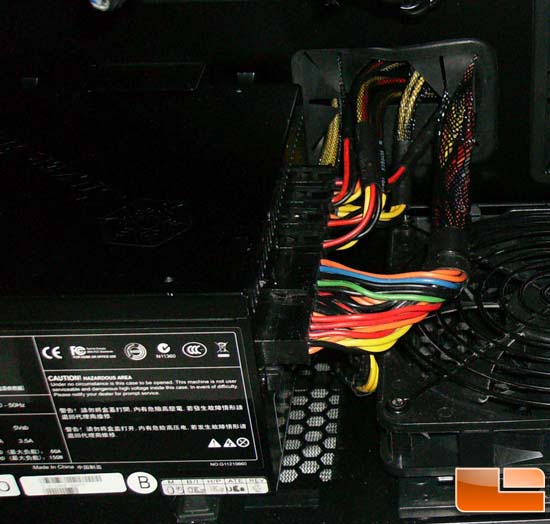
Here’s something important to note; my PSU Is not very long and as you can see it doesn’t take up the whole bottom vent provided by this case, but my cables are bumping up against the edge of the 140mm fan mounted to the bottom.
I would suggest that most users take PSU length into consideration and only plan to mount a 120mm fan to the bottom of the case.
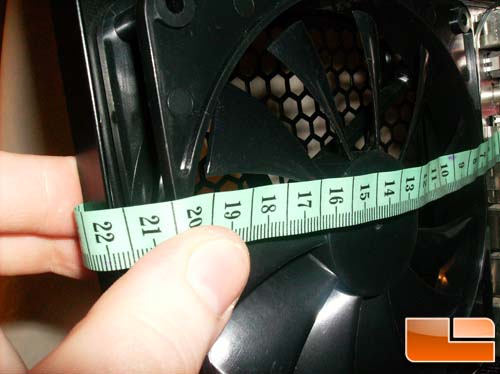
From the CPU Socket to the side panel of the case, we have 195mm of space for tower coolers. This is far more than enough for any modern tower cooler which usually comes between 160mm and 170mm tall.
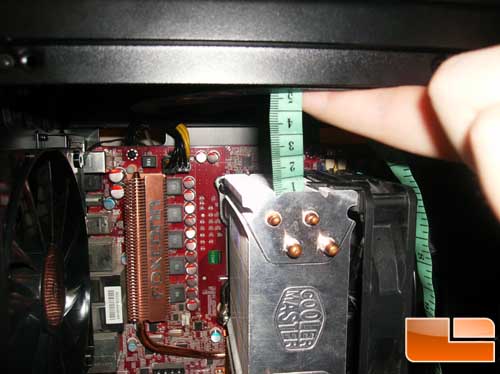
For a sense of how much space this case offers, between the top of my cooler and the included top mounted 230mm fan there is almost 5cm of space to work with if you wanted to include a 240mm or 280mm radiator for a water cooling setup.
This is far more than enough for setups like the CoolIt ECO 240 even if you were to use a push-pull setup with 25mm fans on each side.
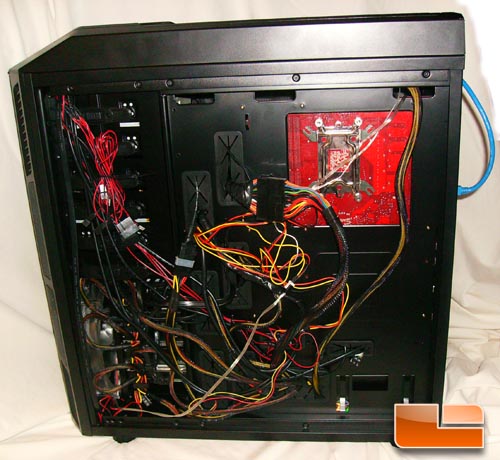
Say you are not that good at cable management or simply do not have the time to really work with it; well, the Rosewill Thor has you covered. This case has more than enough space behind it that even if you have a bunch of cables running everywhere that’s disorganized the cables will fit.
As you can see as well, the CPU Backplate area is large enough that almost any board should fit in there.

Comments are closed.